If you find yourself lost in the wilderness with nothing but a knife and some ingenuity, you may be able to make your shoes. This skill was once commonly used by our ancestors and can still be utilized today in survival situations. Shoes made from natural materials will protect your feet from the harshest conditions and could be the difference between life and death.

This article will discuss how to make shoes in the wilderness. It is important to note that the materials required for this will vary depending on your location. For example, if you live in a jungle, vines and leaves would be abundant, while the desert may yield cacti and animal hides.
Summary: Making shoes in the wilderness can be a challenging but rewarding task. To create shoes, you will need to gather natural materials such as animal hides or plant fibers. From there, you will need to craft a basic pattern and begin shaping and stitching the material to create a shoe that fits your foot.
What To Look For In Survival Shoes?
Survival shoes should be made of tough and durable materials that can withstand the extremes of a hostile environment. It should not only keep your feet warm and dry but should protect you from cuts, scrapes, and other injuries. Most importantly, it should be lightweight enough to carry around but provide ample protection.
Survival shoes do not have to support your arches or restrain your toes as they need to be worn for short periods only. Any shoes will do if you don’t intend on going out much!
But if you want long-term temporary comfort, consider leather boots with wool socks inside for insulation against cold surfaces or rubber boots with a fleece lining if you’re going to traipse through the water. Whatever the conditions throw at you, expect your shoes to suffer. The more you can do to protect them, the better.
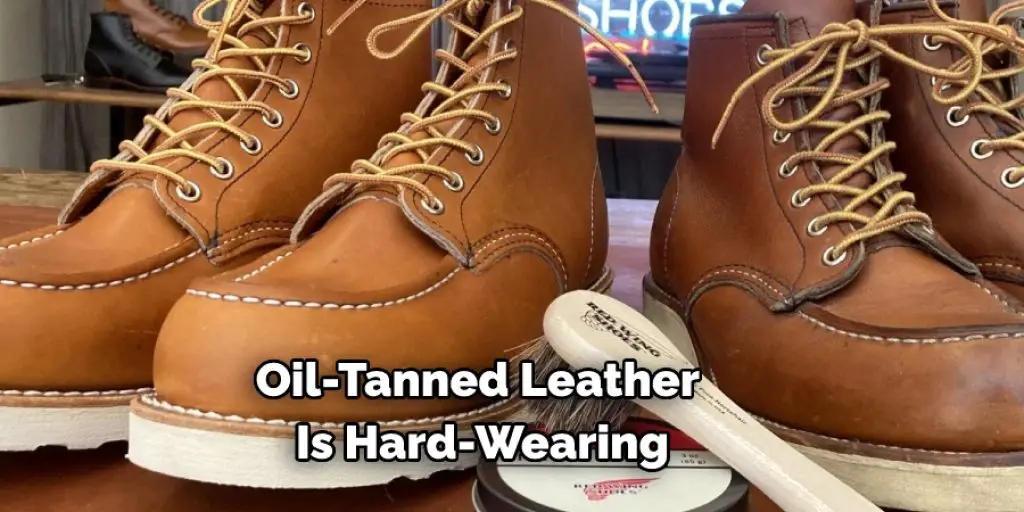
Oil-tanned leather is hard-wearing and flexible but absorbs water quickly, while suede or other smooth leathers are rugged but don’t provide much grip. Stay away from canvas if you want your survival shoes to last longer than a few days! Leather will eventually rot in damp conditions, so it’s not an ideal material either.
Rubber is good against cold surfaces as it insulates well, while faux fur is great for trapping heat around your feet when worn inside any shoe with portholes to reduce weight. Finally, take care of your shoes by giving them occasional coats of oil to protect against rain and replacing the insoles every season or so – this will prevent them from absorbing water and rotting.
A Detailed Guide on How to Make Shoes in the Wilderness
Step 1: Find the Materials
One of the essential things for making shoes is having a sturdy, functional material. If you’re in a place where you have trees and plants around with no shoes on your feet, one of the best materials to use is plant fibers for shoelaces and shoe uppers. You can find these by looking for any kind of shrub or bush with long leaves. These are usually easy to identify due to their distinct shape and coloration from other types of plants in the area. Try gathering as many that look like they would work best together into a bundle, then take them back to wherever you plan on making your shoes.
Step 2: Prepare Your Plant Fibers
They will most likely be wet if you’re making shoes out of plant fibers. This means that you’ll need to dry them out before you do anything with them. Try placing them in the sun to make your plant fibers easier to work with and less susceptible to water damage. It may take a while for the leaves to dry completely, depending on how humid it is where you are, but this step will generally speed up the process.
Step 3: Make Your Plants into Shoelaces
When turning plants into shoelaces, the first thing that needs to be done is cutting down all of one’s chosen leaves until they turn into long strands of plant fiber. Once this has been accomplished, tie the ends together to remain in place and don’t unravel. Next, you will need to cut your plant fibers into more manageable lengths if they are too long. How long these pieces should depend on how big or small the shoes will be.
Step 4: Make Your Shoe Uppers
Once again, cut off all of your chosen leaves to turn them into flat pieces of plant fiber that measure at least one foot in width. After this has been done, take the length of the shoelace from earlier and lay it down on top of the leaf blades with the ends coming from either side. If placing different types of plants next to each other, place the plants with thinner parts closest together so that less material is wasted when gluing them together.
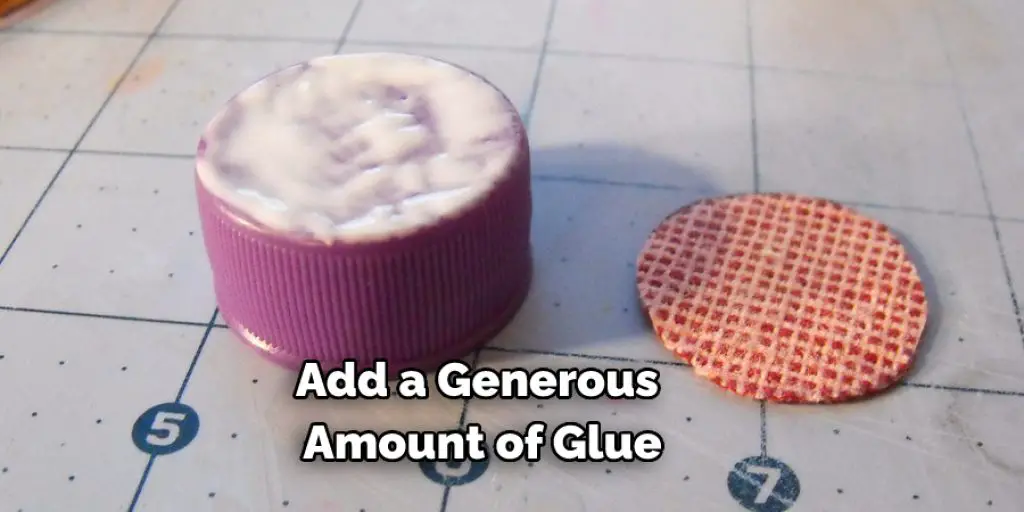
Once the shoelaces have been laid down on top of the plant blades, add a generous amount of glue to one side and place another piece of flat-leaf on top so that the more vital parts of each plant are holding each other in place. Once this has been done, add a heavyweight to keep everything in place while it dries completely. How long it takes for your shoe uppers to dry depends on what types of plants you used and how much glue was applied during this process.
Step 5: Make Your Soles
This step is relatively simple compared to making your shoe uppers since all you need to do is cut out thick pieces of more leaves, which you can use as soles for your shoes. How big or small these leaves need to depend on how big the shoes themselves will be and what type of plant material you used.
After your flat pieces of leaf blade have been cut, glue them to the bottom of your shoe uppers to overlap slightly. How much extra should be left at the heel and toe is dependent on your preferences, but it should not be more than an inch in either direction if you want a good fit for your shoes. Once the soles have been placed, add another layer of thicker leaves on top before adding another layer of glue all over everything and leaving it to dry overnight.
Step 6: Trim Your Shoes
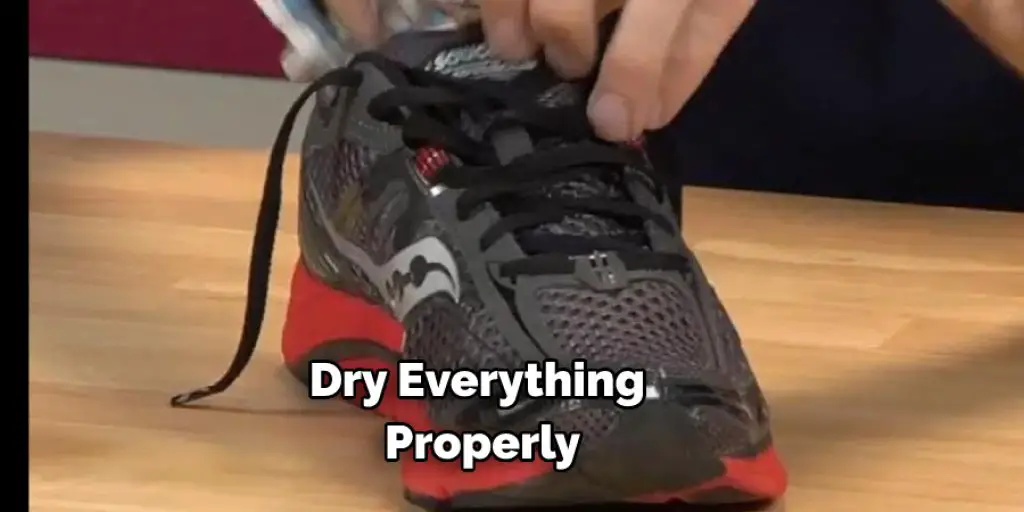
Once everything has dried properly and you’re sure that your shoes are the right size, remove the heavyweight from earlier and cut off any excess material sticking out. How much of a final edge you leave under your shoe will depend on how well it fits your foot but in general, you want to make sure that there is no more than an inch left before going over everything again with a lighter piece of leaf or something similar.
Step 7: Duct Tape Shoes
You Need:
- Duct Tape
- A spare pair of socks for sizing.
You have to take your old shoes and duct tape them into a new pair! You put the new sole on top of your old shoe. First, it would help if you started taping around the front, closest to the toe area. When done with this area, you can continue down the sides and up along the back, but avoid putting it over any parts where your actual feet will go around the heel or arch areas. Try to keep it as smooth as possible until finally wrapping it all around to finish off at the front again (or wherever you started). Don’t if it’s not perfect because no one will judge you, and you can always take it off and do it better another time.
Step 8: Make Animal Hide Shoes
This method is only necessary if you have not been able to find any shoes that fit correctly or need something a little warmer for cold weather. How big the final pair of animal hide shoes will depend on how much material you have available and what size your feet are, but they always should leave your toes exposed to ensure proper breathability.
First, cut out a square piece of animal skin that measures at least twice as wide as your foot and six inches longer than your longest toe. How long this should depend on how big an area you need to be covered, so pay close attention to this before moving on to the next step. After cutting out one square piece, flip it over, so it’s facing the wrong way, and do the same thing again until you’ve got enough to go around your foot.
Once you have the necessary pieces, glue them into one long strip, which can then be folded in half and wrapped around your foot like a bandage (see picture). How much extra material you leave at the heel and toe will determine how comfortable your shoes feel when walking, so do this part carefully before adding any final edge.
Once everything is glued up, add another layer of glue over the top, wait for it to dry completely, and trim off any leftover material. How long it takes for this final layer to dry will again depend on its thickness, so don’t rush it, or else you may end up with an uneven surface that won’t stick properly to anything else. These steps will help in how to make shoes in the wilderness.
You Can Check It Out To Make Genie Shoes
Frequently Asked Questions
What Are the Materials Needed to Make a Shoe?
Generally, the materials you’ll need to make a shoe include leather, thread, a sewing machine, and a pair of scissors. However, there are a few specialty items that you may need, such as an awl for stitching the seams together, an applier for applying the leathers, or a horsehair brush for cleaning the leather.
If you’re starting from scratch, it’s best to check out online tutorials or books that will teach you how to sew shoes from start to finish. Once you have a basic understanding of the process, it should be easy to adapt the instructions to fit your specific needs.
How Do I Start Making My Own Shoes?
There are several different ways to go about making your own shoes, including using a shoemaker’s foot form, patternmaking software such as Adobe Illustrator or Photoshop, or by sewing them together yourself.
whichever route you choose, it is important to have accurate measurements of your feet so that the shoe fit correctly from toe-to-heel. You also need to pay attention to detail when sewning the seams because this will impact how well they’re able to breathe and keep your feet cool in hot weather conditions. And lastly, make sure that you properly care for your finished footwear – wash them regularly in cold water with soap and allow them dry on a hanger rather than wetting down the entire shoe with water before storing.
What is the Strongest Material for Shoes?
Some of the strongest materials for shoes include leather, suede, and ballistic nylon.
Leather is a natural material that has been used in footwear for centuries. It’s strong yet supple so it can withstand repeated wear and tear. Suede also features high levels of durability due to its outstanding water resistance and smooth finish. Ballistic nylon is a synthetic material that was originally developed as an upgrade over military-grade fabric such as Kevlar. Its strength makes it ideal for rugged outdoor activities such as hiking or rock climbing where drops from height could cause damage typical with leather or suede shoes.
Conclusion
So there you have how to make shoes in the wilderness. With a little bit of know-how, some easily accessible materials, and patience, you can make your shoes in nature. This process is by no means quick or easy, but it is a fun and rewarding way to take care of your feet while out on an adventure.