Ever since I was a little girl, I’ve loved shoes. And not just any kind of shoes, but fancy, unique shoes. Shoes that make a statement. When I saw someone wearing genie shoes, I knew I had to have a pair. But as it turns out, they’re not as easy to find as you might think. So I decided to make my pair. And now I’m going to show you how to make genie shoes!

Well, there are a few reasons. First of all, they’re really fun and unique. They’ll turn heads when you wear them. And they’re also really comfortable. I’ve been wearing my pair all day, and I haven’t had a single issue. So if you’re looking for a new and unique pair of shoes to add to your wardrobe, I highly recommend making a pair of genie shoes.
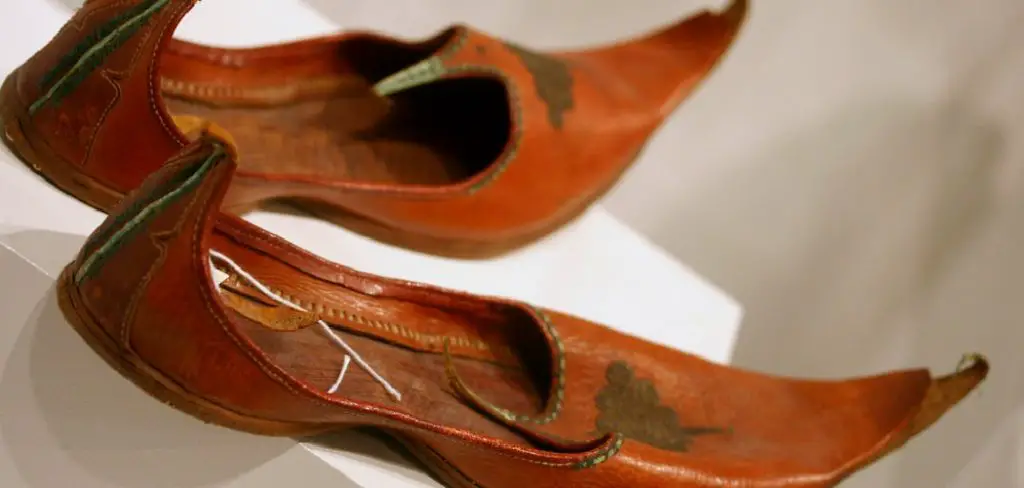
Summary: Genie shoes are a unique type of footwear that can be customized to fit your style and become a part of your wardrobe. They feature two main components: an upper, which can be either knitted or stitched fabrics, and the sole, which is made from recycled rubber.
The uppers can be made in various colors and patterns, while the soles come in different styles and can be dipped into dye for extra customization. Genie shoes are easy to make at home, requiring few materials and simple sewing skills.
Required Materials
To make your pair of genie shoes, you will need the following materials:
- Two pieces of fabric, each measuring at least 20×30 inches
- Scissors
- Ruler or measuring tape
- Sewing pins
- Sewing machine
- Hot glue gun
- Needle and thread
- Elastic band, 2 inches wide
How to Make Genie Shoes Step by Step Guide
Step 1: Preparing Your Materials:
First, you need a thick black color sock or boot cut nylons. An old pair of your mommy’s shoes can be reused if it is in good condition but too small for her feet. However, the rule is that the shoe should have heels. The second material is black cloth or any color of your choice that you will use to cover the shoe part of the sock.
The third requirement is several pieces of strong thread, needle, scissors, and pins if you are sewing with the cloth. Some Genie shoe users recommend using duct tape for fastening instead of several stitches to ensure the shoes do not come off quickly.
Step 2: Shaping the Sock or Nylon into a Shoe
Place the sock in your mommy’s shoe and cut it just enough to fit in. If you’re using nylons, then slip it in without cutting anything. You can use safety pins for fastening if the material is too loose that it will slip when you walk. If it’s too tight, use pins to loosen up the material to slide your feet easily in and out of them.
Step 3: Making a Sock Genie Shoe Cuff
Place the sock inside the shoe and cut how high or low you want your sock shoe to be. Make sure to place the sock/nylon in a position where your ankle can still move without being too tight or loose. Trace how high it should be for you and draw a line on how wide the circumference of how long it needs to be.
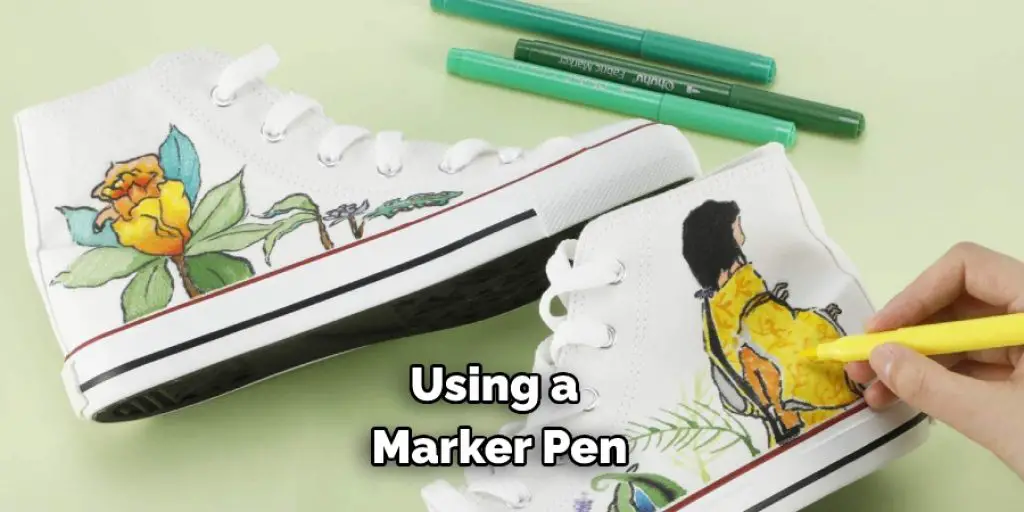
Using a marker pen, color in how big around it needs to be, then cut out using scissors. Sock Genie shoe users recommend 2 inches wide and how many inches you need up to your ankles or how long you want it to be above the shoes.
After cutting out how long the cuff should be, fold one side of each end on top of each other until it reaches half of how high you traced the line. Pin the side in place. Fold it again to meet the other side and pin for fastening.
Step 4: Sewing the Sock Genie Shoe Cuff
Using needle and thread or whatever material you are using that will serve as your stitching, sew how high you traced the line in step three, making sure to make tight stitches so it won’t come off easily. Make sure to keep the pins in place.
Step 5: Assembling Your Shoe
Now it’s time to put your finished pieces together and assemble the shoe. I start by placing the heel piece on top of the bottom sole, lining up one of my holes with a small slit in the sole marked on all four pieces that you’ll see if looking at how your shoe is made.
Then insert lace and tie a double knot, leaving about 1-2 inches of lace at the top. I then cut off any excess from both pieces.
Take my other lace and loop it through two of the holes on the heel piece, forming an “x” with them as I’m doing so. After looping through those two holes, I take the remaining lace and lay it over the base of the “x” that I just formed. Once there, I loop through one more hole on the heel piece and then tie a double knot with both laces, making sure that it’s tight.
You can now cut off any excess from both pieces.
Repeat these steps on the other side of your shoe, making sure to mirror how you did the first one so that it’s identical.
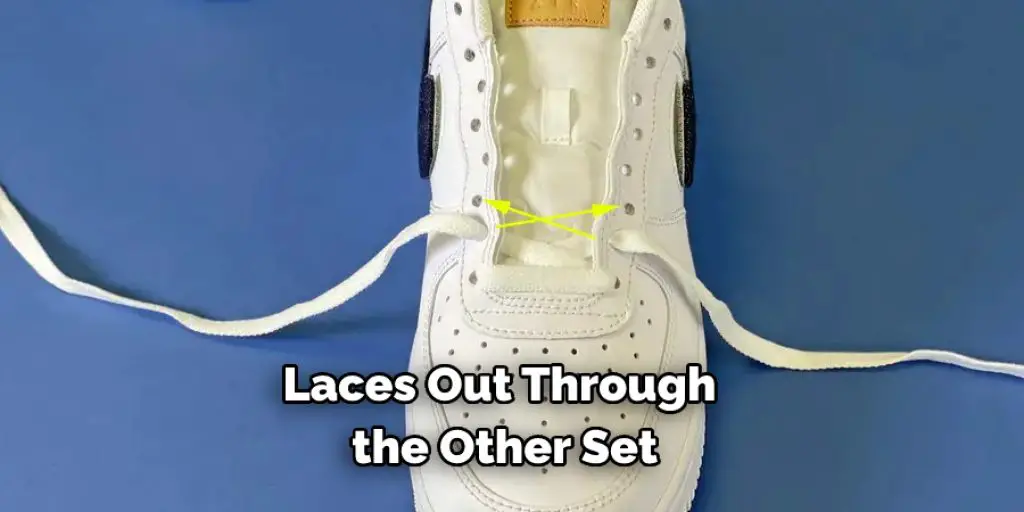
Next comes attaching your strap piece. Take the lace and loop it through both ring pieces, leaving about an inch at each end. Once I’ve done that, I pull each end through the corresponding ring on my strap piece, forming an “x” with them. I then take the lace that’s sticking out of my first ring and loop it back around itself to form a knot.
Once you’ve done this, bring your laces out through the other set of rings on your strap. After that, I take the end of one lace and loop it through the other to form an “x” with them. Once there, I take the end of my lace on the right side and loop it over itself to form a knot.
Step 6: Putting Finishing Touches on Your Creation:
When you get to this step, it means that your genie shoes are just about finished. I think you’re going to look great in them, and everyone will be jealous of how cool they get! Now let’s talk about how to put the finishing touches on your new pair of genie shoes.
First, you should probably test out comfy your new genie shoes are. The first thing you want to do is take the elastic cord and tie them around your leg tightly; just above the bottom of tall, your genie bottle needs to be for it to fit securely on your calf.
It should not be so tight that it crushes or cuts off any circulation, but also not so loose that it falls off. You want to stand up with shoes on and have them feel comfortable but also tight enough that you don’t have to worry about them falling off while you’re walking around town.
Once you have the right tightness, you should tie a knot in the cord so that it doesn’t slip out of place. You could even use a dab of super glue to make sure it never comes undone without your permission.
The second thing you want to do is cut the excess pieces off the elastic cord. It’s good practice to cut them off with scissors that are slightly bigger than how small the cord was after you got done tying it. Cutting it smaller will just result in jagged edges, which is not something you want to have on your genie shoes! Once they’re cut down to size, you should be left with two nice even ends of the cord.
Finally, you should attach the other ends of each piece to the plastic bottle itself. You can use super glue or even double-sided tape to make this happen. The last thing you want is for your genie shoes to fall apart while you’re out in public! Attaching them on tightly will ensure that they stay secure and won’t fall apart while you’re showing off how cool they look.
That’s the last of how to make genie shoes! Thanks for reading, and I hope it helped!
Frequently Asked Question
How Long Does It Take to Make Genie Shoes?
It will take about an hour to make a pair of Genie Shoes. You’ll need a big sheet of newspaper or paper, string, scissors and a pencil for this project.
Can I Buy a Pair of Genie Shoes from A Store and Get Started on Making Them Myself?
Unfortunately, you cannot buy a pair of Genie Shoes from a store. Genie Shoes are homemade and require some assembly. However, the process is simple and only takes about an hour to make a pair.

What Is the Best Way to Make Genie Shoes?
There are a few different ways that you can make Genie Shoes. One way is to use a big sheet of newspaper or paper. Another way is to use string. And finally, you can use scissors and a pencil.
You Can Check it Out to Make Shoes in the Wilderness
Conclusion
So, there you have it! Our step-by-step guide on how to make genie shoes. We hope you enjoy your new shoes as much as we enjoyed making them. Have fun and be creative with the colors and fabrics you choose – the possibilities are endless!