
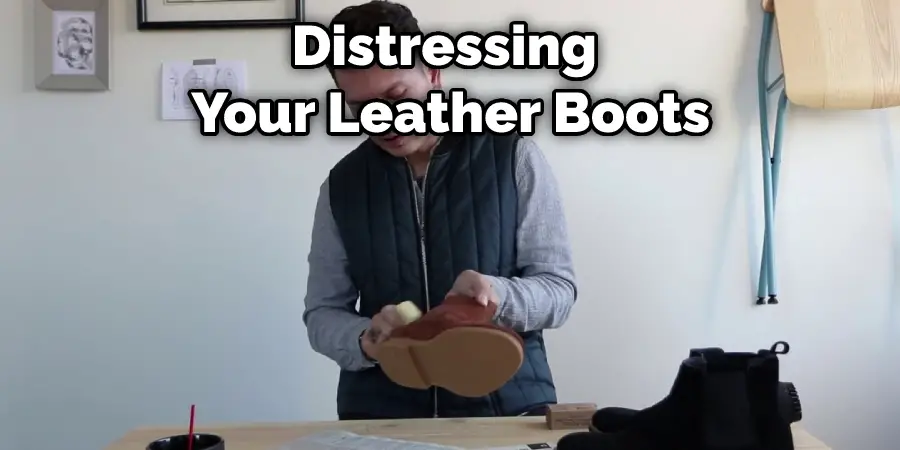
Worn-down leather boots can add character and personality to an outfit. Distressed boots are stylish, but they are also comfortable and versatile. In this article, we will show you how to distress leather boots.
With just a few simple steps, you can create a unique look that is perfect for you. So, whether you are looking for a new pair of shoes or want to give your old ones a makeover, read on for the instructions on how to distress your leather boots.

Leather boots are a wardrobe staple for many people. They are comfortable, durable, and stylish. However, over time, leather can start to look worn and tired. If you want to give your boots a new lease on life, distressing them is a great way to do so. Many people think that distressing leather is a complex process, but it is quite simple. With the right tools and a little bit of time, you can achieve a beautiful distressed look.
Summary: Distressing leather boots are a popular trend among fashion enthusiasts. To distress leather boots, you’ll need sandpaper, rubbing alcohol, a spray bottle, a cloth, and a leather conditioner. First, soak the boots in rubbing alcohol and water to soften and loosen the leather fiber. Then, use sandpaper to scuff and scratch the surface of the boots. You can also use a spray bottle to create water stains or bleach the fabric.
A Detailed Guide on How to Distress Leather Boots
Method 1. Distress Leather by Rubbing Alcohol
The alcohol in the rubbing alcohol will help break down the leather fibers, making them more pliable and easier to manipulate. You can use various tools to create the distressed look, including a bristle brush, cheese grater, or even a sharp knife.
Things You’ll Need:
- Rubbing alcohol
- White vinegar
- Olive oil
- Water
- Cleaning cloths
- Distress leather boots
Step 1: Prepare Work Area
Clear off a work surface and lay down some old towels or newspapers to protect the area from spills. Ensure you’re working in a well-ventilated area, as the fumes from the rubbing alcohol can be strong.
Step 2: Soak a Cleaning Cloth in Rubbing Alcohol
Moisten a clean rag or cloth with rubbing alcohol. Rub the cloth over the entire surface of the leather boot to help break down the fibers. Be sure to get into all of the nooks and crannies, as you want the distressed look to be all over.
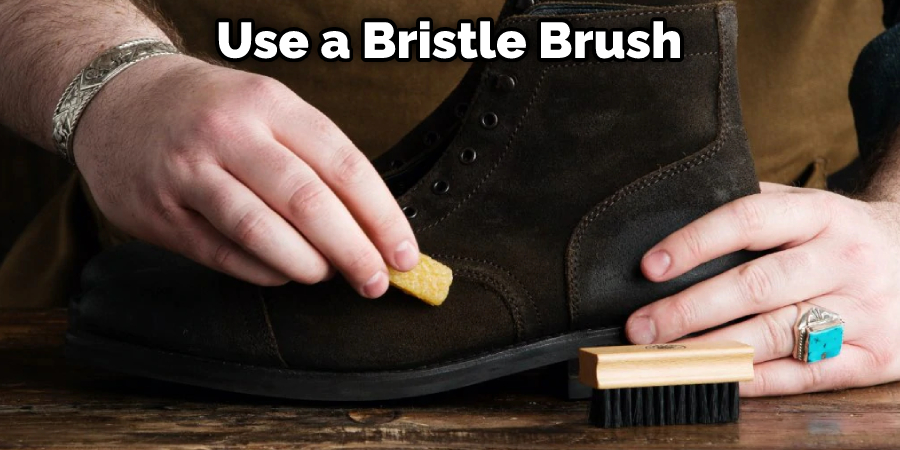
Step 3: Scrub Distress Leather Boots With a Bristle Brush
Use a bristle brush (or even an old toothbrush) to scrub the surface of the leather in a circular motion. This will help to create an even more distressed look.
Step 4: Use a Cheese Grater or Sharp Knife
For a more distressed look, you can use a cheese grater or sharp knife to scrape away at the surface of the leather. Be sure to go slowly and be careful not to cut yourself.
Step 5: Soak a Cleaning Cloth in White Vinegar
Once you’re happy with the level of distress, it’s time to neutralize the alcohol. Soak a clean cloth in white vinegar and rub it over the entire surface of the leather boot. This will help restore the pH balance and make the leather more pliable.
Step 6: Soak a Cleaning Cloth in Olive Oil
After neutralizing the acidity with the vinegar, it’s time to rehydrate the leather. Soak a clean cloth in olive oil and rub it into the leather. This will help to keep the leather from drying out and cracking.
Step 7: Let Distress Leather Boots Dry Completely
Once you’ve applied the olive oil, let your boots dry completely before wearing them. This can take a few hours to overnight, so be patient!
And there you have it! Your very own pair of distressed leather boots. Be sure to take care of them by regularly conditioning and cleaning them, and they’ll last you for years to come.
Method 2: Hammer Method
There are a few ways that you can distress your leather boots. One popular method is to use a hammer. Unfortunately, this will create indentations and scratches in the leather, making it look more worn.
Things You’ll Need:
- Hammer
- Nail
- Safety goggles
Step 1: Determine The Placement Of The Distressing
Before you start distressing your leather boots, you need to determine where you want the distressed areas to be. You can do this by holding up the boot and using a nail or other sharp object to mark where you want the indentations to be. Once you have determined the placement, put on your safety goggles.
Step 2: Create The Indentations
Now it’s time to start distressing the leather. Take your hammer and gently tap the nail into the boot at the marks you made in Step 1. Do not hit the nail too hard, as this could damage the leather. Instead, tap it until an indentation is visible.
Step 3: Break Up The Edges Of The Indentations
Once you have created the indentations, take the nail and run it along the edges of each one. This will break up the edges and make them look more worn.
Step 4: Distress The Rest Of The Boot
Now you can start distressing the rest of the boot. Use the hammer and nail to create additional indentations and scratches all over the boot. Be sure to vary the size and depth of the indentations for a more natural look.
Step 5: Finish Up
Once you’re happy with the amount of distressing you’ve done, put on any finishes or treatments you want, including polishing, dyeing, or waterproofing. Allow the boots to dry completely before wearing them.
Method 3: Use Wax
If you want to distress your leather boots without chemicals, you can opt for the wax method. This is a straightforward method, and all you need is a can of dark shoe polish and a brush.
Things You’ll Need:
- A can of dark shoe polish
- A brush
Step 1: Choosing The Right Shoe Polish
First of all, you need to choose a suitable shoe polish. It is essential to use dark shoe polish to create a good contrast with the leather. If you use light shoe polish, it will not be visible on the leather and will not have the desired effect.
Step 2: Prepare The Boots
Once you have the shoe polish, you need to prepare the boots for waxing. This involves cleaning the boots and removing any dirt or debris from them. You can use a brush or a cloth to clean the boots.
Step 3: Apply The Wax
After the boots are clean, you can start applying the wax. You need to use it evenly on the surface of the boots. Make sure that you cover all areas of the boots so that they are evenly distressed.
Step 4: Let The Wax Dry
After you have applied the wax, you need to let it dry. This usually takes around 30 minutes. Once it is dry, you can buff it off with a cloth.
Step 5: Repeat The Process
If you want to achieve a more distressed look, you can repeat the process. You can apply multiple coats of wax until you are happy with the results.
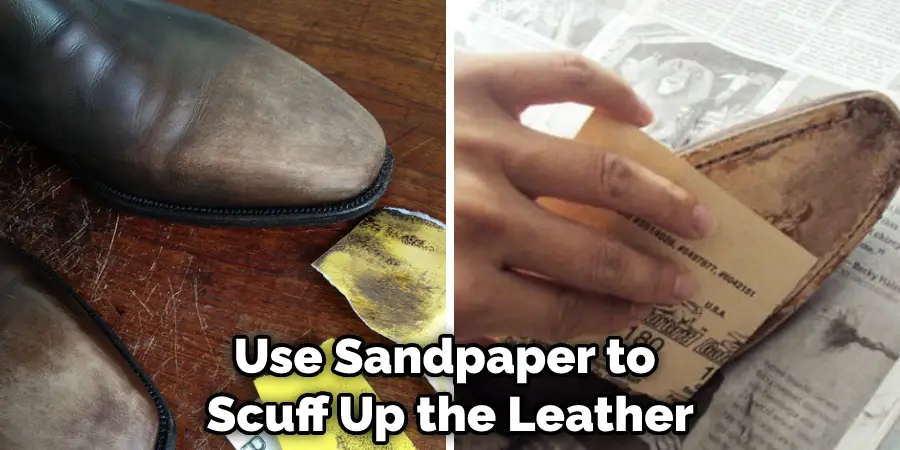
Method 4: Use Sandpaper
If you’re looking for a more distressed look, you can use sandpaper to scuff up the leather. This will create a rougher texture and give the boots an aged appearance.
Things You’ll Need:
- Sandpaper
- Leather boots
Step 1: Determine How Much Distressing You Want.
Before sanding, decide how distressed you want your boots to look. Start with lower grit sandpaper if you’re going for a more subtle effect. For a more dramatic distressed look, use higher grit sandpaper.
Step 2: Choose the Right Sandpaper.
Now that you know how much distressing you want select the appropriate sandpaper. If you’re going for a subtle effect, use lower grit sandpaper such as 150 grit. Use higher grit sandpaper, such as 400 grit, for a more dramatic distressed look.
Step 3: Begin Sanding
Start sanding the leather in small, circular motions. Apply more pressure for a more distressed look. Remember to sand evenly so that the boots look natural.
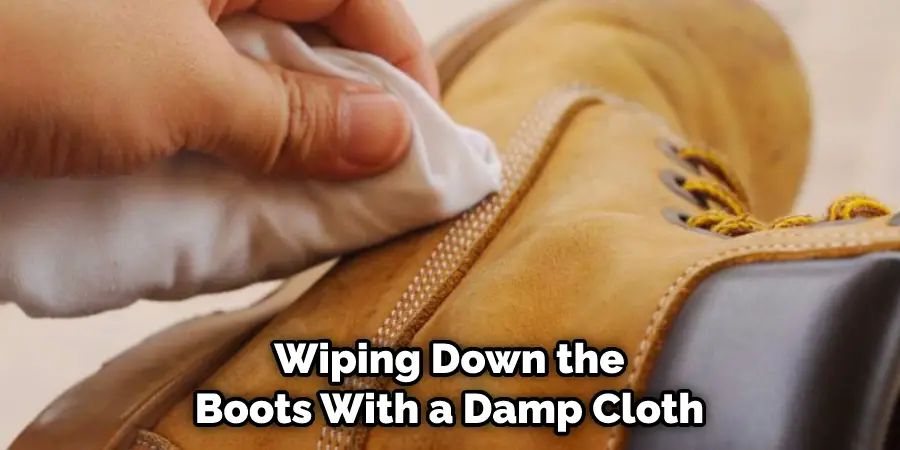
Step 4: Finish up
Once you’re happy with the amount of distressing, finish up by wiping down the boots with a damp cloth. This will remove any excess dust and give the shoes a final shine. Enjoy your new distressed leather boots!
Frequently Asked Questions
Can You Distress Genuine Leather?
Yes, you can distress genuine leather. There are a few ways to distress your leather – using a shoe brush, using a belt sander, using a drum sander, or using a belt grinder.
The most important thing to remember is to use caution and always wear protective gloves and eye protection when working with distressed leather. Also, be sure to clean the area before you start working so that the new finish will stick to the leather.
Is Distressed Leather Durable?
Distressed Leather is definitely durable, and it can withstand a lot of abuse. The distressed design helps to add character and uniqueness to the piece, while the tight grain pattern makes it resistant to wear and tear. In fact, Distressed Leather may even outlast regular leather in terms of longevity. So if you’re looking for an investment piece that will last longer than normal leathers, Distressed Leather might be a good option for you!
What is the Lowest Quality of Leather?
The lowest quality of leather is called Nappa. Nappa is a type of calfskin that has low oil content and little tanning ability. As a result, it tends to be less durable and may shrink or crack in the presence of moisture. It also has a relatively high price tag due to its status as an elite-grade leather product.
Can Distressed Leather Get Wet?
It is possible for distressed leather to get wet, but it is important to take precautions. Always pretreat your distressed leather before washing it in order to protect the finish. It’s also a good idea to avoid placing items that are wet or damp on the surface of the distressed leather — this can cause staining and damage.
Conclusion
There are a few different ways that you can distress leather boots. You can use sandpaper or other abrasive materials to create a worn look or apply a chemical treatment to the surface of the boots. Whichever method you choose, test it on a small area first to see how it will affect the leather. With a little bit of effort, you can easily create a unique and stylish pair of distressed leather boots. We hope you have learned how to distress leather boots.