
If you have ever experienced pain in your feet after wearing a new pair of shoes, or if your shoes feel too tight even when they are the right size, you may need to use a wooden shoe stretcher. Wooden shoe stretchers can help to alleviate foot pain and make your shoes more comfortable to wear.
In addition, a wooden shoe stretcher is an important tool for keeping your shoes in good condition. Using a shoe stretcher, you can ensure that your shoes retain their shape and last longer.
If your shoe is particularly tight, you may need to use a shoehorn to help get the stretcher into the shoe. Once the stretcher is in place, turn the knob or handle to begin stretching the shoe. In this article, we will explain how to use a wooden shoe stretcher correctly so that you can get the most out of this handy tool. Let’s get started!
Summary: A wooden shoe stretcher is a device used to stretch out shoes that may be too tight or uncomfortable to wear. To use one, begin by inserting it into the shoe and turning the handle to expand the stretcher. Leave it in place for several hours or overnight until the shoe has been stretched to your desired size. Afterward, remove the stretcher and try on the shoe to ensure proper fit.
What Is a Wooden Shoe Stretcher?
A wooden shoe stretcher is an important tool that can help stretch out too tight shoes. Shoes that are too tight can cause a lot of problems, including blisters, bunions, and corns. A wooden shoe stretcher can help prevent these problems by stretching out the shoes to fit more comfortably.
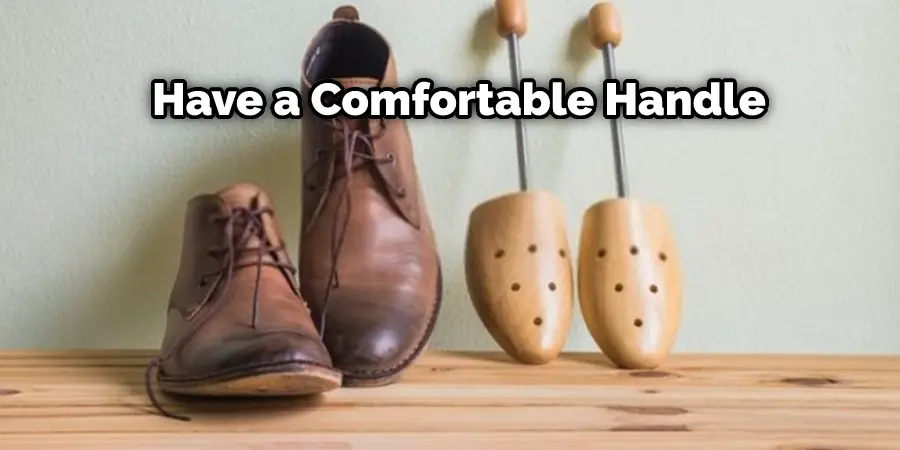
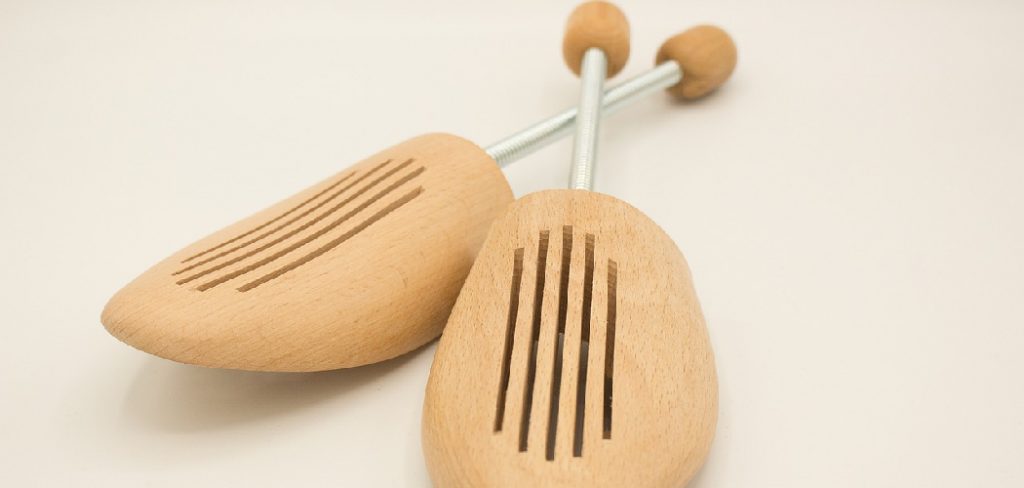
A good wooden shoe stretcher should be made of high-quality wood and have a comfortable handle. The best wooden shoe stretchers will also have adjustable pins that can be moved to different positions in order to stretch the shoes in different ways.
Types of Wooden Shoe Stretcher
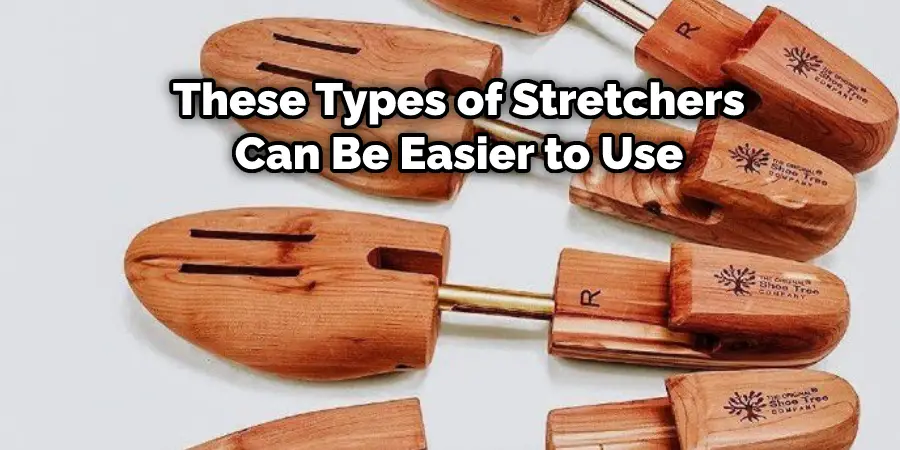
There are two types of wooden shoe stretchers: those with handles and those without handles. The type you choose will depend on your needs and preferences.
If you have a lot of shoes to stretch, or if you have particularly stubborn shoes that are difficult to stretch, then a stretcher with handles may be the best option for you. These types of stretchers provide more leverage and, thus, more power to stretch your shoes.
On the other hand, if you only have a few shoes to stretch, or if you find that your shoes are not too difficult to stretch, then a stretcher without handles may be the better choice. These types of stretchers are typically less expensive and can be easier to use.
Step by Step Guide on How to Use a Wooden Shoe Stretcher
Step 1. Place the Shoe Stretcher Inside the Shoe.
It’s important that you place the shoe stretcher inside the shoe before you start adjusting it. If you don’t, you risk damaging the shoe stretcher or the shoe itself. There are two parts to a shoe stretcher: the toe and heel pieces. The toe piece goes in first. It’s the smaller of the two pieces, and it has a knob on end.
Thread the knob through the hole in the toe of the shoe until it pops out the other side. Once the knob is through, pull on it to make sure the toe piece is snug against the inside of the shoe. You don’t want it to be too loose or too tight. The heel piece goes in next. It’s larger than the toe piece, and it has a hole in the middle of it.
Thread the knob on the toe piece through the hole in the heel piece until it pops out the other side. Again, make sure it’s not too loose or too tight.
Step 2. Adjust the Toe Area.
The second thing you need to do is adjust the toe area. You do this by turning the knob on the toe piece. As you turn the knob, the metal rod inside the toe piece will start to push out. This will cause the front part of the shoe stretcher to expand. Keep turning the knob until the toe area is the size you need it to be. You can also use the lever on the side of the shoe stretcher to create more space in the toe area.
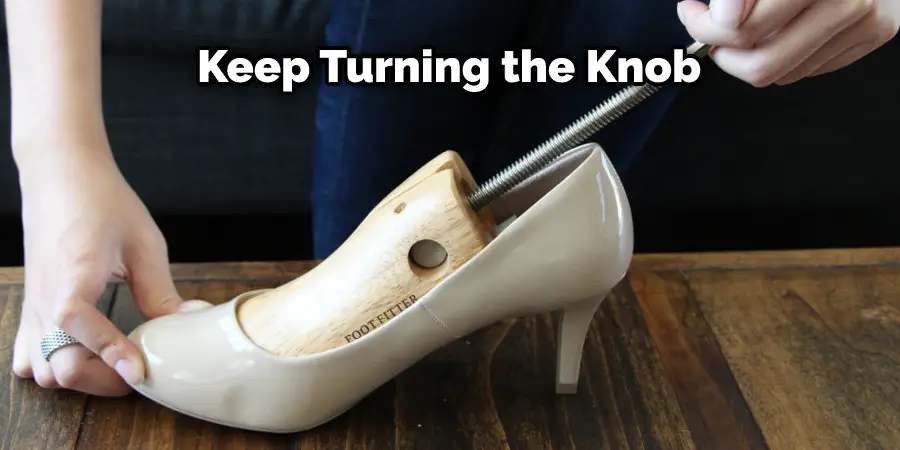
Just push down on the lever and hold it while you turn the knob. This will give you more control over how much the toe area expands. Once you’ve adjusted the toe area, move on to the heel area.
Step 3. Adjust the Heel Area.
The third thing you need to do is adjust the heel area. You do this by turning the knob on the heel piece. As you turn the knob, you will see the heel piece moving up and down. You want to adjust it so that the heel piece is snug against the back of your heel. Once you have the heel piece in the right spot, you can start to stretch your shoe.
To do this, pump the handle up and down. As you do this, you will feel the shoe begin to stretch. Keep pumping the handle until you have achieved the desired amount of stretch. Remember, it is important to go slowly and not overstretch your shoe. Once you have finished stretching your shoe, remove the stretcher and put your shoe back on. You should now notice that your shoe fits much better.
Step 4. Stretch That Puppy.
Now that your shoes are on the stretcher, it is time to start stretching them. You will want to start off slow at first. Place the stretcher near the toe of your shoe and begin pushing down. You may feel some resistance at first, but that is normal. Just keep pushing until you feel the shoe give way a bit. Once you have done this, move the stretcher to the heel of the shoe and repeat the process. Remember to go slowly at first and then increase the amount of pressure you are applying as needed.
If you find that your shoes are still not fitting correctly, you may need to use a second wooden shoe stretcher. Place the second stretcher in the opposite direction of the first one and repeat the process.
With a little bit of patience and some elbow grease, you should be able to get your shoes fitting just the way you like them in no time.
Step 5. Let the Stretcher Do Its Job.
Once you have your shoes on the stretcher, it is important to let the stretcher do its job. This means that you should not try to remove it until the shoes have had a chance to stretch out. Depending on how tight your shoes are, this could take anywhere from a few hours to a few days. So, be patient!
If you want to speed up the process, you can place the stretcher in your freezer for about 30 minutes before use. This will help to contract the wood and make it easier to insert into your shoes. Just make sure that you don’t leave it in too long, or you could damage your shoes.
When you are finally ready to remove the stretcher, twist it to release the tension and then pull it out of your shoe. You may need to use a little bit of force, but be careful not to damage your shoe in the process. Once the stretcher is out, you should notice that your shoes have a bit more give to them and should be much more comfortable to wear. Just remember to be patient and let the stretcher do its job, and you’ll be enjoying your new, comfortable shoes in no time.
Step 6. Try on Your Shoes.
Once you have removed the stretcher from your shoe, it is time to try them on. You should notice a significant difference in the fit of your shoe. If not, repeat the process until you are satisfied with the results. Just remember to go slowly and not overstretch your shoe, or you could damage it beyond repair. With a little patience and care, you will be able to stretch your shoes to the perfect fit in no time.
Tips & Wanings on How to Use a Wooden Shoe Stretcher:
Tips:
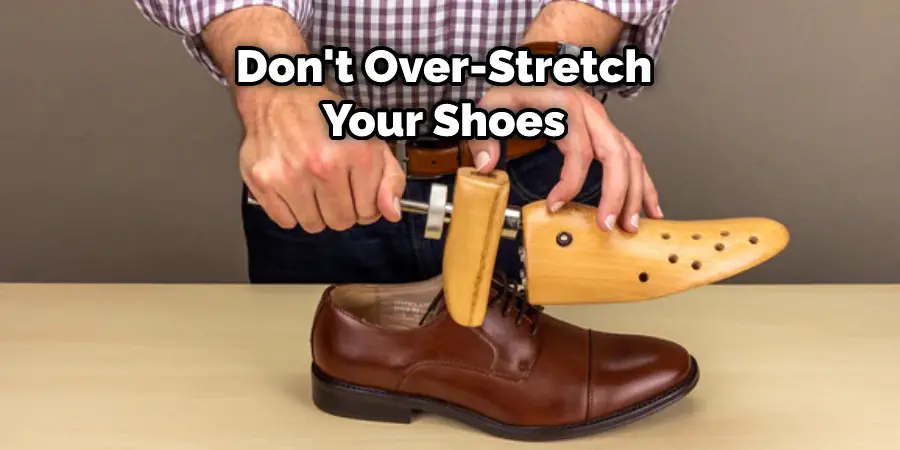
- Don’t over-stretch your shoes. Only stretch them enough to where they’re comfortable.
- Be careful not to break the wood.
- If you’re having trouble getting the shoe stretcher into the shoe, try using a shoehorn.
- Make sure the screws are tight, so the shoe stretcher doesn’t move around while you’re using it.
Warnings:
- Do not use a wooden shoe stretcher on wet or damp shoes. This can damage both the stretcher and the shoes.
- Do not leave the wooden shoe stretcher in your shoes for more than a few hours. This can permanently stretch out your shoes.
- Do not use a wooden shoe stretcher on leather shoes. Leather is a natural material that the stretcher can easily damage.
- Do not use a wooden shoe stretcher on synthetic materials such as nylon or polyester. These materials can melt under the pressure of the stretcher.
You Can Check It Out Use Normatec Boots
Frequently Asked Questions
Do Shoe Stretchers Actually Work?
The effectiveness of shoe stretchers will vary depending on the individual’s foot size and shape. That being said, some users claim that shoe stretchers can help to elongate the foot and relieve pain in the arch area, while others say that they don’t see any real benefits. It is best to consult a healthcare professional before using a shoe stretcher if you are suffering from any health issues.
What Can I Use Instead of a Shoe Stretcher?
There are many different things that you can use in place of a shoe stretcher. Some examples include socks, bandages, and fabrics such as cotton or linen. When it comes to the choice of material, anything that is stretchy and comfortable should work well. Simply wrap the fabric around your foot until it reaches just below your ankle (or as far up your leg as possible). Then tie the ends together tightly so that there is no space between them. You can then wear the makeshift stretcher like this for support or compression when stretching or wearing shoes.
Can You Stretch Shoes a Whole Size Bigger?
While it is possible to stretch shoes a whole size bigger, this may not be the best option. Stretching shoes can cause them to wear out faster and increase your risk of injury.
What Do Cobblers Stretch Shoes With?
A cobbler stretches shoes to restore their shape and keep them from stretching out. This is important because once a shoe begins to stretch, it becomes difficult to fit properly and can become uncomfortable over time. Shoes that are regularly stretched also tend to last longer because they retain their original shape better.
There are different types of cobblers, but the most common type is the shoemaker, who tackles repairs as well as alterations on both casual and formal wear. Other specialized cobblers include those who specialize in making high heels or children’s shoes. When you’re ready for your next pair of shoes, be sure to consult with a cobbler beforehand so that he or she can accurately determine what needs to be done in order for your footwear not only to look good but feel great too!
Conclusion
A wooden shoe stretcher is a handy tool to have in your arsenal when it comes to caring for your shoes. In this post, we’re going to show you how to use a wooden shoe stretcher so that you can keep your shoes looking and feeling their best. Now that you know how to use a wooden shoe stretcher be sure to put it into practice. By following the simple instructions in this post, you can keep your shoes looking and feeling great for seasons to come. Have you ever used a wooden shoe stretcher? What tips do you have for our readers? Let us know in the comments below.