Cloud shoes are a great way to get the cushioning and support you need while running or walking. The unique air-filled technology of cloud shoes helps to absorb shock and reduce the strain on your feet, ankles, knees, and other joints. However, many people find that their cloud shoes can become too loose after some time.
One of the main advantages of tightening on cloud shoes is that you can easily adjust the fit of your shoe without having to remove it. The tightening process takes only a few seconds and allows you to customize the snugness of your shoe for maximum comfort.
Additionally, most cloud shoes are designed with memory foam cushioning, making them even more comfortable to wear. In this blog post, You will learn in detail how to tighten on cloud shoes.
Step by Step Processes for How to Tighten on Cloud Shoes
Step 1: Inspect the Laces
Before attempting to tighten your Cloud Shoes, inspect the laces. It’s important to make sure they are not frayed or broken, as this will make it more difficult and uncomfortable to lace them up properly. If necessary, replace the laces before continuing.
Step 2: Loosen Up
To ensure a comfortable fit when you tighten your shoes, you will want to start by loosening them up a bit. Unlace the shoes and pull the laces so that they are as loose as possible before continuing.
Once the laces are loosened, lace up your Cloud Shoes in the standard fashion. Place each of your feet into the shoe, and lace up the left side first. Tie a basic knot in order to keep them secure.
Step 3: Slide Each Eyelet Up
Now that you have the laces laced up in standard fashion start shoe tightening the’s shoes by sliding l each eye aceslet up towards the next one on the eyelets in each cr side. Make a cross pattern, pulling the sure-to-laces tight each time you slide up.
Step 4: Cross Through Middle Eyelets
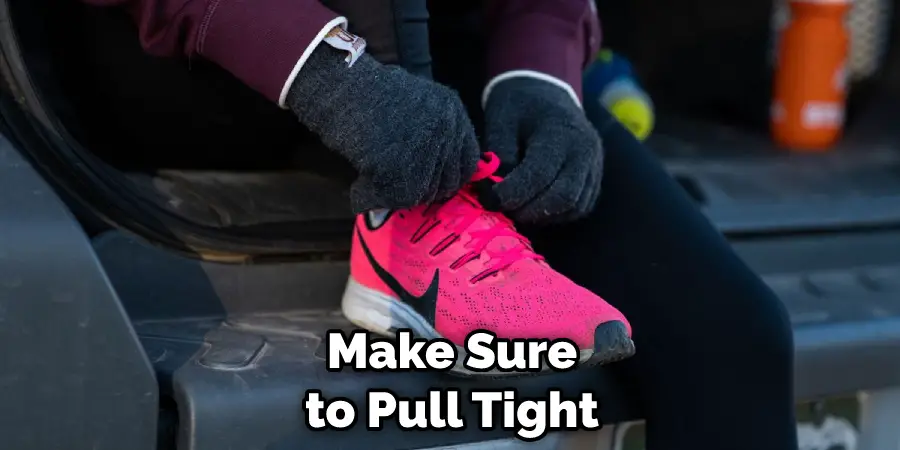
Once both sides have been laced up through the top eyelet, start tightening by crisscrossing the laces through the middle eyelets. Again, make sure to pull tight when doing so.
After lacing up through the middle eyelets, continue to work your way down the shoe. Slide each eyelet up and crisscross it with the corresponding one on the other side of the shoe. Pull tight as you go, ensuring all the laces are snug and secure.
Step 5: Secure the Heel in Place
Once you have worked down to the heel, secure it by looping the lace around it. You can also tie an extra knot at this point for added stability. After securing the heel, it’s time to tie off the shoes. Create a bow or knot of your choice, pulling tight for a secure fit.
Step 6: Trim Off Excess Lace
Once the laces have been tied off, it’s time to trim off any excess lace that may be sticking out from the sides of your shoes. This will help keep your look neat and tidy. Following these steps, you should have a comfortable and secure fit when wearing your Cloud Shoes.
Safety Precautions for How to Tighten on Cloud Shoes
- Make sure you are wearing the right size of shoes. Having a shoe that is too big or too small can cause slips and falls due to a lack of proper support.
- Always check for any tears, holes, broken straps, or laces before attempting to tighten on cloud shoes. Do not attempt to wear any type of shoe with a damaged part or component.
- Make sure to adjust the straps from both sides of your foot in order to create an even tension and secure fit.
- If you use laces, ensure they are securely tied before attempting to walk on cloud shoes. Loose laces can cause falls due to loss of stability.
- Test the tightness of the straps periodically to check for any wear or tear on the shoes, and adjust accordingly if necessary.
- Don’t forget to remove your cloud shoes before engaging in activities such as running or jumping. These activities can be dangerous when done with shoes that are too loose or not securely tied.
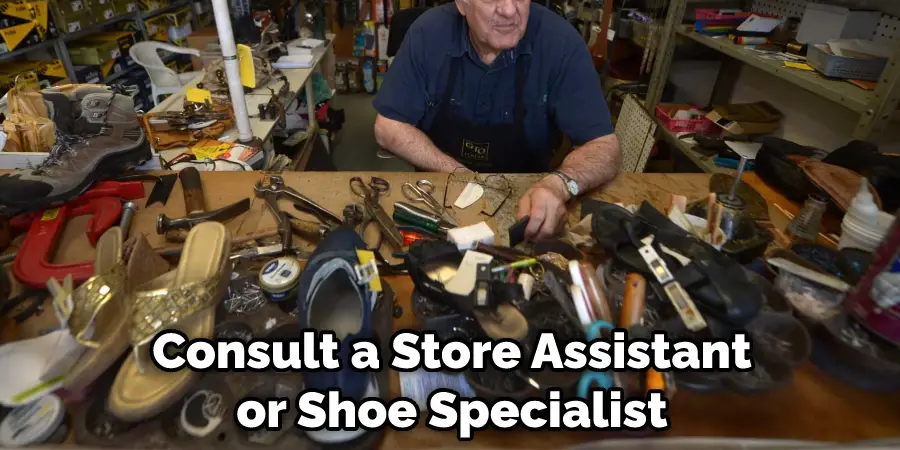
- If you are unsure about the fit or level of tightness, consult a store assistant or shoe specialist to get advice on how to adjust and secure your cloud shoes properly.
Following these safety precautions will help ensure that your cloud shoes provide the best fit for maximum comfort and support.
Are There Any Special Techniques That Can Help Me Get the Best Fit?
If you are looking for the best fit with your Cloud Shoes, there are a few special techniques that you can employ. Firstly, ensure that the laces on your shoes are appropriately tightened by starting at the bottom and gradually working your way up to the top eyelets.
Once you’ve reached the top, loop one end of each lace over the opposite eyelet and pull firmly. This will create a neat, secure and comfortable bow, allowing you to get the best fit possible.
Another technique you can use involves using elastic laces or shoe strings, which allow for a snugger fit than standard ones. Simply thread each lace back through its highest eyelet and then loop it back over the top eyelet. This will help to ensure that your shoes are tightly secured without feeling overly tight or uncomfortable.
Finally, if you’re looking for an extra secure fit, consider using a lace lock system such as Speedlaces. This works by threading the laces through plastic clips which hold the laces in place. The lace lock system will allow you to adjust your shoes very quickly and securely, giving you a great fit every time.
What Are the Benefits of Tight Lacing With Cloud Shoes?
Tight lacing with Cloud shoes can provide a number of benefits, the most notable being added comfort and support. A snug fit helps keep your foot secure during activities like running or jumping, preventing slips in wet conditions.
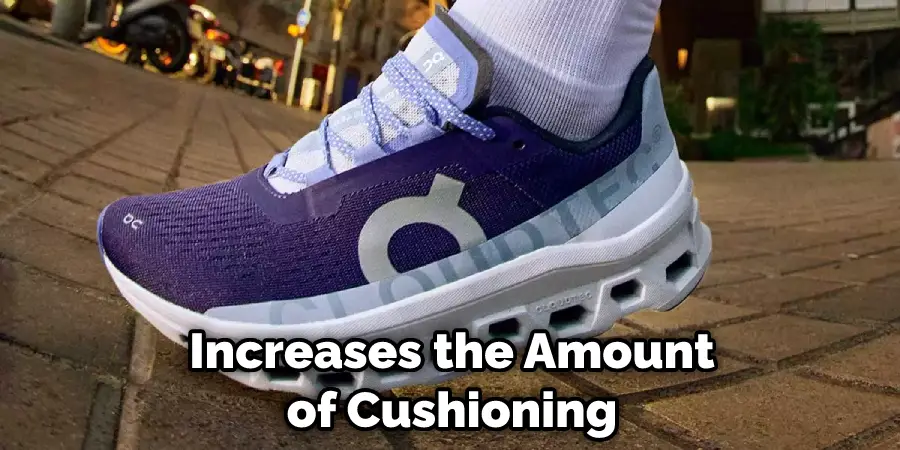
Additionally, when you lace up your Cloud shoes tightly, it increases the amount of cushioning that the shoe provides, helping to absorb shock and reduce the impact of hard surfaces on your feet. Furthermore, Cloud shoes with a tight fit have been proven to help improve posture and balance, which can reduce strain on the back and legs.
When you lace up any shoe, especially Cloud shoes, it’s important to ensure they’re not too tight. If the lacing is too tight, it can cause pressure points and reduce blood circulation, which can lead to numbness in your feet. To avoid this, ensure that there’s some give when you pull on the laces so that they don’t dig into your foot.
How Do You Care for Your Cloud Shoes After They Are Tightened?
Once your Cloud shoes are tightened, you’ll want to ensure their longevity by providing proper care. This includes storing them in a dry, dark, and dust-free area when not in use.
Before each use, it is recommended that you check the sole of the shoe and laces for any visible wear or damage, especially if they feel loose, and replace them if necessary. If you notice the shoes are becoming more difficult to tighten, it may be time for a new pair. Additionally, you can use a shoe protector spray or shoe conditioner to help prevent discoloration and water damage.
Regular cleaning of your Cloud shoes with a clean cloth will also help maintain their look and feel. With proper care, your Cloud shoes can last for many years. Finally, when your Cloud shoes start to feel tight and uncomfortable, it may be time to loosen the laces and adjust them for a better fit.
Loosening the laces of your Cloud shoes can help reduce discomfort and make sure you can walk comfortably. To do so, start by ensuring the laces are not too tightly tied and then adjust them until they feel right for your feet.
Conclusion
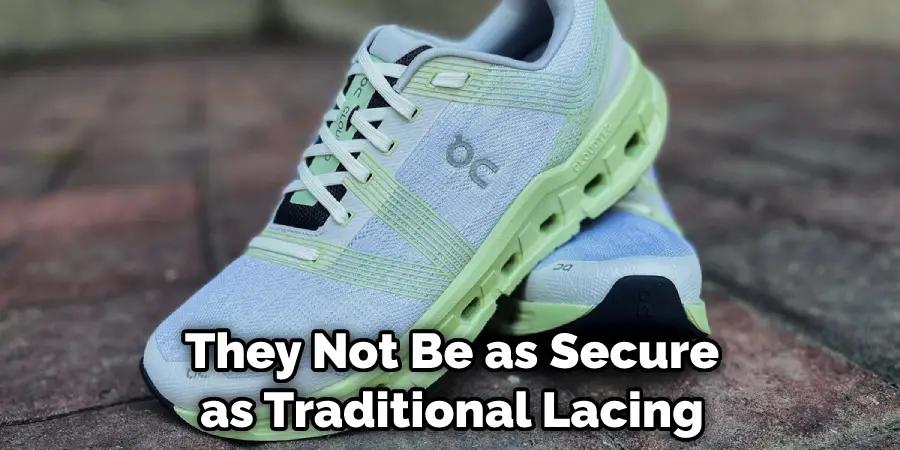
One of the main disadvantages of tightening shoes on cloud technology is that they not be as secure as traditional lacing and tying methods. The elasticity of the laces used in cloud shoes can loosen over time, making your feet more prone to slipping during intense physical activity.
In conclusion, tightening on cloud shoes is not a complicated process. It simply requires you to loosen the laces, adjust the fit using the toggle on the back of the shoe, and then re-tighten the laces to your desired tightness.
This will ensure that your shoes are providing maximum comfort and support while still being secure enough to provide traction in potentially slippery conditions. I hope this article has been beneficial for learning how to tighten on cloud shoes. Make Sure the precautionary measures are followed chronologically.