Whether your leather boots are scuffed, stained, or outdated, refinishing them can give them a new lease on life. It’s a relatively straightforward process and doesn’t require much in the way of supplies or expertise. In this article, we’ll walk you through the steps on how to refinish leather boots so that they look new again. Keep reading to learn more.
Leather boots are a timeless fashion staple. But over time, even the best-quality boots can start to show their age. Scuffs, stains, and general wear and tear can all toll on leather, leaving it looking dull and lifeless.
Summary: If you want to refinish leather boots, first clean the boots with a leather cleaner and let them dry. Then, use sandpaper to roughen the surface of the leather. Apply a leather conditioner and let it dry. Next, apply the dye or shoe cream with a cloth or brush and let it dry. Finally, buff the boots with a soft cloth to bring out the shine.
A Detailed Guide on How to Refinish Leather Boots
How to Remove Stains from Leather Boots?
There are three main types of stains-oil-based, protein-based, and tannin stains. Oil-based stains are caused by makeup, sunscreen, and cooking oil; protein-based stains are caused by blood, sweat, and food; tannin stains are caused by coffee, tea, and red wine. Unfortunately, many store-bought leather cleaners and conditioners do not effectively remove stains, so it’s essential to know how to treat each type of stain correctly.
What You’ll Need?
- Leather cleaner
- Water
- White vinegar
- Dish soap
- Baking soda
- Cornstarch
Step 1: Choose the Right Leather Cleaner
The first step in removing stains from leather is to choose the right leather cleaner. If you’re not sure what kind of stain you’re dealing with, it’s best to err on caution and use an oil-based leather cleaner. These cleaners are designed to break down oil-based stains without damaging the leather.
Step 2: Pre-Treat the Stain
Once you’ve chosen the right cleaner, it’s time to pre-treat the stain. For oil-based stains, apply a small amount of cleanser to a cotton ball and rub it into the stain in a circular motion. Mix equal parts water and white vinegar for protein-based stains and apply it to the stain with a cotton ball. Mix equal parts of dish soap and water for tannin stains and apply it to the stain with a cotton ball.
Step 3: Let the Cleaner Sit
After pre-treating the stain, let the cleaner sit for 5-10 minutes. This will give it time to break down the stain.
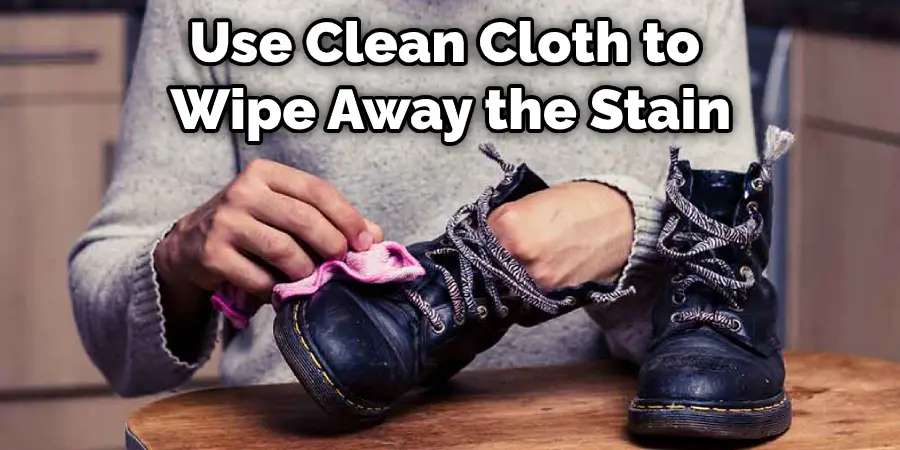
Step 4: Wipe Away the Stain
After the cleaner has had a chance to work, use a clean cloth to wipe away the stain, for tough stains, you may need to repeat steps 2-4.
Step 5: Apply a Leather Conditioner
Once you’ve removed the stain, applying a leather conditioner is essential to restore moisture and protect the leather from future staining. Choose an oil-based conditioner for oil-based stains, a water-based conditioner for protein-based stains, and an alcohol-based conditioner for tannin stains.
Step 6: Let the Conditioner Sit
After applying the conditioner, let it sit for 5-10 minutes. This will give it time to absorb into the leather.
Step 7: Wipe Away the Excess Conditioner
Once the conditioner has had a chance to absorb, use a clean cloth to wipe away any excess, you don’t want to leave any residue on the leather, as this can attract dirt and grime.
Step 8: Store Your Boots in a Cool, Dry Place
Once you’re finished refinishing your leather boots, it’s essential to store them in a cool, dry place. This will help prevent the leather from cracking or drying out.
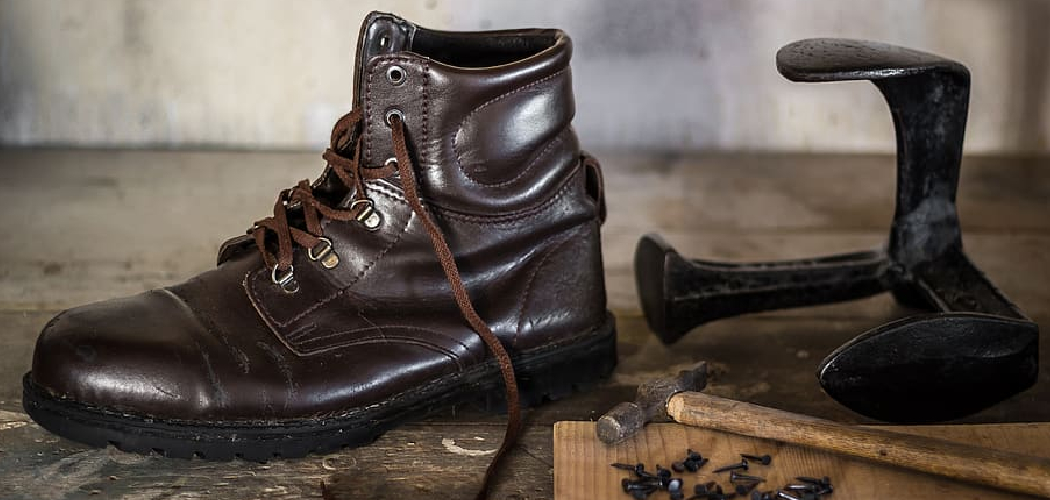
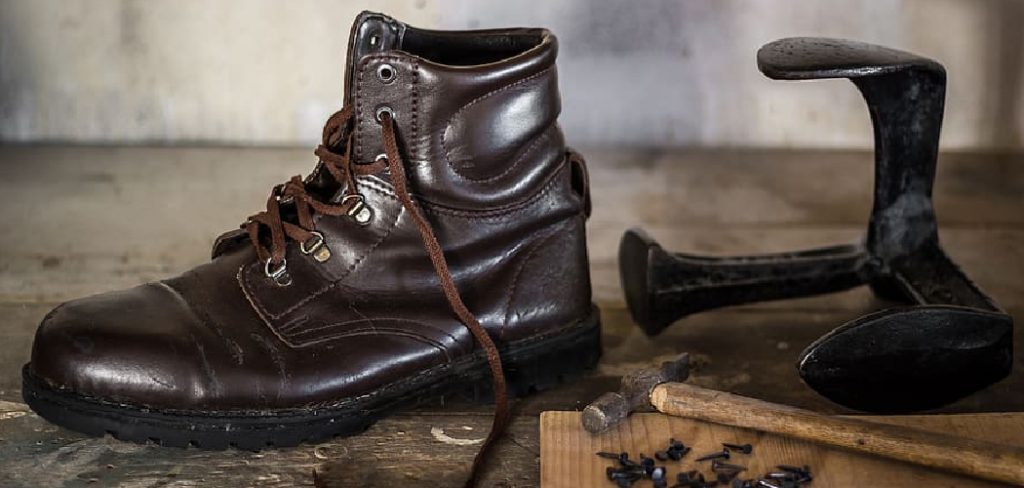
How to Re-sole Old Leather Boots?
Re-soling is replacing the worn-out sole of a boot with a new one. This is different from simply repairing a hole in the sole, as it involves completely removing the old sole and replacing it with a new one.
Re-soling is a popular option for those who have boots that they love but that no longer provide adequate protection or traction. It can also be done to change the boot’s style or add new features such as a vibram sole.

Tools and Materials Needed:
- Old leather boots
- New soles (can be purchased online or at a shoe repair shop)
- Shoe glue
- Hammer
- Nail set
- X-acto knife
- Clamps (optional)
Step 1: Determine the Type of Soles You Need
The first step in re-soling your boots is determining what type of soles you need. There are many different boot soles available on the market, so choosing the right ones for your needs is essential. If you are looking to replace the worn-out sole of your boot, then you can select any type of sole that you like. However, if you are looking to change the style of your boot or add new features, you will need to be more selective in your choice of soles.
Step 2: Remove the Old Soles
Once you have determined the type of soles you need, the next step is to remove the old soles from your boots. This can be done by simply peeling them off, but you may need to use a shoe knife or other sharp object to help you get started.
Step 3: Clean the Boots
After the old soles have been removed, it is essential to clean the boots before proceeding further. This will ensure that the new soles will adhere correctly and that no dirt or debris could cause problems later.
Step 4: Attach the New Soles
The next step is to attach the new soles to your boots. This can be done by using shoe glue or another adhesive. If you are using clamps, place them around the boot to keep the new sole in place while the glue dries.
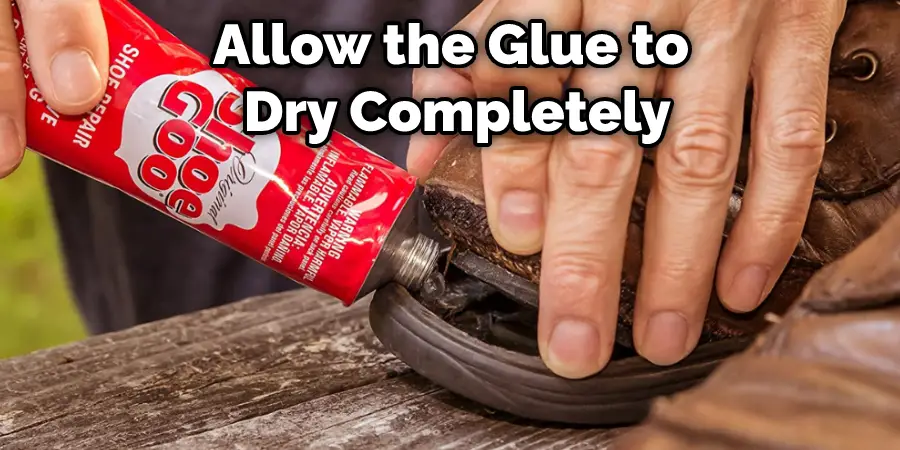
Step 5: Allow the Glue to Dry
After the new soles have been attached, it is essential to allow the glue to dry completely before wearing your boots. This can take several hours or even a day, so plan accordingly.
And that’s it! Once the glue has dried, you will have a brand new pair of boots ready to be worn. Re-soling your old leather boots is a great way to extend their life and keep them looking good as new.
How to Dye Old Leather Boots
If you’ve got a pair of old leather boots looking a bit worse for wear, you can easily refinish them with some leather dye. This will not only restore the color to your boots but will also help to protect the leather from further damage. Follow these steps to dye your old leather boots and make them look like new again.
What You’ll Need?
- Leather dye
- A sponge or brush
- Masking tape
- Old rags or newspapers
- Water
- A bowl
- Leather conditioner (optional)
Step 1: Determine the Color
The first step is determining the color you want to dye your boots. If you’re trying to restore the original color of your shoes, then look for a leather dye that matches the existing shade. However, if you want to change the color of your boots entirely, then feel free to experiment with different shades of leather dye until you find the perfect one.
Step 2: Prep the Area
Once you’ve determined the color you want to use, it’s time to prep the area where you’ll be dyeing your boots. First, you’ll need to ensure that the site is well-ventilated, as the leather dye can be pretty intense. To do this, open up all the windows in the room and set up a fan to help circulate the air.
Next, you’ll need to protect the floor from any spilled dye. First, cover the area with old rags or newspapers. Then, use masking tape to create a border around the edges of the rags or newspapers. This will help to ensure that your boots don’t accidentally get dyed outside of the designated area.
Step 3: Mix the Dye
In a bowl, mix the leather dye and water according to the manufacturer’s instructions. If you’re using a sponge or brush to apply the dye, you’ll want to make sure that the mixture is slightly runny. This will help ensure that the dye evenly covers the surface of your boots.
If you’re using a spray bottle, there’s no need to add any water to the leather dye. Instead, pour the leather dye into the bottle and screw on the lid.
Step 4: Apply the Dye
Once the dye is mixed, it’s time to start applying it to your boots. If you’re using a sponge or brush, dip it into the bowl of dye and then apply it to your boots’ surface. Start with the toe and work your way up to the top of the boot. Make sure that you evenly cover the entire boot in dye.

If you’re using a spray bottle, hold it about 6 inches away from the surface of your boots and start spraying. Again, start with the toe and work your way up to the top of the boot.
Step 5: Let the Dye Dry
Once you’ve applied the dye to your boots, let them sit for about 30 minutes so that the dye can dry. If you’re in a hurry, you can use a hairdryer to speed up the process.
Step 6: Remove the Dye
After the dye has had a chance to dry, it’s time to remove the excess dye from your boots. To do this, wipe them down with a damp cloth. Ensure that you’re not too vigorous in your wiping, as you don’t want to damage the leather.
Step 7: Condition the Leather (Optional)
You can finish off your newly dyed boots by conditioning the leather if you want. This will help to keep the leather soft and pliable. Apply a small amount of leather conditioner to a clean cloth, and then rub it into the surface of your boots.
And that’s it! Your old leather boots should now look good as new. In addition, this information will help in how to refinish leather boots.
You Can Check It Out To Wear Engineer Boots
What Household Items Can Restore Leather Boots?
There are a few essential household items you can use to restore the look of your leather boots, including:
Vinegar – When used in equal parts with water, vinegar can create a cleaning solution that will help to break down any built-up dirt or grime on your boots.
Olive oil – If your leather boots look dry and cracked, massaging a small amount of olive oil into the surface can help to moisturize and protect them.
Baking soda – Baking soda can be used as a gentle scrubbing agent to clean leather boots. Mix it with water to form a paste, then use a soft cloth to rub it into the surface of the shoes.
Lemon juice – Like vinegar, lemon juice can be mixed with water to create a cleaning solution for leather boots. In addition, the acidic nature of lemon juice can help break down dirt and grime.
Coconut oil – Coconut oil can be used as a natural conditioner for leather. Massage it into the surface of the boots to help keep them hydrated.
Wax – Wax can protect leather boots from water damage and stains. Apply a thin layer of wax over the surface of the boots using a cloth or brush. Allow the wax to dry completely before wearing the boots.
Baby powder – Baby powder can absorb excess oil from leather boots. Sprinkle a small amount of baby powder onto the surface of the shoes and rub it in with a soft cloth. The powder will help to absorb any excess oil and keep the leather looking clean.
Frequently Asked Questions
Is Wd 40 Good for Leather Boots?
WD 40 is a popular oil-based solvent that is often used to clean leather boots. Some people believe that this product can damage the leather and cause it to lose its luster or durability. Others believe that WD 40 can be effective in removing dirt, dust, trail mix, hair, grease and other contaminants from leather footwear. It’s important to test different solutions on a small area first before applying them to your entire boot; if you have any doubts about whether WD 40 will work well on your boot, then it’s best not to use it at all.
What is the Best Product to Restore Leather?
Depend on the severity of the damage. Some products contain natural ingredients that help to rejuvenate and repair areas where color has been lost or moisture has damaged the surface. Other options use synthetic chemicals and enzymes to revitalize and fix deteriorated areas.
Ultimately, it is important to select a product that will suit your needs and address the specific issues you’re seeing in your leather goods. Use caution when using any restoration agent as over-use could lead to permanent damage or even destruction of your items.
Is Vaseline Good for Leather Boots?
Vaseline may not be the ideal substance to use on leather boots, but it is often a go-to solution for people who don’t know how to care for their footwear. If you frequently wear your boots outside and experience dryness or cracking, Vaseline can help hydrate and protect the leather from damage. Additionally, if your boots are stained or oily, Vaseline can help remove those stains quickly and easily.
While there are many better options available when it comes to caring for leather shoes, Vaseline will likely do the job in a pinch. Just be sure not to get it on any seams or stitching where it could cause permanent damage.
Conclusion
We hope you find this article on how to refinish leather boots helpful. The process of refinishing leather boots can be a daunting task, but with the proper instructions, it can be an easy and rewarding project. We hope you have found this guide helpful and that you are now ready to take on the challenge of restoring your favorite pair of leather boots. Good luck!
