Snowshoes can be a fun and easy way to get around in the snow, but not everyone knows how to put them on. In this post, we’ll show you how to put on snowshoes so that you can enjoy a winter wonderland without worrying about getting lost.
Summary: Begin by loosening the straps on the snowshoes. Place them on the ground and step onto the center of the snowshoe. Lift the heel of your boot, so it raises off the ground. Then, strap the snowshoe to your boot tightly, making sure the heel is secure. Repeat the same process with the opposite foot. Adjust the straps to ensure a snug and comfortable fit, and you’re ready to go!
What Are Snowshoes?
Snowshoes are a type of footwear designed for walking across snow. They are usually made from wood or metal and have a wide, flat surface area that helps distribute the user’s weight, preventing them from sinking into the snow. Snowshoes were first invented by indigenous people in North America and were traditionally used for hunting and transportation.
Today, they are also popular among hikers and outdoor enthusiasts as a way to enjoy winter activities. While modern snowshoes are typically mass-produced, many people still choose to make their own snowshoes using traditional methods.
Why Might You Need to Put on Snowshoes?
In many parts of the world, snow is a regular part of winter. Snowshoes are a necessary piece of winter gear for people who live in these areas. Snowshoes help to distribute your weight over a larger area, so you can walk on top of the snow instead of sinking into it. This makes it much easier to move around in deep snow.
Snowshoes also have spikes or other traction devices on the bottom, which helps to prevent you from slipping on icy surfaces. So, if you’re planning on spending any time in snowy areas this winter, make sure to pack a pair of snowshoes!
How to Put on Snowshoes Step by Step Guide
There’s no need to be intimidated by snowshoes – with a little practice; they can be easy to put on and take off. Here are some simple instructions for how to get started:
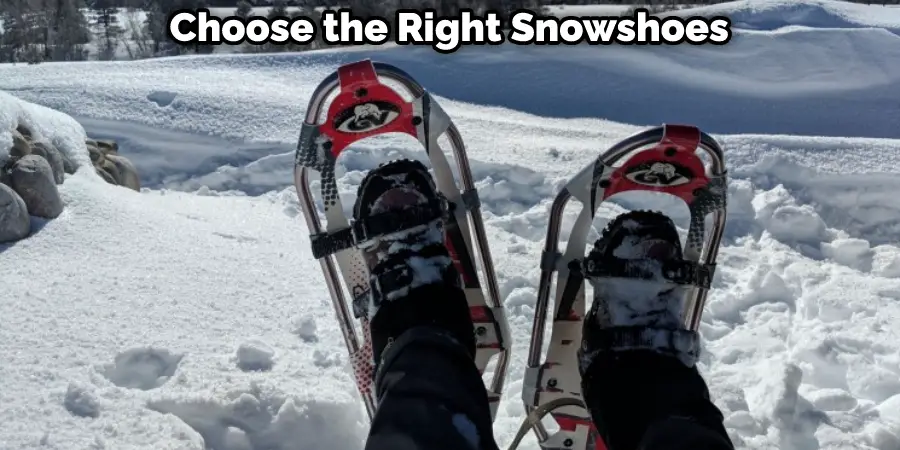
1. Choose the Right Snowshoes for Your Needs
Depending on the terrain you’ll be tackling, you’ll want to ensure you have the right snowshoes for the job. Lighter and smaller snowshoes will do the trick if you’re mostly sticking to packed trails. But if you’re planning on breaking trail through deep powder, you’ll need something beefier.
2. Put on Your Boots
Obviously, you can’t put on snowshoes without first putting on your boots! Make sure they’re nice and snug – you don’t want your feet slipping around inside while you’re walking.
3. Lace-up The Boots
Once your boots are on, take a moment to lace them up tightly. This will help keep your feet secure inside the snowshoes and prevent blisters.
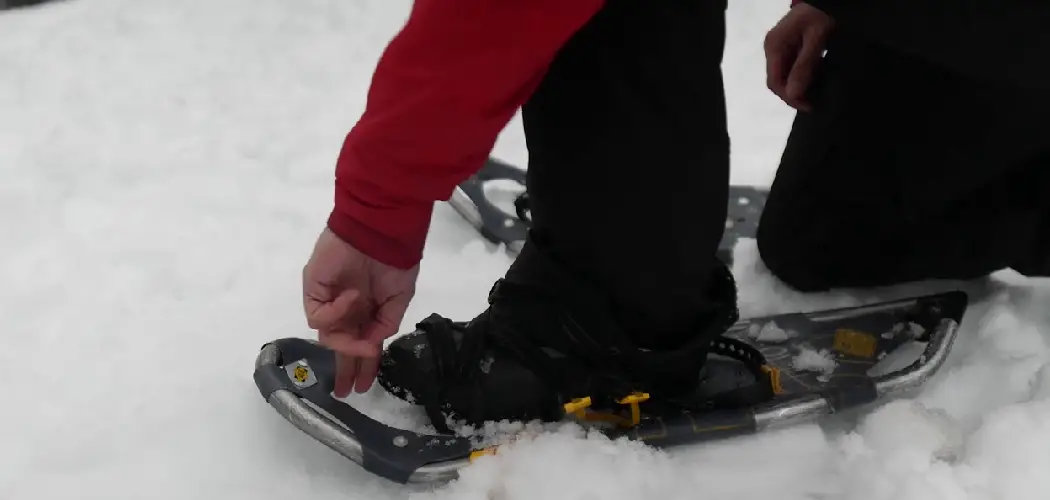
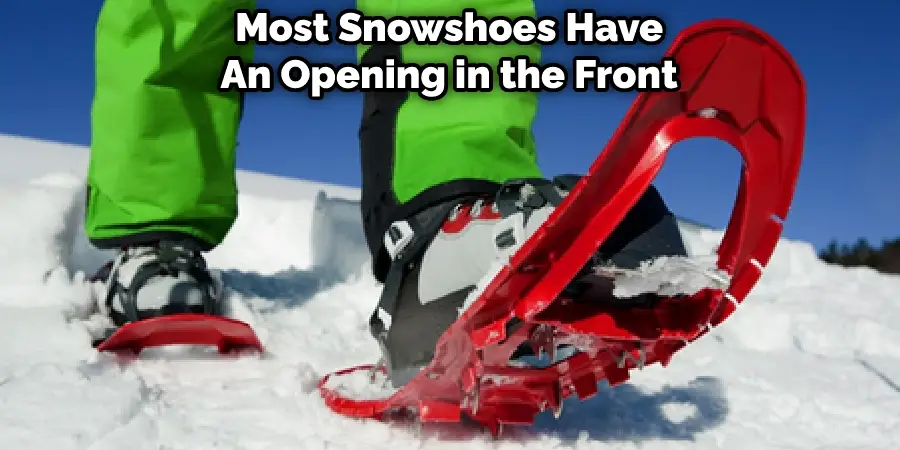
4. Slip Your Feet Into the Snowshoes
Most snowshoes have an opening in the front where you can slip your foot in. Once both feet are in, make sure the bindings are tightened so your feet don’t slip out while walking.
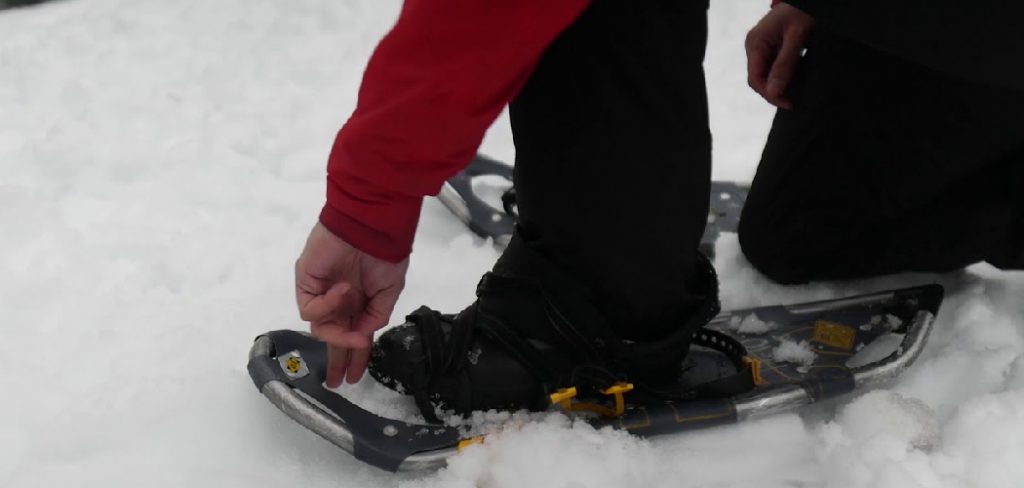
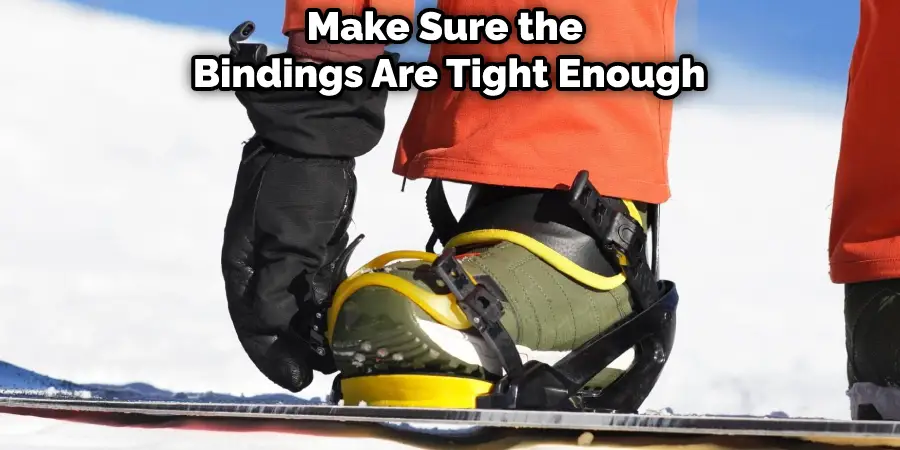
5. Tighten the Bindings
Most snowshoes have some binding system that you can use to tighten them down around your boots. This is important to do before you start walking, as it will help keep your feet secure and prevent the snowshoes from coming off.
6. Take a Few Steps to Get Used to Walking in Them
Once the bindings tighten, take a few steps around to get used to how they feel. It takes a little bit of practice to get used to walking in snowshoes, but after a few minutes, you should be good to go!
7. Adjust the Bindings as Needed
If you find that your feet are slipping around inside the snowshoes or that the bindings are too loose, stop and adjust them. It’s important to make sure the bindings are tight enough so that your feet don’t slip but not so tight that they’re uncomfortable.
8. Enjoy Your Time Outside!
Once the snowshoes are on and adjusted, you’re ready to enjoy your time outside! Whether hiking, snowshoeing, or just playing in the snow, make sure to have fun and stay safe.
That’s it! You’ve now learned how to put on snowshoes. With a little practice, you’ll be a pro in no time. So get out there and enjoy the winter wonderland!
You Can Check It Out to Clean Jelly Shoes
How to Choose the Right Snowshoes
Winter is the perfect time to get out and enjoy the crisp, fresh air. And what better way to do that than by hiking through the snow-covered woods? However, before you head out on your winter adventure, you’ll need to make sure you have the right gear.
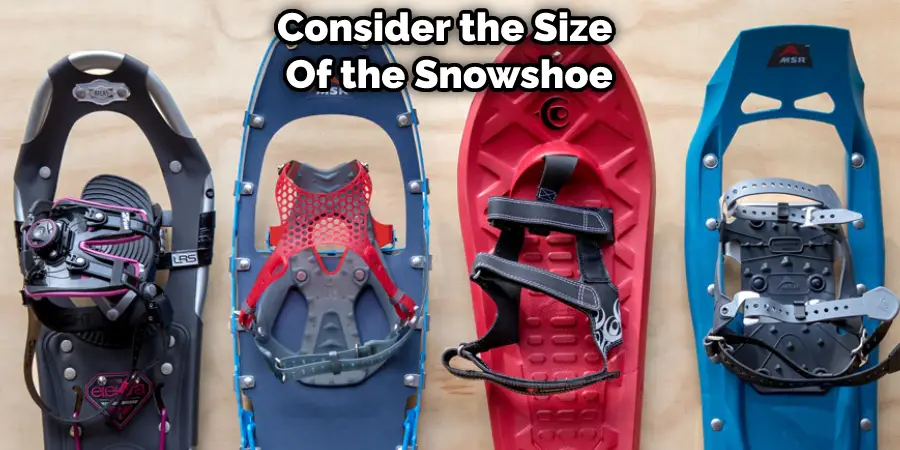
That includes a good pair of snowshoes. But with so many different types and brands available, how do you know which one is right for you? Here are a few things to keep in mind when shopping for snowshoes:
First, consider the size of the snowshoe. It should be proportional to your weight and the terrain you’ll be hiking in. For example, you’ll need a larger snowshoe if you’re a heavy person or plan on trekking through deep snow. But a smaller shoe will suffice if you’re lighter or hiking on packed snow.
Next, think about the type of binding you want. There are two main types of bindings: frame bindings, which are best for packed snow, and soft bindings, which provide more flexibility and are better for deeper powder.
Finally, take into account your budget. Snowshoes can range in price from around $100 to $400. But don’t let the price tag be your only guide. Sometimes, cheaper snowshoes can be better quality than the more expensive ones. It all comes down to finding the right shoe for you.
How to Size Snowshoes
When it comes to snowshoes, size does matter. That’s why it’s important to choose the right snowshoes for your body type and the type of terrain you’ll be hiking in. Here are a few things to keep in mind when sizing snowshoes:
-If your hike will be mostly on packed trails, choose a narrower snowshoe. This will give you better maneuverability and less weight to carry.
-For off-trail hiking or deep powder, opt for a wider snowshoe. This will give you more floatation, so you don’t sink into the snow.
-Your height and weight also play a role in choosing the right size. For example, heavier hikers or those taller than 6 feet will need a longer snowshoe, while lighter hikers can get away with a shorter one.
Keep these factors in mind when sizing snowshoes, and you’ll be sure to find the perfect pair for your next winter hike. Keep reading for more information about how to put on snowshoes.
How to Avoid Common Mistakes when Putting on Snowshoes
There’s nothing like a winter hike through the woods, but snowshoes are essential to avoid post-holing (when your foot breaks through the snow with each step, making it difficult to move forward). To avoid common mistakes when putting on snowshoes, follow these tips. First, make sure your shoes are dry and free of snow and ice before putting on the snowshoes.
Second, loosen the snowshoe’s straps, so they’re easier to put on. Third, put your left foot in the left shoe and your right foot in the right shoe. Fourth, tighten the straps around your shoes, starting with the heel strap and moving to the toe strap. Fifth, make sure the straps are tight enough that you can’t pull your foot out of the shoe but not so tight that they’re uncomfortable.
With these tips in mind, you’ll be able to enjoy a winter hike without worry.
What You Need to Know Before Hitting the Trails in Your Snowshoes?
Snowshoeing is a great way to enjoy the winter scenery, but it’s important to be prepared before hitting the trails. Here are a few things to keep in mind:
First, dress for the weather. You’ll want to wear layers that will keep you warm and dry, gloves, and a hat to protect your hands and head from the cold. Second, make sure you have the right equipment. In addition to snowshoes, you’ll need poles to help with balance and traction.
And finally, know your limits. It’s important to pick a trail that’s within your abilities so you don’t get in over your head. By following these tips, you’ll be sure to have a safe and enjoyable time snowshoeing this winter.
How Do I Prevent Snow from Building up On My Boots While Wearing Snowshoes?
For anyone who loves spending time outdoors in the snow, one of the most frustrating things can constantly be having to stop to clear snow off your boots. Snowshoes are essential gear for winter activities, but they can also cause snow to build up on your boots, making it difficult to keep moving. Fortunately, there are a few simple ways to prevent this from happening.
First, make sure that your snowshoes are the right size for your boots; if they’re too small, they’ll create a gap that allows snow to pass through. Second, use waterproof gaiters to keep snow from getting into your boots in the first place. And finally, if you do find yourself with a build-up of snow on your boots, stop and stomp your feet a few times to shake it off before continuing on your way.
By following these simple tips, you can enjoy snowshoeing hours without worrying about pesky snow buildup.
Frequently Asked Questions
Do Snowshoe Buckles Go on Inside or Outside?
It depends on the type of snowshoe buckle you are using. Most snowshoe buckles go on outside, but there are some that go on inside. It really depends on your personal preference – if you prefer to have the buckle inside your shoe, then go for that type of buckle.
What is a Heel Riser on a Snowshoe?
A heel riser is a special piece of equipment that’s designed to help snowshoeers keep their heels on the ground while walking. Heel risers are usually made from soft, flexible materials like neoprene or rubber and attach to the bottom of a snowshoe with Velcro straps. This prevents your heels from sinking into the powder when you’re walking and helps prevent blisters caused by slipping and sliding.
Do You Sink in Snow With Snowshoes?
No, you do not sink in snow with snowshoes. Snowshoes help reduce the risk of slipping and falling on icy surfaces and can also provide better traction when walking on ice.
What is the Bar at the Back of a Snowshoe for?
The Bar at the Back of a Snowshoe is an important tool that helps snowshoers move more easily and efficiently through deep snow. It’s made from metal bracelets, which are connected by chains to form a “V” shape. This device deflects pressure off of the soles of your feet and allows you to walk in deeper snow with less fatigue.
Additionally, the Bar at the Back of a Snowshoe helps you maintain balance while moving forward.
Conclusion
Now that you know how to put on snowshoes, it’s time to hit the trails! If you have any questions or need help getting started, feel free to reach out to us. We hope you enjoy your winter adventures in the great outdoors!