
You hate when your slippers slip off your feet if you’re like me, and you have to keep stopping to adjust them. Well, never fear, because I’m going to show you how to make slippers non slip! This is an excellent project for anyone who wants to be able to walk around their house in slippers without having to worry about them slipping off. So let’s get started!

Slippers are typically made of a soft, flexible material like fabric or leather. This makes them comfortable to wear, but it also means that they don’t have a lot of traction on the bottom. Unfortunately, many slippers also have a smooth bottom, making them even more slippery. If you’re having trouble with your slippers slipping, you can do a few things to make them non-slip.
Summary: Making sure that your slippers don’t slip can be achieved through various methods. The simplest and most cost-effective is to purchase non-slip insoles or adhesive grip strips and insert them into the soles of the slippers. To make your slipper more resilient, you can also spray them with a waterproofing treatment like silicone aerosol.
Why Do Your Slippers Slipping?
The first step in making your slippers non-slip is to understand why they are slipping in the first place. Several different things can cause slippery soles:
Wet or Oily Floors- This is one of the most common causes of slippery shoes. Water and oil make it difficult for your shoes to get a good grip on the floor.
Worn-out Soles – As your shoe age, the soles start to wear down. This can make them less effective at gripping the floor and more likely to slip.
Smooth Floors– Some floors are just naturally smooth, like tile or hardwood. This can make it difficult for any shoe to get a good grip.
Now that you know why your slippers are slipping, you can take steps to make them non-slip.
A Detailed Guide on How to Make Slippers Non Slip
Method 1: Applying Rubber Soles
A rubber sole is a type of footwear that is made from rubber. It is usually found in the form of a sheet or a strip and is used to create soles for shoes and other types of footwear.
What You’ll Need:
- A pair of slippers
- A sheet or strip of rubber
- A sharp knife
- A cutting board
- A ruler or a measuring tape
- An adhesive
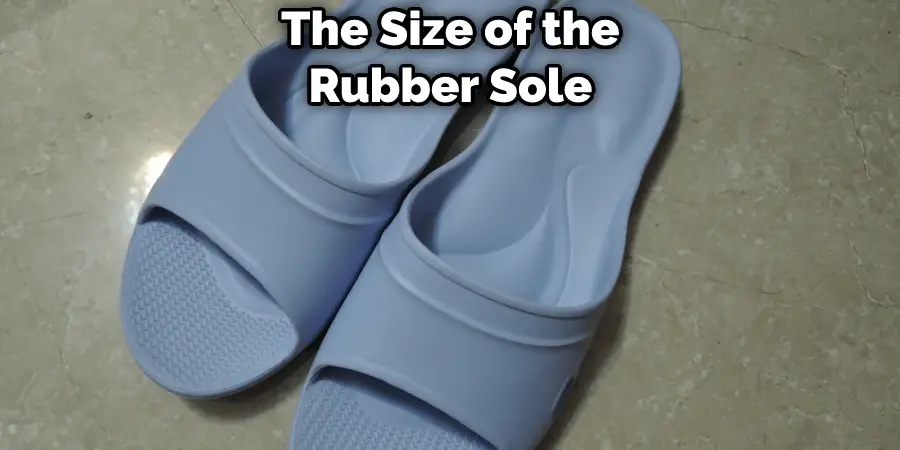
Step 1: Determine the Size of the Rubber Sole.
Use a ruler or measuring tape to measure the length and width of the slipper’s bottom. Then, add an extra 2 inches (5.1 cm) to the length and width. This will be the size of the rubber sole.
Step 2: Cut the Rubber Sole.
Use a sharp knife to cut the rubber sole to the desired size. If you are using a rubber sheet, you may need to use a cutting board to make it easier to cut through the material.
Step 3: Apply the Adhesive to the Slipper’s Bottom.
Use an adhesive to attach the rubber sole to the bottom of the slipper. Make sure that the entire surface is covered to stay in place.
Step 4: Let the Adhesive Dry.
Let the adhesive dry for at least 24 hours before wearing the slippers. This will ensure that they are securely attached and will not come off quickly.
Method 2: Applying Non-Slip Pads
Non-slip pads are adhesive discs placed on the bottom of shoes or slippers to help prevent slipping. They can be made of different materials, such as rubber or foam, and usually have a textured surface to grip the floor better.
Applying nonslip pads to your slippers is a quick and easy way to make them more slip-resistant. You can find non slip pads at most stores that sell shoe accessories online. Be sure to choose pads that are the right size for your slippers, which will stick well to the material.
What You’ll Need:
- Non-slip pads
- Scissors (optional)
Step 1: Choosing the Right Pads
There are many different types and sizes of non-slip pads available. Be sure to choose pads that are the right size for your slippers, which will stick well to the material.
If you can’t find pads that are the exact size of your slippers, you can always trim them down to size with a pair of scissors.
Step 2: Applying the Pads
Most non-slip pads have an adhesive backing that you can peel off and stick onto your slipper. If the pad is too big, you can trim it down to size with scissors.
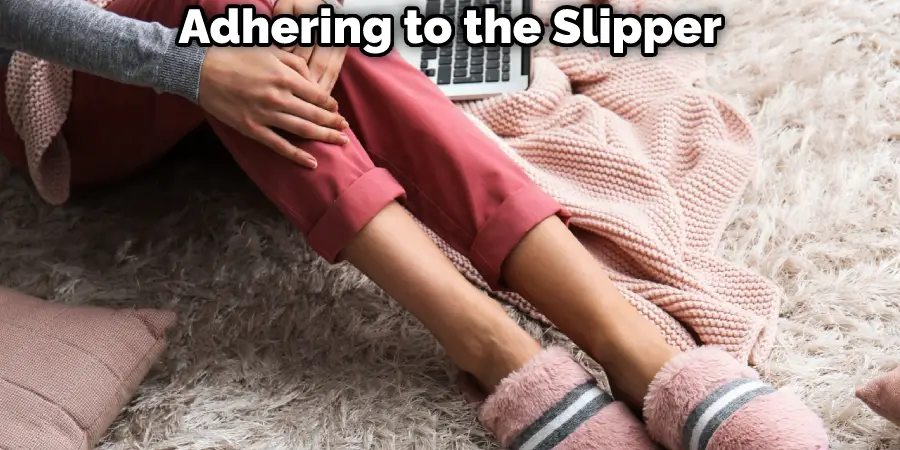
For best results, apply the pads to clean, dry slippers. Make sure the entire bottom surface of the pad is adhering to the slipper.
Step 3: Testing the Pads
After applying the pads, test them out on a dry, clean surface to make sure they’re working. For example, try walking around on a tile or hardwood floor to see if your slippers are still slipping. If they are, try another type or size of the non-slip pad.
Method 3: Spraying Them with Fabric Protector
If you have slippers made of a fabric that tends to slide around on your feet, or if you want an extra level of protection against slips, you can spray them with a fabric protector.
What You Will Need:
- Fabric protector
- Sprayer bottle
- Slippers
Step 1: Determine What Type of Fabric Your Slippers Are Made From
The best type of fabric protector to use on your slippers will depend on what they are made from. If your slippers are made from a natural fiber like wool or cotton, you will want to use a water-based fabric protector.
Step 2: Prepare the Fabric Protector
If you are using a water-based fabric protector, you will need to diluted it with water according to the instructions on the bottle. If you are using an aerosol-based fabric protector, you will not need to do anything to prepare it.
Step 3: Spray the Slippers
Once you have prepared the fabric protector, put your slippers in a well-ventilated area and spray them evenly with the solution. Be sure to get the fabric protector into all of the nooks and crannies of the slippers to be wholly coated.
Step 4: Allow the Slippers to Dry
After spraying the slippers, allow them to dry completely before wearing them. This will usually take a few hours.
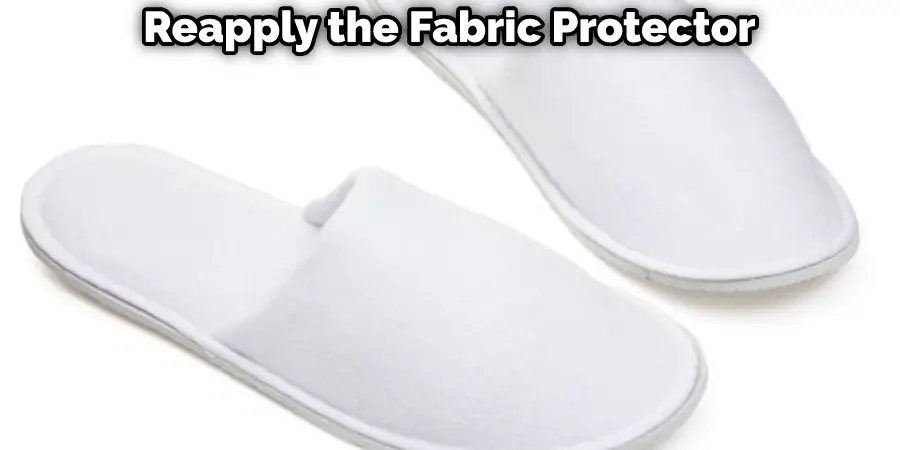
Your slippers should now be treated with a fabric protector and should be less likely to slip on your feet. Be sure to reapply the fabric protector every few months to maintain its effectiveness.
Method 4: Use Silicone Sealent
If you want to make your slippers non-slip without changing their appearance, you can use a silicone sealant. This is a clear liquid that you apply to the bottom of the slipper, and it will dry to form a protective layer. Silicone sealant is very easy to find and relatively inexpensive, making it an excellent option for those on a budget.
What You’ll Need:
- Silicone sealant
- A small paintbrush
Step 1: Determine How Much Silicone Sealant You’ll Need
Start by holding your slipper up to the light to see how much of the bottom is visible. You’ll need enough silicone sealant to cover this entire area, plus a little extra to ensure that the entire bottom is covered.
Step 2: Apply The Silicone Sealant
Now it’s time to apply the silicone sealant. Use your paintbrush to apply a thin layer of sealant over the entire bottom of the slipper. Ensure that you don’t miss any spots, as this will affect how well the sealant works.
Step 3: Let The Silicone Sealant Dry
Once you’ve applied the silicone sealant, set the slippers aside and let them dry. This will usually take a few hours, but it’s essential to give the sealant plenty of time to dry to form a strong bond.
Step 4: Test Out Your Slippers
After the silicone sealant has had time to dry, it’s time to test out your slippers. Put them on and walk around your house to see if they’re still slip-resistant. If they are, then you’re all done! If not, then you may need to apply another layer of sealant.
Method 5: Use Puffy Paint
Puffy paint is a 3D fabric paint that can be used to create a raised, textured design on fabric. It’s often used for decorating clothes and accessories, but it can also make slippers non-slip.
What You’ll Need:
- Puffy paint in the desired color
- Slippers
- Cardboard or newspaper
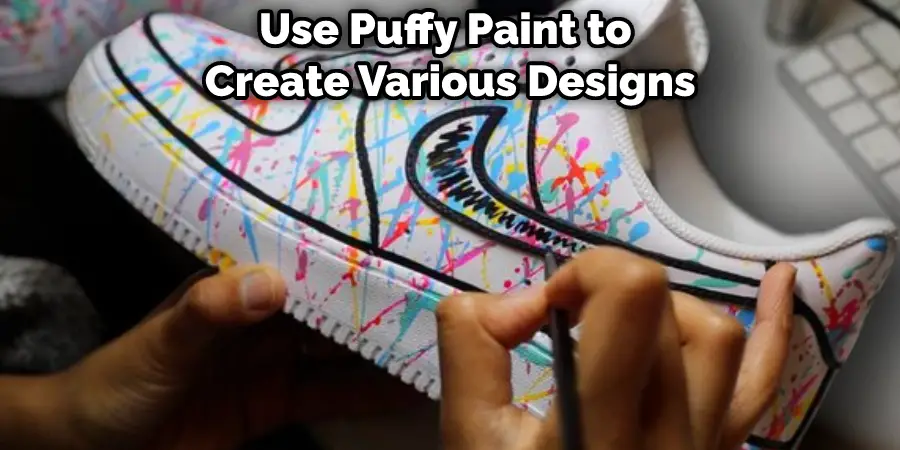
Step 1: Choosing Your Design
Before painting, decide what design you want to create on your slippers. Then, you can use puffy paint to create various designs, from simple patterns to more complex images.
Step 2: Preparing Your Work Space
Lay out a piece of cardboard or newspaper on your work surface. This will protect the surface underneath from any paint that gets accidentally dropped.
Step 3: Applying the Puffy Paint
Squeeze some puffy paint onto your slipper in the desired design. Then, use the tip of the bottle or a toothpick to help create finer details in your design.
Step 4: Letting the Paint Dry
Once you’re done applying the paint, set your slippers aside to let the paint dry. The amount of time it takes for the paint to dry will depend on the puffy paint you’re using. Once the paint is dry, your slippers will be non-slip and ready to wear!
Does Hairspray Make Shoes Non-slip?
We’ve all been there before. You’re getting ready for a night out on the town, and you’re about to leave the house when you realize that your shoes are slipping. You don’t want to risk a fall, so you search for a way to make them non-slip.
One popular method is to use hairspray. Hairspray can provide extra grip to your shoes and help prevent them from slipping. Spray your shoes with hairspray and let them dry. This method should work well for most types of shoes, but it’s always best to test it on a small area first to make sure it doesn’t damage the material.
If you’re looking for a more permanent solution, you can always buy non-slip pads or spray. These products are designed to provide extra grip to your shoes and help keep them from slipping. You can find these products at most stores that sell shoe care supplies.
So, if you’re looking for a way to make your shoes non-slip, give hairspray a try. It’s an easy and affordable solution that might work for you.
Conclusion
So, there you have it, how to make slippers non slip. Slipper manufacturers have been using various methods to make slippers non slip. Some are more effective than others. Non slip soles and fabric treatments are the most popular methods for making slippers non-slip. However, adding a layer of foam rubber to the bottom of the slipper is also an effective method. So, if you are looking for a safe pair of slippers to wear around the house, be sure to choose one that has a non-slip sole or add some extra cushioning with foam rubber yourself.
