Looking for a new way to show your style? Check out slides and shoes! They are a fun and funky way to dress up any outfit. And they are really easy to make yourself.
It’s that time of year again! The weather is starting to warm up, and the sun is finally out. Which can only mean one thing: it’s time to break out the slides! Slides shoes are the perfect way to enjoy the spring and summer weather. They’re comfortable, stylish, and versatile. Plus, they go with just about anything. So how do you make your slide shoes even more fabulous? Here are a few tips!
Today, we’re going to show you how to make slides shoes. It’s a really easy process and doesn’t require any special skills. So, what are you waiting for? Let’s get started!
Summary: Slides shoes are a versatile shoe style that can be made out of nearly any material. Start by cutting two long strips of fabric or other desired material, such as leather or vinyl, to be used as the straps.
Attach them in the middle with a rivet, button, or snap for security. The next step is to attach the straps to the bottom of your chosen footwear base using glue and finish by adding embellishments like beads and other decorations if desired.
What is Slides Shoe?
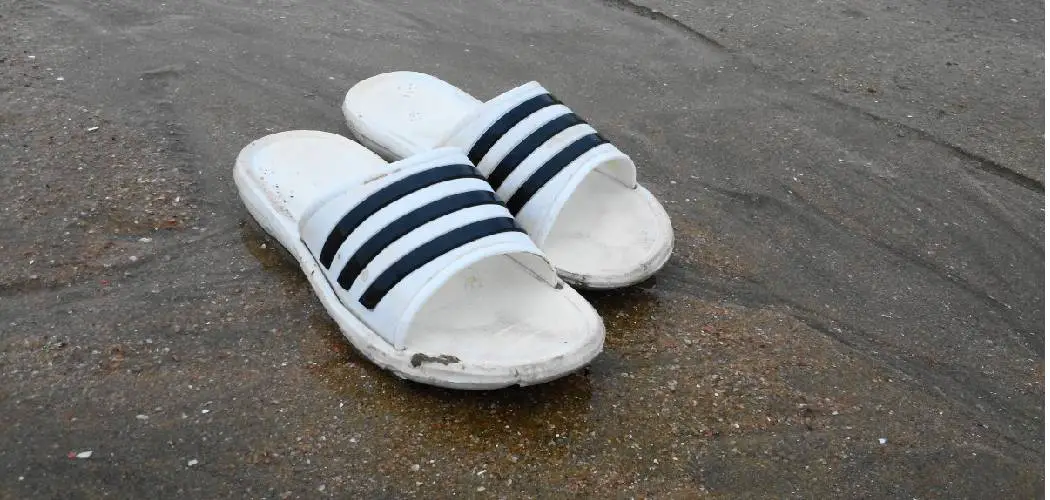
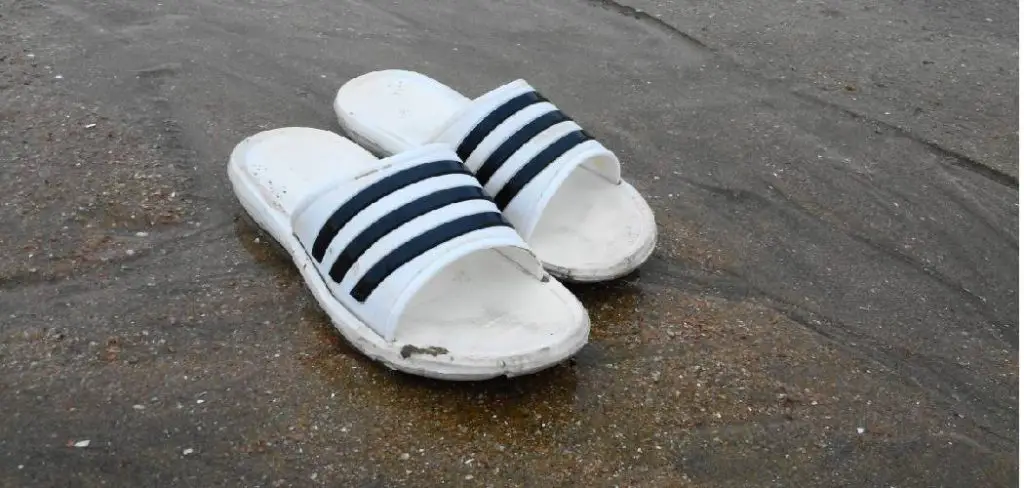
First, let’s talk about slide shoes. Slides shoes are a type of shoe that has an open back and usually just one strap across the foot. They’re often made from rubber or foam and have a sporty, casual look to them.
Tools and Materials Needed:
- One pair of plain slides shoes (available at most shoe stores)
- Fabric or vinyl to customize your slides (available at craft stores)
- Scissors
- Pencil or fabric marker
- Glue gun
- Optional: Rhinestones, sequins, or other embellishments for added detail
- Optional: foam brush and acrylic paint for customizing the soles
With these materials, you can create a totally unique and personalized pair of slide shoes.
10 Easy Steps on How to Make Slides Shoes:
1. Choose a Design:
Decide on a design or pattern for your slides. This could be something simple like polka dots, stripes, or a solid color. Or, you can get more creative with a custom logo or pattern. You can use fabric or vinyl for your design. Be careful not to choose a fabric that is too thick or stiff, as it may not lay flat on the shoe.
2. Trace and Cut:
Using a pencil or fabric marker, trace the slide shoe onto your chosen fabric or vinyl. Then, cut out the traced shape. You may want to do this step twice for each shoe (once for each side). Make sure to leave a small border around the edge of your traced shape. It is important because it will allow the fabric or vinyl to be secured onto the shoe.
3. Secure the Fabric or Vinyl:
Secure the fabric or vinyl onto the slide shoe using a glue gun. Make sure to press firmly and evenly so that there are no bumps or wrinkles in the fabric. Allow time for the glue to dry before moving on to the next step. Otherwise, the fabric may shift and cause unevenness.
4. Customize the Sole:
If you want to add some extra flair, use a foam brush and acrylic paint to customize the sole of your slide shoe. You can add words or designs or just give it a solid color. Allow time for the paint to dry before moving on.
5. Add Embellishments:
You can add some sparkle and detail to your slide shoes with rhinestones, sequins, or other embellishments. Use the glue gun to secure them onto the fabric or vinyl on the shoe. Repeat steps 2-5 to create a matching pair for the other shoe.
6. Show Off Your Creation:
Once your slide shoes are complete, show them off to friends and family! You can wear them out and about or just lounge around the house in style. But most importantly, have fun and be proud of your DIY creation.
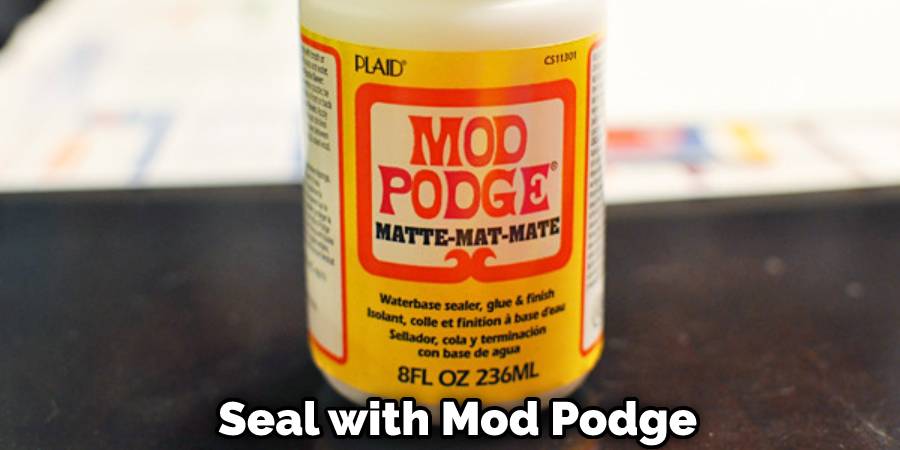
7. Seal with Mod Podge:
To ensure that your design stays in place, seal it with a layer of Mod Podge. This will also add shine and protect the fabric or vinyl from wear and tear. This step is optional but highly recommended.
8. Add Velcro:
If you want to switch up your designs often, consider adding some Velcro strips onto the back of the slide shoes. This allows for easy removal and changing of the fabric or vinyl designs.
9. Experiment with Different Materials:
Don’t limit yourself to just fabric and vinyl for your slide shoe designs. You can also use fabric paint, iron-on transfers, or even buttons to customize your shoes. Get creative and have fun with it!
10. Make More Slides Shoes:
Once you master the art of making slide shoes, why not make some for family and friends? It makes for a fun and personalized gift. And who knows, maybe you’ll even start a small business selling your customized slide shoes.
Overall, making slide shoes is a fun and easy DIY project that allows for endless customization options. So don’t be afraid to get creative and make your own unique pair of slide shoes. Happy crafting!
7 Additional Tips and Tricks
- Use waterproof adhesive to ensure your slide doesn’t come apart in wet conditions.
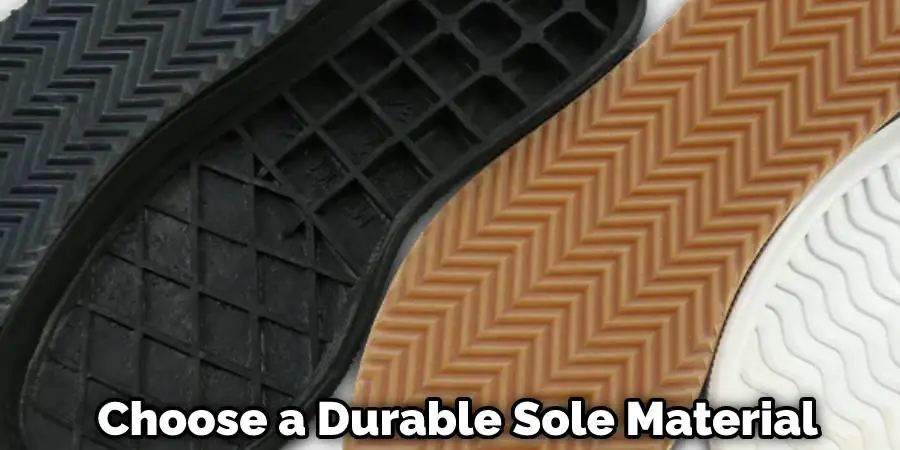
- Choose a durable sole material, such as rubber, to make the slides long-lasting.
- Decorate your slides with embellishments or paint for added personality and style.
- Cut a foam insert to place inside the slide for added comfort.
- Use Velcro or snaps instead of traditional straps for a customizable fit.
- Consider adding non-slip traction to the sole, especially if you plan on wearing the slides outside.
- Experiment with different materials, such as faux fur or denim, for unique and creative slide designs.
I hope these tips help you create the perfect slide shoes for yourself or as a gift!
5 Precautions You Can Take While Making Slides Shoes
- You can use leather or synthetic materials for making slide shoes, but be sure to select durable and high-quality materials.
- Measure your feet before cutting out the material for the slides to ensure a comfortable fit.
- Use a strong adhesive to attach the sole and straps to the slide base.
- Try on the slides before wearing them to ensure they are comfortable and secure.
- Continuously check the slides for any signs of wear and tear, especially in areas with heavy use, and make repairs as necessary.
Following these precautions can help ensure your homemade slide shoes are durable and comfortable to wear. Happy crafting!
Different Slide Shoes Design Idea
Embroidered floral pattern:
Use fabric paint or embroidery to create a beautiful floral design on the slide base.
Metallic accents:
Add some metallic accents, such as gold or silver studs, to add a touch of glamour to your slides.
Denim patchwork:
Cut out patches of different colored denim and adhere them onto the slide base for a fun and unique look.
Monogrammed initials:
Use iron-on transfers or embroidery to add your initials or monogram onto the slide shoes for a personalized touch.
Tropical paradise:
Create a tropical design with fabric paint or adhesive vinyl, complete with palm trees and colorful beach scenes.
Sporty stripes:
Use fabric paint or adhesive vinyl to add some sporty stripes onto the slide base for a playful and stylish look.
Colorful tie-dye:
Create a fun tie-dye design with fabric paint or by adding different colored adhesive vinyl shapes onto the slides.
Glitter explosion:
Cover the slide base with glitter fabric or glue to add some sparkle and glamour to your slides.
How Can You Take Care of Your Slides Shoes?
- Clean regularly with a cloth or brush to remove dirt and debris.
- Apply waterproofing spray for added protection against wet conditions.
- Store in a cool, dry place when not worn.
- Replace soles as needed for optimal comfort and support.
- Take proper measurements before purchasing to ensure the right fit for your feet.
- Alternate wearing with other shoes to reduce wear and tear on slides.
- Avoid wearing slides in rough or rocky terrain to prevent damage to the sole and upper material.
With proper care, your homemade slides can last for many years and be a comfortable addition to your shoe collection.

Conclusion
In conclusion, it is important to remember that when creating slide shoes, the following tips should be kept in mind: ensuring there is a comfortable fit, considering the climate and intended use, and selecting a style that compliments the foot. With these three factors in mind, anyone can create a pair of fashionable and functional slide shoes that are perfect for any situation.
If you want to make your own pair of shoes, all you need is some creativity and a few supplies. With a little effort, you can have a unique pair of shoes that will envy all your friends. Just follow these steps, and you will be able to make your own slide shoes.
You now have the knowledge and power to create fashionable shoes that are comfortable and stylish. With this new skill, you can start your own business or simply impress your friends.
Hopefully, these tips and design ideas have inspired you to create your own customized slide shoes. Now that you know how to make slides shoes, what are you waiting for? Get creative and start making your own slide shoes today!