
Do you have a new pair of Burton boots that need to be heat molded for a custom fit? And don’t know how to heat mold burton boots? Then this article is for you.
Unless you’ve been living under a rock, you know that Burton makes some of the best boots in the industry. The great thing about Burton boots is that they are designed for both function and comfort.
And while they are definitely comfortable right out of the box, there are a few tricks to making them even more comfortable and customized to your feet. But like with any other piece of equipment, it’s important to make sure they fit just right – especially if you’re going to be spending hours on the slopes each day. One way to customize their fit is by heating and molding your boots. It’s an easy process that only takes a few minutes and can make a big difference in comfort and performance.
Why Do You Need to Heat Mold Burton Boots?
Heat molding your boots helps customize the fit by molding them to the shape of your foot. It also helps activate any built-in liners, giving you more support and adding to their comfort level.
Additionally, heat molding can also help break in your boots faster, so you don’t have to deal with the discomfort of wearing them gradually.
What Do You Need for Heat Molding Burton Boots?
To heat mold your Burton boots, you only need the following:
- A heat source – a hair dryer or heat gun will work just fine
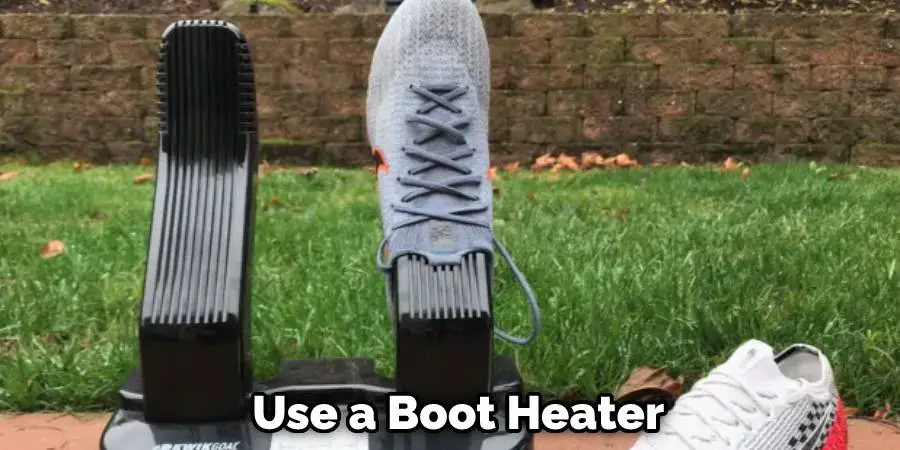
- A boot heater (can be purchased from Burton)
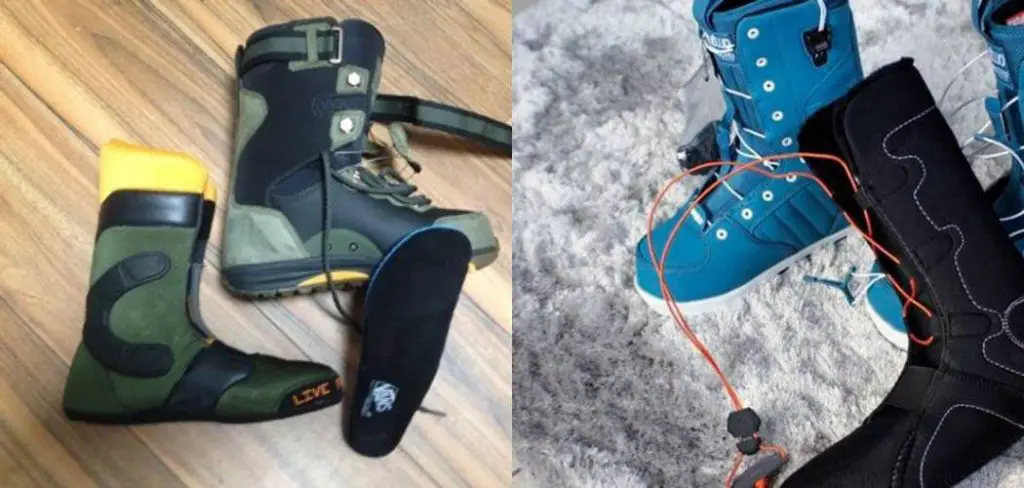
- Your boots
Having them heat molded at a Burton store or by a professional is recommended, but it can also be done at home with the right tools.
10 Easy Steps on How to Heat Mold Burton Boots
1. Loosening the Laces:
Begin by loosening the laces on your boots, but leave them tied in at least one place so that the tongue stays properly. This is important because it helps keep the boot in its original shape during the molding process. Be careful not to fully remove the laces as they can get in the way and potentially burn you during the heating process.
2. Heating Your Boots:
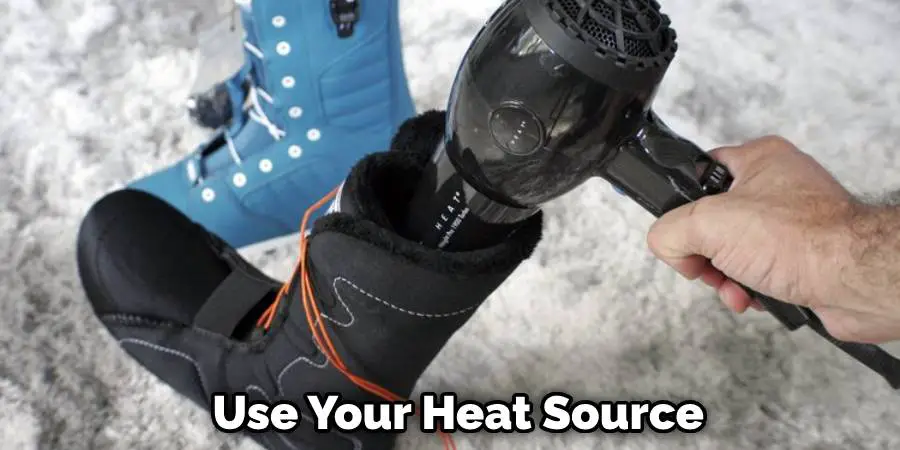
Using your heat source (hair dryer or heat gun), apply heat to the entire boot for about 2-3 minutes until it starts to feel warm. Make sure not to overheat – it’s better to do multiple shorter heating sessions than one long one. Because Burton boots are made with a combination of materials, it’s important to be careful not to damage the boot by overheating.
3. Inserting Heater:
Next, insert the boot heater into the toe box area of the boot and leave it in for a few minutes as the boot continues to heat up. Don’t have a boot heater? No problem – you can also use a plastic water bottle filled with hot water as a substitute.
4. Wearing the Boots:
After heating, put on your boots and tighten them to your desired fit – but not too tight that it’s uncomfortable. As you wear the boots, continue to apply heat for a while.
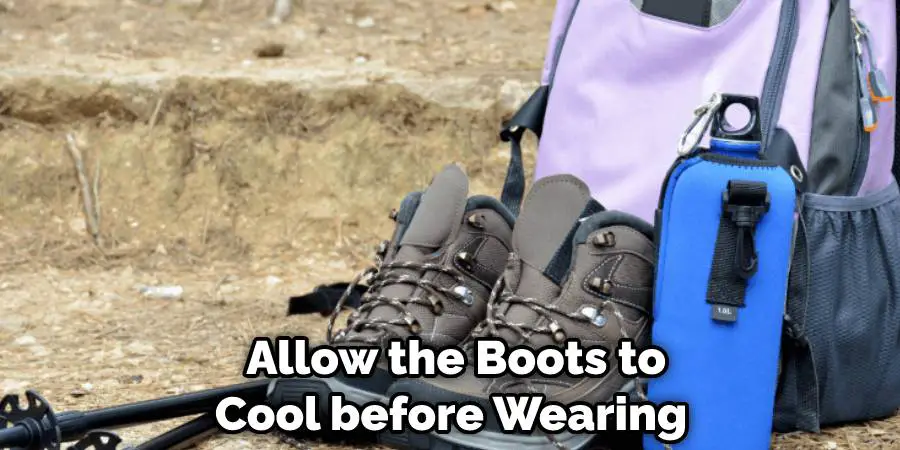
5. Removing Heat Source and Heater:
Once you feel the boot molding to your foot, remove the heat source and boot heater. Allow the boots to cool for a few minutes before removing them from your feet. Otherwise, the material may still be too pliable and can cause discomfort.
6. Retying Laces:
After removing your boots, retie the laces and let them cool completely before wearing them again. This ensures that they keep their molded shape. Repeat the same steps for the other boot, using a new boot heater and heat source if necessary.
8. Break in Your Boots:
Now that your boots have been heating molded, they may feel different on your feet – and it’s important to break them in properly before hitting the slopes. Wear them around the house for short periods of time, gradually increasing the length of wear. This allows them to mold even more to your feet and also helps prevent discomfort or blisters while skiing or snowboarding.
9. Reheating as Needed:
In some cases, heat molding may need to be repeated – especially if you feel like the fit isn’t quite right after a few wearings. Simply repeat steps 1-6 until you achieve the desired fit and comfort level.
10. Enjoy Your Custom Fit:
By heat molding your Burton boots, you now have a customized fit to improve your performance on the slopes and increase your overall comfort. Happy skiing or snowboarding!
These steps will help you achieve the perfect fit for your Burton boots, ensuring that you have a comfortable and enjoyable experience on the slopes. Remember always to use caution when using heat sources and never overheat your boots. Happy molding!
5 Additional Tips and Tricks
- Heat molding can also be used on Burton liners for even more customized comfort.
- For a tighter fit, try heat molding while wearing thicker socks.
- Heat molding can also help with any pressure points or discomfort that may occur after breaking in your boots.
- Make sure to store your boots in a cool, dry place to maintain the molding.
- Always follow Burton’s instructions and use caution when handling hot materials.
If you are unsure of the process, it is always recommended to have an experienced friend or professional do the heat molding for you.
5 Precautions You Can Take While Molding Burton Boots
- Always follow the instructions provided by Burton on how to heat mold your boots.
- Use a boot heater specifically made for this process and set it according to the recommended temperature.
- Place the boot in the heater for the allotted time suggested by Burton.
- Use caution when removing the boot from the heater, as it will be hot.
- Allow the boots to cool before wearing them for maximum effectiveness in molding.
Taking precautions during the heat molding process will ensure that your Burton boots fit comfortably and perform well on the slopes.
You Can Check It Out Clean Snowboard Boots
Frequently Asked Questions
Can You Heat Mold Burton Boots at Home?
Yes, it is possible to heat mold Burton boots at home as long as you have the necessary equipment and follow all safety precautions.
However, having an experienced friend or professional do the heat molding for you may be safer and more effective. Always refer to Burton’s instructions for information on how to heat mold their boots properly.
Can You Heat It With a Hair Dryer?
While a hair dryer may provide warmth, it is not recommended to use it for heat molding Burton boots. This is because the temperature and airflow may not be controlled accurately, leading to the uneven or incomplete molding of the material.
It is best to use a boot heater specifically made for this process to ensure proper molding and a comfortable fit. Always follow the instructions provided by Burton.
How Do You Break in Burton Boots?
One way to break in Burton boots is by gradually wearing them for longer periods of time around the house. This allows the material to mold and conforms to your feet.
Another option is to use a boot heater and heat mold the boots for a customized fit. Walking on soft surfaces like carpets or grass can also help break the boots.
It is important to break in your Burton boots before hitting the slopes to prevent discomfort and blisters. Always follow the instructions provided by Burton and use caution when using a boot heater.
How Can You Take Care of Your Burton Boots?
Properly caring for your Burton boots will ensure that they last longer and maintain their molding.
Always store the boots in a cool, dry place to avoid damage to the material. Clean them with mild soap and water to remove dirt and debris after each use. Let them air dry before storing or wearing them again.
Additionally, frequently apply a waterproofing solution to maintain the boots’ water resistance.
It is also important to check the soles and laces for wear and tear, replacing them if necessary. Follow Burton’s specific care instructions for your boots to ensure their longevity.
You Can Check It Out Wash Snowboard Boot Liners
Conclusion
If you’re a serious snowboarder, then you know that having the right boots is essential. You can get a great fit with Burton boots if you follow these simple instructions for heat molding them.
Molding burton boots can be daunting, but as long as you follow the instructions provided, use caution, and have an experienced friend or professional assist you, the process can be successful.
If you follow the steps we have outlined in this blog post, you should have no problem heating and molding your Burton boots at home. Remember always to consult the instructions that come with your boots for specific guidance. Don’t forget to properly care for your Burton boots to maintain their molding and prolong their lifespan.
Thanks for reading our blog post on how to heat mold burton boots! We hope you found it helpful and informative. Happy shredding!