
When it comes to cosplay, shoes are often an afterthought. However, proper footwear can make or break your look. You can create custom shoes for your next cosplay costume with a few simple steps. In this blog post, I will teach you how to make shoes for cosplay using some simple techniques. So get ready to learn and have some fun!
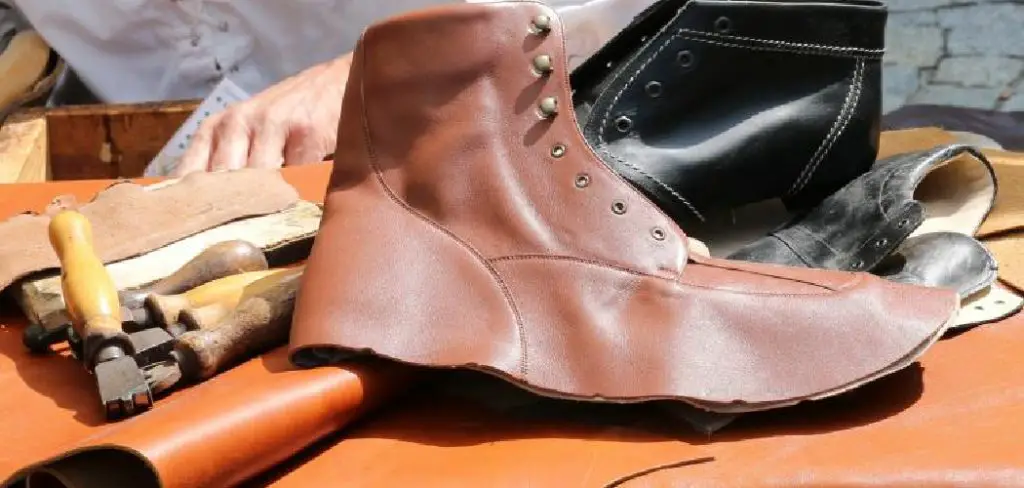
When it comes to cosplay, shoes are often an afterthought. However, proper footwear can make or break your look. Shoes can help to complete your look and can also add functionality. For example, shoes with a heel can give you extra height, which can be important for characters who are supposed to be taller than average. Additionally, shoes can help to protect your feet from injuries. So before you start your next cosplay project, make sure to take the time to create a pair of custom shoes that will help you look and feel your best!
Summary: To create your own shoes at home, start by gathering the right materials and tools. Then, create a pattern that you can use to cut out the design of your shoe. Once cut out, make small holes to attach miscellaneous items like straps or buttons.
After punching out the holes, sew on eyelets and make holes for shoelaces. And finally, add any final touches, such as trim or decorations. If desired, you can also make a matching sole for your shoe.
Things You’ll Need
To create shoes for cosplay, you don’t need too many supplies. Your list should include;
- Sewing machine or needle and thread (sewing machine will make your shoe sewing much easier)
- Leather scraps (you could also use old shoes) This is not meant to be an exhaustive list but rather the basics. The size of your flat work surface matters, considering that leather stretches as it dries if left in contact with underlying materials, so find a space that’s at least twice as large as how much leather you’re working with. Some other tools may also prove helpful for this project, such as a hammer, saws of various shapes and sizes, files/etchers to create templates, an awl, super glue, and creme soles.
A Step by Step Guide on How to Make Shoes for Cosplay
Step 1: Get Your Stuff Together
The first thing you want to do is get all of the materials and tools needed for the shoes. The list below should include:
- Leather (or fake leather)
- Scissors
- Thread
- Nails
- Hammer
- Paperclips/pins/safety pins
Step 2: Create a Pattern
Once you have all the materials and tools gathered together, it is time to create your first shoe pattern. We’re going to be using paper as the main component of this step, as some people like how it feels when you draw on it. If that is not what you prefer, feel free to use some other material. The paper should be how long and how wide you would like your shoe to be and approximately how thick the bottom of your shoe is going to be. Once you have that draw, how many leg shapes will go around your foot, this doesn’t have to be perfect because we will adjust it later on.
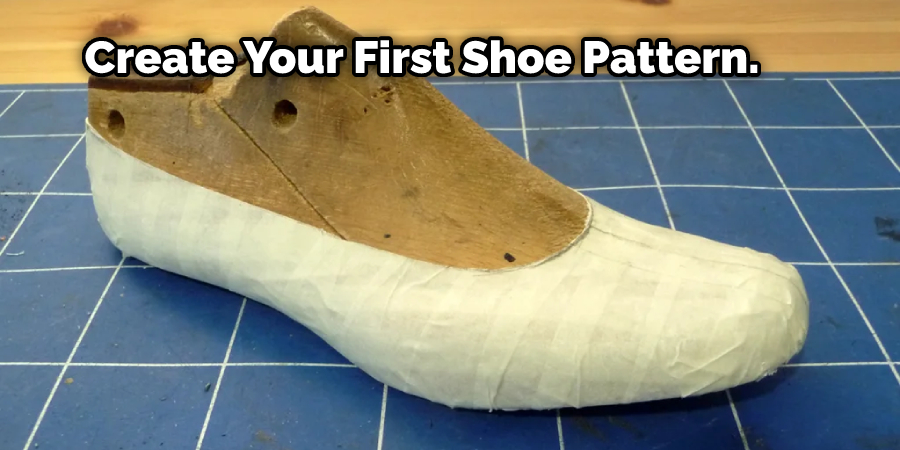
Once you instead do not want to use paper, you can draw the pattern directly onto your shoe. Try to pick a part of the shoe that is a bit thick and will help hold how wide you would like it.
Step 3: Cut Out the Pattern
Cut it out from your material once you have finished up your pattern. Make sure when cutting that you keep it how big it is to use it as your pattern to cut out the rest of your shoes.
Step 4: Make Small Holes on Where You Would Like to Attach Things
Using your paperclips or other pins, try to make small holes on how deep and far apart the eyelets will be going around your shoe. This step will make it easier to get the holes how deep you want them after they are punched out.
Step 5: Punching Things Out
This is probably one of the most challenging parts of making shoes, getting the eyelets how deep you want them. The more accurate and clean your initial holes are, the easier it will be to punch them how deep you want. For this step, I would recommend wearing something that is not very important because some shoes have had their holes broken while punching, don’t let it be your favorite shoes.
Step 6: Sewing on The Eyelets
Once you punch out, the eyelets make sure they are how deep you wanted them to be and how wide apart they are. Using your thread and needle, start by how strong the eyelets will be attached to how much you want it to show how long you want the string to be. This again requires a lot of precision as if you mess up, you will have to restart, so I would recommend using pins poking through where you would like them attached. Once you know how long you want your string, divide how many eyelets there are and how many strings they will need.
Step 7: Making the Shoe Sole (Optional)
You can make your sole for your shoes; this is called a “last,” which you can create yourself or buy online. This step is optional but can help durable your shoes are how much impact they can take before breaking. For this step, you will need strong paper; how many layers do you want the sole to be thick? You would like it to be (I recommend 5-7mm). Using what medium you used for the pattern in step 2, create a last that is how big your foot is around the thick you want the sole to be. Make sure that the last is long; your foot size is large you would like them to stand. Once done, leave it to dry overnight before you go onto step 8.
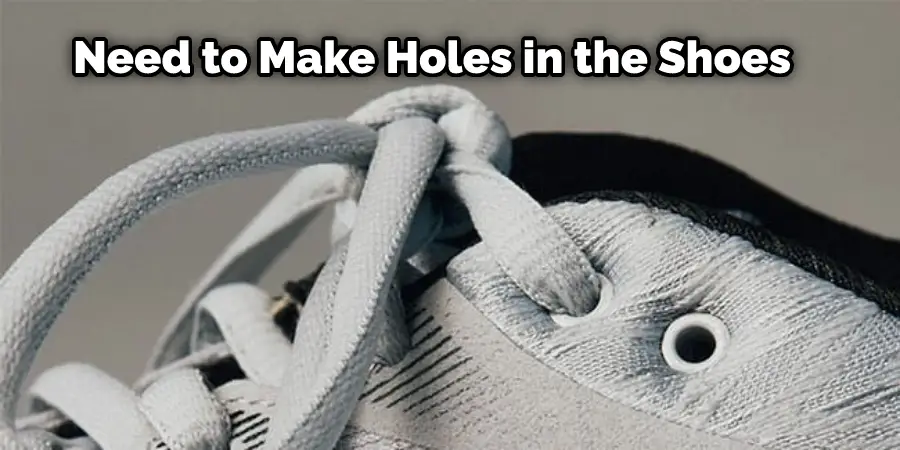
Step 8: Making Holes for Shoelaces
Don’t make this too hard on yourself; you don’t need to make any holes in the shoes. All you need to do is how to use shoelaces and how to tie them. You can either make these yourself or buy them online and cut them in half (that’s what I did). Just be sure that you pull on it tight when testing, so it doesn’t come undone. Some also recommend putting a dab of glue on the knot to secure it, but I didn’t.
Step 9: Finishing Touches
After you’ve glued and tied the shoelaces as tight as possible, you can do lots of things to make these shoes last longer. You can use two different colors of acrylic paint and mix them to give it a darker look, gold paint for the buckles, shoe adhesive/shoe goo to make them more sturdy and last longer. You can also use glitter glue after you’ve painted them silver for a touch of bling. Keep reading for more information about how to make shoes for cosplay.
How Do You Cover Your Shoes for Cosplay?
There are a few different ways that you can cover your shoes for cosplay.
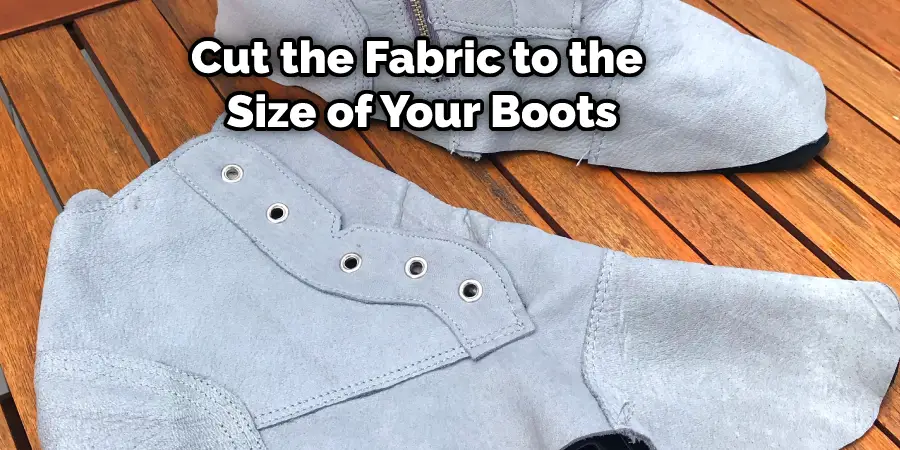
One way is to use shoe covers. You can buy shoe covers or make them yourself. To make them yourself, you will need some fabric, scissors, and a hot glue gun. Cut the fabric to the size of your shoe cover, then glue it to the top of the shoe cover. Another way to cover your shoes is to use paint or spray paint. You can either paint them the color of the character’s shoes or paint them a different color and then use a sealant to protect the paint.
You can also use fabric to cover your shoes. Cut the fabric to the size of your shoe, then glue it on top of the shoe. One last way to cover your shoes is by using either vinyl or faux leather. You will need a glue gun for this method as well. Cut the vinyl or faux leather to the size of the shoe, then place it on top of the shoe and use a hot glue gun to stick it down. If you want to know more about how to make shoes for cosplay, keep reading.
Frequently Asked Question
How Do Feet Get Taller for Cosplay?
There are a few ways that you can make your feet look taller for cosplay. One way is to wear high heels. Another way is to wear platform shoes. You can also make your own platform shoes by using shoe inserts and fabric. To make the platform shoes, you will need some fabric, scissors, shoe inserts, and a hot glue gun. Cut the fabric to the size of your shoe, then glue it to the top of the shoe insert. Glue the shoe insert to the bottom of the shoe.
How Do You Make Cosplay Thigh-High Boots?
There are a few different ways that you can make thigh-high boots for cosplay.
One way is to buy thigh-high boots and modify them. Another way is to make them yourself from scratch. You will need some fabric, scissors, a hot glue gun, and a sewing machine to make them yourself. Cut the fabric to the size of your thigh-high boots, then sew it together. You can also add a zipper to the side if you want. Another way to make thigh-high boots is by using foam rubber. You will need some foam rubber, scissors, a hot glue gun, and a sewing machine. Cut the foam rubber to the size of your thigh-high boots, then glue it together. You can also add a zipper to the side if you want.
You Can check it Out to Fix Dry Rot Shoes
Conclusion
So, there you have it! Our guide on how to make shoes for cosplay. We hope that this article was helpful and informative. Please feel free to share any questions or comments with us in the comment section below if you have any questions or comments. Happy crafting!