
Whether you’re a new mom who is constantly on the go or an athlete who is always active, having a good pair of shoes is essential. This article will show you how to fix dry rot shoes using some simple methods. We will also give you some tips on how to prevent your shoes from drying out in the future. Read on for more information!
Dry rot shoes can cause many problems, such as blisters and other foot injuries. If you don’t fix them, they can also cause your feet to smell bad. Therefore, it’s important to fix them as soon as possible so that you can continue to enjoy wearing your favorite pair of shoes.
Summary: Dry rot is a common problem that occurs in shoes when the material becomes brittle and crumbly due to exposure to heat or moisture. To fix dry rot shoes, there are several steps that can be taken, including cleaning the shoes, applying a leather conditioner, filling in any cracks or holes with a flexible sealant, and storing the shoes in a cool, dry place.
Required Materials
- Baking soda
- Vinegar
- Water
- Toothbrush
- Shoe brush
- Cloth
- Paper towel
How to Fix Dry Rot Shoes Step by Step Guide
Step 1: Cut Around the Dry Rot
First, you will have to cut away the dry rot on your shoes. This is how you do it:
Take a sharp knife or blade and carefully saw around the edges of the dry rot on the shoe until it is completely detached from the shoe itself. If there are pieces that won’t come off with the knife, use a cotton swab to get them out. Just wrap some of the cottons around it and push it into the dry rot until you see some come off on the swab itself.
Step 2: Clean Out Old Gel
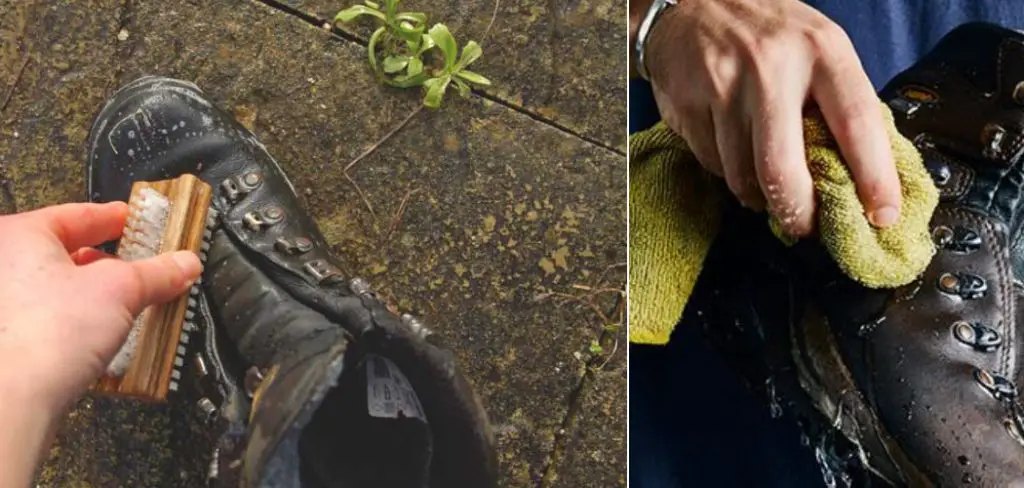
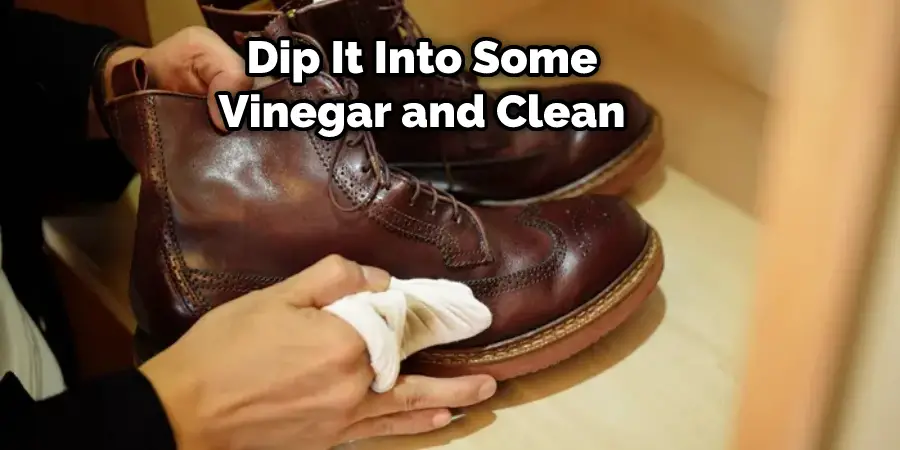
Once you have cut away as much as possible of the old gel from your shoes, you will want to use the cotton swabs once more to clean it out. The best way to clean out the old gel is by using a toothbrush. First, take the toothbrush and dip it into some vinegar. Then, start scrubbing away at the gel until it is all gone. Be sure to get in between the shoe cracks so that all of the gel is removed. Be sure not to go too deep into your shoe, but just deep enough to see how much of the gel has come off on the swab itself.
Step 3: Prepare New Gel
Once you have properly cleaned out your shoes, you are ready to prepare the new gel. To do this, get your shoes and some rubber bands to get more of the gel in there.
Take each shoe by the heel area, stretch it out slightly with one hand, and then poke a hole into its using your other hand. You are going to want to make sure that the hole is not too big or small, but just about how it will be once the newer gel takes over.
Step 4: Insert New Gel
It is important to insert the new gel into your shoes because it will help to protect them from any future dry rot. The new gel will help to fill in any cracks or crevices in the shoe so that the dry rot cannot spread. It is also important to make sure that you insert enough of the gel so that it covers the entire area where the dry rot was.
Now that you have two holes in your shoes, put some of the new gel into each using the swab again. You want to make sure that you don’t go too deep, but just enough so that you can fit 1 to 2 inches of the gel inside.
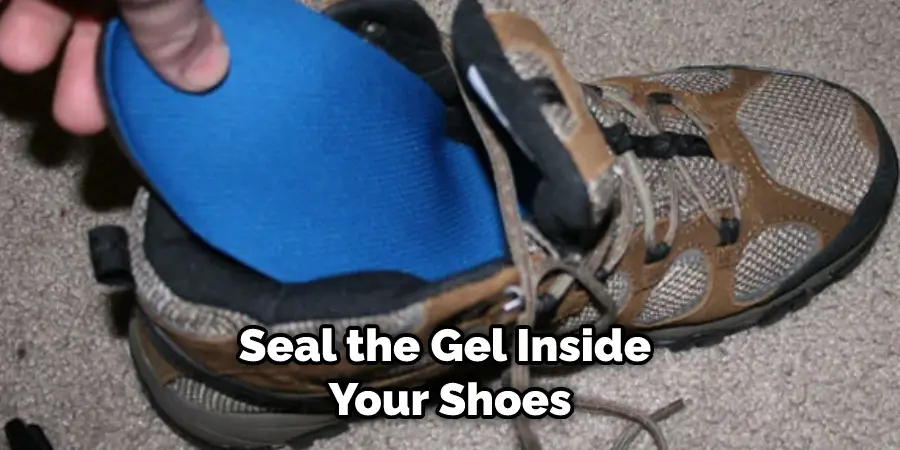
Step 5: Seal the Gel Inside
Finally, you will want to take one of your rubber bands to seal up how much gel you put into each shoe hole. Just stretch it over and tie it off in a knot.
There are other methods to seal the gel inside your shoes, but the rubber band is the most common way. Some people use a hot glue gun to seal it up, while others use silicone caulking. Whichever method you choose, be sure that it is effective in keeping the gel inside and that it will not come out over time.
Step 6: Repeat for Other Shoe
Once you have finished doing this with one shoe, repeat steps three through five on the other shoe. Again, be sure that you don’t forget, or it won’t work out how you want it to.
Now, just put your shoes back where they go and let them sit overnight so that the new gel inside them has time to dry.
Step 7: Inspection in the Morning
Once you have let your shoes sit overnight, check them out in the morning to see how they turned out. If you missed holes in your gel, take some more of it and seal up those holes with another rubber band as you did in step number five.
Step 8: Clean Up the Gel and Gel Remnants
Once you have inspected your shoes and fixed up any holes, all that’s left is to clean up how many gel and gel remnants there are. To do this, take a wet cloth and pick up how much of it is so that you don’t slip on it.
There are a few other things you should consider when fixing your shoes with gel. First, be sure to have enough gel to cover the entire area where the dry rot was. Also, make sure that you seal up the gel properly to not come out over time. Finally, inspect your shoes in the morning to ensure they turn out how you want them to. If there are any holes in the gel, fix them up with more gel and rubber bands.
Now, your shoes will no longer have any dry rot or gel remnants to hurt how they function and how long they last. This simple how-to guide is how anyone can fix their dry rot shoes. Keep reading for more information about how to fix dry rot shoes.
You Can Check It Out to Fix Peeling Shoe Lining
Do Shoes Rot if You Don’t Wear Them?
If you have a pair of shoes that have started to rot, but you don’t want to throw them away quite yet, there are a few things you can do to try and fix them. The first step is to clean the shoes off, using a brush or a cloth. Once they are clean, you can start to repair the rot.
One way to do this is by using a strong adhesive, such as wood glue or contact cement. Apply the adhesive to the rotted area, then press the two shoe pieces together. Hold them in place for a few minutes until the adhesive dries. If the rot is more extensive, you may need to cut out the damaged area and replace it with a piece of new material.

After gluing or sewn on the new piece, clean and prime it with acrylic paint made for leather; this will help to seal out any water and prevent future rot. You can also spray on a coat of clear lacquer after the primer has dried. This will protect your repair job from wear and tear and water damage.
To make the shoes easier to clean, apply a protective coating of wax shoe polish with a soft cloth. This will help repel dirt and moisture. You may have to reapply periodically to keep this layer in good shape. If you want to know more about how to fix dry rot shoes, keep reading.
Can You Repair Dry Rot Leather?
Yes, you can repair dry rot leather. However, the extent of the damage will determine how successful the repair will be. If there is only a small amount of rot, you may be able to fix it by using an adhesive. However, if the rot is more extensive, you may need to cut out the damaged area and replace it with a piece of new material.
How Long Do Unworn Shoes Last?
Shoes that are not worn will last longer than worn shoes. So if you have a pair of shoes that you don’t wear very often, try to take them out for a spin every once in a while. This will help to keep them from rotting and disintegrating.
Do Shoes Deteriorate in The Box?
If you don’t want to wear your shoes, you can also store them in a box. This will help to keep them from deteriorating and rotting. In addition, you can put cedar chips in the box to keep them from getting musty, and you can also use a shoe tree to help them keep their shape.
When Should You Throw Away Shoes?
Shoes should be thrown away when they start to rot, disintegrate, or lose their shape. If you have a pair of shoes that are starting to show signs of deterioration, it’s best to get rid of them before they cause any more damage.
Can Shoes Last 10 Years?
Shoes can last ten years as long as they are well-maintained and stored. Clean them regularly and apply a protective coating of wax shoe polish every few months. If they are stored in a box, put cedar chips in it to keep them from getting musty.
You Can check it Out to Make Shoes for Cosplay
Frequently Asked Questions
What Causes Shoes to Dry Rot?
Shoes can dry rot from a few different sources, including moisture, air, and bacteria. Moisture can come from rain or snow, sweat, or water spilled on the shoes. Air can come from leaking roofs or windows, poor ventilation, or even pets. Finally, bacteria can come from wearing dirty socks or leaving shoes near the bathroom.
All of these sources of moisture and bacteria can lead to the growth of fungal spores in the shoe material. Once the spores grow large enough, they will eat away at the shoe’s fabric and leather. This process can result in holes in the shoes, loss of structural integrity, and even eventual structural failure.
If you notice any of these signs in your shoes – especially if they’ve been worn a lot – it’s best to take them off and dry them out as quickly as possible. In some cases, it may be necessary to replace the entire shoe due to deterioration. If you’re ever unsure whether your shoes are damaged or not, it’s always best to bring them in for inspection. We hope this helps!
Why Are My Shoes Crumbling?
As we age, our bones and joints may become less elastic, which can lead to crumbling shoes. Shoes are made from materials that stretch when they are put under pressure, like when you walk or jog. However, as we get older the material in our shoes may not be able to stretch as much. This results in the shoe becoming tighter and more prone to breaking down.
One way to prevent your sneakers from deteriorating is by regularly stretching them out before you wear them. You can do this by tying a knot in one end of the shoestring and placing it over one of the ankle straps on your sneaker. Then pull towards yourself until the knot reaches close to the buckle on your shoe’s strap. After doing this every time you wear your sneakers, they will be stretched enough so that they won’t break down easily!
Can Dry Rot Shoes Be Repaired?
Yes, Dry Rot Shoes can usually be repaired. There are a few things that you will need in order to do this, including a shoe repair kit and some sewing skills. Once you have these items, follow the instructions included in the kit to restore your shoes to their former glory.
Can You Save Dry Rotted Shoes?
Yes, you can save dry rotted shoes. The first step is to remove as much of the moisture content as possible. This can be done by airing them out in direct sunlight or putting them in a warm oven for several hours. Once they are dry and brittle, it is time to seal the surface with a waterproofing agent like silicon spray or cayenne pepper powder. If necessary, additional coats of paint or polish can also be applied to protect the finish from further damage.
Conclusion
Dry rot can be fixed! So if you’ve found yourself with dry rot shoes, don’t worry. We have the solution to your problem. With our guide to how to fix dry rot shoes, you’ll never need another pair of broken-down walking shoes again. So give it a try today and say goodbye to those old worn-out pairs that are just taking up space in your closet or on the shoe rack at home. You won’t regret it!