
In the world of fashion and comfort, finding the perfect pair of sandals can sometimes leave us with slightly larger footwear than desired. Whether it’s a minor size mismatch or a deal you couldn’t resist, the need to make sandals smaller is a common dilemma. Making sandals smaller is not only about achieving a better fit but also about enhancing comfort and preventing potential foot problems associated with ill-fitting shoes.
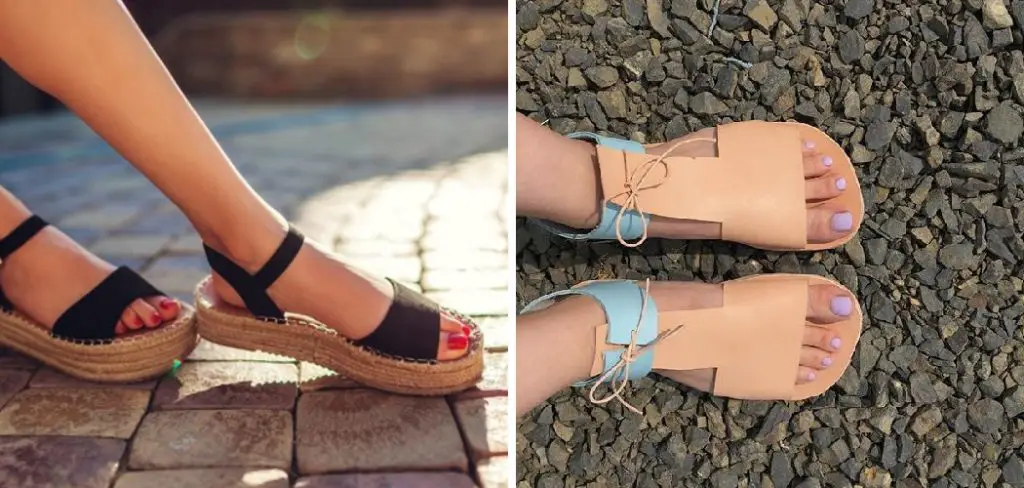
This guide on how to make sandals smaller seeks to equip you with practical, DIY solutions to adjust the size of your sandals, ensuring they are snugly fit to your feet. From the simplest methods that require minimal materials to more sophisticated adjustments, you’ll learn how to make those oversized sandals feel like they were made just for you.
Why Make Sandals Smaller?
While some people opt for a larger size for extra wiggle room, wearing sandals that are too big can cause discomfort and even pose potential health risks. Here are some reasons why you may want to make your sandals smaller:
To Avoid Blisters and Irritation:
Wearing ill-fitting sandals can cause friction between the shoe and your skin, leading to blisters, redness, and irritation.
To Prevent Tripping:
When wearing sandals that are too large, your feet may slide around inside the shoe, increasing the risk of tripping and falling.
To Improve Posture:
Wearing shoes that don’t fit well can cause discomfort and affect your posture. This is especially true for sandals with open backs or no straps that provide support for your feet.
To Enhance Comfort:
Wearing sandals that are too big can cause discomfort and strain on your feet, ankles, and joints. By making them smaller, you can improve overall comfort and prevent potential foot problems.
Things to Consider Before Making Sandals Smaller
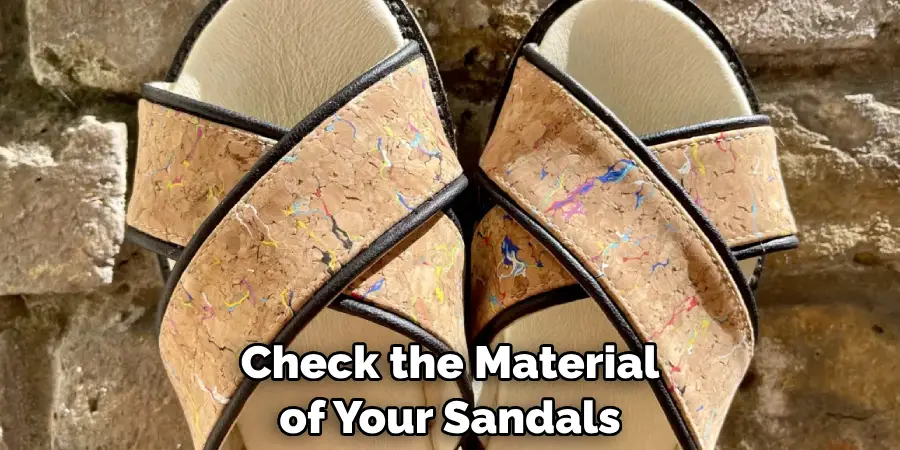
Material:
Check the material of your sandals to determine if it can be easily adjusted without causing damage.
Type of Sandal: Different types of sandals may require different methods of adjustment. For example, open-toe sandals may not need as much modification compared to close-toe sandals.
Size Difference:
Consider the size difference between your foot and the sandal. If there is a minor difference, simple solutions may suffice. However, if the size difference is significant, more advanced adjustments may be necessary.
Time and Effort:
Some methods may require more time and effort than others. Consider your schedule and availability before choosing the method to make your sandals smaller.
11 Step-by-step Guidelines on How to Make Sandals Smaller
Step 1: Gather Your Materials
To make your sandals smaller, you’ll need the following materials:
Thick Socks:
These will help to fill any extra space inside the sandal.
Hair Dryer:
This is for stretching the material of the sandals.
Sandpaper:
This is to roughen the soles of your sandals, providing more traction and preventing slipping.
Moleskin:
This material can help create a snug fit for your sandals.
Step 2: Wear Thick Socks
Put on a pair of thick socks before slipping into your sandals. The socks will add extra bulk around your feet, effectively reducing the space inside the sandals. This method is particularly useful for closed-toe sandals where the extra sock material can fill up the excess room. For open-toe sandals, this step can still provide a tighter fit around the ankles and straps. It’s a simple yet effective way to gauge how much adjustment your sandals might need and can serve as a temporary solution if you’re in a rush.
Step 3: Use a Hair Dryer
Put on your sandals with the thick socks and use a hairdryer to heat up areas that need stretching. Focus on areas that feel too tight or rub against your feet. Once the material is warm enough, flex and bend your feet while still wearing the socks to stretch out the material. Do this for a few minutes until you feel the material has loosened enough to accommodate your feet comfortably. You can also use a stretching spray or leather softener to help with this process.
Step 4: Try Using Sandpaper
If your sandals have smooth soles, using sandpaper can create more traction and prevent slipping. Gently rub the sole of the sandal with sandpaper to roughen it up and create a better grip. Be careful not to sand too much, as this may damage the sole or make it uncomfortable to walk on. If your sandals have textured soles, you can skip this step.

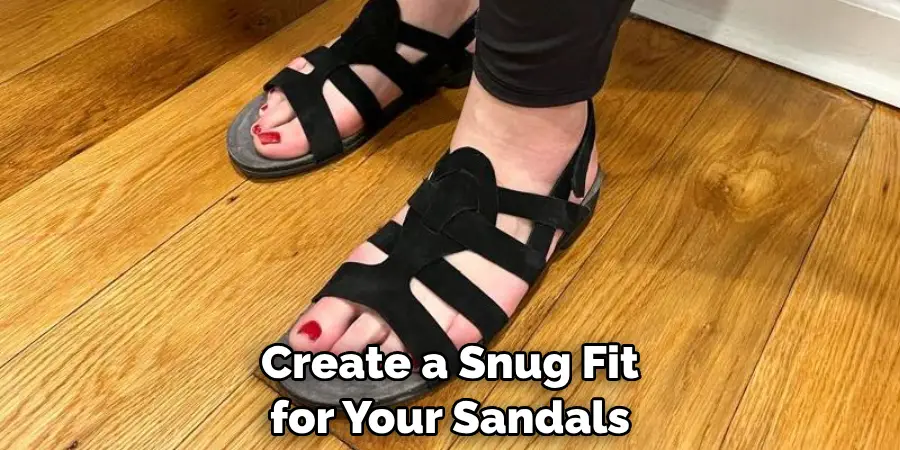
Step 5: Invest in Moleskin
Moleskin is a soft material with adhesive backing that can be used to create a snug fit for your sandals. Cut small pieces of moleskin and place them in areas that feel loose or rub against your feet. This will not only provide a tighter fit but also prevent blisters and irritation. The best part about using moleskin is that it’s easily removable, so you can adjust the size of your sandals as needed. It’s a great option for sandals with straps or those made of thinner materials.
Step 6: Use Elastic Bands
If your sandals have straps or buckles, you can use elastic bands to tighten them. Simply loop the elastic band through the buckle or strap and pull until the desired tightness is achieved. This method is simple, inexpensive, and can provide a snug fit for your sandals. Just keep in mind that elastic bands may not be the most durable option and may need to be replaced over time. But they are a great temporary solution or quick fix.
Step 7: Add Insoles
If your sandals are too big in length, you can add insoles to take up the extra space. This is particularly useful for open-toe sandals where the added bulk won’t be noticeable. You can use insoles made specifically for sandals or cut-down regular shoe insoles to fit. This method can also provide extra cushioning and support for your feet. You can also remove the insoles if you want to make your sandals bigger again.
Step 8: Sew or Tighten Straps
If your sandals have straps that are too long, you can sew or tighten them to make the sandals smaller. Measure how much you need to take off and either sew the strap at a shorter length or use a hot glue gun to secure the excess strap in place. This method works best for fabric or leather straps, as they are easier to sew and adjust compared to plastic or rubber straps. If you don’t have sewing skills, a shoemaker or tailor can help with this step.
Step 9: Use Cushion Inserts
For sandals with open backs, you can use cushion inserts to fill up any extra space and create a tighter fit around your heel. These inserts come in various sizes and can be easily attached to the sandal. This method is ideal for sandals that have a back strap or those made of more flexible materials. You can also use heel grips or shoe pads to help with this step.
Step 10: Consider Professional Services
If none of the DIY methods work, you may want to consider taking your sandals to a professional cobbler or shoe repair shop. They have the tools and expertise to make precise adjustments and can ensure your sandals fit perfectly. This option may be more expensive, but it’s a reliable solution for those who are uncomfortable making adjustments themselves.

Step 11: Buy Smaller Sandals
If all else fails, you may need to accept that the sandals you have may not be adjustable enough to fit your feet comfortably. In this case, it might be best to invest in a new pair of sandals that are already the right size. This option may be more costly, but it will guarantee a perfect fit and save you the time and effort of trying to make your current sandals work. Plus, you can always donate or give away your old sandals to someone who may find them a perfect fit.
Following these tips and tricks on how to make sandals smaller, you can easily adjust the size of your sandals and make them fit like a glove. Don’t let ill-fitting sandals ruin your summer adventures. With a little extra effort, you can rock those sandals and show off your pedicure with confidence. Happy sandal-wearing!
Additional Tips for Wearing Sandals
Now that you know how to make sandals smaller, here are some additional tips for wearing and caring for your sandals:
- Always break in new sandals before wearing them for a long period of time. This will prevent blisters and discomfort.
- Rotate between different pairs of sandals to give your feet a break and prevent excessive wear.
- Keep an eye out for signs of wear and tear on your sandals and have them repaired if necessary to prolong their lifespan.
- Avoid getting your sandals wet or leaving them in direct sunlight for extended periods, as this can damage the materials and cause them to stretch or shrink.
- Use a shoe-freshening spray to keep your sandals smelling fresh and clean. You can also sprinkle baking soda inside them overnight to absorb any odors.
- Have fun experimenting with different styles and colors of sandals to find the perfect fit and look for your feet. Remember, comfort should always come first! So keep these tips in mind and enjoy wearing your sandals all summer long.
Conclusion
In summary, with the variety of methods detailed above, from using sandpaper to enhance grip to adjusting straps and incorporating cushion inserts, making your sandals fit better can be both a simple and creative endeavor.
Whether you choose a DIY approach or opt for professional services, the goal is to achieve a comfortable, snug fit that allows you to enjoy your sandals to the fullest. Remember, the key to prolonging the life of your sandals and ensuring your comfort is regular care and making adjustments as needed. Now equipped with these tips and tricks on how to make sandals smaller, you’re ready to step out in style and comfort, making the most of your footwear this summer.
