
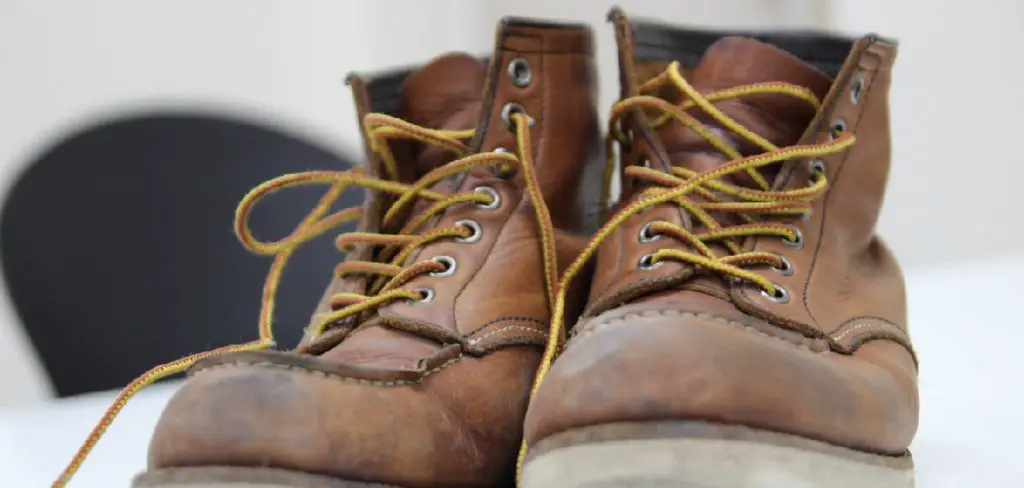
Are you looking for the best way to take care of your trusty pair of Irish Setter boots? With a suede upper and a nubuck leather underside, these boots are absolute classics that deserve special attention.
Keep reading on how to clean Irish setter boots to find out all the steps needed to get them looking good as new, from cleaning and conditioning right through to waterproofing! We’ve created an in-depth guide to help you preserve your Irish Setter boots over time – you’ll be able to enjoy their comfort and stylish look for many years.
Summary: Cleaning Irish Setter boots is essential to keep them in good condition and extend their lifespan. To start, remove excess dirt and debris from the boots using a soft brush or cloth. Then, mix warm water with a mild detergent and use a brush to scrub the boots gently, paying extra attention to any stained areas.
What Is the Difference between Red Wing and Irish Setter?
Red Wing and Irish Setter are both iconic brands of boots, but there are some key differences. Red Wing boots have a classic American style. They often feature thick leather uppers and Goodyear welt construction for superior durability. In contrast, Irish Setter boots typically have suede uppers and lightweight rubber soles which give them a more casual, country look.
Irish Setter boots are often known for their comfort and style, but Red Wing is the choice of many who want a heavy-duty work boot that can also transition to be worn as an everyday fashion accessory. Although both Red Wing and Irish Setter offer exceptional quality, it all boils down to personal preference between the two.
9 Methods How to Clean Irish Setter Boots
1. Wipe down with a Damp Cloth
The first step in cleaning your Irish Setter boots is to wipe them down with a damp cloth. This will help to remove any dirt or mud that may be on the surface of the boots. If the dirt is particularly stubborn, you can use a mild soap and water solution to help loosen it. Be sure to dry the boots thoroughly after cleaning. However, do not use too much water since this could cause the leather to become waterlogged.
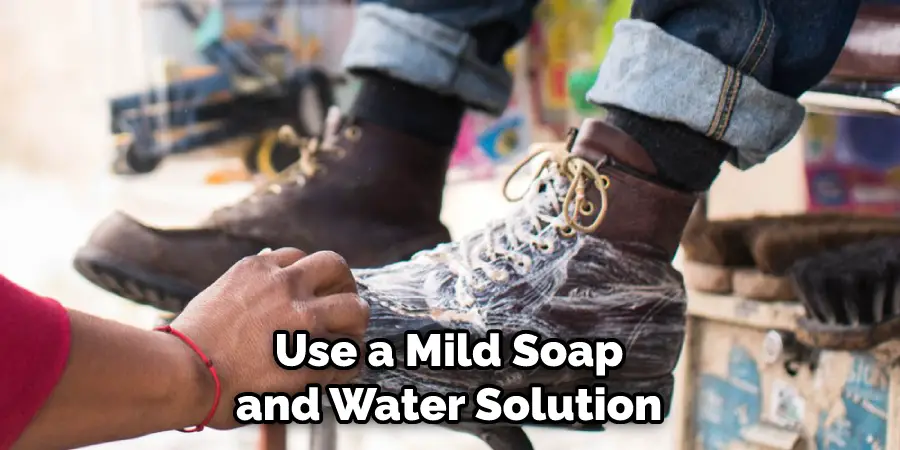
2. Mix Soap and Water
Next, you will need to mix soap and water together in a bowl. You can use any type of soap, but we recommend using mild dish soap. If you want a more luxurious feel, you can use body wash or shower gel instead. Just make sure that it has no added fragrances or irritants.
Once you have your soap and water mixed together, dip the end of a cloth into the mixture. Gently wring out the excess liquid and then begin wiping down the surface of the mirror. Remember to be gentle, as you do not want to scratch or damage your mirror in any way. Make sure to pay special attention to any smudges or fingerprints that may be present on the surface of the mirror.
3. Apply the Soap Mixture to the Boots
Once you have mixed the soap and water together, you will need to apply the mixture to the boots. You can do this by using a brush or by simply dipping the boots into the mixture.
Although it may seem like a lot of work, brushing the soap onto the boots will help to ensure that the boots are thoroughly cleaned. Make sure to pay special attention to any areas that may have a lot of dirt or mud, such as the soles. Once you have applied the mixture to the boots, let them sit for a few minutes to allow the soap to break down any dirt or debris.
4. Rinse the Boots with Clean Water
After you have applied the soap mixture to the boots, you will need to rinse them off with clean water. This will help to remove any soap residue that may be on the surface of the boots. Though some soaps may be safe to leave on the boots, it’s always best to rinse them off thoroughly. Use a spray nozzle or hose to make sure you rinse the boots completely. After rinsing, pat them dry with a clean cloth or towel.
5. Dry the Boots with a Towel
Once you have rinsed the boots off, you will need to dry them with a towel. Be sure to dry both the inside and outside of the boots so that they are completely dry before moving on to the next step.
If possible, try to use a soft cloth or towel, as this will prevent any scratching or damage to the leather. Once everything is dry, you are ready to move on to the next step. While you are drying the boots, make sure to inspect them for any signs of wear and tear or damage. If you notice anything that needs to be repaired or replaced, you should do so before continuing.
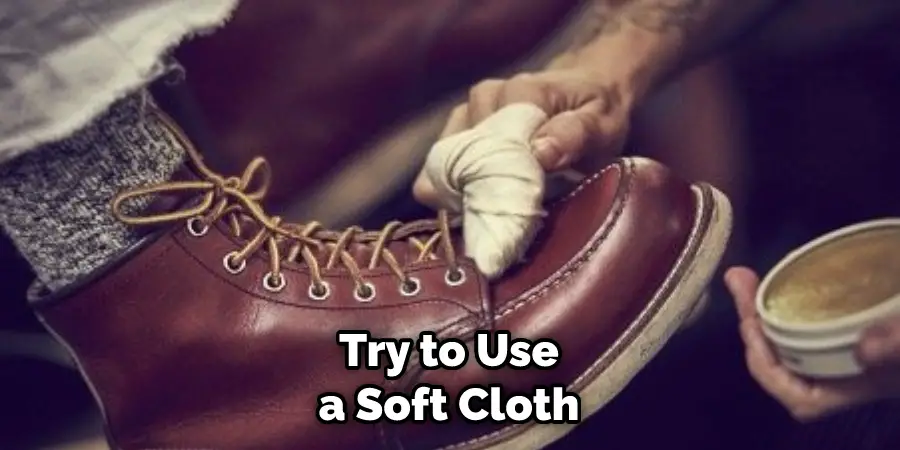
6. Apply Boot Cream or Polish
The next step in cleaning your Irish Setter boots is to apply a boot cream or polish. This will help to protect the leather and keep it looking its best. We recommend using a cream or polish that is specifically designed for use on leather footwear.
Now that the boots are clean and dry, you can apply the cream or polish in circular motions with a soft cloth. When you’re done, buff the boots using a clean cloth, and you will be left with a nice glossy finish. And don’t forget to use the cream or polish on the tongue of the boots to keep them clean and waterproof.
7. Buff the Boots with a Soft Cloth
After you have applied boot cream or polish, you will need to buff the boots with a soft cloth. This will help to remove any excess product and give the boots a nice shine. However, be careful not to use too much pressure as this can damage the leather. Once you have buffed the boots, they should look shiny and well-maintained.
8. Apply Waterproofing Spray (Optional)
If you want, you can also apply a waterproofing spray to your Irish Setter boots after they have been cleaned and polished. This step is optional, but it can help to extend the life of your boots by protecting them from water damage.
Try to find a waterproofing spray specifically designed for leather, as these can be more effective and have less of an impact on the material. Apply the waterproofing spray in a well-ventilated area, and make sure to read the instructions on the label before applying it. Once you have applied the spray, let it dry completely before wearing the boots.
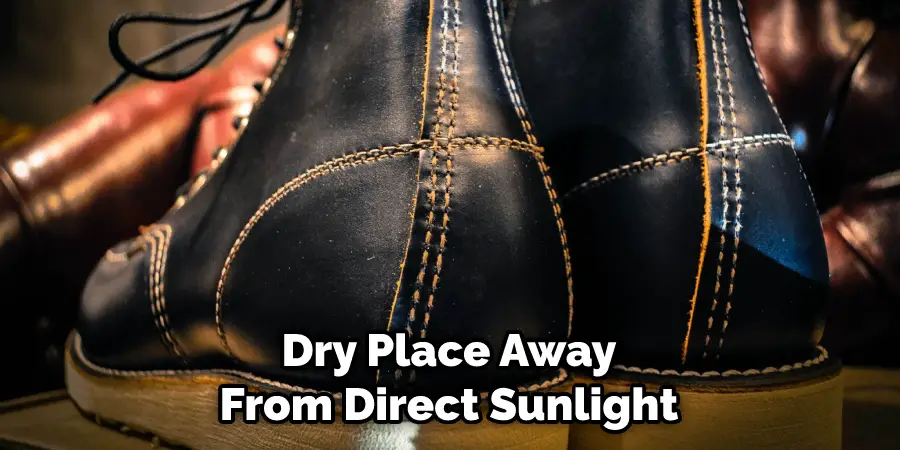
9. Store Your Boots in a Cool, Dry Place
When you are not wearing your Irish Setter boots, be sure to store them in a cool, dry place away from direct sunlight. This will help to prevent them from cracking or drying out prematurely.
Also, make sure to keep your boots away from extreme heat, as this can also cause damage to the leather. When storing your boots for a longer period, stuff the toe boxes with paper to ensure the boot keeps its shape. This will help prevent it from creasing or wrinkling. Finally, use a boot tree or shoe stretcher to help them keep their shape and form.

Things to Consider When Cleaning Irish Setter Boots
1. Choose the Right Cleaning Products:
As with any other leather item, you should use cleaning products specifically designed for leather boots when cleaning your Irish Setter boots. Avoid using harsh chemicals or other cleaning products that may damage the leather.
2. Test on a hidden area:
Before applying any cleaning product, test it on an inconspicuous spot to make sure the product won’t harm the boot material before you use it on the entire surface of the boots.
3. Use a soft, damp cloth or brush:
Soft brushes, like horsehair ones, are best for cleaning dirt from your Irish Setter boots and can work better than some commercial cleaners in removing mud and dirt stains. However, be cautious not to scrub too hard and cause scratches on your leather boots.
4. Apply a Conditioner:
Once you’ve finished cleaning your Irish Setter boots, apply a leather conditioner to help keep them looking great. Conditioners help to maintain the leather’s natural oils, which keeps them soft and supple. Allow the conditioner to dry completely before wearing your boots.
5. Store Properly:
Once you’re done cleaning, make sure you store your Irish Setter boots properly in a cool, dry place away from direct sunlight. This will help them last longer and look better for a long time.
You Can Check It Out Wear Joggers With Boots
Conclusion
Even with the best intentions, it’s easy to let your Irish Setter boots go a few too many days without a good cleaning. But fortunately, getting them back to their original glory is relatively simple and only requires a few household items that you probably already have on hand.
These are the steps you need to follow in order to clean your Irish Setter boots. Make sure to go through each step slowly and carefully so that your boots come out looking like new. With a little bit of time and effort, you’ll have your favorite boots back in no time!
Thanks for reading our blog post on how to clean Irish setter boots! We hope you found it helpful and informative.
