Braiding shoelaces is a fun and creative way to add a unique touch to your footwear. Whether you want to add some color or texture to your sneakers or you simply want to learn a new skill, braiding shoelaces is an easy and satisfying project to undertake.

The process may seem daunting at first, but with a little bit of practice, anyone can master the art of braiding shoelaces. The technique involves weaving together three strands of shoelaces to create a braided pattern.
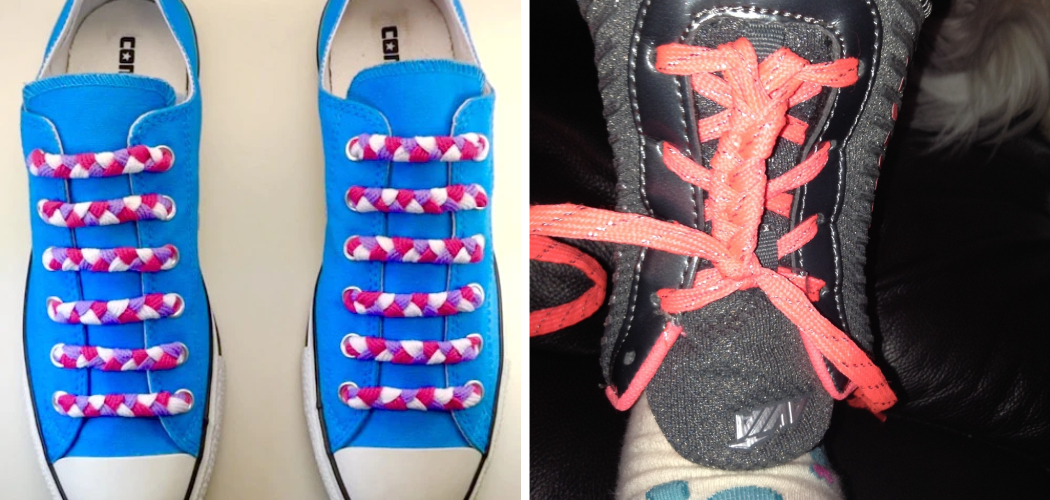
You can experiment with different color combinations, textures, and patterns to create a personalized look that is both stylish and functional. In this article, we will provide step-by-step instructions on how to braid shoelaces, as well as some tips and tricks to help you achieve a professional-looking finish. So grab some shoelaces, and let’s get started!
Is It Difficult to Braid Shoelaces?
Braid shoelaces might seem like an easy task, but there is actually a lot of technique involved, and it can be tricky to get the hang of. While it may take some practice to perfect the skill, with a little patience, anyone can learn how to do it.
The most important aspect of braiding shoelaces is making sure that you have gathered all the laces together in one hand so they don’t become tangled as you start weaving them together. If your laces are too short or too long, this can be difficult. It’s best if you make sure that all your laces are roughly equal in length before starting.
To begin weaving the laces together, cross two strands over each other, then take the third strand and switch it to the opposite side. Then bring one of the original strands back over to that side, crossing it with the new strand you put in place. Keep repeating this process until all the laces are braided together securely.
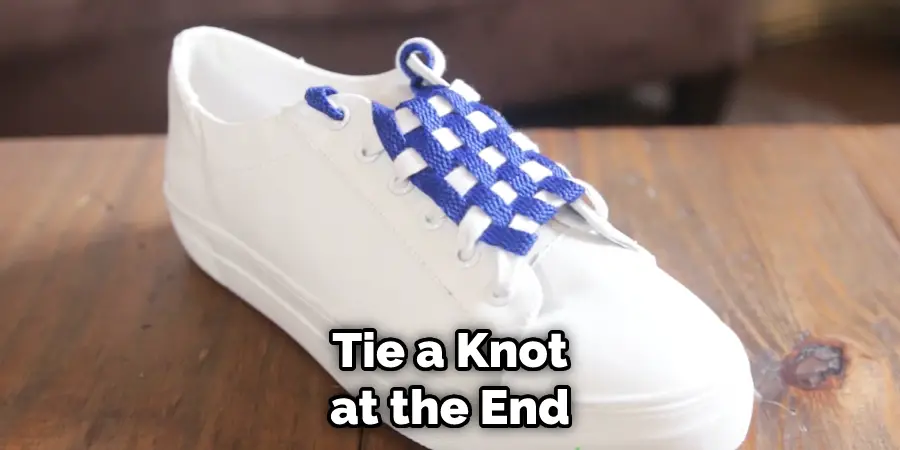
When you’re finished, tie a knot at the end of the braid to make sure everything stays in place. With practice and patience, any beginner can learn how to braid shoelaces quickly and easily!
10 Methods on How to Braid Shoelaces
1. Basic Three-Strand Braid
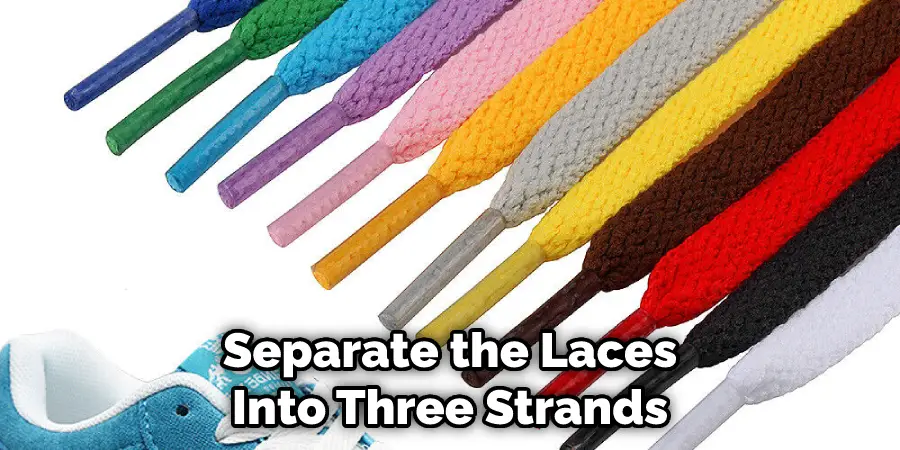
The most common way to braid shoelaces is the basic three-strand braid. To start, take three shoelaces of equal length and tie them together at the top. Separate the shoelaces into three strands and hold them in your hand.
Take the left strand and cross it over the middle strand. Then, take the right strand and cross it over the new middle strand. Continue this pattern until you reach the end of the laces, and tie them off at the bottom.
2. Four-Strand Braid
The four-strand braid is a step up from the basic three-strand braid. This technique creates a more complex pattern and can add more texture and interest to your laces. To begin, take four shoelaces of equal length and tie them together at the top.
Separate the laces into four strands and hold them in your hand. Take the left outermost strand and cross it over the second strand, under the third strand, and over the fourth strand. Then, take the right outermost strand and cross it over the second strand, under the third strand, and over the first strand. Repeat this pattern until you reach the end of the laces.
3. Flat Braid
The flat braid is a great way to add some dimension to your shoelaces. This technique creates a braid that lies flat on the surface of your laces, rather than a round braid that protrudes from the laces. To start, take three shoelaces of equal length and tie them together at the top. Separate the laces into three strands and hold them in your hand.
Take the left strand and cross it over the middle strand. Then, take the right strand and cross it over the new middle strand. Instead of crossing the left strand over the new middle strand again, tuck it underneath the new middle strand. Repeat this pattern until you reach the end of the laces.
4. Round Braid
The round braid creates a braid that protrudes from the surface of your laces. This technique is similar to the basic three-strand braid, but with a twist. To start, take three shoelaces of equal length and tie them together at the top. Separate the laces into three strands and hold them in your hand. Take the left strand and cross it over the middle strand.
Then, take the right strand and cross it over the new middle strand. Instead of crossing the left strand over the new middle strand again, tuck it underneath the new middle strand. Then, take the right strand and cross it over the new middle strand again. Repeat this pattern until you reach the end of the laces.
5. Chain Braid
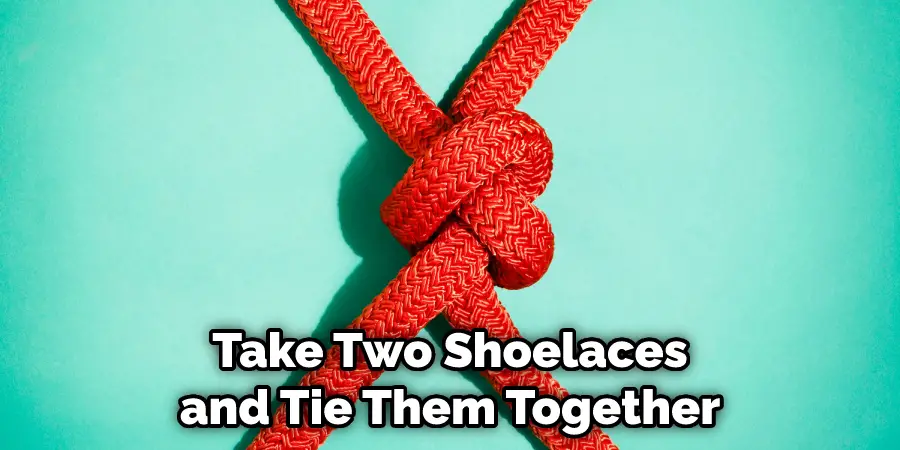
The chain braid is a unique way to braid your shoelaces. This technique creates a braid that resembles a chain. To start, take two shoelaces of equal length and tie them together at the top. Separate the laces into two strands and hold them in your hand. Take the left strand and cross it over the right strand.
Then, take the right strand and loop it through the left strand, creating a knot. Repeat this pattern until you reach the end of the laces. This technique may require a bit of practice, but once you get the hang of it, you can create a unique and stylish look.
6. Fishtail Braid
The fishtail braid is a fun and trendy way to braid your shoelaces. This technique creates a braid that resembles a fishtail. To start, take two shoelaces of equal length and tie them together at the top. Separate the laces into two strands and hold them in your hand.
Take a small section of the left strand and cross it over to the right strand. Then, take a small section of the right strand and cross it over to the left strand. Continue this pattern, alternating between the left and right strands, until you reach the end of the laces.
7. Square Braid
The square braid creates a braid that has a square shape. This technique requires four shoelaces of equal length. To start, take two shoelaces and tie them together at the top. Then, take the other two shoelaces and tie them together at the top, perpendicular to the first two laces. You should have two sets of laces, each with two strands.
Take one strand from the left set and cross it over to the right set. Then, take one strand from the right set and cross it over to the left set. Repeat this pattern, alternating between the left and right sets, until you reach the end of the laces.
8. Zipper Braid
The zipper braid creates a braid that resembles a zipper. This technique requires four shoelaces of equal length. To start, take two shoelaces and tie them together at the top. Then, take the other two shoelaces and tie them together at the top, perpendicular to the first two laces. You should have two sets of laces, each with two strands.
Take one strand from the left set and cross it over to the right set, then loop it under the bottom right strand and over the top right strand. Repeat this pattern, alternating between the left and right sets, until you reach the end of the laces.
9. Snake Braid
The snake braid creates a braid that resembles a snake. This technique requires three shoelaces of equal length. To start, take two shoelaces and tie them together at the top. Then, take the third shoelace and tie it to the middle of the first two laces. Separate the laces into three strands and hold them in your hand.
Take the left strand and cross it over the middle strand. Then, take the right strand and cross it over the new middle strand. Instead of crossing the left strand over the new middle strand again, loop it around the new middle strand. Repeat this pattern until you reach the end of the laces.
10. Multi-Color Braid
The multi-color braid allows you to create a braid that incorporates multiple colors of shoelaces. This technique can be done using any of the previous braiding methods.
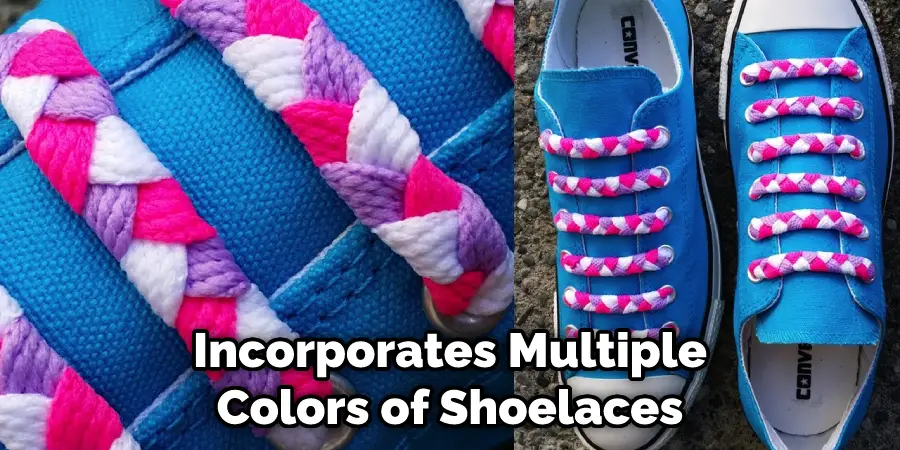
Simply take shoelaces of different colors and tie them together at the top.
Then, separate the laces into strands and braid them using any of the previous methods. This will create a unique and colorful braid that adds a pop of color to your sneakers.
Conclusion
Now that you’ve perfected it, why not take your newfound skill to a new level? Try using different colors of thread to create something extra special and eye-catching! If you want to get really fancy, try combining this technique with another one such as tying a bow or creating an intricate design.
The possibilities are limitless, so have fun and enjoy making the shoes of your dreams! Once again, following these steps can help you master how to braid shoelaces like a pro. So don’t hesitate; give it a try today and unleash your inner designer!