
Shoes are among the most photographed items, whether for fashion magazines or on everyday Instagram feeds. With so many kinds of shoes out there, it can be difficult to choose which ones to photograph and how best to capture their details. As a professional photographer specializing in shoe photography, I’m going to share my top tips for photographing shoes.
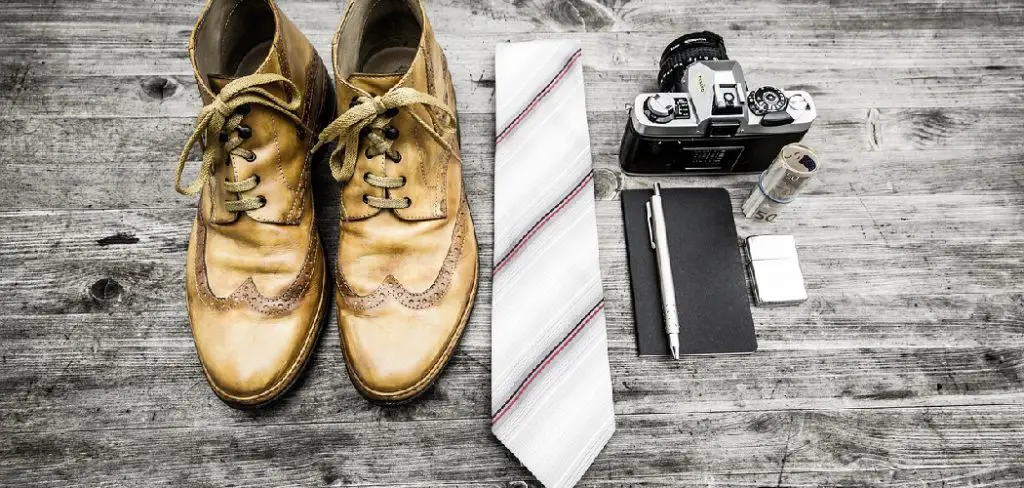
From selecting the right background and using natural light sources effectively, all the way through post-production editing steps — this blog post will cover everything you need to know about how to photograph shoes!
What Are the Best Angles for Shoe Photos?
When it comes to photographing shoes, there are a few angles that can help you capture the best possible photos. For example, shooting from slightly above gives a good view of the shoe’s silhouette and highlights its details. Additionally, taking photos at an angle can bring out the depth and make the image more interesting.
It’s important to take several shots from different angles so you can choose the most effective one when editing your photos later on. A shot taken head-on is great for capturing intricate details like stitching or lacing; if your camera has a macro mode this will work even better as it will let you zoom in closer to pick up finer details.
Side shots are perfect for showing off unique textures or patterns and the shape of the shoe. Don’t be afraid to experiment with your angles and perspectives!
Another great angle to consider when photographing shoes is a top-down shot, which will help you capture an overall image of the shoe. This can be especially helpful if you want to showcase multiple colors or patterns in one photo.
You can also use this angle to capture shoes on feet—which is ideal for product photos. Lastly, don’t forget about taking photos from different distances as this can create unique focal points that may otherwise be missed.
What Camera Settings for Shoe Photography?
When it comes to camera settings for shoe photography, there are several aspects to consider. Generally speaking, using a high-quality camera with adjustable exposure settings and manual modes is recommended. Depending on the type of shot desired, the photographer can adjust the shutter speed, ISO, aperture, and white balance accordingly.
For a basic product shot or flat lay shoot of shoes, start by setting the shutter speed at 1/125th of a second in order to capture any movement that may be present (such as footfalls or wind).
Then choose an appropriate aperture setting such as f/8 or f/11 in order to achieve maximum depth of field while still having enough light available. Lastly, select an appropriate ISO value based on your desired level of light and noise.
For more dynamic shots such as action or lifestyle photos, consider using shutter speeds of around 1/500th of a second in order to freeze an athlete’s movement and sharpness.
For these types of images, higher ISO values are often used in order to capture more light and depth at faster shutter speeds. However, care must be taken to ensure that the image is not overly noisy due to excessive grain caused by high ISOs.
9 Methods on How to Photograph Shoes
1. Use a Tripod
If you want to take sharp photos of shoes, it is important to use a tripod. This will help to keep the camera steady and avoid any blurriness in the image. Additionally, using a tripod will allow you to use a lower ISO setting, which will result in less noise in the image.
Try to use a tripod with adjustable legs for maximum stability, and take your shots from different angles. If you don’t have a tripod, find a stable surface that can support the weight of your camera. However, if you do shoot with a tripod, make sure to avoid any movement during the shot.
2. Use a Macro Lens
A macro lens is a type of lens that is designed for close-up photography. Using a macro lens will allow you to capture all the details of the shoes in your photos. The lens will have a longer focal length, enabling you to take close-up shots with greater detail and clarity.
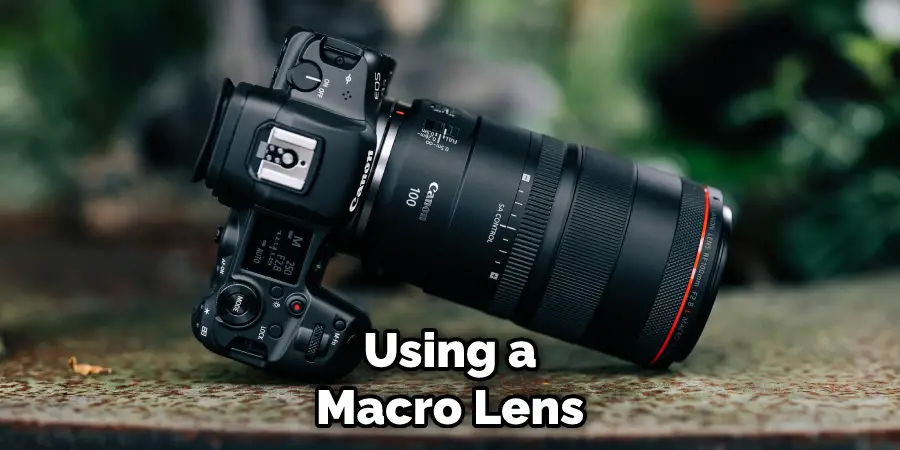
This type of lens also allows for better control over the background of your photos, as you can get a shallow depth of field with macro lenses. If you want to be able to capture the intricacies of your shoes, a macro lens is essential. While this type of lens will cost more, it will be worth the investment for your shoe photography needs.
3. Use a Diffuser
Using a diffuser can help to soften the light and reduce any harsh shadows in your photos. This is especially important when photographing shoes made of shiny materials such as patent leather.
A diffuser can also help to create a more even light source for your images, which will give you a better overall result. You can use either a white reflector or a diffusion panel to accomplish this. When using the diffusion panel, make sure that it’s positioned far enough away from the subject so that the light is spread evenly across the shoe.
4. Shoot in RAW Format
Shooting in RAW format will give you the most flexibility when editing your photos later on. RAW files contain all of the data captured by the camera sensor, which gives you more information to work with when editing your photos. This allows you to adjust the white balance, saturation, and contrast of your photos without losing any quality.
Additionally, shooting in RAW will give you control over the sharpness, noise reduction, and color tones of your photos. Though RAW files take up more storage space than JPEGs, the extra flexibility and control make it well worth it. If your camera supports it, we highly recommend shooting in RAW format.
5. Use Natural Light
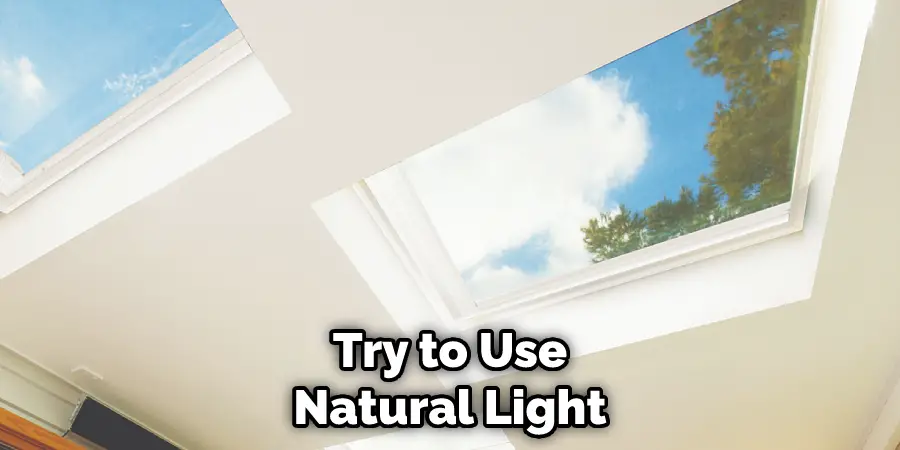
Whenever possible, try to use natural light when photographing shoes. Natural light will give your photos a softer and more natural look. If you must use artificial light, try to use daylight-balanced bulbs to avoid any color cast in your photos. If you’re shooting outdoors, choose an area with even light.
Bright sunlight can cast harsh shadows and create an unnatural look in your photos. Try to position your shoes in the shade or out of direct sunlight. Also, be aware of any bright reflections that may appear on the surface of the shoe as you shoot. You can use a sheet of white paper or a card to diffuse the light, if necessary.
6. Avoid Flash Photography
Flash photography can often result in harsh shadows and bright highlights, which can detract from the overall look of your photos. If you must use flash, try using a diffuser to soften the light and reduce any harshness in the shadows. Also, when using a diffuser, remember to use the lowest possible ISO setting to ensure that you don’t overexpose your images.
7. Experiment with Different Angles
Don’t be afraid to experiment with different angles when photographing shoes. Try shooting from above, below, or at eye level to see what looks best. Sometimes, the best angle is not the most obvious one.
You can also try shooting from different distances – close-up shots for detailed images or wide-angle shots for more of a full-body view. Switch up your angles to capture the most interesting perspective.
8. Use Props Sparingly
Props can often be distracting and take away from the overall look of your photos. If you do decide to use props, make sure they are simple and do not detract from the shoes themselves. For example, instead of using a busy or patterned background or props that are too flashy, try to keep them simple and neutral.
You don’t want to draw the viewer’s attention away from the shoes. Try using items like a small rug, a basket, or textured fabric to create an interesting photo. Lastly, make sure to use props that coordinate with the shoes, such as a bag or hat in similar colors.
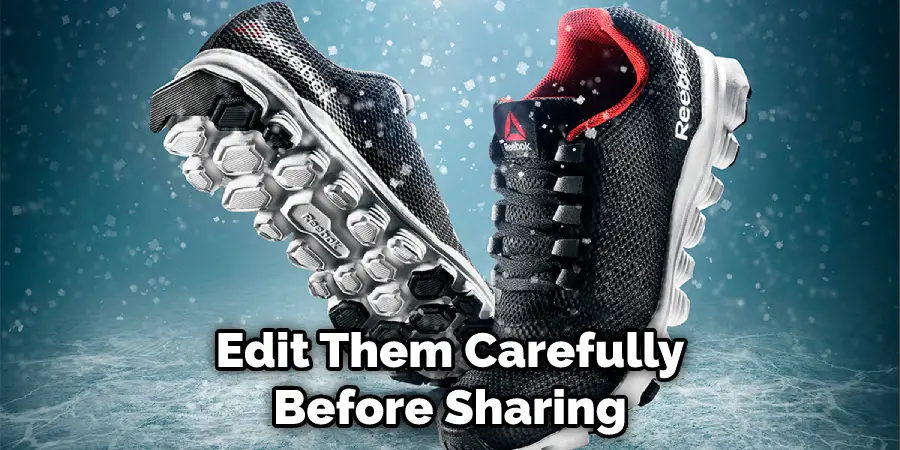
9. Edit Your Photos Carefully
Once you have taken your photos, it is important to edit them carefully before sharing them with others. Pay attention to small details such as color balance, contrast, and sharpness. Sometimes, even small changes can make a big difference in the overall look of your photo.
Also, cropping the image can help to bring focus to the product’s features and composition. Don’t forget to check for any dust or blemishes that may have been captured in the photo, and to remove them if necessary.
Conclusion
So there you have it – with a few simple techniques and some basic photography equipment, anyone can learn how to photograph shoes. With the right angles, backdrops, and lighting, you can really make your pictures pop. Experiment with different settings to find what works best for the subject and might create the most interesting composition.
Make sure to practice – the more you do it, the better you’ll get at bringing out a shoe’s features and details in every photograph. So go ahead and start taking photographs of those shoes – you never know when inspiration may strike! And if ever you’re feeling stuck in your pursuit of perfecting your shoe photography skills, remember that practice makes perfect. Good luck!
You Can Check It Out Know What Size Shoe Laces You Need