Do you love playing basketball but hate how your shoes slip on the court? Learn how to add grip to basketball shoes and take your game to the next level. You’ll be able to make quick, agile moves with confidence and stay in control while you shoot, pass, and dribble. Adding grip to your shoes is an easy process that can be done at home with a few simple supplies. Please keep reading for step-by-step instructions on how to do it.

We all know how important it is to have a good grip on the court. Whether you’re trying to make a layup or steal the ball from your opponent, slip-resistant shoes will give you the traction and control you need to be successful. But unfortunately, many basketball shoes don’t have enough grip for serious players. So if you’ve been slipping and sliding all over the place, it’s time to take matters into your own hands (literally).
Summary: If you’re looking to improve your basketball game and have better control over the ball, adding grip to your shoes is a great way to do so. Several ways of achieving this include switching up your soles, using stick-on abrasive sheets, or using spray-on adhesives. The type of grip that works best for you will depend on the court surface you’re playing on and the shoes you wear.
What are the Reasons for Basketball Shoe Grip?
There are many reasons why you might want to add grip to your basketball shoes. The first reason is safety. If you play on an indoor court, slipping and falling are much higher than if you were playing outdoors on a dry surface. Adding grip to your shoes will help you keep your footing and avoid unnecessary injuries.
Another reason to consider adding grip to your shoes is for improved performance. If you have ever played basketball in slippery shoes, you know how frustrating it can be. Your feet slip inside your shoes, making it difficult to make sudden changes in direction or stops and starts. This can be frustrating, but it can also negatively affect your game. Adding grip to your shoes will give you the traction you need to perform your best.
A Detailed Guide on How to Add Grip to Basketball Shoes
Method 1: Cleaning and Sanding
What You’ll Need:
- Basketball shoes
- Water
- Mild dish soap
- Clean cloths or towels
- Sandpaper (fine and coarse grit)
Step 1: Determine if Your Shoes Need More Grip.
The first step is to figure out if your shoes need more grip. Next, take a look at the soles of your shoes and see if they’re smooth or textured. If the soles are already textured, you probably don’t need to do anything.
Step 2: Clean Your Shoes.
If you’ve determined that your shoes could use some more grip, then the next step is to clean them. Start by taking off any laces or other removable parts of the shoe. Then, mix some water and mild dish soap in a bowl. Next, use a clean cloth or towel to scrub the mixture into the soles of your shoes. Finally, rinse the shoes off with water and let them air dry.

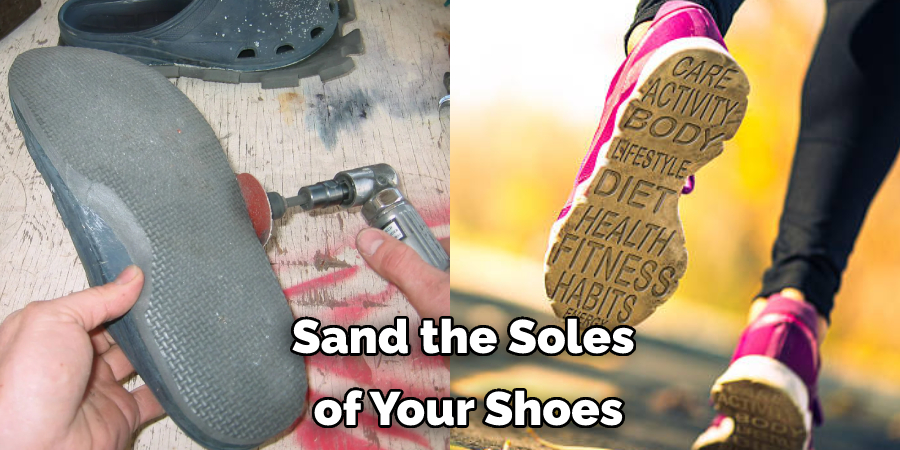
Step 3: Sand the Soles of Your Shoes.
Once your shoes are dry, it’s time to start sanding. Start with a piece of fine grit sandpaper and lightly sand the entire sole of the shoe. If there are any exceptionally smooth areas, you can focus on those. Once you’re done with the fine grit paper, move on to a piece of coarse grit paper and repeat the process.
Step 4: Test the Grip.
After you’ve finished sanding, it’s time to test the grip of your shoes. Take them out for a quick walk or run on a smooth surface like tile or linoleum. If they feel grippy, then you’re all done! If not, you can repeat steps 2-4 until you’re happy with the results.
Method 2: Moisten the Soles of Your Shoes
By wetting the bottom of your shoes, you’re essentially giving yourself an extra layer of traction. This can be especially helpful if you’re playing on a slick surface or your shoes are starting to wear down and lose their grip.
What You’ll Need:
- A bowl or cup
- Water
- A cloth or paper towel
Step 1: Determine How Much Water You’ll Need.
Start by adding a small amount of water to your bowl or cup. You don’t want to use too much, or your shoes will be soaked and may take forever to dry. A good rule of thumb is to add enough water so that when you dip your cloth or paper towel in, it’s saturated but not dripping.
Step 2: Moisten the Soles of Your Shoes
Once you’ve wet your cloth or paper towel, go ahead and Rub it on the soles of your shoes. Again, cover the entire bottom surface area, giving you the best possible grip.
Step 3: Let Your Shoes Dry
Now that you’ve wet the bottom of your shoes, it’s time to let them dry. This process can take a few minutes or up to an hour, depending on how much water you use. Once they’re dry, you should notice an improvement in traction and grip.
Method 3: Rub Vaseline to Keep Your Soles Moisturized
If you have problems with your shoes slipping on the court, one way to add extra grip is to rub Vaseline into the soles. This will help keep the soles of your shoes moist and prevent them from drying out and becoming slippery. Be sure to wipe off any excess Vaseline before you play, as it can make the court surface slippery.
What You’ll Need:
- Vaseline
- Old rag
Step 1: Prepare Work Area
Wipe off any dirt or debris from the bottom of your shoes with an old rag. This will help the Vaseline to adhere better to the soles.
Step 2: Apply Vaseline
Rub a generous amount of Vaseline into the soles of your shoes, using your fingers to work it into all the nooks and crannies. Be sure to cover the entire sole surface.
Step 3: Wipe Off Excess
Once you’ve applied a good layer of Vaseline, wipe off any excess with the old rag. You don’t want too much Vaseline on your shoes, as it can make the court slippery.
Step 4: Play Ball!
You’re now ready to hit the court with extra grip! The Vaseline will help keep your shoes from slipping, even when they get sweaty. Just be sure to reapply it regularly to keep the soles moisturized.
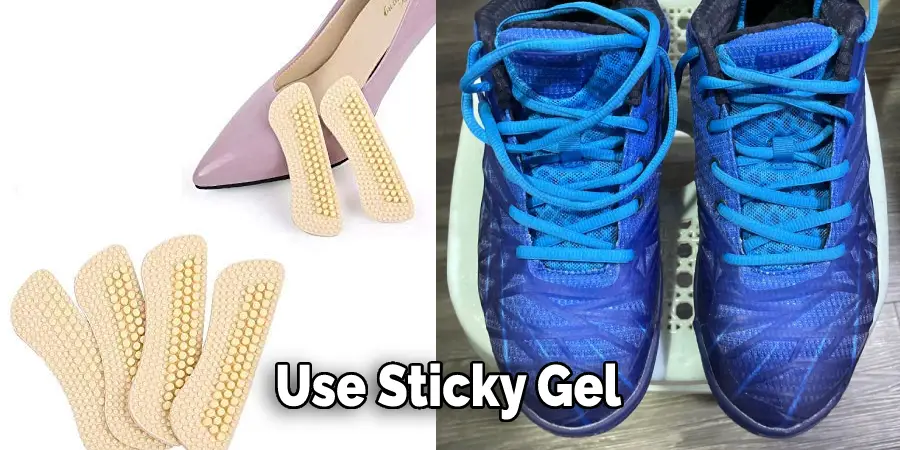
Method 4: Use Sticky Gel
Sticky Gel is a product that can be applied to the bottom of your shoes to increase traction and grip. It is a clear, gel-like substance that dries quickly and does not leave a residue.
Sticky Gel is an easy and affordable way to add grip to your shoes. It is also versatile and can be used on various surfaces, including concrete, asphalt, and wood.
Sticky Gel should be used when you need extra grip and traction on your shoes. For example, it is ideal for basketball players who want to increase their shooting accuracy or prevent slipping while playing defense.
Step 1: Choosing the Right Sticky Gel
There are a few things to consider when choosing a sticky gel for your shoes. First, you need to decide if you want a permanent or temporary solution. Permanent gels will bond with the material of your shoes and cannot be removed. Temporary gels can be removed and may need to be reapplied periodically.
Second, you need to choose a gel that is compatible with the material of your shoes. For example, some gels are not suitable for use on leather or suede.
Third, you need to decide how much grip you need. If you only need a little bit of extra traction, you can choose a low-grip gel. If you need a lot of extra traction, you can select a high-grip gel.
Step 2: Applying the Sticky Gel
Once you have chosen the suitable sticky gel for your needs, you need to apply it to your shoes. Most gels come with an applicator brush or sponge that makes it easy to apply the gel evenly.
Start by applying the gel to the areas of your shoes that need the most grip. For example, if you are a basketball player, you might want to use the gel on the soles of your shoes.
If you are using a temporary gel, you will need to let it dry before wearing your shoes. Permanent gels will bond with your shoes immediately.
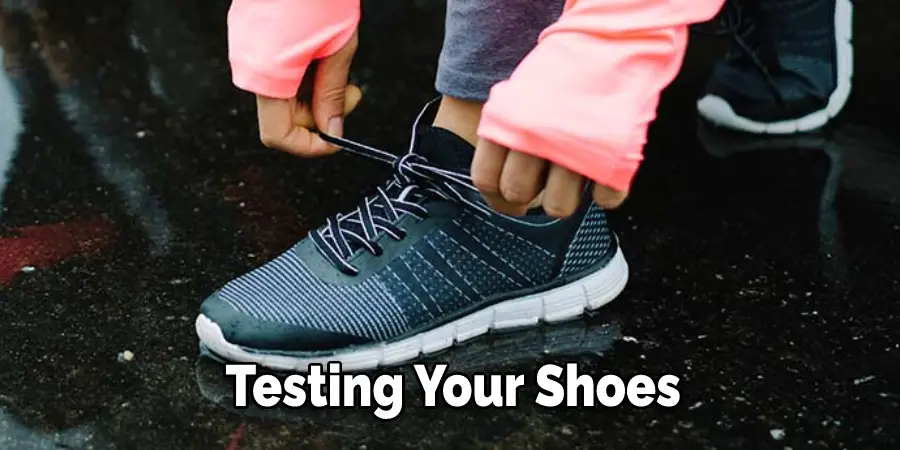
Step 3: Testing Your Shoes
After you have applied the sticky gel to your shoes, you should test them to ensure the gel is working properly. The best way to do this is to find a surface that simulates the conditions you will be using your shoes in.
For example, if you are a basketball player, you might want to test your shoes on a basketball court. If you are a runner, you might want to try your shoes on a treadmill.
Once you have found a suitable testing surface, please put on your shoes and see how they feel. Please pay attention to how well they grip the surface and how comfortable they are to wear.
If you are not happy with the results of your first application, you can always apply more gel or choose a different type of gel.
You Can Check It Out to Break in Blundstones
Frequently Asked Questions
Why Do Basketball Players Grab Their Shoes?
Most basketball players grab their shoes for a few reasons. The most common reason is to keep their feet from getting dusty or dirty. Another reason is that it can help them keep their balance while they’re running or bouncing the ball. And lastly, grabbing their shoes can help them stay on their feet when they’re getting fouled. Thanks for asking!
What Does It Mean if Shoes Are Beaters?
Shoes that are beaters usually mean that they have been worn multiple times without being properly cared for. This can lead to tears in the fabric and abrasion on the soles, which can cause injury over time.
To keep your shoes looking their best, try following these tips: regularly clean them with a dirk or brush; apply an appropriate shoe polish; replace footbeds as needed; adjust shoelaces if necessary; oil your shoes every few months (more often if you wear them outside). If you notice any other signs of damage, such as deep gouges or cracks in the leather, then it is recommended that you take them off and get replacement boots immediately.
Conclusion:
So, there you have it, how to add grip to basketball shoes. Basketball shoes with a grip can improve your performance on the court. When looking for a new pair of basketball shoes, be sure to find ones that have a good grip. This will help you stay in control while playing and avoid slipping. The grip is an essential factor when choosing basketball shoes, so keep it in mind when shopping.
