
Are you a fan of the classic style of cowboy boots? Cowboy boots can be an iconic part of your look and are often associated with country-western vibes. Whether you wear them as fashion or for practical everyday use, nothing quite beats the feeling of pulling on a trusty pair of cowboy boots.
But despite their toughness and durability, even the most well-made cowboy boots will eventually need to be re-soled. Don’t worry, though – it’s easier than it sounds! In this blog post, we’re going to break down everything you need to know about how to resole cowboy boots.
From determining when they may need resoling to repair costs and techniques, by following these steps, you’ll be able to confidently keep your favorite pair looking great for years to come!
What Will You Need?
Before you begin the resoling process, it’s important to make sure you have all the necessary tools and materials. Here are some items you will need:
- A flat surface to work on
- Leather conditioner or oil (optional)
- Rubber sole sheet in a suitable color and thickness for your boots
- Sharp scissors or razor blade
- Sandpaper or sanding block
- Shoe glue or adhesive
- Rubber mallet (optional)
Once you have gathered all your materials, it’s time to start the resolution process!
10 Easy Steps on How to Resole Cowboy Boots
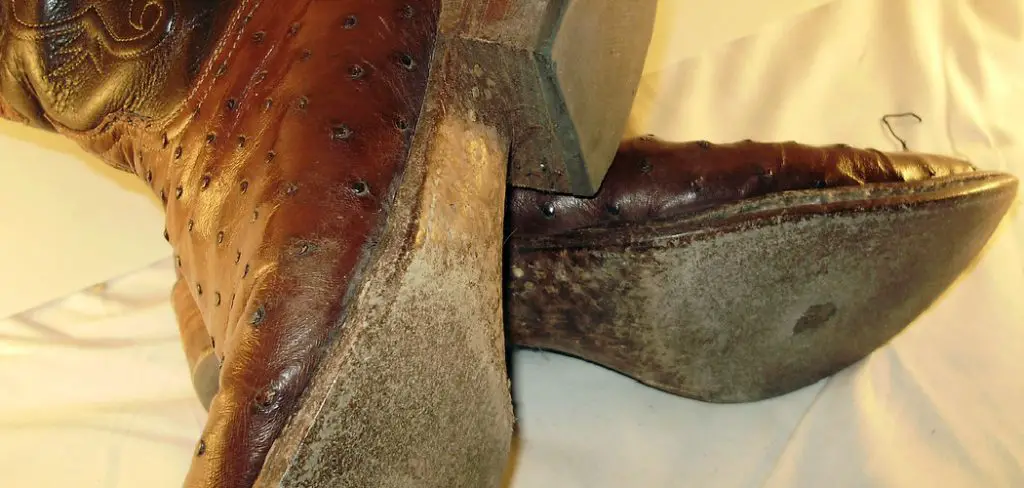
Step 1: Assess Your Boots’ Condition
The first step in resolving cowboy boots is determining whether they need to be repaired or not. Signs that your boots may need to be re-soled include:
- Visible wear and tear on the sole (such as holes or worn out treads)
- Uneven sole wear
- Difficulty walking in the boots
If you notice any of these signs, it’s time to start the resolution process.
Step 2: Clean Your Boots
Before you begin any repairs, ensure your boots are clean and free from debris. You can use a damp cloth to wipe down the exterior and remove any dirt or mud. It’s also a good idea to use a leather conditioner or oil to keep the leather supple and prevent it from cracking during the resoling process.
Step 3: Remove the Old Sole
After cleaning your boots, the next step is to remove the old sole. Carefully cut along the perimeter of the worn sole using a sharp razor blade or scissors. Be cautious not to damage the boot upper as you do this. If the sole is stitched, you should unstitch it before removal.
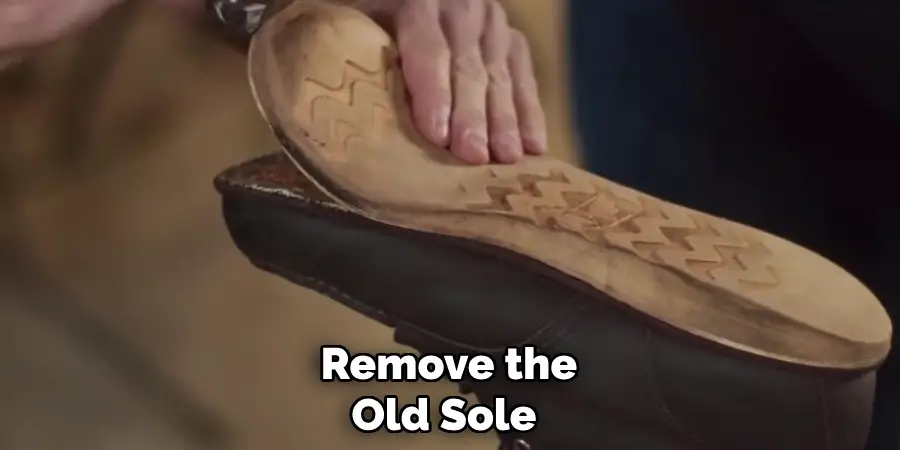
After the old sole is detached, use sandpaper or a sanding block to smooth any rough areas on the bottom of your boot. This will provide a flat surface for the new sole to adhere to.
Step 4: Cut Out the New Sole
Once the old sole is removed and the bottom of the boot is prepped, it’s time to cut out the new sole. Place your rubber sheet on a flat surface and place the bottom of your boot onto the sheet.
Use a marker to trace around the boot, carefully following the outline. Once you have your boot’s shape marked out, use your sharp scissors or razor blade to cut out the new sole. Remember, it’s better to cut the sole a bit larger and trim it down later for a perfect fit.
Step 5: Fit and Trim the New Sole
Now, align the cut-out sole with the bottom of your boot. Make sure it’s a perfect match. If the newly cut sole is larger than the bottom of the boot, use your scissors or razor blade to trim down the excess. This step is crucial to ensure a snug fit. Do not rush this process; take time to get the best fit possible.
Step 6: Apply Adhesive
Once the new sole perfectly matches your boot, proceed to the gluing process. Apply a sufficient amount of shoe glue or adhesive to both the bottom of your boot and the new sole. Make sure to spread the adhesive evenly across the entire surface.
Step 7: Attach the New Sole
After applying the adhesive, carefully align the new sole with the bottom of the boot and press it firmly. To ensure a strong bond, you might want to use a rubber mallet to hit the sole gently or place a heavy object on the boot and leave it for a while. As directed by the adhesive’s instructions. Make sure to remove any excess glue before it dries.
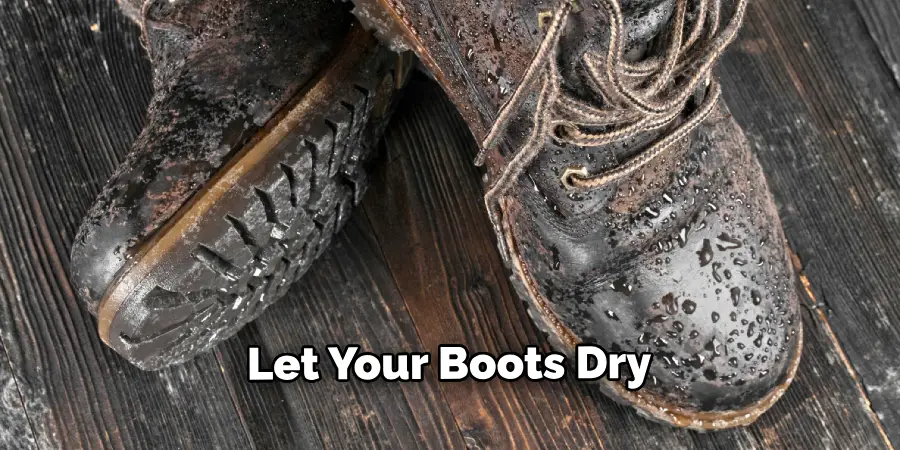
Step 8: Let It Dry
After attaching the new sole, it’s important to let your boots dry completely. This process can take a few hours, so be patient and resist the temptation to test out your newly resoled boots too soon. If you’re using a strong adhesive, it’s best to let your boots dry overnight.
Step 9: Trim Excess Material
Inspect the new soles for overhanging rubber once your boots have completely dried. If you notice any excess, use your sharp scissors or razor blade to trim it away carefully. This will give your cowboy boots a professional, clean finish after the resoling process. Take your time during this step to prevent any accidental damage to the boot upper.
Step 10: Final Touches
The final step in the resoling process is to give your boots a comprehensive clean and polish. Start by wiping away any leftover adhesive or debris from the soles and uppers. Then, condition the leather to keep it flexible and give it a soft, supple feel. Finally, apply a polish that matches the color of your boots. Buff the polish into the leather until it shines, following the manufacturer’s instructions.
With that, your boots are resolved and ready for the road again! The resoling process can extend the lifespan of your boots and keep them looking as good as new, all while saving you the cost of buying a brand-new pair.
With these steps and a bit of patience, you can easily resolve your cowboy boots at home. However, if you need clarification on the process or need the necessary tools, it’s always best to seek professional help from a cobbler.
5 Additional Tips and Tips
- Understand the Process: Resoling cowboy boots is not a task to be taken lightly. It requires time, patience, and a good understanding of the process. Be sure to research and familiarize yourself with the steps before starting.
- Invest in Quality Materials: The quality of the new soles makes a significant difference. Invest in high-quality leather or rubber soles to ensure longevity and optimal performance.
- Use the Right Tools: A good set of tools is crucial for a successful resoling. This includes a sturdy knife for removing the old sole, glue for attaching the new sole, clamps for securing the sole while it dries, and a sander for smoothing the edges.
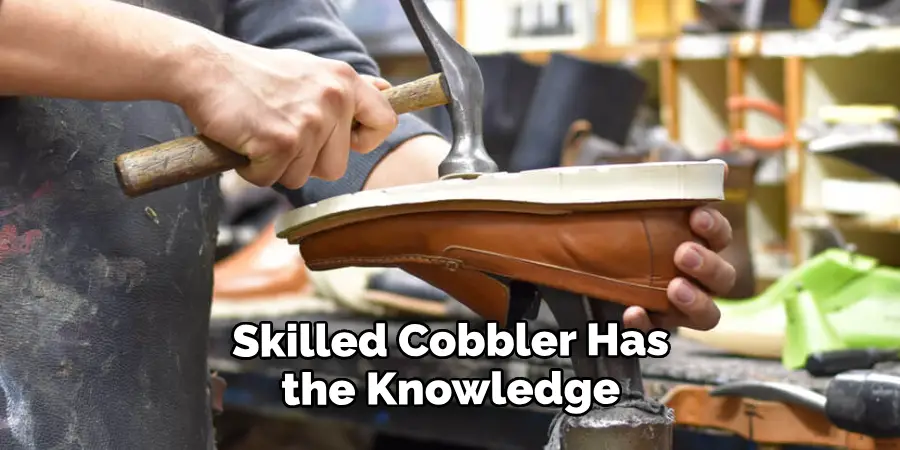
- Consider Professional Help: If you need more certainty about doing the job yourself, consider hiring a professional. A skilled cobbler has the knowledge and expertise to resolve your cowboy boots and prolong their lifespan.
- Maintenance is Key: After resolving your cowboy boots, maintain them properly. Regular cleaning and conditioning can keep the leather supple and prolong the life of your newly resoled boots.
By following these additional tips and tricks, you can ensure a successful resoling process for your beloved cowboy boots.
5 Things You Should Avoid
- Avoid Rushing the Process: Resoling cowboy boots requires precision and patience. Refusing the process can lead to mistakes, potentially damaging your boots.
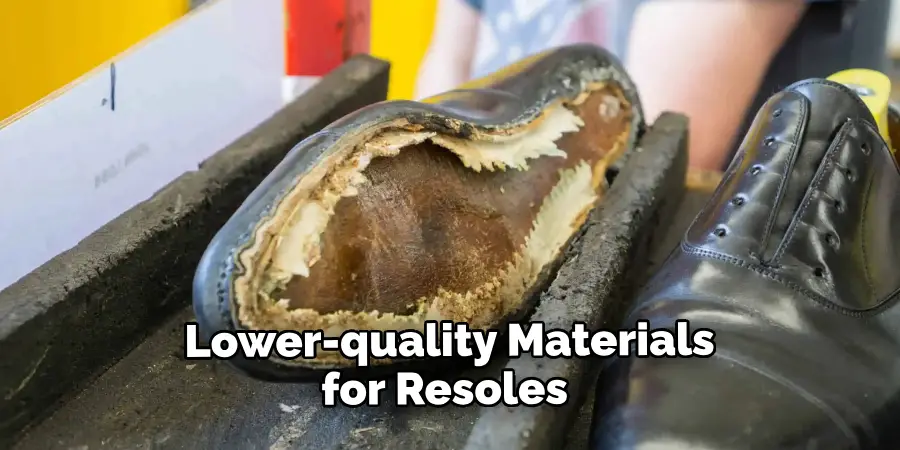
- Avoid Using Inferior Materials: While it might be tempting to save money, using cheaper, lower-quality materials for resoles can cost more in the long run. Inferior materials can wear out quickly, requiring frequent replacements.
- Avoid Improper Tools Use: Using the wrong tools or using them improperly can damage both the boots and the new soles. Always use the recommended tools for each step and use them correctly.
- Avoid Neglecting Post-Resole Care: After resolving your boots, pay attention to the necessary maintenance. Regular cleaning, conditioning, and storage in a cool, dry place can help preserve the longevity of the resoled boots.
- Avoid DIY if Unsure: If you need clarification on any aspect of resoling your cowboy boots, don’t risk doing it yourself. A professional cobbler will have the skills and experience to do the job properly.
Avoiding these common mistakes can help ensure a successful resoling process and keep your cowboy boots in top condition for years.
Conclusion
All in all, it is important to remember when resoling cowboy boots that the quality of the materials used is key. Working with an experienced cobbler who can offer honest advice about each process step will help ensure that your cowboy boots are prepared for years of enjoyable use. Ask questions before commencing any repair work or other alterations on your beloved cowboy boots.
Hopefully, the article on how to resole cowboy boots has provided you with useful information and tips to help you properly maintain your favorite footwear.
With a few steps, you could have your favorite pair of boots back in service quickly! Happy boot repairing! So, give those old cowboy boots a new life by resoling them!