
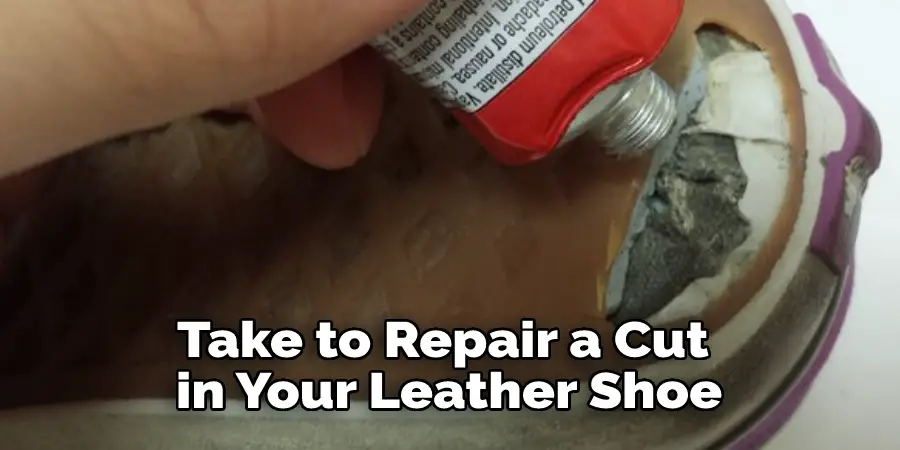
Leather shoes are a classic fashion statement, but they can also be quite expensive. So it’s essential to take care of them so that they last as long as possible. Unfortunately, one common problem with leather shoes is that they can easily get cut or torn. But don’t worry, there is a simple solution to this problem. In this article, we will show you how to repair cut in leather shoe. Keep reading for more information.
Leather is a solid and durable material, but it is also quite sensitive. When leather gets cut, it can easily tear and become damaged. Many people think that repairing leather is difficult, but it’s quite easy. All you need is a little time and patience.
Summary: To repair a cut in a leather shoe, you will need a leather repair kit that includes adhesive, patch, and colorant. Clean the area around the cut with a cloth and apply adhesive. Place the patch over the cut and press firmly. Allow the adhesive to dry completely before applying the colorant to match the color of the shoe. Let the colorant dry and then use a leather conditioner to restore the shoe’s texture.
What You’ll Need:
- Saddle soap or mild dishwashing soap
- Brush or microfiber cloth
- Sandpaper
- Leather glue
- Leather filler
- Color-matching colorant
- Sealer
- Shoe polish
- Cotton balls
A Stepwise Guide on How to Repair Cut in Leather Shoe
Step 1: Determine the Extent of the Damage
The first step is to determine the severity and size of the cut. If the cut is less than 1/4 inch deep and does not go through the leather, it should be relatively easy to repair. If the cut is deeper or goes through the leather, it will be more challenging to fix, but it is still possible.
Step 2: Clean the Area
To give the repair area a clean surface to work with, you will need to remove any dirt, debris, or oils that may be present. You can do this by using saddle soap or mild dishwashing soap.
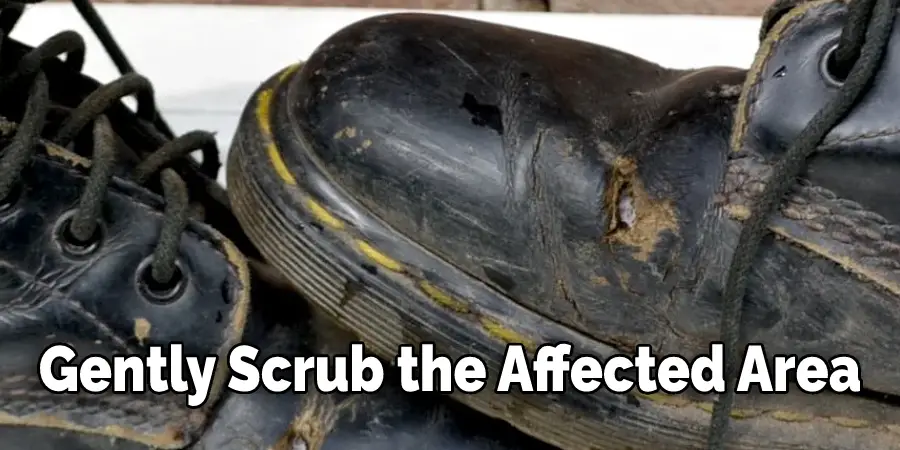
Wet a brush or microfiber cloth with the soap and water solution and gently scrub the affected area. Once you have finished scrubbing, use a paper towel or cloth to remove excess moisture.
Please do not use harsh chemicals or cleaners as they may damage the leather. Also, remove all soap residue as it can interfere with the repair.
Step 3: Prep the Area for Repair
Once the area is clean, you will need to prep it for repair. If the cut is less than 1/4 inch deep, you can skip this step. However, if the cut is deeper or goes through the leather, you will need to use sandpaper to rough up the edges of the cut. This will help the glue adhere better to the leather.
Use medium-grit sandpaper and gently sand around the edges of the cut. Once you have finished sanding, use a paper towel or cloth to remove any dust or debris.
Step 4: Apply the Glue
Now that you have your shoe ready, it’s time to get started on the repair. Begin by applying a small amount of glue to the end of a toothpick. Then, gently insert the toothpick into the cut and wiggle it to spread the glue evenly. Be careful not to use too much glue, making the repair more difficult.
Next, take your piece of leather and place it over the cut. Then, use your fingers to press the leather down into the glue, ensuring it has fully adhered.
Finally, allow the repair to dry for at least 24 hours before using the shoe again. This will give the glue time to set and ensure a durable repair.
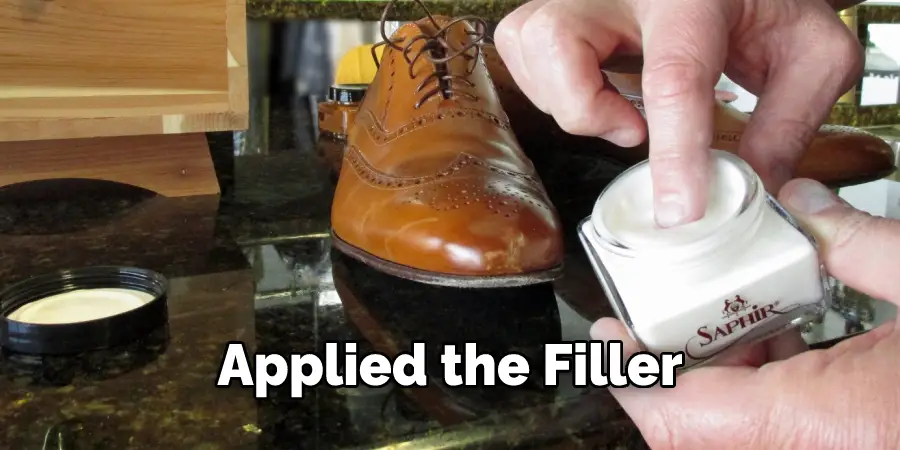
Step 5: Apply the Filler
To mix the filler, first cut off a small piece of the hardener that comes with the kit. Then, use a popsicle stick or another mixing tool to stir the hardener into the repair compound. Be sure to mix them thoroughly; otherwise, the repair won’t set properly and will be too soft.
Once you’ve mixed the two, begin working the filler into the cut in your shoe. Use your fingers to press it into place, then smooth it out so that it’s level with the shoe’s surface. You want to make sure you fill the cut; otherwise, it will show through once the repair dries.
If you have any excess filler, you can remove it with a damp cloth.
Step 6: Let the Filler Dry
Now that you’ve applied the filler, it’s time to let it dry. The repair kit should have specific instructions on how long to let the filler dry; however, it is typically around 24 hours. Once the filler is dry, it will be hard to the touch.
Step 7: Apply Sealer
After the filler has dried, you will need to apply a sealer. This will help protect the repair and make it more durable.
To apply the sealer, first cut off a small piece of the waxy substance with the kit. Then, use a popsicle stick or another mixing tool to stir it into the repair compound. Be sure to mix them thoroughly; otherwise, the repair won’t set properly and will be too soft.
Once you’ve mixed the two, begin working the sealer into the cut in your shoe. Use your fingers to press it into place, then smooth it out so that it’s level with the shoe’s surface. You want to make sure you fill the cut; otherwise, it will show through once the repair dries.
If you have any excess sealer, you can remove it with a damp cloth.
Step 8: Let the Sealer Dry
Now that you’ve applied the sealer, it’s time to let it dry. The repair kit should have specific instructions on how long to let the filler dry; however, it is typically around 24 hours. Once the sealer is dry, it will be hard to the touch.
Step 9: Polish the Shoe
After the repair has dried, you will need to polish the shoe to match the rest of the leather. To do this, first, select a shoe polish that matches the color of your shoe. Then, use a soft cloth to apply a small polish to the repair.
Next, use a clean, dry cloth to buff the repair until it shines. You may need to apply several coats of polish to get the desired effect.
Step 10: Apply Colorant (Optional)
You can apply a colorant to the repair area to match the shoe’s original color if you want. This is unnecessary, but it can help make the repair less visible.
First, mix a small amount of the colorant and sealer to apply the colorant. Then, use a cotton ball or brush to apply the mixture to the repair area. Be sure to apply it evenly and smoothly.
Allow the colorant to dry completely before moving on to the next step.
Step 11: Apply the Topcoat (Optional)
Once the colorant is dry, you can apply a top coat to protect the repair and give it a shiny finish. To do this, mix a tiny amount of the sealer and topcoat. Then, use a cotton ball or brush to apply it to the repair area. Finally, allow the top coat to dry completely before using the shoe again.
Repairing a cut in your leather shoe is easier than you might think. With a bit of time and effort, your shoe looks good as new. Just follow the steps above and allow each step to dry completely before moving on to the next.
There you have it! These are the steps you need to take to repair a cut in your leather shoe. Just be sure to take your time and allow each step to dry completely before moving on to the next. With a little patience, you’ll have your shoe look good as new.
Tips and Warnings:
Tips:
-If the cut in your leather shoe is close to the edge, you can use super glue to mend it.
-Be sure to apply a small amount of glue and let it dry completely before wearing the shoes.
-If the cut is more significant, you may need to patch it from the inside with a piece of leather or fabric.
-You can also use moleskin tape to repair cuts in leather shoes. Cut a piece of moleskin to fit over the cut and adhesive it in place.
-If your shoes are made of suede, you can use a suede brush to help blend in the repair.
Warnings:
-Be very careful when using super glue, as it can cause skin irritation.
-If you are unsure about properly repairing your shoes, it is best to take them to a professional.
-Do not wear your shoes until the repair is completely dry.
Why Do Leather Shoes Eventually Crack or Tear?
The answer to this question is that all materials will eventually succumb to wear and tear, no matter how strong or durable. This is especially true for leather shoes, which are subject to stress every time you take a step. In addition, the leather itself is also susceptible to drying out and cracking over time, which can cause the material to break down even faster.
Fortunately, there are some things you can do to extend the life of your leather shoes and help prevent them from cracking or tearing. Here are a few tips:
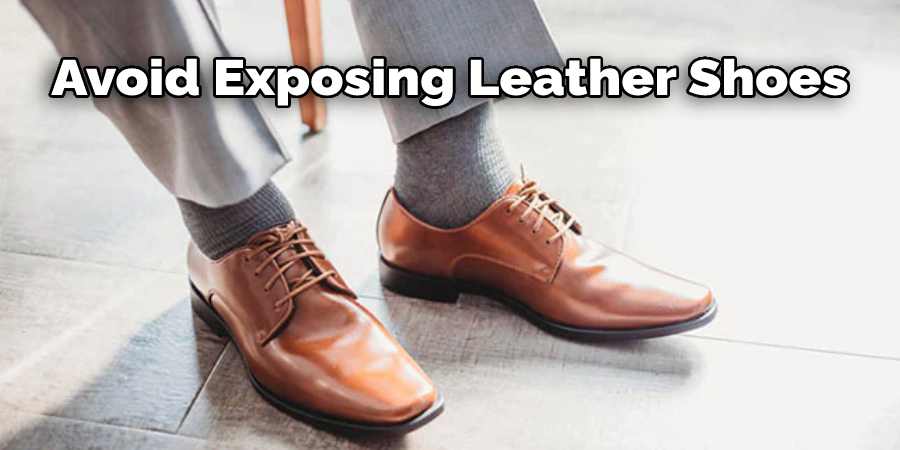
1. Avoid exposing leather shoes to excessive moisture.
2. Keep leather shoes away from direct heat sources.
3. Store leather shoes in a cool, dry place when not in use.
4. Treat leather shoes with a quality leather conditioner regularly.
If your leather shoes do develop cracks or tears, there are some easy ways to repair them to look as good as new.
Frequently Asked Questions
Can a Cut in a Leather Shoe Be Repaired?
Yes, a cut in a leather shoe can be repaired. However, the repair will likely not be as good as the original shoe. To do a proper repair, you will need to remove the shoe completely and clean the area where the cut is located. You will then need to use a sewing kit or an adhesive toattach the pieces of the shoe together. Make sure to wear gloves and eye protection during the repair process.
Can Cobblers Repair Ripped Leather?
Yes, cobblers can repair torn leather by reseaming the fabric and reinforcing the stitching. This will restore strength and stability to the garment, minimizing potential wear and tear. Additionally, cobblers can add extra protections such as waterproofing or sun blocking properties to your footwear.
How Do You Fix a Cut in Leather?
Apply pressure with a clean cloth or your hand. If that doesn’t work, then use an ice pack and wait for it to cool before applying more pressure. Finally, if none of these methods work, go ahead and take the shoe off and try to fix the damage using Leather Glue.
How Do You Fix a Small Nick in Leather?
Use an enzyme-based product. This type of product is designed to break down the lipids and proteins that make up the damaged area, so that new skin can grow. It should be applied shortly after the damage has occurred and will usually take about 2 weeks for full results. If no improvement is seen after 2 weeks, then another application may be necessary.
Conclusion:
Repairing a cut in your leather shoe is not as difficult as it may seem. With the right tools and supplies, you can have your shoes looking good as new in no time at all. Follow these simple steps on how to repair cut in leather shoe, and save yourself some money in the process!