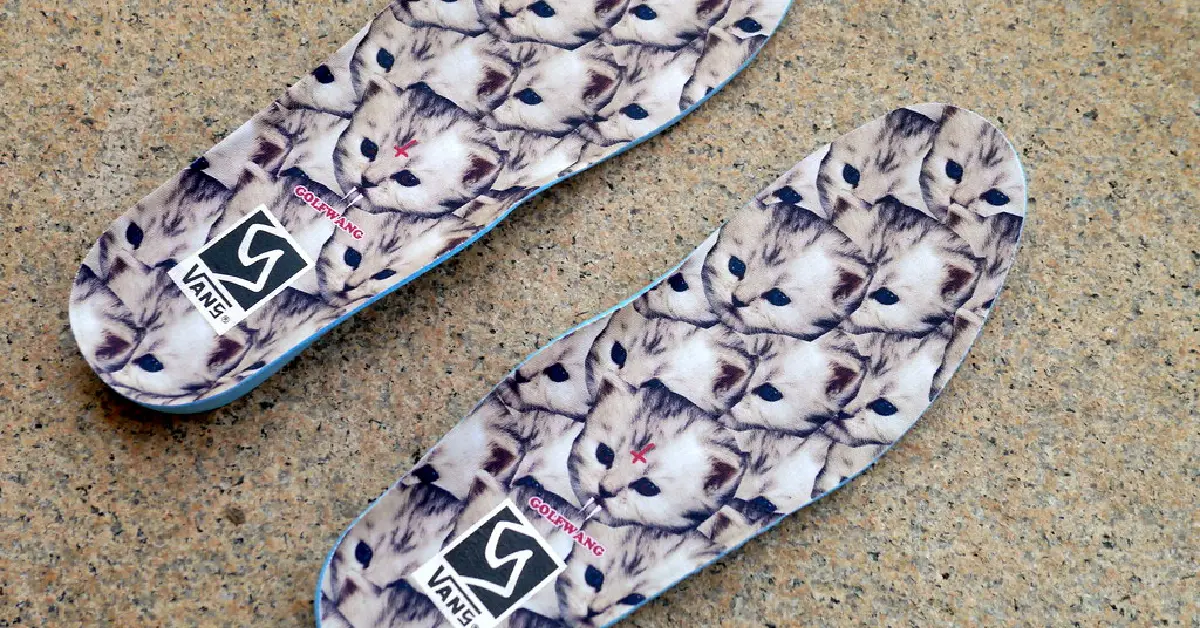
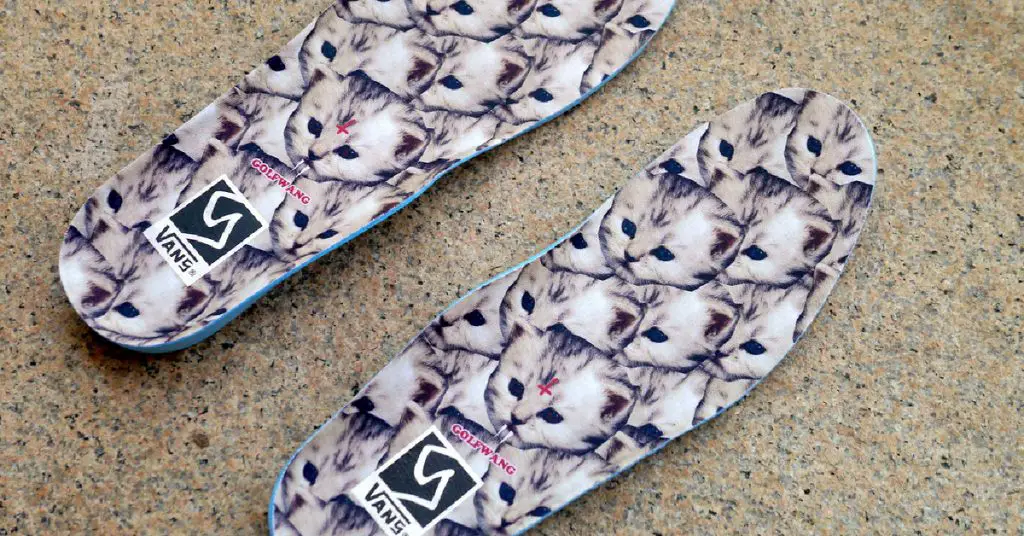
If you’re like most people, you probably take your vans insoles for granted. They’re a necessary part of your sneaker game, and you probably don’t think about them too much. But what if you could improve the way your vans feel by removing the insoles?
It might sound crazy, but it’s actually a pretty easy process. In this post, we’ll show you how to remove vans insoles in just a few simple steps. So keep reading to learn more!
Summary: To remove Van’s insoles, start by pulling up the heel of the insole to lift it out of the shoe. Then, grip the insole firmly and pull it towards you until it pops out. If the insole is stuck, use a small tool, like a screwdriver, to pry it up gently. Once the insole is out, you can replace it with a new one or wash it separately.
What Is a Vans Shoe?
Vans is a California-based shoe company that was founded in 1966. The company’s signature product is the “Authentic” sneaker, which is a low-top design with a simple vulcanized construction. The Authentic was originally released as a skateboarding shoe, but it has since become popular among all sorts of people, from punk rockers to hip hop artists to fashionistas.
Today, Vans offers a wide range of shoes, including low-top and high-top designs, slip-on, sandals, and boots. The company also offers a line of clothing and accessories, such as t-shirts, hats, and backpacks. So whether you’re looking for a new pair of skate shoes or just a casual everyday shoe, Vans has something to offer.

Why Should You Remove Vans Insoles?
Van’s insoles are often overlooked as a potential source of discomfort. However, these thin, flat pieces of foam can actually cause a lot of problems for your feet. For one thing, they don’t provide much support, leading to pain and fatigue. Additionally, they tend to bunch up and slip around, creating an uneven surface that makes it difficult to keep your balance.
And finally, they can trap moisture and allow bacteria to grow, leading to athlete’s foot or other fungal infections. So if you’re experiencing any foot problems, removing your Vans insoles is a good place to start. You may be surprised at how much better your feet feel without them!
10 Ways to Follow on How to Remove Vans Insoles
Vans shoes are comfortable and stylish, but sometimes you need to remove the insoles for cleaning or replacement. Here’s how to do it:
1. Remove the Insole From The Shoe
Start by taking out the insole from the shoe. You can do this by gently lifting it from the heel area. If the insole is glued down, use a butter knife or another thin object to help you pry it up.
2. Peel Off the Top Layer of The Insole
Once you have removed the insole from the shoe, you will need to peel off the top layer of the insole. To do this, simply grab a corner of the insole and slowly peel it away from the rest of the insole.
If the insole is stuck on very tightly, you may need to use a sharp object such as a knife or a pair of scissors to help you start peeling the insole. Once you have started to peel the insole, you should be able to continue peeling it away by hand.
3. Peel Off the Adhesive on The Back of The Insole
There is a thin layer of adhesive on the back of the insole that helps keep it in place. To remove the insole, you will need to peel this adhesive off.
Start by gently pulling up one corner of the insole. Once you have a small section lifted, use your fingers to peel the adhesive off of the insole slowly. Continue peeling until the entire insole is removed.
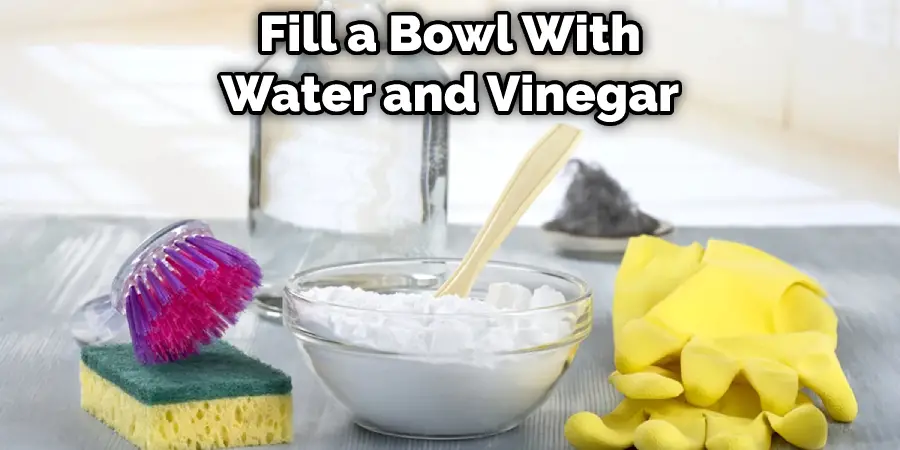
4. Soak the Insole in A Mixture of Water and Vinegar
Fill a bowl with equal parts water and vinegar. Submerge the insole in the bowl and let it soak for 30 minutes. The vinegar will help break down any dirt, grime, or residue on the insole.
5. Scrub Off Any Dirt or Stains with A Toothbrush:
After the insole has soaked for a while, use an old toothbrush to scrub away any dirt or stains that are still clinging to it. If you have a particularly stubborn stain, you can try using a bit of dish soap or laundry detergent on the brush before scrubbing.
6. Rinse the Insole and Let It Air Dry
Rinse the insole with water, then let it air dry completely before putting it back in the shoe. This will help to remove any lingering dirt, debris, or soap residue.
7. Place the New Insole Into the Shoe
Now that the old insole is out, you’ll need to put the new one in. Start by lining up the heel of the new insole with the back of the shoe. Then, gently push the insole into place. Make sure that it’s lying flat and isn’t bunched up anywhere. Once it’s in place, you can replace the laces and wear the shoes as usual!
8. Apply Pressure to Ensure that It Adheres to The Shoe
After you have put the new insole in, make sure to press down on it with your hand so that it adheres well to the shoe. Do this all around the insole, especially along the edges. You don’t want any gaps between the insole and the shoe, as this will decrease the level of comfort and support that the insole can provide.
9. Repeat The Process for The Other Shoe
Once you have removed and replaced the insole in one shoe, you will need to do the same for the other shoe. Make sure that you place the new insole correctly to provide the same level of comfort and support. If necessary, you can use a mirror to help you with this process.
10. Wear Your Shoes and Enjoy
After removing and replacing the insoles in your Vans shoes, you can now wear them and enjoy them. You may notice a difference in the level of comfort and support that they provide. If you have any problems with the new insoles, contact a professional to help you find a better solution.
That’s it! You’ve now learned how to remove vans insoles in your Vans shoes. With this knowledge, you can keep your shoes comfortable and supportive for many years.
You Can Check It Out to Remove Sewn in Insoles
Can I Just Pull the Insoles Out of My Vans?
So, you’re thinking about pulling the insoles out of your vans, but you’re not sure if it’s a good idea. Well, let’s weigh the pros and cons. On the one hand, pulling the insoles out of your vans will give you a bit more room to wiggle your toes and may make your shoes feel a bit more comfortable.
On the other hand, it will also make your shoes less supportive and may cause them to wear out more quickly. So, what’s the verdict? Ultimately, the decision is up to you. If you think the extra room and comfort are worth the trade-off of reduced support and lifespan, go ahead and pull those insoles out.
However, if you value longevity and support over a little extra wiggle room, then you might want to keep those insoles in place.
How Do I Clean the Inside of My Vans Shoe?
If you’re like most people, you probably don’t give much thought to cleaning the inside of your shoes. After all, they’re just going to get dirty again, so why bother? However, if you wear Vans shoes, it’s important to clean them regularly to prevent foot odor. Here’s how to do it:
First, remove the insole and eyelets (if applicable). These can be cleaned separately. Next, use a soft brush or cloth to remove any dirt or debris from the inside of the shoe. Be sure to get into all the nooks and crannies. Once the inside of the shoe is clean, replace the insole and eyelets (if applicable) and allow the shoes to air out overnight.
With just a little bit of effort, you can keep your Vans shoes smelling fresh and looking great. Keep reading for more information about how to remove vans insoles.
Where Can I Buy Replacement Insoles for My Vans?
There are many places that sell replacement insoles for vans. The most common place to buy them is at a shoe store. However, they can also be purchased online or at a department store. The best way to find the right size and type of insole is to measure the length and width of the footbed of the shoe.
Once the measurements have been taken, the person can then select the correct insole from the available options. Many different insoles are available, so selecting one that will provide the best support for the foot is important. For example, some insoles are designed for people with flat feet, while others are made for people with high arches.
There are also insoles designed for people with sensitive feet or who suffer from foot pain. It is important to select an insole that will be comfortable to wear and that will provide the necessary support for the foot.
Frequently Asked Questions
Is It Ok to Remove Insoles?
Insoles can potentially cause a variety of problems, including foot pain, blisters, and even infection. As such, it may be best to remove them before going about your day-to-day activities. However, if you are experiencing any pain or discomfort that is not relieved by removing the insoles, please consult a doctor first.
Are All Insoles Removable?
In most cases, insoles are removable. However, there may be certain instances where they are not able to be removed due to the construction of the footwear or because they contain medical devices. In such cases, you should contact the manufacturer for instructions on how to remove them safely and without damaging your shoes.
Why Do Vans Hurt My Feet?
The main culprit behind vans hurting feet is the high amount of pressure that they place on the balls of your feet. This can lead to blisters, corns, and even calluses if you’re walking in them for extended periods of time. Additionally, vans are often made from materials that are not reflective or durable enough, which makes them difficult to see at night or during those confusing moments when you’re trying to avoid obstacles.
To avoid this pain and discomfort, make sure to wear shoes with a raised heel and stiffer soles (which will also improve your balance). Try using products like Footwear Shielding Balm which help protect your foot against pressure while reducing friction between footwear and skin.
Do You Put New Insoles on Top of Old Insoles?
No, you should not put new insoles on top of old insoles. Over time, the insole will wear away, and your feet will be less comfortable. You can replace them at any time by refitting them with a new pair of inserts.
Conclusion
We hope you have enjoyed this comprehensive guide on how to remove vans insoles. It is our sincere hope that you are now able to successfully remove the insole of your Vans shoes and replace them with a new, more comfortable pair. If you have any questions or concerns, please do not hesitate to reach out to us for assistance. Happy shoe-ing!