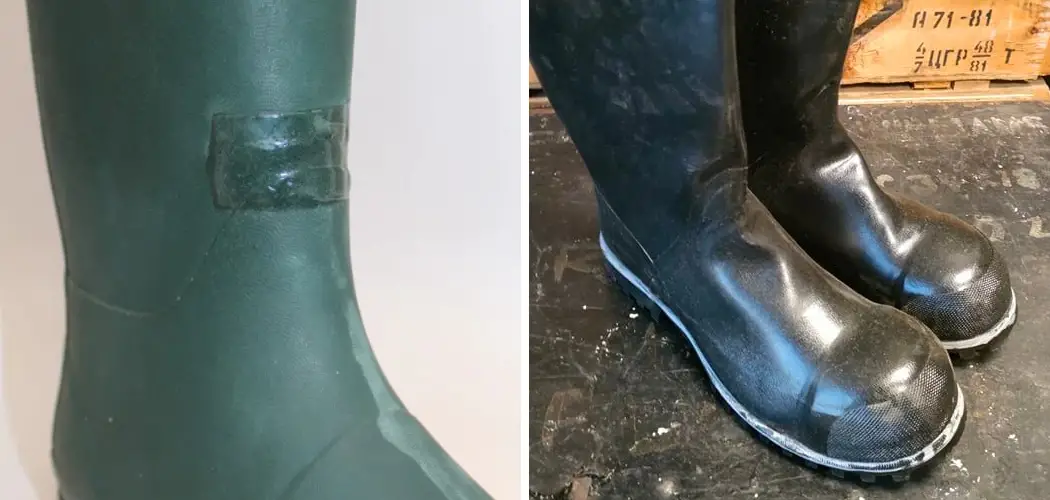
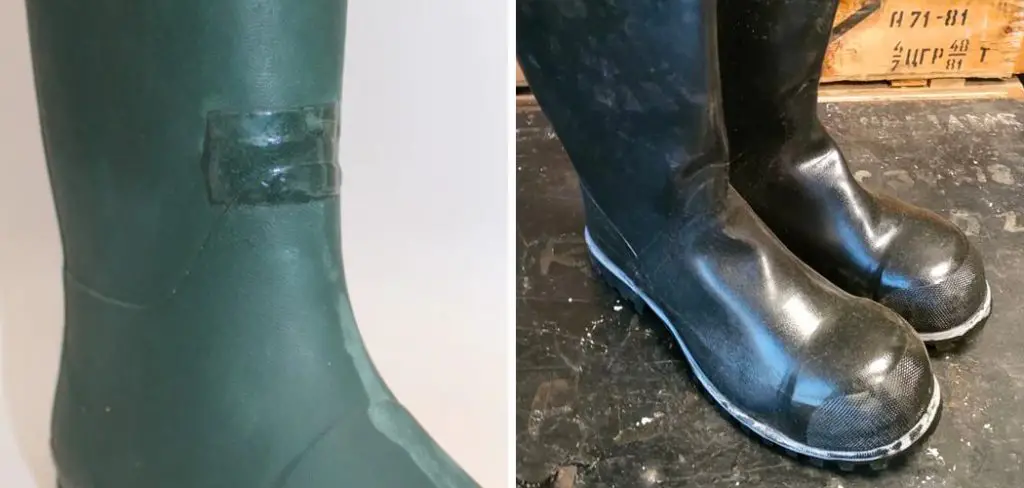
Rubber boots, essential for braving wet and challenging conditions, are prone to wear and tear over time. When faced with cracks, punctures, or other forms of damage, knowing how to patch rubber boots becomes a valuable skill to extend their lifespan and maintain their waterproof functionality.
In this guide, we explore the step-by-step process of effectively patching rubber boots, addressing common issues like leaks and structural damage.
From identifying the type of damage to selecting the right materials for patching, this comprehensive walkthrough empowers outdoor enthusiasts and workers alike to restore the resilience of their trusty rubber footwear.
By mastering the art of patching, you not only save money on replacements but also contribute to sustainable practices, ensuring your rubber boots remain reliable companions in navigating muddy trails, rainy days, or any rugged terrain.
Importance of Patching Rubber Boots
Patching rubber boots is an essential skill for any outdoorsy individual. Whether you’re trekking through the wilderness or simply walking to work on a rainy day, having a good pair of rubber boots can make all the difference. However, even with the best quality boots, accidents happen and tears or holes can form. This is where knowing how to patch your rubber boots comes in handy.
Not only does patching your rubber boots extend their lifespan, but it also saves you money in the long run. Instead of constantly having to replace your boots when they get damaged, a simple patch can keep them going for much longer. This is especially important for those who work outdoors or engage in activities that put wear and tear on their boots.
Patching also ensures the integrity of your boots. A small hole or tear may not seem like a big deal, but it can compromise the waterproofing and insulation of your boots. By patching these damaged areas, you are maintaining the effectiveness of your boots in keeping your feet dry and warm.
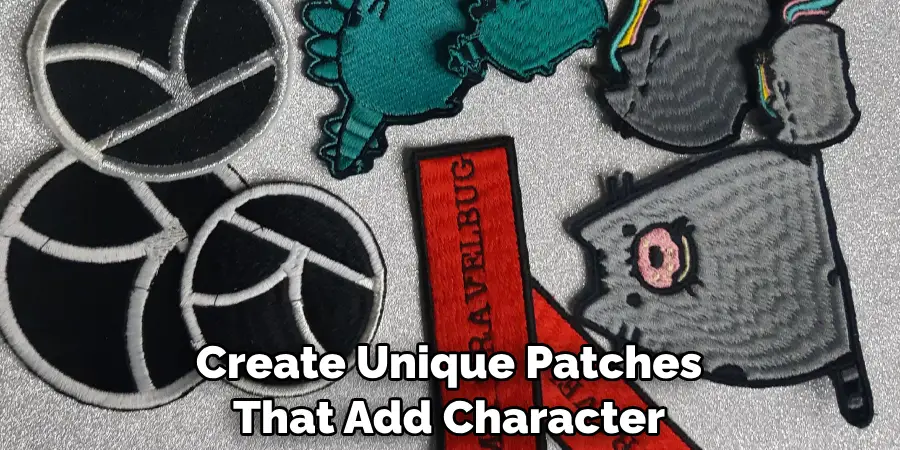
In addition to practical reasons, learning how to patch rubber boots also allows for creativity. You can choose from a variety of materials and colors to create unique patches that add character to your boots. This is especially popular among those in the fashion industry, as well as individuals who enjoy personalizing their gear.
Moreover, knowing how to patch rubber boots can come in handy in emergency situations. When you’re out in the wilderness and your boots get damaged, being able to quickly patch them up can save you from discomfort and potential injury. It is always better to be prepared and have the necessary skills, rather than being caught off guard.
10 Methods How to Patch Rubber Boots
1. Clean the Boot
The first step to patching a rubber boot is to clean it thoroughly. Use a damp cloth and some mild soap to remove any dirt, mud, or debris that may be stuck on the boot. Make sure to rinse the cloth often so that no soap residue remains on the boot. Once you’ve cleaned the boot, let it dry completely before proceeding with the patching process.
2. Trace Out the Hole
Once your boot is clean and dry, use a marker or piece of chalk to trace out the area where there is a hole or tear in your boot. This will give you an idea of how much material you need to cover up when applying your patch.
3. Cut Out a Patch
Next, cut out a patch from an old rubber tire or inner tube that is slightly larger than the area you traced out in step two. If you don’t have access to an old tire or inner tube, you can also purchase patches made specifically for rubber boots at most hardware stores.
4. Apply Glue
Apply a thin layer of glue around the edges of your patch and then place it over the hole or tear in your boot. Make sure that all of the edges are fully covered with glue so that they stay in place once dried. Let this sit for about 10 minutes before moving on to the next step.
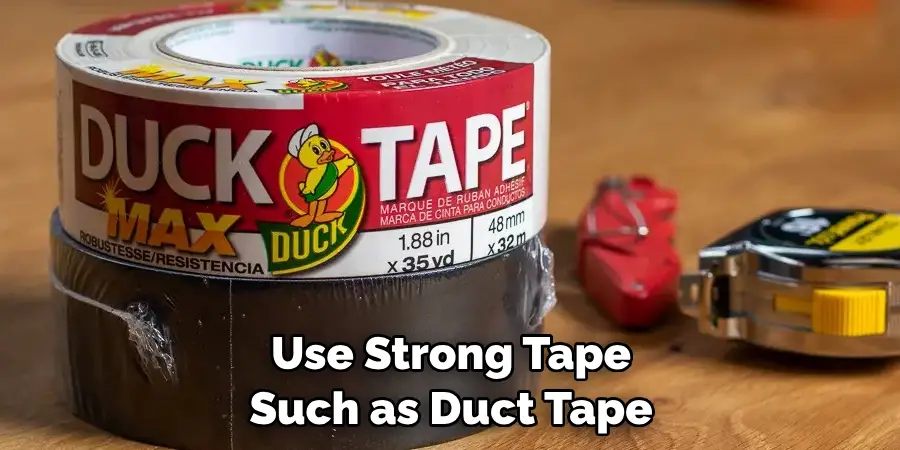
5. Secure With Tape
Once your glue has had time to set, use strong tape such as duct tape or electrical tape to secure your patch further and ensure that it won’t come off easily when wet or when walking through mud and water puddles. Wrap several layers of tape around both sides of your patch for added security if desired.
6. Add Sealing Wax
To further protect against water seeping into your patched-up boot, add sealing wax along all edges of your patch using a candle flame or lighter flame (if possible).
The heat from these flames will help melt and spread out the wax evenly across all surfaces of your patch, creating an airtight seal against moisture and dirt particles getting inside your shoe/boot while still allowing air to circulate freely within its interior walls/layers for better breathability and comfort while wearing them outdoors during wet weather conditions/seasons (rainy days).
7. Allow Time To Dry
After applying sealing wax around all edges of your patch, let it dry completely before wearing them outdoors again (this can take anywhere from 1-2 hours, depending on how thickly applied).
This will help ensure that none of its components get damaged due to moisture seeping in prematurely before they have had enough time to properly adhere/bond together securely with each other during curing/drying processes (especially if using glues containing solvents such as acetone, which require more time than others).
8. Apply Shoe Polish
To keep them looking good as new after being patched up successfully, apply shoe polish over their entire surface area, including both sides of each patched area – this will help maintain their original color tones while also providing additional protection against future wear & tear caused by long-term exposure towards outdoor elements like rainwater etcetera which could potentially cause damage over time if left untreated/unprotected regularly (especially if made from natural rubber materials).
9. Test Waterproofing
To make sure that all patches are waterproofed properly after being applied correctly, following steps 1-8 above, fill up a bowl with water and drop one booted foot into it – if no leaks appear after doing this then congratulations! You have successfully finished waterproofing/patching your damaged rubber boots – time to celebrate and show them off in style.
10. Wear & Enjoy!
Finally, once everything has been checked off above put on both shoes and enjoy walking outdoors without worrying about any potential water damage to your feet due to having them patched up successfully!
Just make sure that you avoid very muddy/wet places for a while until they have been fully cured/dried/seasoned, before venturing out again into such environments where they could be easily damaged if not properly conditioned beforehand.
Things to Consider When Patching Rubber Boots
When you own a pair of rubber boots, sooner or later there will come a time when they need to be patched. This can happen from natural wear and tear or any other damage sustained during usage.
Repairing your rubber boots is essential if you want to prolong their life and keep them in good working condition. However, patching rubber boots requires some knowledge and skill, and there are some factors to consider when doing so. In this guide, we will explore the most important things you should keep in mind when patching your rubber boots.
The Type of Rubber Boot
The first thing you need to consider is what type of rubber boot you have. Different types of rubber boots may require different approaches to patching. For example, if you have tall rubber boots such as waders, you may need to use a patch that covers a larger area compared to shorter rubber boots.
Additionally, the material of the boot also matters. Some types of rubber are harder or softer than others, which will affect how well certain patches adhere and how flexible they are.
The Location and Size of the Damage
The location and size of the damage on your rubber boots will also play a role in how you patch them. If the damage is small, you may be able to use a simple adhesive patch. However, if the damage is larger or located on a high-stress area like the sole or heel, you may need to use a more heavy-duty patch or even replace that part of the boot entirely.
It’s important to carefully assess the damage and choose the appropriate patching method.
The Material of the Patch
When it comes to patching your rubber boots, you have a few options for materials. Some popular choices include adhesive patches, rubber cement, and flexible sealants. Each material has its own advantages and disadvantages, so it’s essential to choose one that is suitable for your specific repair needs.
For example, adhesive patches are quick and easy to apply but may not be as durable as other options. On the other hand, rubber cement may provide a stronger bond but can be messier and take longer to dry.
Conclusion
With simple steps and materials, you are now equipped with the know-how to patch your rubber boots. Whether it’s emergency first aid for your sole before a hike or permanent repair to extend their life, patching your rubber boots can bring them back to life and help you explore further.
No matter what adventures come your way, be sure to keep this tutorial handy—you never know when those rubber soles might need some TLC. So use this blog post as a resource, and get out there to make the most of every situation and take on whatever the outdoors has in store.
Invest in quality footwear and use these simple instructions on how to patch rubber boots so you can tackle any outside challenge with confidence.