
Making your own shoe soles can be a fun and rewarding project, whether you are looking to repair old shoes or create custom footwear. While the process may seem daunting at first, with the right materials and techniques, you can make professional-looking shoe soles in no time. In this guide on how to make shoe soles, we will walk you through the steps of making traditional rubber shoe soles.
Materials
To make shoe soles, you will need the following materials:
- Rubber Sheet: This can be found at most craft or hardware stores. Look for a sheet that is around 1/4 inch thick and has good flexibility.
- Shoe Sole Template: You can either create your own template by tracing an existing shoe sole or find one online.
- Utility Knife or Scissors: These will be used to cut the rubber sheet.
- Sandpaper: This will help smooth out any rough edges on the sole.
- Strong Adhesive: Look for a waterproof adhesive that is suitable for use with rubber.
- Pencil or Marker: This will be used to trace the template onto the rubber sheet.
12 Steps on How to Make Shoe Soles
Step 1: Prepare Your Work Area
Choose a clean, flat surface to work on. Lay down some newspaper or a plastic sheet to protect the surface from adhesive and rubber scraps. And make sure you have all your materials within reach. Soles can be made on any surface but it’s better to have a dedicated space for this project.
Step 2: Trace the Template
Place the shoe sole template onto the rubber sheet and trace around it with a pencil or marker. Make sure to leave some extra space around the edges of the template to allow for trimming and shaping later on.
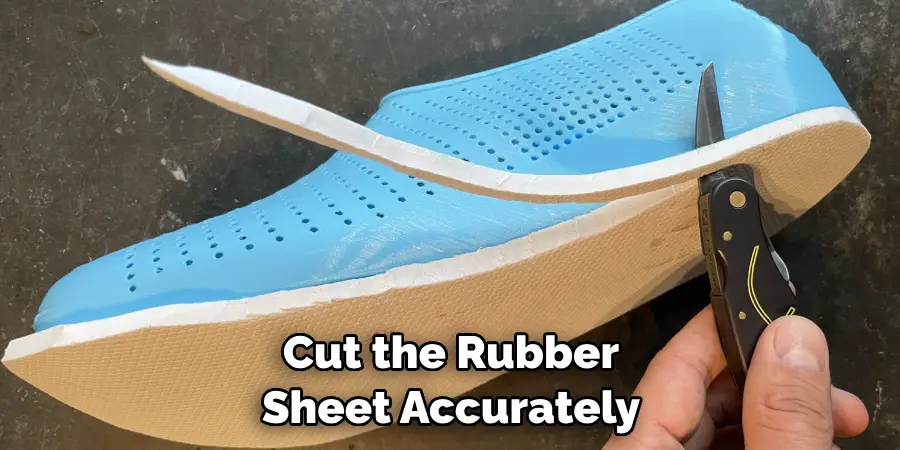
Step 3: Cut along the Traced Lines
Using a utility knife or scissors, carefully cut along the traced lines on the rubber sheet. Take your time and make sure to follow the shape of the template as closely as possible. Even small deviations can affect the fit and comfort of the final shoe sole.
Step 4: Shape the Edges
After cutting out the general shape of the shoe sole, use sandpaper to smooth out any rough edges or imperfections. This will also help create a clean and professional-looking finish for your soles. Even if the edges look smooth, it’s a good idea to lightly sand them for best results.
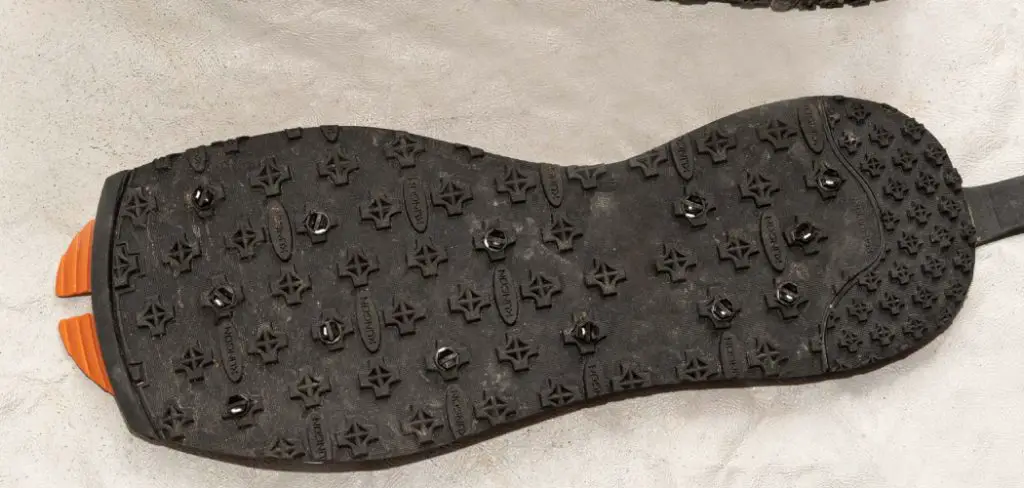
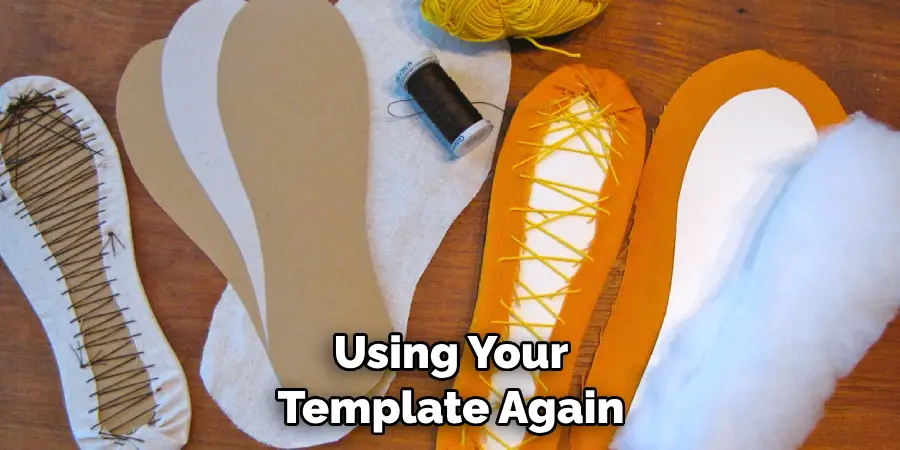
Step 5: Trace the Sole Pattern
Using your template again, trace any patterns or designs you want on the sole. This can include treads for better grip or decorative elements for added flair. Make sure to mark these patterns lightly, as they will serve as a guide for cutting later on.
Step 6: Cut Out the Patterns
Following your traced lines, use a sharp utility knife to carefully cut out any patterns or designs on the sole. Take your time and make precise cuts for the best results. While it may be tempting to rush through this step, accuracy is key for a professional-looking finish.
Step 7: Test the Fit
Before attaching the soles to your shoes, make sure to test the fit by placing them on top of your shoes. Make any necessary adjustments by trimming or shaping the edges until they fit perfectly. If the sole is too big, you can easily trim it down, but if it’s too small, you may have to start over with a new rubber sheet.
Step 8: Prepare the Adhesive
Follow the instructions on your chosen adhesive to prepare it for use. Some adhesives may require mixing or heating before application. Make sure to use gloves and work in a well-ventilated area to avoid any potential skin irritation.
Step 9: Apply the Adhesive
Using a small brush or spatula, apply a thin and even layer of adhesive onto the bottom of the shoe sole. Make sure to cover all areas that will come into contact with the shoe upper. Avoid applying too much adhesive, as it can create a messy finish and may not bond properly.
Step 10: Attach the Sole to the Shoe
Carefully place the shoe sole onto the bottom of your shoe, matching it up with the edge of the upper. Use a roller or your hands to firmly press down on the sole and ensure proper adhesion. You can also use clamps or heavy books to hold the sole in place while it dries.
Step 11: Let It Dry
Follow the instructions on your adhesive for drying time. Most adhesives will require at least 24 hours to fully dry and cure, so make sure not to wear the shoes until then. You can also place the shoes in a warm and dry area to speed up the drying process.
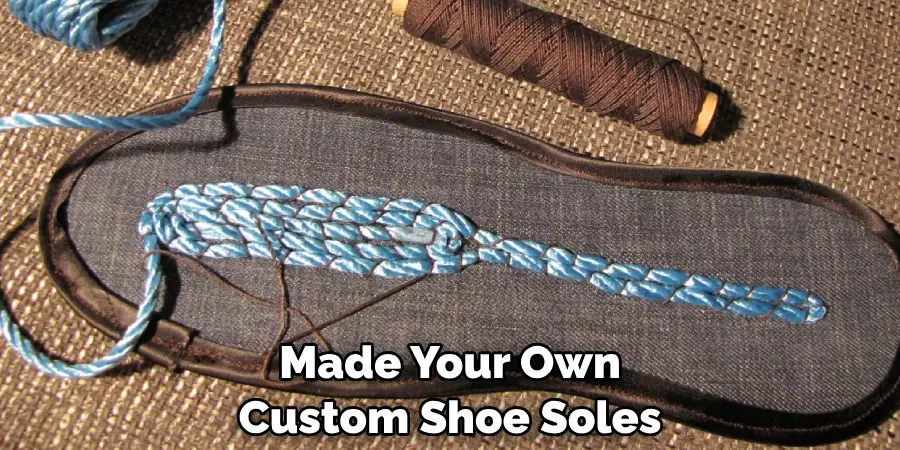
Step 12: Enjoy Your Custom Shoe Soles
Congratulations! You have successfully made your own custom shoe soles. Now, you can wear them with pride and show off your DIY skills to everyone. Make sure to take care of your shoes and avoid exposing the soles to extreme heat or harsh chemicals, as this can affect their durability. With proper care, your homemade shoe soles can last for a long time.
9 Safety Measures to Keep in Mind
While making shoe soles can be a fun and rewarding project, it’s important to keep safety in mind. Here are some key measures to follow:
1) Use Protective Gear
Always wear gloves and work in a well-ventilated area when handling adhesives. Some adhesives can cause skin irritation, so it’s important to protect yourself. Also, make sure to use a sharp utility knife and handle it carefully to avoid any accidents.
2) Follow Package Instructions
Make sure to read and follow the instructions provided with your materials, especially for the adhesive. Different adhesives may have different application methods, so it’s important to use them correctly for best results.
3) Work in a Clean Area
Keep your work area clean and free of clutter. This will help prevent accidents and ensure accuracy when cutting and shaping the soles. Even small scraps of rubber or adhesive can affect the final product.
4) Use Proper Tools
Make sure to use sharp utility knives and good quality scissors to cut the rubber sheet. Dull tools can make the process more difficult and may result in uneven cuts, affecting the fit and durability of the soles.
5) Take Your Time
Don’t rush through the process. Take your time and make precise cuts and measurements for the best results. Rushing can lead to mistakes and may result in having to start over. Then, you won’t be able to enjoy your custom soles as soon as you’d like.
6) Be Mindful of Heat
Avoid exposing the rubber sheet or adhesive to extreme heat. This can damage the materials and affect their effectiveness. It’s best to work in a cool and dry area for optimal results. Like with any craft project, it’s important to store your materials in a safe place away from direct sunlight or heat sources.
7) Use Caution When Handling Adhesives
Some adhesives can emit strong fumes, so make sure to use them in a well-ventilated area and take breaks if needed. If you experience any discomfort or irritation while using adhesives, stop immediately and seek medical attention if necessary.
8) Clean Up Properly
After you finish making your soles, make sure to clean up any excess adhesive or rubber scraps. This will prevent accidents and keep your work area tidy for future projects. As with any project involving adhesive, it’s important to properly dispose of any excess or unused glue.
9) Keep Away from Children and Pets
As with all DIY projects, make sure to keep your materials and tools out of reach of children and pets. Adhesives can be harmful if ingested, so it’s important to store them safely. Also, make sure to work in a secure area where your materials won’t be disturbed by curious pets or children.
Remember, safety should always come first when taking on any DIY project. With these precautions on how to make shoe soles in mind, you can enjoy the process of making your own shoe soles without any worries.
8 Things to Avoid When Making Shoe Soles
While making shoe soles can be a fun and rewarding experience, there are some common mistakes to avoid. Here are 8 things you should steer clear of when making your own custom shoe soles:
1) Rushing Through the Process
As mentioned earlier, it’s important to take your time and make precise cuts for the best results. Rushing through the process can lead to mistakes and may result in having to start over. So be patient and enjoy the process!
2) Using Dull Tools
Using dull tools can make cutting and shaping the rubber sheet more difficult and may result in uneven edges. Make sure to use sharp utility knives and good-quality scissors for best results. Even small scraps of rubber or adhesive can affect the final product.
3) Applying Too Much Adhesive
It may be tempting to apply a generous amount of adhesive for better adhesion, but this can actually create a messy finish and may not bond properly. Use a small brush or spatula to spread a thin and even layer of adhesive onto the sole.
4) Overworking the Adhesive
Once you’ve applied the adhesive, avoid overworking it. This can cause air bubbles and affect its effectiveness. Instead, smooth out the adhesive with a small brush or spatula and let it sit for a few minutes before attaching the sole.
5) Cutting Too Much Rubber
Remember to measure and cut the rubber sheet accurately according to your shoe’s size. Cutting too much rubber can result in ill-fitting and uncomfortable soles. It’s always better to cut less and make adjustments later if needed.
6) Not Letting the Adhesive Fully Dry
As mentioned earlier, most adhesives require at least 24 hours to fully dry and cure. Don’t be tempted to wear your shoes before then, as this can cause the sole to detach and ruin your hard work.
7) Not Considering Foot Support
If you have any specific foot needs, such as arch support or cushioning, make sure to incorporate them into your design. For example, you can use additional layers of foam or rubber sheets to create custom inserts for your soles. Neglecting foot support can result in uncomfortable and even painful shoes.
8) Not Testing the Fit
Before attaching the soles permanently, make sure to test the fit of your shoes with the inserts. You may need to make some adjustments or trim excess material for a perfect fit. It’s better to do this before attaching them permanently than trying to fix it afterward.
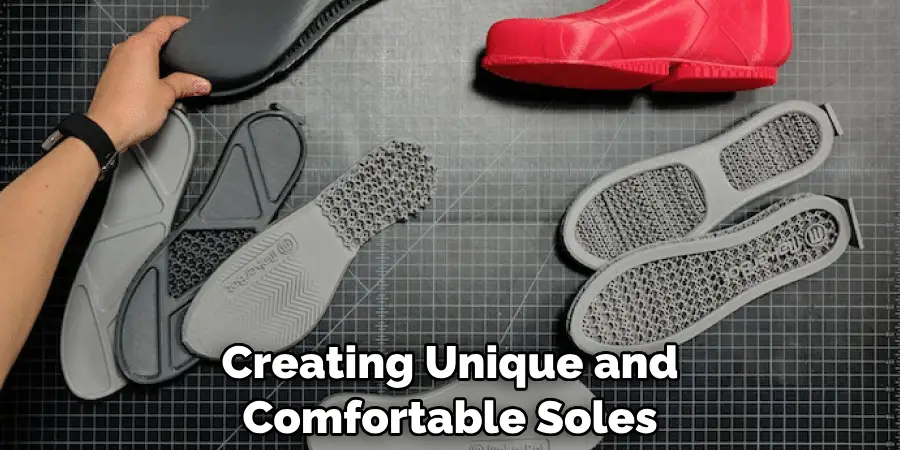
By avoiding these common mistakes, you can ensure a successful and enjoyable experience making your own shoe soles. Overall, making custom shoe soles can be a fun and rewarding DIY project. With the right materials, tools, and precautions in mind, you can create unique and comfortable soles for all your favorite shoes.
8 Additional Tips for Making Shoe Soles
In addition to avoiding common mistakes, here are 8 more tips to help you make the best shoe soles possible:
1) Choose High-Quality Materials
Invest in good quality rubber sheets and adhesives for durable and long-lasting soles. Cheaper materials may save you money initially, but they may not hold up well over time. Some high-quality materials may also come with instructions and tips, so make sure to read them carefully before starting your project.
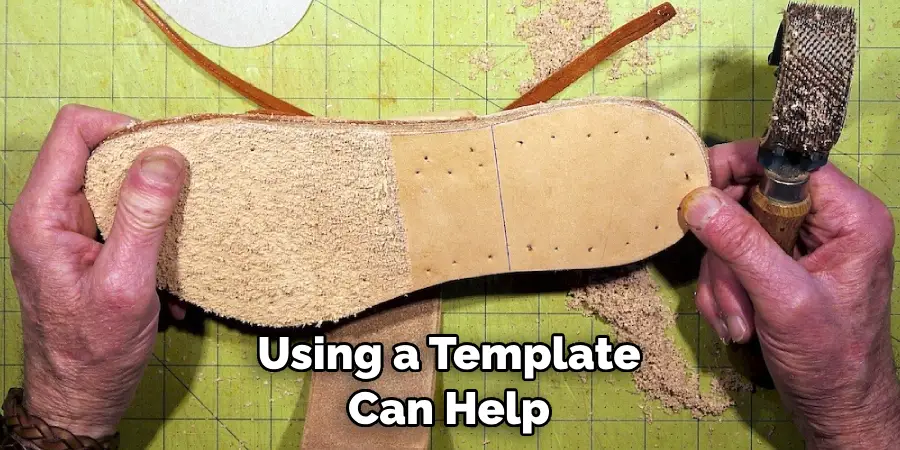
2) Use Templates for Precise Cuts
If you’re making multiple pairs of shoe soles, consider creating templates for each size. This can save time and ensure consistent sizing for all your shoes. You can trace the template onto the rubber sheet and cut around it for precise measurements.
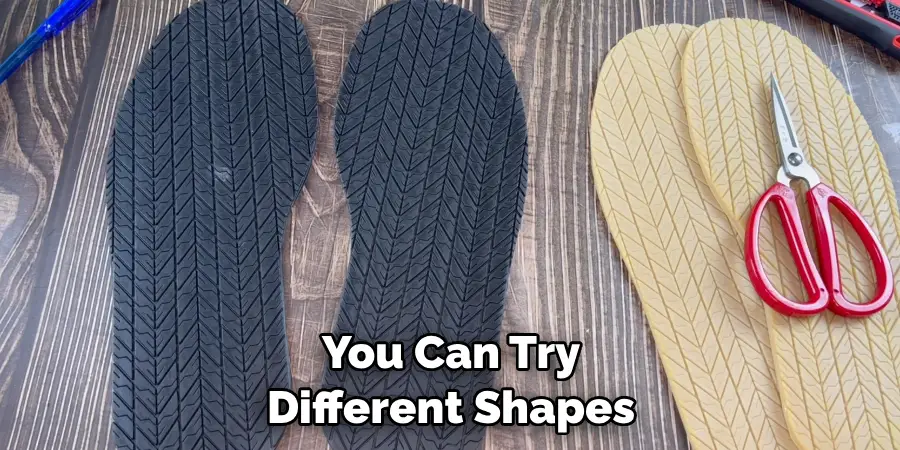
3) Experiment with Different Shapes
Don’t be afraid to get creative with your sole designs. You can try different shapes, sizes, and thicknesses to find what works best for you. You can also experiment with different materials, such as foam or cork, for added comfort and support.
4) Incorporate Traction
To prevent slipping, you can add traction to the bottom of your soles by etching or scoring lines into the rubber. This will help improve grip and stability, especially on smooth surfaces. As an alternative, you can also use non-slip adhesive pads or sandpaper for added traction.
5) Consider Different Adhesives
While rubber cement is a common adhesive for shoe soles, there are other options available. Some people prefer using contact cement or industrial-strength adhesives for stronger bonding. Make sure to research and choose the best adhesive for your specific needs.
6) Seal the Edges
To prevent the edges of your soles from fraying and coming undone, you can seal them with a thin layer of adhesive or glue. This will also provide a cleaner and more professional-looking finish. While this step is optional, it can help prolong the life of your custom shoe soles.
7) Add Personal Touches
You can make your custom shoe soles even more unique by adding personal touches such as designs or patterns. You can use stencils, fabric paint, or even a permanent marker to create one-of-a-kind designs on your soles. Get creative and have fun with it!
8) Don’t Be Afraid to Ask for Help
If you’re new to making shoe soles, don’t hesitate to reach out for help or guidance. You can ask experienced friends or family members, consult online tutorials and forums, or even take a class. Learning from others’ experiences can save you time and frustration and help you achieve the best results.
With these tips on how to make shoe soles in mind, you can confidently tackle your own custom shoe sole project. Remember to be patient, take your time, and have fun with it. Enjoy the process of creating unique and comfortable soles for all your favorite shoes!
Frequently Asked Questions About Making Shoe Soles
Do I Need Any Special Tools or Equipment to Make Shoe Soles?
While some basic tools such as scissors and a measuring tape are necessary, investing in a sharp utility knife, good-quality scissors, and a small brush or spatula can make the process easier and more efficient. You may also need a cutting mat or work surface to protect your table or counter.
Is It Possible to Resole Old Shoes with Custom Soles?
Yes, it is possible to resole old shoes with custom soles. However, make sure the sole material is compatible with the shoe material and that the adhesive is strong enough for both surfaces. You may also need to remove the old sole and any remaining adhesive before attaching the new one.
Can I Make Shoe Soles for Different Types of Shoes?
Yes, you can make shoe soles for various types of shoes, such as sneakers, sandals, flats, and even high heels. Just make sure to measure and cut the rubber sheet accordingly and consider the shoe’s design when attaching the sole.
How Long Will It Take for the Adhesive to Dry and Cure?
Most adhesives used for shoe soles require at least 24 hours to fully dry and cure. However, make sure to read the instructions on your specific adhesive, as drying times may vary. Avoid wearing your shoes before they are completely dry and cured to prevent any damage or detachment of the soles.
Can I Make Shoe Soles Without a Template?
While using a template can help ensure precise measurements, it is possible to make shoe soles without one. You can trace the shape of your foot onto the rubber sheet and cut around it or use an existing sole as a guide.
Conclusion
Making custom shoe soles may initially seem intimidating, but with the right materials, tools, and techniques, it can be a fun and rewarding DIY project. By avoiding common mistakes, following these additional tips on how to make shoe soles, and asking for help when needed, you can create unique and comfortable soles for all your favorite shoes.
Making custom shoe soles can be a fun and rewarding experience, and with these additional tips and FAQs in mind, you can ensure success in your DIY project. Remember to always prioritize safety, use high-quality materials and tools, and have fun experimenting with different designs and shapes.