
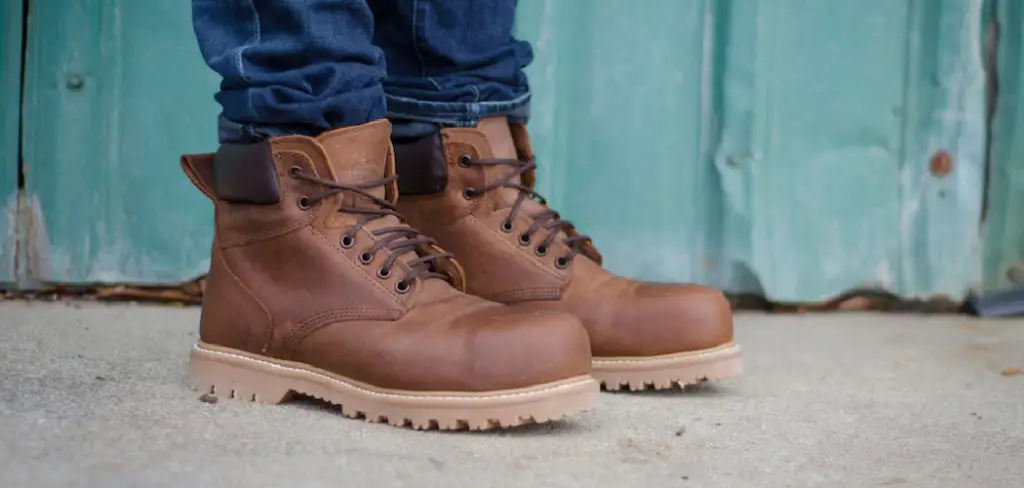
There’s no need to sacrifice your fashion sense just because you have to wear steel-toe boots. With a little creativity, you can make any shoe with steel toe without sacrificing style. Check out these tips on how to make any shoe steel toe. You’ll be able to stay safe and stylish at the same time!
What Is Steel Toe on Shoe?
The steel Toe on a shoe is a reinforcement in the toe area of the shoe. It is usually made with a steel plate and is designed to protect the foot from falling objects or being stepped on. Steel toe shoes are required in some workplaces, such as construction sites, where there is a risk of a foot injury.
They are also popular among people who work in manufacturing or other industrial settings. In addition to providing protection, steel toe shoes can also be more comfortable to wear than traditional work boots. This is because they often have to cushion and support the footbed, which helps to reduce fatigue. As a result, steel-toe shoes are an important part of many workers’ safety gear.
Why Should You Make Any Shoe Steel Toe?
There are plenty of reasons to make any shoe steel toe. First and foremost, it provides an extra layer of protection against potential hazards. A gas leak, for example, could cause a fire or explosion, and steel-toed shoes would help to protect your feet from being burned or injured by flying debris.
Additionally, steel-toe shoes can help to protect your feet from heavy objects falling or rolling onto them. Even something as simple as dropping a toolbox on your foot can cause serious injury, but steel-toe shoes can help to minimize the risk.
Finally, steel-toe shoes can also help to improve your footing in slippery or uneven conditions. Whether you’re working on a construction site or simply walking across a wet floor, steel-toe shoes can give you the traction and stability you need to stay safe.
With so many benefits, it’s easy to see why steel-toe shoes are a must-have for anyone who works in a potentially dangerous environment.
Needed Materials:
A Pair of Shoes:
The first thing you’ll need to make any shoe steel toe is, of course, a pair of shoes. You can use any type of shoe you want – whether it’s sneakers, loafers or even heels. Just make sure the shoes are in good condition and fit well.
Steel Toe Caps:
Next, you’ll need to purchase some steel toe caps. These are available in various sizes to fit different shoe sizes and can be found at most hardware or workwear stores. Make sure to measure your shoe size accurately before purchasing the caps.
Glue:
You’ll also need a strong adhesive glue, such as industrial strength epoxy or super glue. This will help to secure the steel toe caps onto your shoes.
Scissors or Utility Knife:
You may need to trim the steel toe caps to fit the shape of your shoes, so having scissors or a utility knife on hand will be helpful.
How to Make Any Shoe Steel Toe in 9 Easy Steps
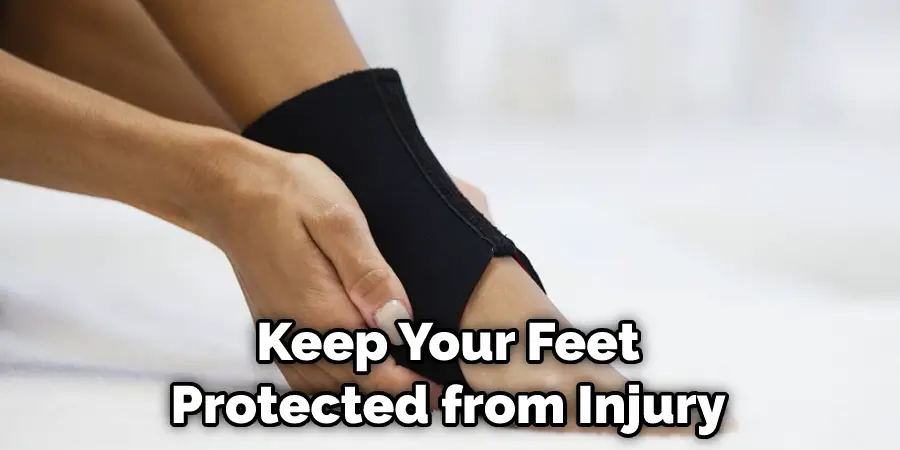
Wearing the right shoes is important for keeping your feet protected from injury. If you work in a job requiring steel-toed shoes, you may wonder how to make any steel-toe shoe. You can make any shoe steel toe in a few different ways.
1. Choose the Right Shoes
The first step is to make sure you choose the right shoes. You need to find a shoe that has a good fit and that will protect your feet from the hazards in your workplace. There are many different types of steel-toe shoes available, so you should be able to find a pair that meets your needs. It’s important to note that not all shoes can be easily converted into steel-toe shoes, so choose your shoes wisely.
2. Get the Right Supplies
The next step is to get the supplies you need to make your steel-toe shoes. You will need a steel toe cap, some strong glue, and paint that can withstand the heat and wear of your workplace. Also, make sure to have scissors or a utility knife handy. You may also want to wear protective gloves while working with the glue.
3. Cut and Shape the Steel
Once you have the right shoes, you need to cut and shape the steel. This can be done with a hacksaw or a jigsaw. If you’re using a hacksaw, make sure to use a blade that’s meant for cutting metal. You’ll also want to wear gloves and eye protection while you’re doing this.
Start by cutting out a piece of steel that’s the same shape as the toe of your shoe. It should be slightly larger than the toe to cover the entire area. Next, use a file or a sander to smooth out the edges of the steel.
Now, you need to create a steel hole so you can lace up your shoe. You can do this with a drill or a power drill. Start by drilling a small hole in the center of the steel toe. Then, use a larger bit to widen the hole so that it’s big enough for your laces. Finally, use a sander or file to smooth out any rough edges on the steel toe.
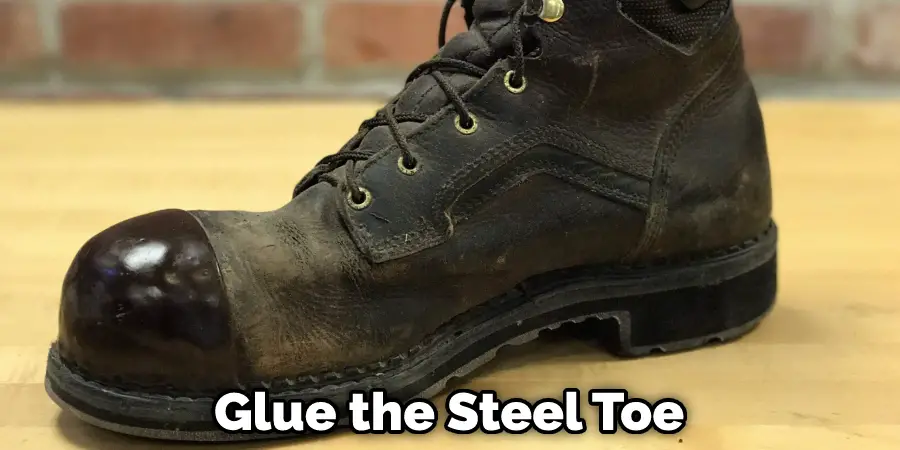
4. Glue the Steel Toe Cap to The Shoe
Now, you’re ready to glue the steel toe to the shoe. Start by applying a bead of glue around the edge of the steel toe. Then, press the steel toe onto the shoe and hold it in place until the glue dries. You may also want to apply some weight on top of the steel toe while it’s drying to ensure a strong bond. You can use clamps or heavy objects for this.
5. Let It Dry
Once you have glued the steel toe cap to the shoe, you must let it dry. Depending on the glue you used, this could take a few hours or overnight. Once it is dry, your shoe will be transformed into a steel-toe shoe!
The drying time will also depend on the type of glue used, so be sure to read the instructions carefully. It’s important to let the glue dry completely to ensure a strong bond between the steel toe cap and the shoe.
6. Paint and Finish the Steel Toe Caps
After the steel toe caps have dried, you can now paint them to match the color of your shoes. You can also finish them with a clear coat to protect the steel from rust and corrosion. Allow the paint or clear coat to dry completely before wearing your shoes.
You can also add any additional features to the steel toe caps, such as reflective tape or non-slip grips, for added safety and functionality.
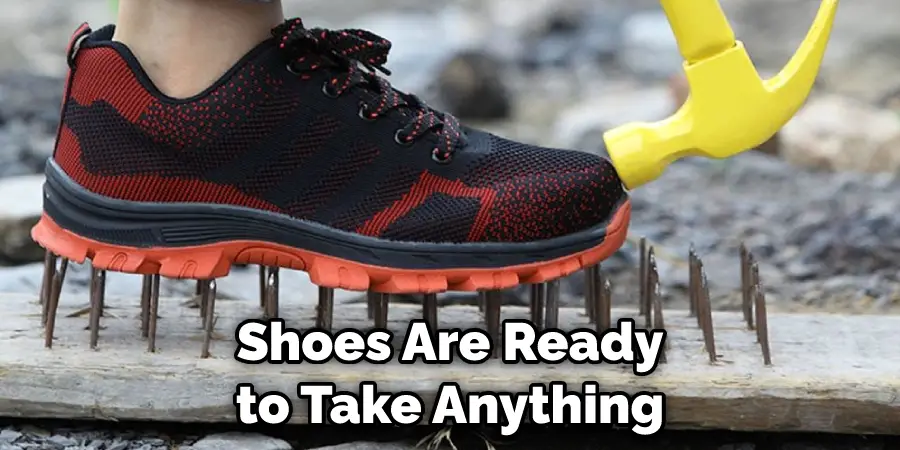
7. Put Them in Your Shoes!
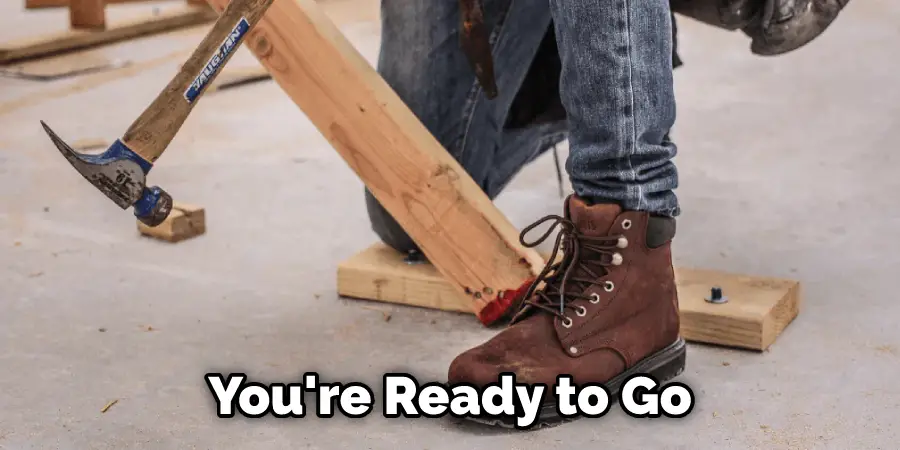
The last step is to put the steel toe caps in your shoes! This is a really simple process, but it’s important to ensure that the caps are positioned correctly so they’ll offer the most protection. Once you have the caps in place, you’re all set! Your shoes are now ready to take on anything. You can now go to work in confidence, knowing that your feet are well-protected.
8. Test Them Out
It’s always a good idea to test out your new steel-toe shoes before wearing them to work. Take some time to walk around and make sure they feel comfortable and secure on your feet. You may need to adjust the laces or add extra padding for added comfort. If anything feels off, take the time to make any necessary adjustments.
9. Replace When Necessary
It’s important to regularly check your steel-toe shoes for wear and tear. If the steel toe cap becomes damaged or worn out, it’s essential to replace it to ensure maximum protection for your feet. You may also want to consider purchasing a new pair of steel-toe shoes every year or two, depending on how often you wear them and the intensity of your work environment. Your safety should always be a top priority.
Now that you know how to make any shoe steel toe, you can protect your feet from heavy objects and dangerous work environments. With a little bit of effort, you can turn any pair of shoes into a tough and durable pair of steel-toe shoes. So get out there and start DIY-ing!
What Supplies Do I Need to Make My Own Steel Toe Shoes?
Making your own steel-toe shoes is a great way to save money and get a custom-fit shoe that will keep you safe on the job. All you need is a few supplies and a little bit of know-how. Here’s what you’ll need to get started:
– A pair of plain sneakers or work boots. Make sure they fit well and are comfortable, as you’ll be wearing them for long periods.
– A sheet of steel or aluminum. This will form the toe of your shoe and provide protection against heavy objects or falling debris.
– A hammer. You’ll need this to shape the steel or aluminum to fit your shoe.
– A drill with a metal drill bit. This is used to make holes in the steel or aluminum so that you can attach it to your shoe.
– Rivets. These are used to secure the steel or aluminum toe to your shoe. You’ll need a rivet gun to install them.
How to Protect Your Feet with Diy Steel Toe Inserts
Your feet are your foundation, and the rest of your body pays the price when they’re not well protected. That’s why it’s important to wear steel toe inserts when working with heavy machinery or exposed to other potential hazards. While you can purchase inserts from various retailers, making your own is also easy. You only need a strong material like Kevlar or steel and a few tools.
Start by tracing the outline of your foot onto the material. Then, cut out the shape, leaving enough room for movement. Once you have your insert, test it out by walking around in it for a few minutes. If it feels comfortable and secure, you’re ready to go. If not, make any necessary adjustments and try again.
You can DIY steel toe inserts with a little effort to keep your feet safe and sound. Keep reading for more information about how to make any shoe steel toe.
How Can I Protect My Feet from Potential Injuries when Working in Hazardous Areas?
There are various ways to protect your feet when working in hazardous areas. One way is to wear proper footwear. This means closed-toe shoes that are comfortable and provide good support. It’s also important to wear shoes that are appropriate for the task at hand. For example, if you’re working with chemicals, it’s important to wear shoes that protect your feet from spills.
Another way to protect your feet is to be aware of potential hazards. This means checking out for things like loose nails or slick surfaces. If you know you’ll be working in an area with potential hazards, it’s important to take steps to protect your feet before beginning work.
Finally, it’s also important to have a first-aid kit on hand in case of any accidents. This can help you treat minor injuries quickly and prevent more serious problems from occurring. These simple steps can help protect your feet from potential injuries when working in hazardous areas.
Frequently Asked Questions:
Q: Can I Make Steel Toe Shoes if I’m Not Very Handy?
A: Yes, making your own steel-toe shoes doesn’t require a high level of handiness. With the right supplies and some basic tools, anyone can create their own custom-fit steel toe inserts. You can also enlist the help of a friend or family member who may have more experience with DIY projects.
Q: Do I Have to Use Steel or Aluminum for the Toe Caps?
A: While steel and aluminum are the most common materials used for steel toe caps, you can also use other strong materials like Kevlar or carbon fiber. These may be lighter in weight but still provide good protection for your feet. It’s important to choose a material that is sturdy enough to withstand the potential hazards you may encounter in your work environment.
Q: How Often Should I Replace My Steel Toe Inserts?
A: It is recommended to replace steel toe inserts every 6-12 months, depending on how often they are worn and the level of wear and tear they experience. If you notice any signs of damage or wear, it’s important to replace them sooner to ensure continued protection for your feet. Additionally, if you experience any discomfort or pain while wearing the inserts, it may be time to replace them with a new pair. Regularly inspecting and replacing your steel toe inserts is essential for keeping your feet safe on the job.
Q: Can I Use Steel Toe Inserts in Any Type of Shoe?
A: Yes, steel toe inserts can be used in any type of shoe as long as they fit well and provide enough room for movement. However, it’s important to choose the right type of shoe for your specific job and work environment. For example, if you work in a wet or slippery area, you may want to consider using waterproof shoes with good traction to prevent slips and falls.
Q: Is it Safe to Make My Own Steel Toe Shoes?
A: As long as proper safety precautions are taken, making your own steel-toe shoes is safe. It’s important to wear protective gear, such as gloves and eyewear when handling tools and materials. It’s also important to carefully follow instructions and use caution when using tools like hammers and drills. If you are unsure about the safety of a DIY project, it’s always best to consult a professional for guidance. So go ahead and unleash your inner DIY enthusiast with confidence! Your feet will thank you for the added protection on the job.
Conclusion
So there you have it. Now you can make any shoe with steel toe. It may take a little practice, but with a little bit of effort, you will be able to protect your feet from those pesky nails and screws. Be sure to share this tutorial with your friends and family so they can keep their toes safe, too! Thanks for reading our post about how to make any shoe steel toe. Stay safe out there! Happy DIYing! See you in the next post.
Remember, protecting your feet is essential for any job or task that involves potential hazards. With the right materials and tools, you can easily make your own steel toe inserts to keep your feet safe and secure. Don’t hesitate to reach out for help or advice if needed, and always prioritize safety in any DIY project. Your feet will thank you for it!