
Are you looking to make sure your ski boots are the perfect fit? Whether you’re a casual skier or an experienced winter sports enthusiast, understanding how heat molding works is essential for ensuring maximum comfort and performance.

In this blog post on how to heat mold ski boots, we’ll cover everything from why heat molding is important in skiing to how it can be done properly. Plus, with our detailed step-by-step instructions, you will learn exactly what needs to be done in order to have the perfect fitting ski boot every time! So grab some hot water and let’s get started!
Why is Heat Molding Important in Skiing?
When it comes to skiing, comfort and performance are two of the most important factors. Without properly fitting ski boots, you may experience discomfort or even pain while on the slopes. This can greatly affect your enjoyment and ability to perform well. Heat molding helps to customize your ski boots to fit the unique shape of your feet, providing better support and reducing the chances of blisters or other foot injuries.
Additionally, heat molding can also improve the overall stiffness and flex of your ski boots, giving you more control over your skis. This is especially beneficial for advanced skiers who need precise movements and a responsive boot to tackle challenging runs.
Needed Materials
Before we dive into the process of heat molding ski boots, let’s first go over the materials you will need:
- A Pair of Ski Boots
- Hot Water (Around 140°f or 60°c)
- Boot Fitting Technology Such as an Oven or Specialized Heating Device
- Thick Socks (Preferably Ski Socks)
- Towel or Rag to Wipe Off Excess Water
11 Step-by-step Guides on How to Heat Mold Ski Boots
Step 1: Prepare Your Heating Device
This can be an oven, a specialized heating device, or a pot of hot water. It’s important to not overheat your device, so make sure the temperature is set around 140°f or 60°c. You can also check the manufacturer’s instructions for specific temperature recommendations. This temperature is hot enough to soften the plastic of your ski boots without damaging it.
Step 2: Prepare Your Ski Boots
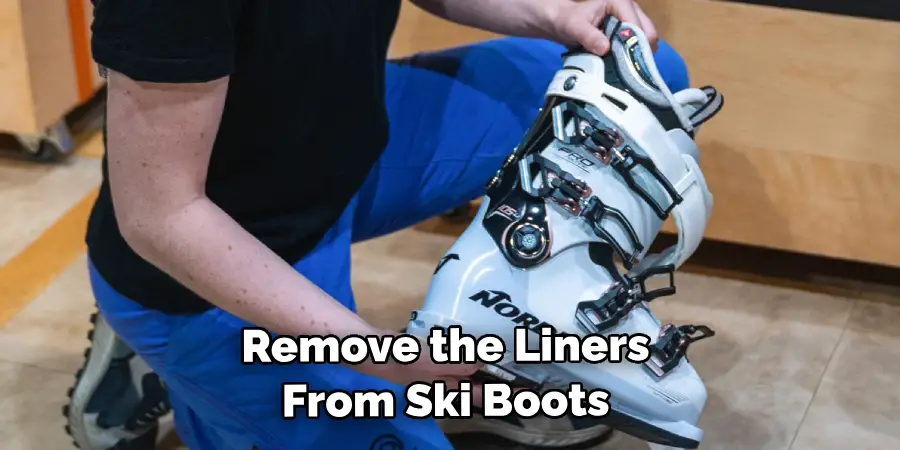
Remove the liners from your ski boots and loosen all buckles and straps. This will allow for better circulation of heat and ensure an even molding process. You can also remove the footbeds to ensure the entire boot is heated evenly. If there are any foam or gel pads, remove them as well. However, if they are permanently attached, make sure to cover them with a towel or rag before heating them.
Step 3: Heat the Boots
Place your ski boots in the heating device for approximately 10 minutes. If you’re using hot water, let the boots soak for about 5 minutes. It’s important to constantly monitor the temperature and not overheat your boots. You can test the temperature by touching the shell of your boot with a towel or rag. It should feel warm, but not too hot to touch. You can also check the manufacturer’s instructions for specific heating times.
Step 4: Wear Your Ski Socks
Before putting on your ski boots, make sure to wear a pair of thick ski socks. This will help protect your feet from the heat and provide added cushioning for a more comfortable fit. But make sure they are not too thick, as this can cause the boots to feel tighter once cooled. It’s also important to wear the same socks you would normally ski in for an accurate fitting.
Step 5: Put on Your Boots
Carefully put your feet into the heated boots, making sure they are evenly positioned. Make sure to stand up straight and distribute your weight evenly between both feet. This will help create an even fit.
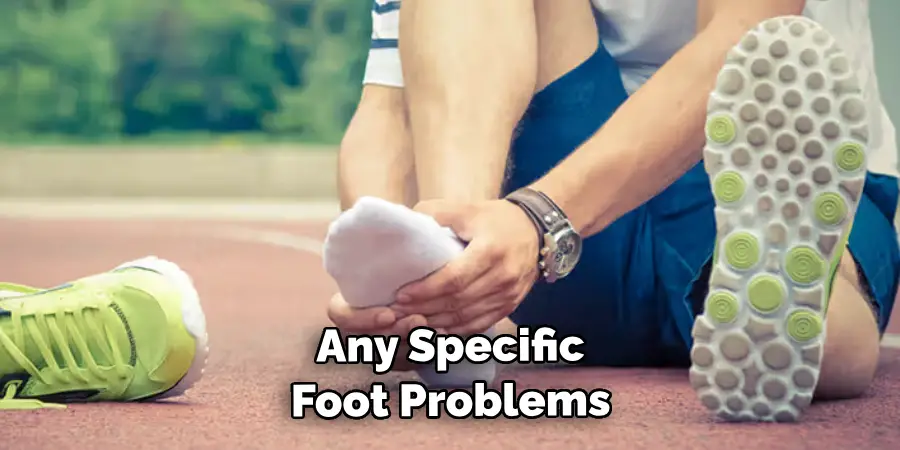
However, if you have any specific foot problems or imbalances, make sure to address them during this step. It’s important to also not walk around in your boots while they are still hot, as this can cause them to stretch out in the wrong places.
Step 6: Allow Time for Molding
Keep your feet in the heated boots for about 10 minutes. This will allow enough time for the plastic to mold and conform to the shape of your feet. During this time, make sure to keep your feet in a relaxed and comfortable position. You can also flex and wiggle your toes to help the molding process. You may feel some pressure or tightness, but it should not be painful.
Step 7: Cool Down
Once the molding process is complete, remove your feet from the boots and allow them to cool down. This can take anywhere from 5-10 minutes. Do not try to speed up this process by placing them in cold water or outside in the snow, as this can cause the boots to cool unevenly and result in an incorrect fit.
Step 8: Try On Your Boots
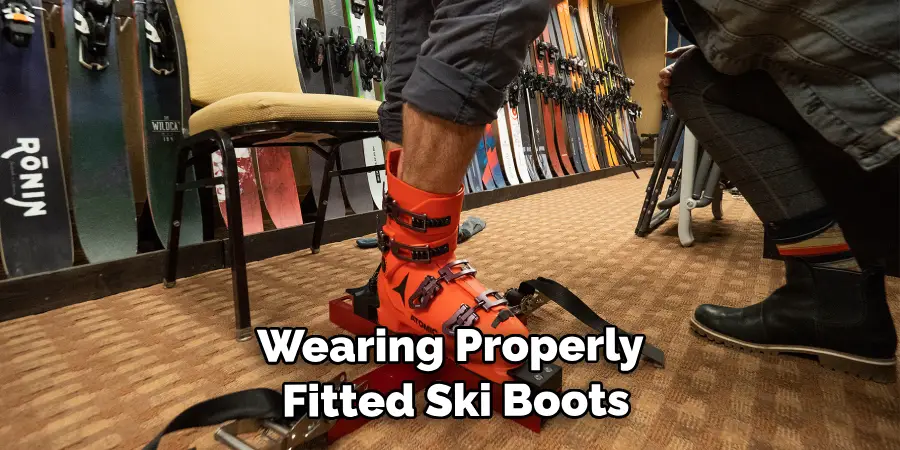
Once the boots are completely cooled down, put them on again with your ski socks. You should feel a snug and comfortable fit without any pressure points or discomfort. If there are any areas that still feel too tight or uncomfortable, you may need to repeat the process for a better fit. But be careful not to overdo it, as this can cause the boots to stretch too much and result in a loose fit.
Step 9: Check for Proper Alignment
While wearing your properly fitted ski boots, check your alignment. This means making sure that your knees are aligned with your toes when standing straight. If they are not, you may need to make adjustments by visiting a boot fitter or using foam wedges on the inside of your boots.
Step 10: Re-attach Insoles and Pads
Once you have achieved the perfect fit, re-attach any insoles, footbeds, or pads that were removed before heating. This will ensure proper support and comfort for your feet while skiing. It’s important to not skip this step, as it can greatly affect your performance on the slopes. You can also add any additional padding or foam to areas that may need extra support.
Step 11: Enjoy Your Customized Ski Boots
Congratulations, you have successfully heat-molded your ski boots! You can now hit the slopes with confidence and comfort. It’s important to remember that heat molding is not a one-time process, as your feet may change shape over time. Make sure to check your boots periodically and repeat the process if needed for a perfect fit every time. So, enjoy your newly customized ski boots and have a great time on the mountain!
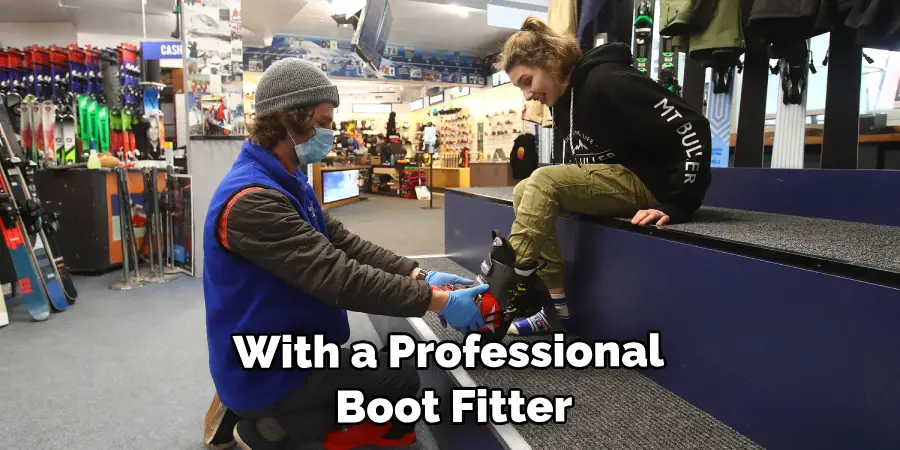
Following these steps on how to heat mold ski boots will help ensure a properly fitting and comfortable boot. The heat molding process is not a one-size-fits-all solution, so make sure to consult with a professional boot fitter if you have any concerns or specific foot issues. Properly fitted ski boots can greatly enhance your skiing experience and allow you to tackle even the most challenging runs with confidence.
Additional Tips
- If You Are Unable to Adjust the Temperature of Your Heating Device, Make Sure to Frequently Check the Temperature and Remove the Boots if They Feel Too Hot.
- When Wearing Your Boots for the First Few Times After Heat Molding, Be Aware That There May Be Some Minor Discomfort as Your Feet Adjust to the New Fit.
- If You Are Not Satisfied With the Results of Heat Molding or Experience Discomfort While Skiing, It May Be Worth Trying a Different Brand or Model of Ski Boots.
- Proper Foot Care, Such as Keeping Your Feet Dry and Wearing Moisture-wicking Socks, Can Also Greatly Enhance the Fit and Comfort of Your Ski Boots. So Make Sure to Take Care of Your Feet Both on and Off the Slopes.
- Don’t Forget to Regularly Check for Any Signs of Wear and Tear on Your Ski Boots, Such as Cracks or Tears. These Can Affect the Performance and Fit of Your Boots and May Need to Be Replaced if They Become Too Damaged.
- Lastly, Always Remember to Prioritize Comfort Over Fashion When It Comes to Your Ski Boots. While It May Be Tempting to Choose a Stylish Pair, It’s Important to Prioritize Proper Fit and Function for an Enjoyable Skiing Experience.
Frequently Asked Questions
Q: How Often Do I Need to Heat Mold My Ski Boots?
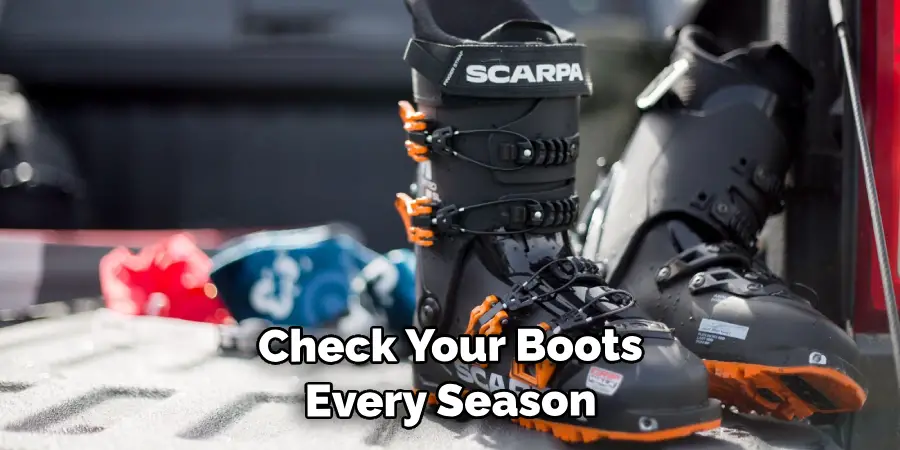
A: This depends on how your feet change over time and how frequently you go skiing. It’s recommended to check your boots every season and repeat the process if needed for a proper fit. It’s also a good idea to heat mold them if you purchase new boots or experience discomfort while skiing.
Q: Can I Heat Mold My Ski Boots at Home?
A: While it is possible to heat mold your ski boots at home, it’s recommended to consult with a professional boot fitter for the best results. They can ensure proper temperature and timing, as well as make any necessary adjustments for specific foot issues. However, if you are unable to visit a boot fitter, make sure to carefully follow the instructions provided by the manufacturer.
Q: Is Heat Molding Necessary for All Ski Boot Types?
A: No, not all ski boots can be heat-molded. It’s important to check with the manufacturer or consult with a professional boot fitter before attempting to heat mold your boots. Some types of ski boots, such as those with custom moldable liners, may not require this process. So make sure to do your research and choose the best option for your specific ski boot type.
Conclusion
Now that you understand the process of heat molding ski boots, it’s time to get out there and put your newfound knowledge into practice. If you want to make sure that your ski boots fit just right and that you have a comfortable experience on the slopes this season, then heat molding is a must. Overlap your accentuated movements around speed in order to take on a truly exhilarating skiing experience with well-molded boots.
So gear up and get ready because it is time to hit the slopes and enjoy yourself without having to deal with any foot pain from ill-fitting boots. Don’t forget to double-check all of your settings after every run, as slight adjustments here and there can make all the difference. Make this skiing season one for the books by ensuring the best performance possible with well-fitted ski boots prepared through heat molding! Thanks for reading this article on how to heat mold ski boots.