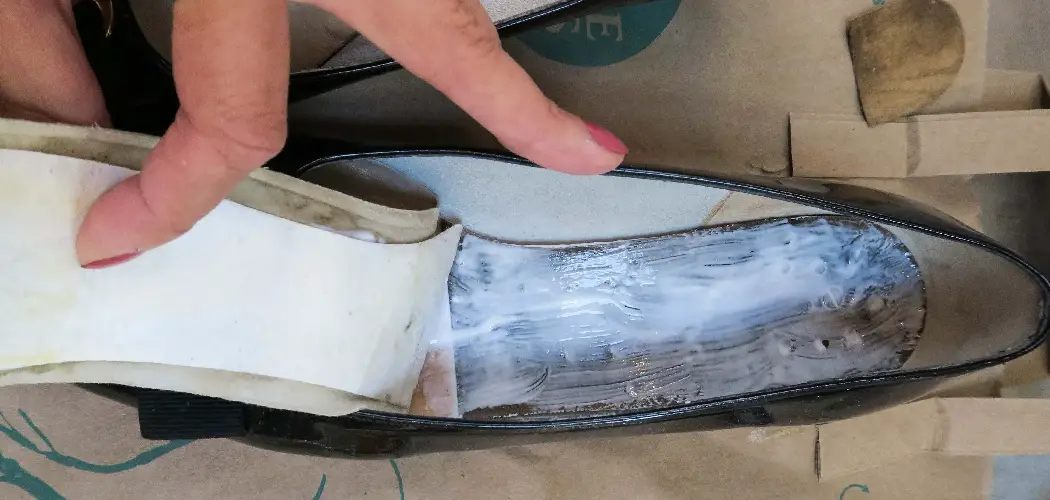
The comfort and support of our footwear fundamentally hinge on the condition of the insoles. Well-secured insoles are paramount for day-long comfort and optimal foot health. This guide dives into the essentials of insole repair, spotlighting the necessity of maintaining firmly in-place insoles. Gluing insoles back into shoes is a quick fix to a common problem and a cost-effective approach to shoe maintenance, prolonging the lifespan of your favorite pairs and ensuring continued support and comfort.
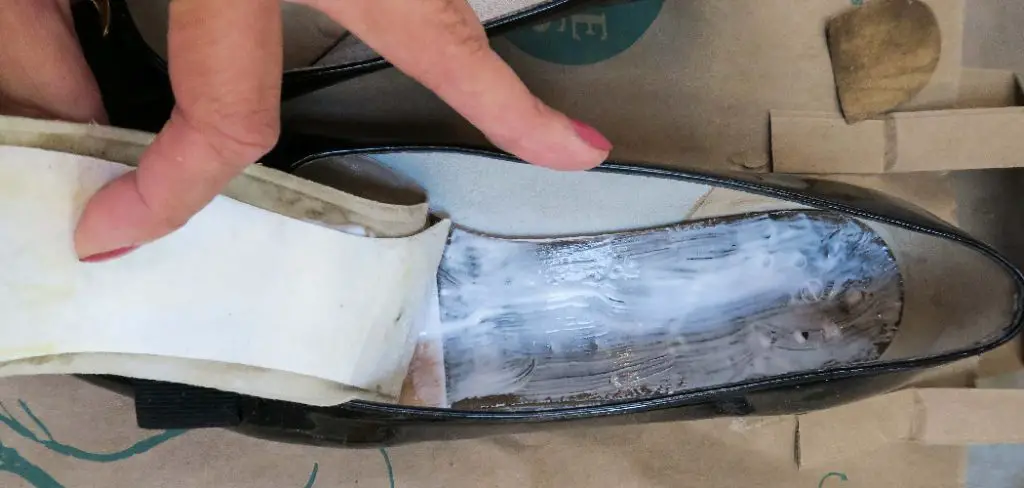
With our comprehensive, easy-to-follow instructions, you’ll learn how to glue insoles back in shoes, turning a potential hassle into an opportunity for DIY repair. This initiative saves money and empowers shoe owners to take control of their footwear’s condition, ensuring they remain as comfortable and supportive as the day they were bought.
Assessing the Damage
A. Inspecting the Insoles:
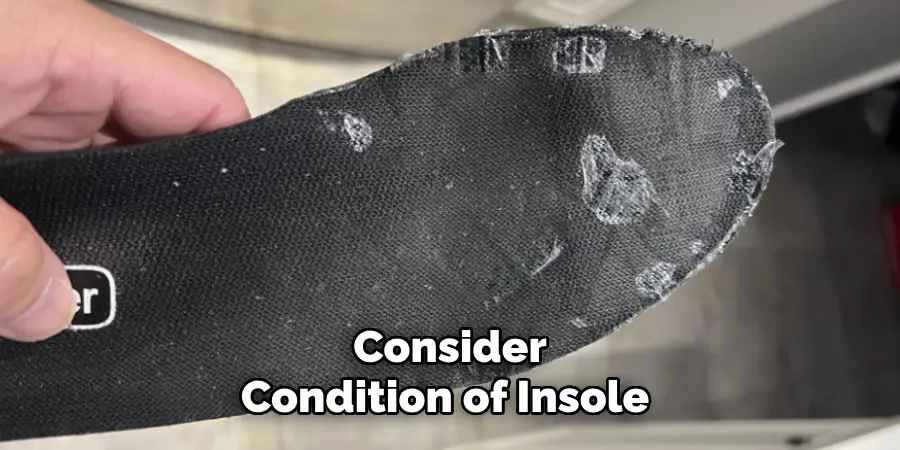
The first critical step in repairing your shoes is to thoroughly inspect the condition of the insoles. Carefully remove them from the shoes, if possible, to get a clear view of any loose or detached areas needing attention. This examination will help you understand the extent of the damage—whether it’s a simple corner coming loose or more significant areas that have detached from the shoe’s interior. Look for signs of wear or degradation that might affect the adhesive process.
B. Identifying Suitable Adhesive:
Once you’ve assessed the condition of the insoles, the next step is to select an appropriate adhesive for the repair job. Choosing a product specifically designed for shoe repairs, such as shoe glue or contact cement, is imperative. These adhesives are formulated to provide a durable bond, capable of withstanding the flexing and pressure of the insoles and shoes during regular use. Ensure the adhesive you select is compatible with the materials of your shoe and insole for best results.
C. Preparing the Work Area:
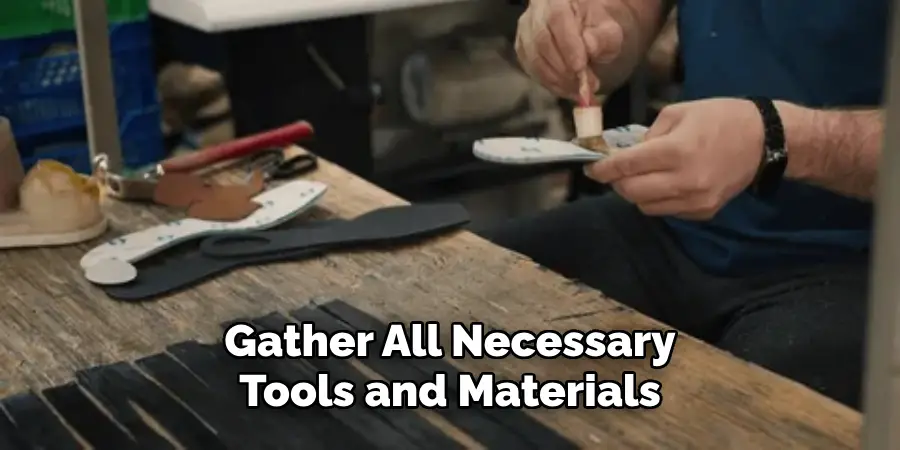
Repairing insoles can get messy, especially when dealing with adhesives. To protect your workspace, lay out newspapers, a drop cloth, or any other protective covering over your working surface. This precaution keeps the area clean and makes for an easy cleanup after the repair. Gather all necessary tools and materials beforehand so everything is within reach, streamlining the repair process and helping prevent any accidental adhesive spills on uncovered surfaces.
How to Glue Insoles Back in Shoes: Preparing the Shoes
A. Removing Old Adhesive:
Before applying new adhesives to reattach insoles, it’s essential to ensure that the shoe’s insole and interior are free from old adhesive and any accumulated dirt. To accomplish this, dampen a clean cloth or cotton swab with rubbing alcohol. Gently scrub the areas where the old adhesive is present to dissolve and remove it.
This step prepares the surface for a stronger bond with the new adhesive and prevents any unevenness or discomfort that might arise from leftover residue. Patience is key during this process; some adhesives may require more effort to remove completely. It’s important to ensure that all remnants of the old adhesive are gone before moving on to ensure the repair’s best possible adhesion and longevity.
B. Cleaning and Drying:
After removing the old adhesive, the next step is to thoroughly clean the insoles and interior of the shoes. Using a dry cloth, wipe down both surfaces to remove any dust, dirt, or moisture. Ensuring that both the insoles and the shoe interiors are completely clean and dry is crucial for the adhesive to work effectively. Any moisture or debris left behind can interfere with the adhesive’s ability to bond, potentially leading to a less secure attachment of the insole. Allow sufficient time for any moisture from the cleaning process to evaporate fully before proceeding with applying the new adhesive.
C. Securing Loose Insole Edges:
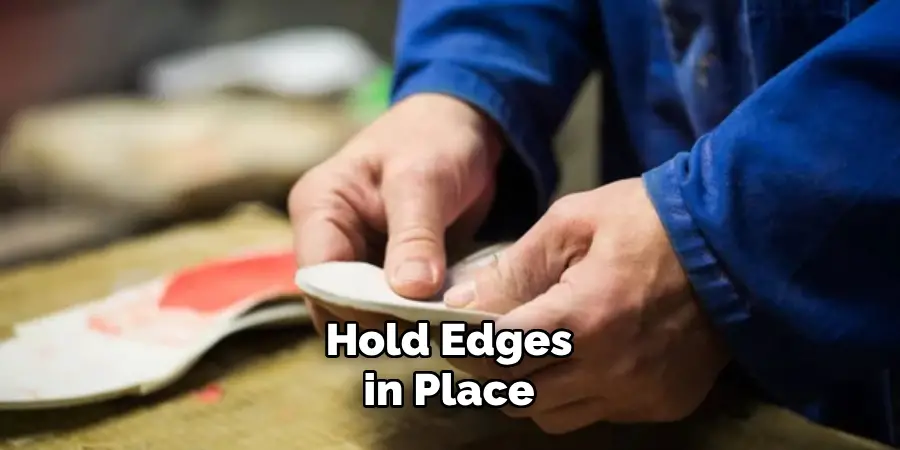
In some cases, the insole may have peeling or lifting sections that are not completely detached. To address this and prepare for adhesive application, use masking tape to temporarily hold these loose edges in place. The tape will keep the insole flat and secure against the shoe’s interior, providing a stable surface for the adhesive. Ensure the tape is firmly pressed down and covers all the areas that need reinforcement.
This step not only aids in the alignment of the insole during the adhesive application but also prevents any movement that could disrupt the bonding process. Once the adhesive has been applied and has time to set, the masking tape can be removed, leaving the insole securely attached and ready for wear.
How to Glue Insoles Back in Shoes: Applying Adhesive
A. Applying Adhesive to Insoles:
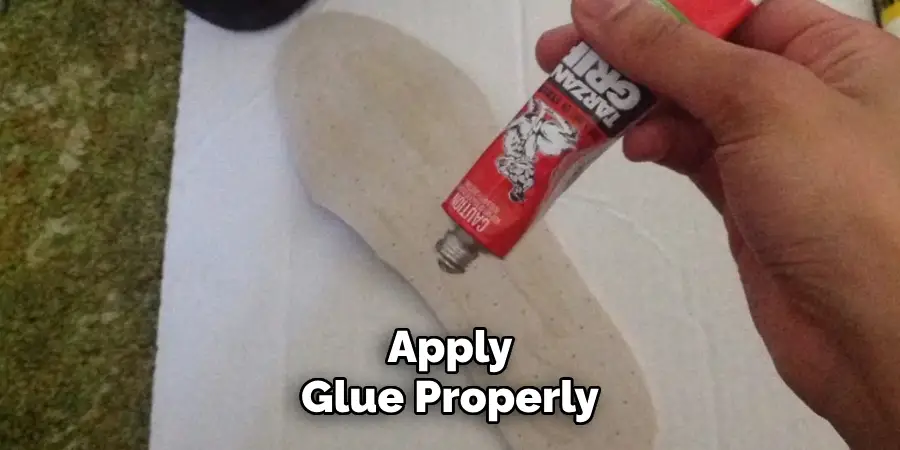
To begin the process of reattaching the insoles, start by carefully squeezing a small amount of shoe glue or contact cement onto the areas of the insoles that have come loose or are detached. Using a toothpick or a disposable applicator, spread the adhesive evenly over these areas, ensuring that you cover them thoroughly but without overapplying the glue. The adhesive should form a thin layer; too much glue could ooze out when pressed and create a mess or cause the insole to not sit properly. Aim for a balance that ensures sufficient coverage to secure the insole without excess.
B. Pressing Insoles Into Place:
Once the adhesive has been evenly applied, it’s time to carefully position the insoles back inside the shoes. Gently press the glued areas of the insoles firmly against the interior surface of the shoes, paying close attention to alignment. The insole should fit snugly and precisely as it was originally designed; improper alignment can lead to discomfort or uneven wear. Use your fingers to smooth out the insole, ensuring it sits flat against the shoe’s interior and that any air pockets are eliminated. If necessary, use a flat object like a spoon or a small roller to press down over the insole, ensuring a strong bond is formed everywhere the adhesive is applied.
C. Allowing Adequate Drying Time:
After the insoles have been pressed into place, it is crucial not to rush the drying process. Follow the manufacturer’s instructions for the adhesive’s drying time, which can vary depending on the product used. It’s typically recommended to allow at least 24 hours for the shoe glue or contact cement to cure completely.
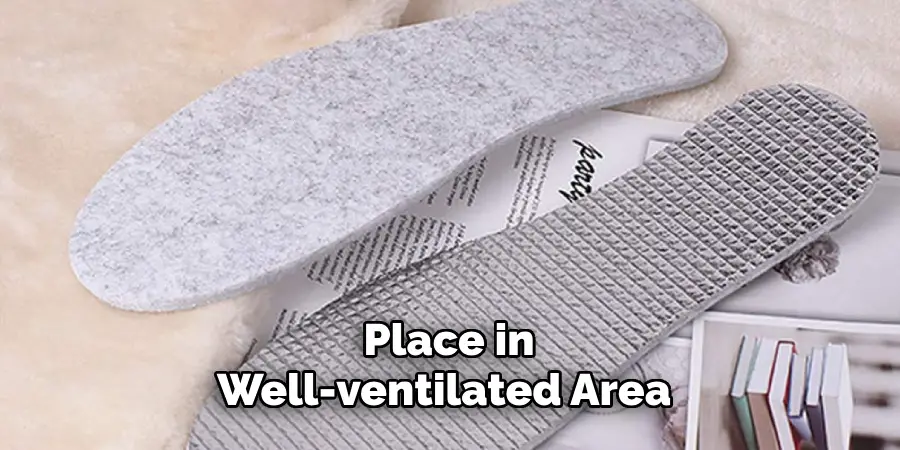
During this time, avoid wearing the shoes or applying any pressure that could shift the insoles. Placing the shoes in a well-ventilated area can help expedite the drying process, but ensure they are not exposed to direct heat or sunlight, as this could warp the insoles or shoes. Finally, check the bond before wearing; the insoles should feel securely attached, with no edges lifting or shifting when touched.
Finishing Touches
A. Removing Excess Adhesive:
After allowing the adhesive ample time to cure, the next step involves cleaning up any excess that may have oozed out during the application process. To do this effectively, take a clean cloth and lightly dampen it with rubbing alcohol. Gently rub the areas around the insoles where the excess adhesive is visible, taking care not to apply too much pressure that might disturb the newly secured bond. Rubbing alcohol effectively dissolves many types of shoe glue and contact cement without damaging the materials of your shoe or insole. This step ensures a neat finish and prevents any sticky residue that could attract dirt or debris.
B. Testing for Secure Attachment:
Before considering the repair complete, testing the insoles to ensure they are firmly attached is critical. This can be done by gently bending and flexing the shoes, simulating the natural walking movements. Listen for any sounds that might indicate movement within the shoe and feel for any shifting or bubbling under the insole. This testing phase is crucial to confirm whether the adhesive has fully bonded as intended. If any areas seem loose or unattached, further adhesive application might be required to secure the bond fully.
C. Reinforcing Insole Edges:
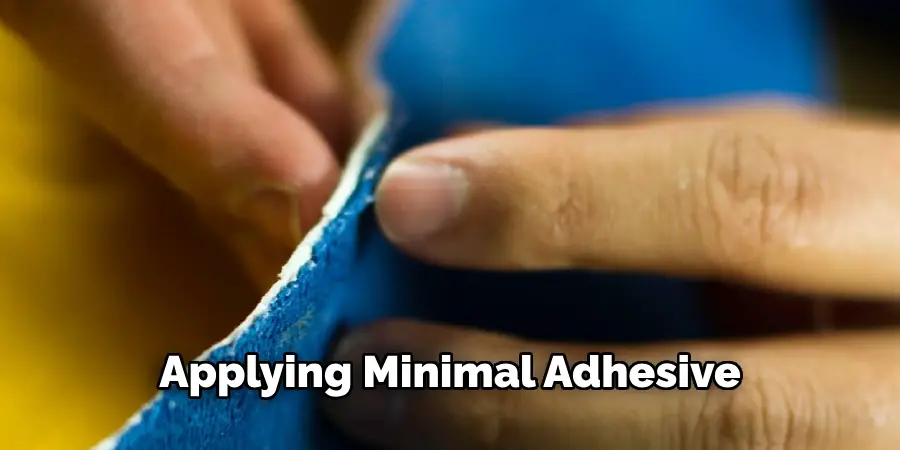
For individuals seeking additional security or those who frequently encounter insole detachment, applying a thin line of adhesive around the edges of the insoles offers an extra layer of reinforcement. This procedure involves carefully applying minimal adhesive directly along the perimeter where the insole meets the shoe interior.
Use a toothpick or a fine applicator for precision to avoid excess adhesive. This reinforcement line will dry completely, following the previously mentioned drying guidelines. This step enhances the durability of the insole’s attachment, significantly reducing the likelihood of future peeling or detachment.
By meticulously following these finishing touches, the repaired insoles will look neat and professional and provide reliable performance through extended wear. Maintaining clean, dry conditions and providing ample drying time are key factors in achieving a successful insole repair that meets the demands of daily use.
Practical Considerations
A. Monitoring Wear and Tear:
Regularly inspect the condition of both insoles and shoes to identify early signs of wear and tear. Immediate action to repair any loose or detached insoles is vital in preventing further deterioration. Regular checks extend the life of your shoes and maintain comfort and foot health.
B. Choosing Quality Adhesives:
Selecting high-quality shoe repair adhesives is crucial for insole repairs. Premium adhesives offer stronger bonding, resistance to wear, and longevity, ensuring that the insoles remain securely attached longer. This investment can significantly improve the overall performance and lifespan of your shoes.
C. Seeking Professional Help:
DIY insole repairs might not always yield permanent solutions, especially for complex or recurrent issues. If insoles continue to detach or if you’re unsure about the repair process, consulting a professional shoe repair service is advisable. Experts can provide durable and appropriate solutions that DIY methods may not achieve, ensuring your shoes are in the best condition for continued use.
5 Common Mistakes People Make When Trying to Glue Insoles Back in Shoes
Whether you’re a seasoned shoe enthusiast or a DIYer looking to extend the life of your favorite pair, properly securing insoles is crucial for comfort and longevity. However, the process isn’t as straightforward as it may seem, and several common mistakes can hinder your efforts. Here’s what you need to avoid for a flawless fix.
1. Using the Wrong Type of Glue or Adhesive
Not all adhesives are created equal, especially in shoe repair. The biggest blunder? Use a glue that isn’t designed for the materials of your shoe or insole. For example, rubber and leather require different types of adhesives for a secure bond. Always opt for a shoe-specific glue or a multi-purpose adhesive known to work well with a wide range of materials.
2. Applying Too Much or Too Little Glue
Finding the right balance is key. Too much glue can create a mess, seeping out from the sides of the insole and potentially damaging the finish of your shoe. On the other hand, too little glue might not hold the insole securely in place. Aim for a thin, even layer of adhesive across the entire insole surface for the best results.
3. Not Cleaning the Insole or Shoe Surface Properly Before Gluing
Glue adheres best to clean, dry surfaces. Any dirt, oil, or previous adhesive residue can prevent a strong bond from forming. Use a gentle cleaner or rubbing alcohol to wipe down both the insole and the shoe interior, allowing them to dry completely before proceeding with the glue.
4. Failing to Allow Enough Time for the Glue to Dry
Patience is a virtue, especially when it comes to shoe repair. Rushing the drying process can result in a weak bond that won’t endure normal wear and tear. Follow the drying time recommendations on your adhesive’s packaging, which may range from a few hours to overnight. Remember, waiting a bit longer is better than repeating the whole process.
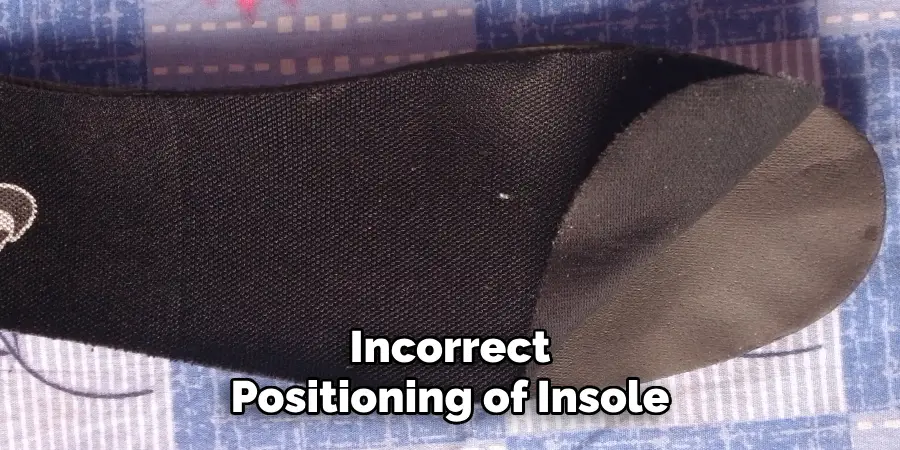
5. Incorrectly Positioning the Insole in the Shoe
Once you’ve applied the glue, you have a short window of time to position the insole correctly. Misalignment can lead to discomfort and uneven wear. Double-check that the insole is perfectly matched to the contours of your shoe before the glue sets. If possible, place the shoe on a flat surface and press down evenly on the insole to ensure a snug fit.
Frequently Asked Questions (FAQ)
Q: How Long Does Shoe Glue Take to Fully Cure?
A: The curing time for shoe glue can vary depending on the brand and type of adhesive used. Typically, it ranges from 24 to 48 hours. It’s important to check the manufacturer’s instructions for the specific curing time. Ensure you allow the glue to fully cure before wearing the shoes to guarantee the best bond strength.
Q: Can I Use Superglue for Emergency Insole Repairs?
A: While superglue can provide a quick fix in emergencies, it’s not recommended for long-term repairs. Superglue can harden and create a less comfortable surface, potentially leading to discomfort or further damage to the shoe. For durable repairs, it’s best to use adhesives specifically designed for shoe repair.
Q: Is It Safe to Wash Shoes After Insole Repairs?
A: It depends on the type of glue used and the material of the shoes. Water can weaken some adhesives, so following the adhesive manufacturer’s guidance regarding water exposure is crucial. For shoes that are washable, wait for the adhesive to fully cure, and consider hand washing or using a gentle cycle to minimize impact on the repaired area.
Q: How Can I Remove Excess Glue from The Shoe’s Surface?
A: It’s best to act quickly before the glue dries to remove excess glue. Use a clean, damp cloth to gently wipe away the wet glue. If the glue has already dried, a small amount of acetone or nail polish remover on a cotton swab can help dissolve it. However, always test on an inconspicuous area first to avoid damaging the shoe’s finish.
Q: What Should I Do if The Insole Keeps Detaching Even After Using the Correct Adhesive?
A: If the insole continues to detach, consider the condition of both the insole and the shoe. It might be time to replace the insole or consult a professional shoe repair service for a more permanent solution. Recurrent issues might indicate a deeper problem, such as incompatible materials or structural wear in the shoe.
Conclusion
In our comprehensive guide on how to glue insoles back in shoes, we’ve navigated through meticulous steps and techniques to ensure extended wear and comfort. From selecting the right adhesive to allowing adequate drying time, each phase is pivotal in ensuring a secure fit and prolonging the lifespan of your footwear. We passionately encourage you to take the time to repair any loose or detached insoles. Not only does this maintain the comfort and health of your feet, but it also significantly extends the life of your shoes.
Furthermore, adopting a DIY approach to shoe repair can be immensely rewarding, serving as a cost-effective, sustainable solution that breathes new life into your favorite shoes. By mastering how to glue insoles back in shoes, you not only save money but also contribute to a more sustainable lifestyle by reducing waste.

