The snowy season is here, and with it comes the need to protect our feet from cold temperatures as well as wet, slushy conditions. Having properly dried snow boots after each use can make all the difference when it comes to staying warm and comfortable in winter weather.
Fortunately, learning how to dry snow boots isn’t complicated — all you need are a few household items! In this post, we’ll share tips on how to do it quickly and efficiently so that you can enjoy activities like sledding, snowball fights, or just walking around town without having to worry about getting wet feet. Whether you have leather or fabric footwear for winter days, follow these simple steps for the best results.
Summary: Drying snow boots properly is crucial to maintain their quality and durability. To dry your snow boots, start by removing any excess snow or moisture with a towel. Stuff your boots with crumpled newspaper to absorb any remaining moisture. Leave the boots to dry for at least 24 hours before wearing them again.
What is Dry Snowing?
Before we get into the details of how to dry snow boots, it’s worth noting what dry snowing is and why it can be beneficial. Dry snowing involves applying wax or another waterproof material to the exterior of your shoe before heading out in cold conditions.
This creates an extra protective layer that prevents moisture from seeping through while also trapping the warmth of your body heat inside. It will also help to increase the overall lifespan of your boots, as regular exposure to wet climates can cause them to become brittle and break down faster.
Needed Materials
- Old Newspapers
- Dry Towel
- Hair Dryer
- Waterproofing Wax or Treatment
10 Tips on How to Dry Snow Boots
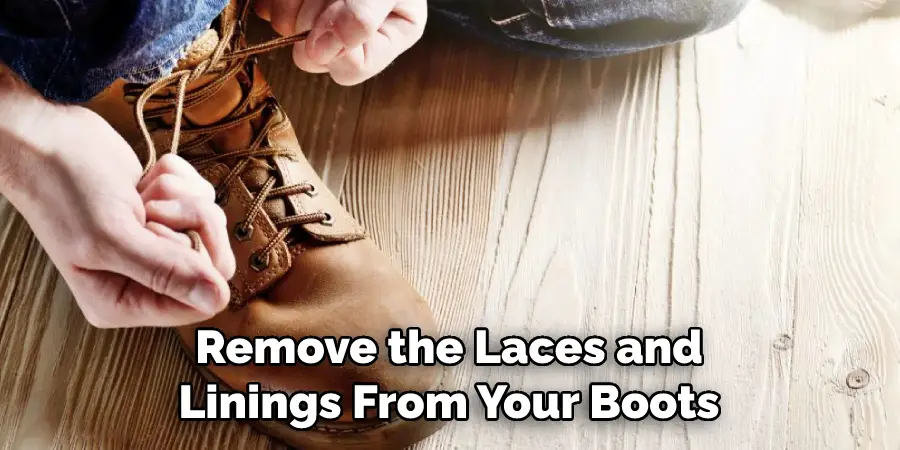
1. Dismantle
Firstly, remove the laces and linings from your boots and place them somewhere warm to dry separately. Making them easier to dry faster. It is an important step in how to dry snow boots.
2. Blot Up Moisture
Once removed, use an old towel or a few layers of newspaper to blot up the moisture from inside your shoes. Be sure not to rub too hard, as this could damage the material. Blowing some warm air from a hair dryer can also help to speed up this process.
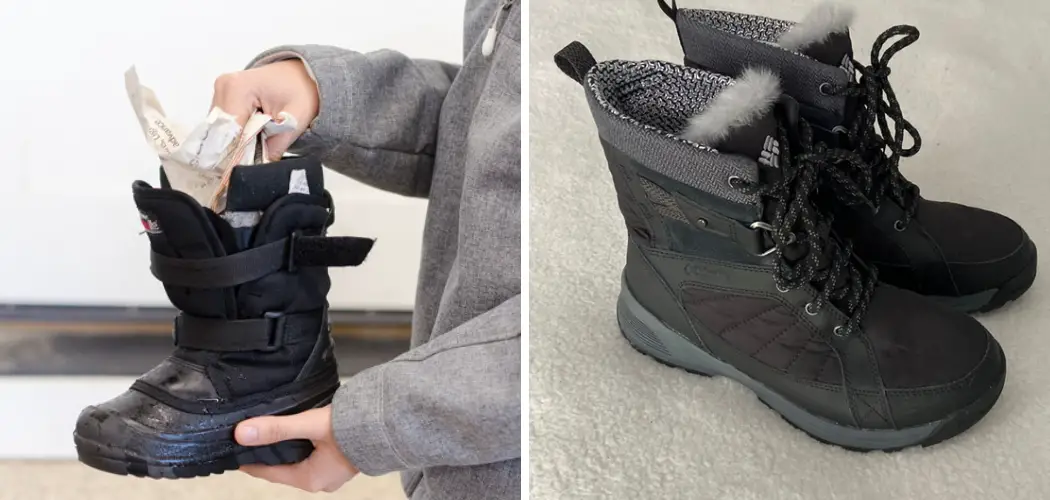
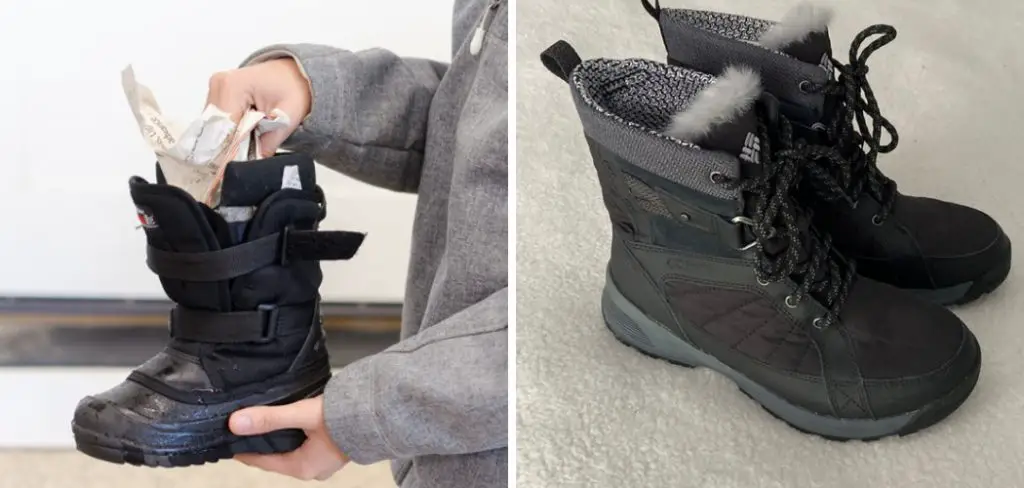
3. Stuff with Paper
Stuff the boots with old newspapers and let them sit for 15 minutes to absorb some of the moisture from inside the shoe. Depending on how wet your boots are, you may need to change out the newspapers a few times to ensure that all moisture is drawn out.
4. Check Laces
Once your shoes are free of moisture, check the laces to make sure they haven’t been damaged by the moisture. If they do appear damp, lay them flat and allow them to dry naturally before putting them back in your boots.
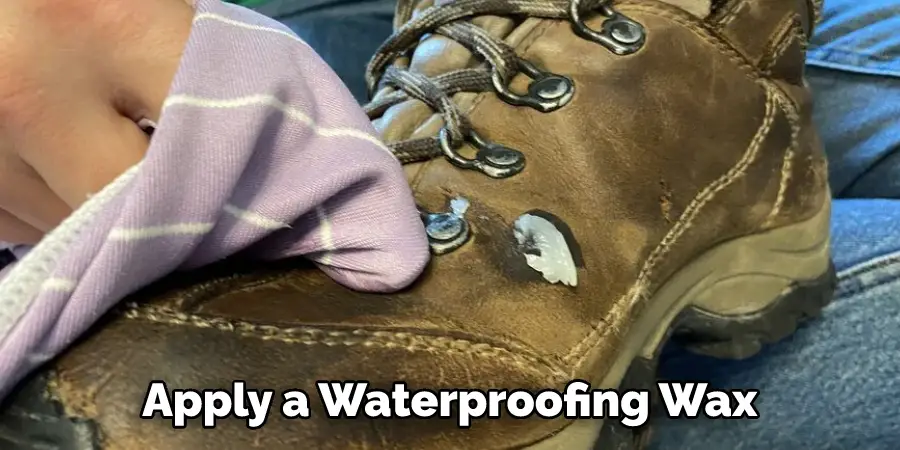
5. Apply Wax or Treatment
After the shoes have dried completely, apply a waterproofing wax or treatment to the exterior of your boots. This will help to keep moisture away and maintain their freshness for longer.
6. Place near Heat Source
Place your boots near a heat source such as a radiator or fireplace, but make sure that they are not too close, as this could cause them to become damaged by the heat. Let them sit for about an hour to ensure that the wax or treatment is completely absorbed.
7. Re-lace Boots
Re-lace your boots once they have dried and the treatment has been applied. This will help to keep the material together while also ensuring that the laces stay in place during outdoor activities.
8. Air Out
Finally, leave your boots to air out for a few hours before putting them away. This will help to keep the inside of your boots fresh and free of odors. The odor from damp boots can be difficult to get rid of, so make sure you air them out regularly.
9. Store Properly
When it comes to storing your boots, choose a cool and dry place away from direct sunlight or heat sources, as this could cause the material to deteriorate over time. Keep them in a breathable material such as canvas or cloth so that they can ‘breathe.’
10. Check for Wear and Tear
Regularly check your boots for signs of wear and tear, especially if you are planning on wearing them in wet conditions regularly. If you do notice any damage, it may be time to invest in a new pair.
Following these steps will help you keep your boots in great condition and increase the lifetime of your shoes. Keep in mind that it is important to waterproof them regularly and inspect them for any signs of damage before heading outdoors. This extra care will ensure that you have a pair of boots that will last you for years.
8 Benefits of Dry Snowing
1. Keeps Your Feet Warm and Dry.
Keeping your snow boots dry helps to keep your feet both warmer and drier than if the boots were wet. This is especially important in cold climates where temperatures can drop below freezing.

2. Reduces Moisture Buildup.
Drying snow boots helps to reduce the amount of moisture that builds up within them, which can cause them to smell bad or become uncomfortable. That’s why it’s important to make sure that your snow boots are completely dry before putting them away after a day of fun in the snow.
3. Prevents Premature Wear and Tear.
Wet boots can lead to more wear and tear on the material, so drying them can help keep them looking and feeling new for longer. To do this, it’s best to clean them with a damp cloth and then dry them thoroughly afterward.
4. Prolongs the Life of Your Boots.
By taking proper care of your snow boots, you can ensure that they will last longer and be ready for those snowy days whenever you need them!
5. Helps Avoid Mildew or Mold Growth.
When you dry your snow boots after a day of use, it helps to reduce the chances of mildew or mold growing on them. This can be especially dangerous if you’re wearing them in wet conditions, as mold and mildew can cause skin irritation or even infections.
6. Easier to Put on and Take Off.
Wet snow boots can be a pain to put on and take off, but drying them beforehand will make the process a lot smoother. This is especially important if you’re running late or need to move around quickly.
7. Makes Cleaning Easier.
It’s much easier to clean dried snow boots than wet ones, as they don’t require as much scrubbing or wiping. This helps to make sure that the material looks its best and is kept in tip-top condition for longer.
8. Prevents Damage from Salt and Other Chemicals.
Snow boots that are properly dried after each use can help protect them from damage caused by salt, ice melts, and other harsh chemicals that are often used to treat snow-covered surfaces. This is especially important if you’re looking to keep your boots looking nice for years to come.
Drying your snow boots after each use helps prevent them from getting damaged, keeps your feet warm and dry, and prolongs their life. Make sure that you clean any dirt or debris off them with a damp cloth and then dry them thoroughly before putting them away. Doing this will help to ensure that your snow boots are always ready for those snowy days!
5 Maintenance Tips
- To maintain the quality of your snow boots, make sure to clean them regularly. This includes wiping down the exterior with a moist cloth and spot-cleaning any dirt or grime that accumulates on them.
- After every use, stuff newspaper inside the boots to help draw out any moisture and sweat caused by wear. Make sure to replace the paper regularly to ensure proper drying.
- Make sure each boot is completely dry before putting them away for storage, otherwise, you run the risk of mold and mildew growth which can deteriorate the quality of your boots over time. Check inside the boots and around the seams for any spots of moisture.
- If your snow boots have laces, make sure to loosen them before drying the boots. This will help ensure that no parts of the shoe are still damp or wet after they are done drying.
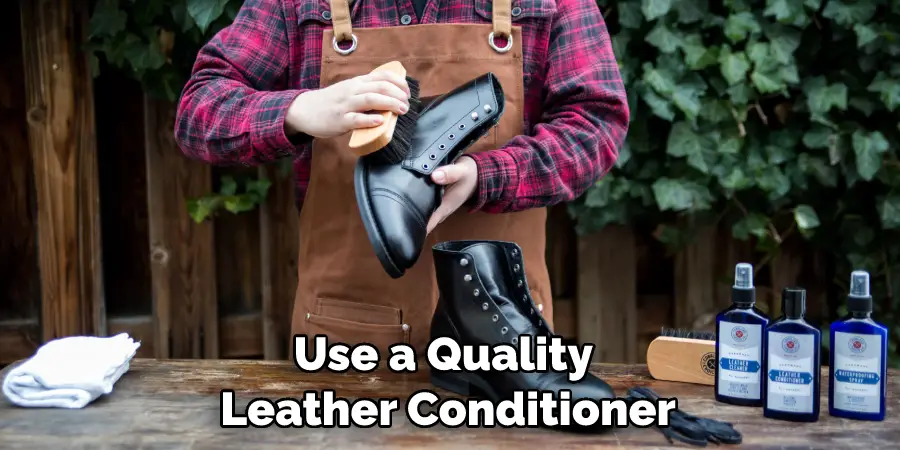
- Finally, use a quality leather conditioner once a month when your boots are dry to keep them soft and supple. Leather conditioners also help to protect against salt, snow, and other elements that can cause wear and tear on the boots. Following these simple tips will keep your boots looking new for years to come.
Conclusion
Establishing a good routine when it comes to drying your snow boots is essential in maintaining the quality and integrity of the boots over time. With a few extra steps, you can help prevent any moisture build-up inside or outside the boots to keep them in good condition. Now that you know how to dry snow boots, you can enjoy keeping your feet warm and dry with no worries.
Remember that it’s important to inspect your snow boots before using them each time as part of a maintenance routine. You should always make sure they’re fully dried after use and before storage so they don’t end up damaged. Lastly, never put them too close to a heater or heat source, as extreme temperatures can cause unwanted damage. With these tips in mind, you’ll be well on your way to having well-maintained snow boots for years of cozy comfort!