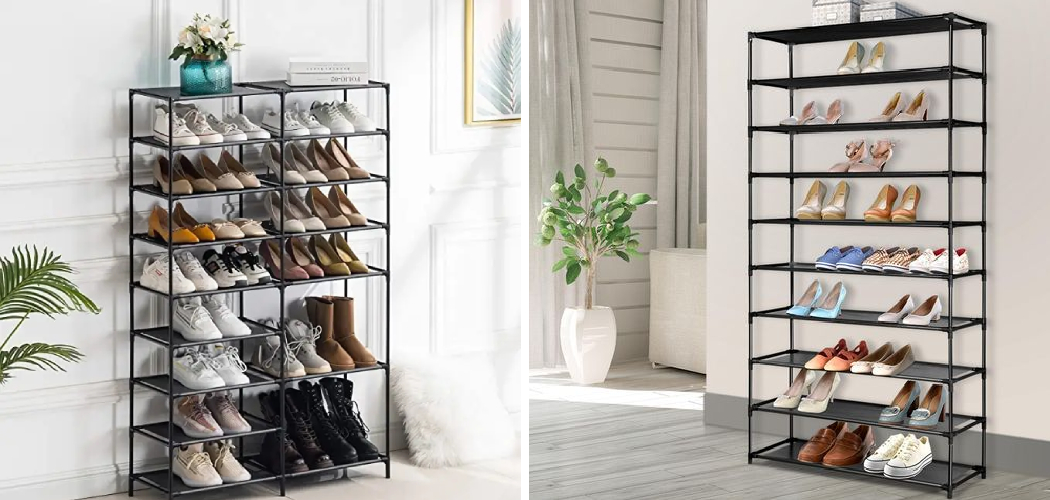
10-Tier Shoe Racks are an excellent way to organize and store your shoes. They come in various sizes and styles, so you can easily find the perfect rack for your needs. The 10-tier design makes it easy to see all of your shoes at once, making them easier to grab when you need them.
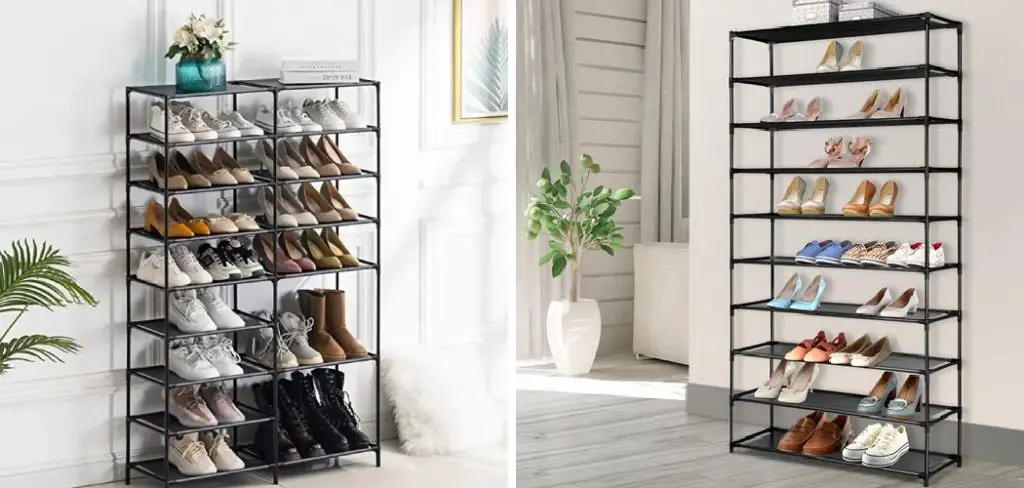
Assembling a 10-Tier Shoe Rack offers many benefits. It can help you to keep your shoes organized and access them easily, even in small spaces.
The rack also allows for efficient storage with plenty of room for multiple pairs of shoes. Not only does it save space, but it helps you organize items without having to stack them on top of each other.
The rack is also durable and easy to assemble, making it the perfect solution for anyone needing a shoe storage solution that looks great and offers plenty of space. In this blog post, You will learn in detail how to assemble 10 tier shoe rack.
Step by Step Processes for How to Assemble 10 Tier Shoe Rack
Step 1: Organize the Pieces
Before beginning assembly, organizing the pieces of your 10-tier shoe rack is important. Lay them out on a flat surface and take a few moments to familiarize yourself with the components.
Begin by positioning two side rails at either end of the rack. Make sure that these are symmetrical and parallel. Use the pre-drilled holes and included screws to secure them in place.
Step 2: Attach the Cross Beams
Next, attach the crossbeams to the top and bottom of each side rail. Secure these with screws and pre-drilled holes. This will create a sturdy base for your 10-tier shoe rack. Begin by placing your main shelf tiers onto the side rails.
Start with the top tier and work downward. Secure each shelf in place using screws and pre-drilled holes. Ensure the shelves are level and secure to ensure the stability of your 10-tier shoe rack.
Step 3: Add Shelves
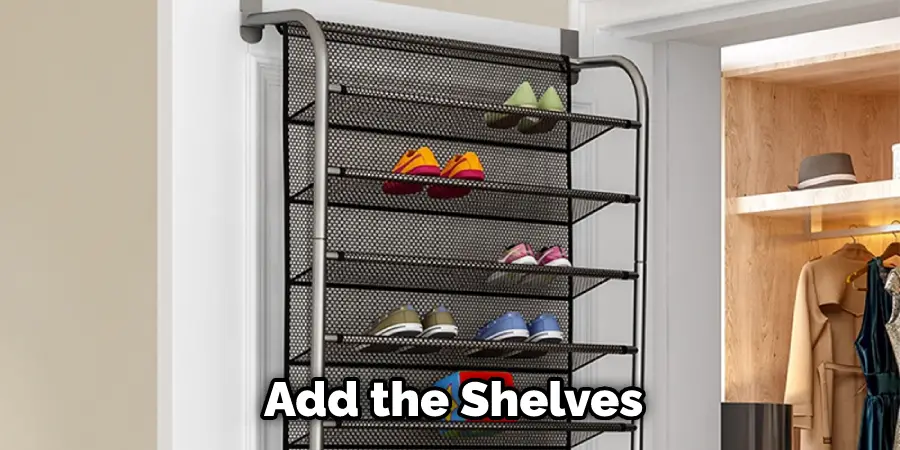
Now you are ready to add the shelves. Start by placing one shelf at the top of your rack and then adding additional shelves in descending order until you reach the designated height for your shoe rack. Attach each shelf to the rails with screws and pre-drilled holes.
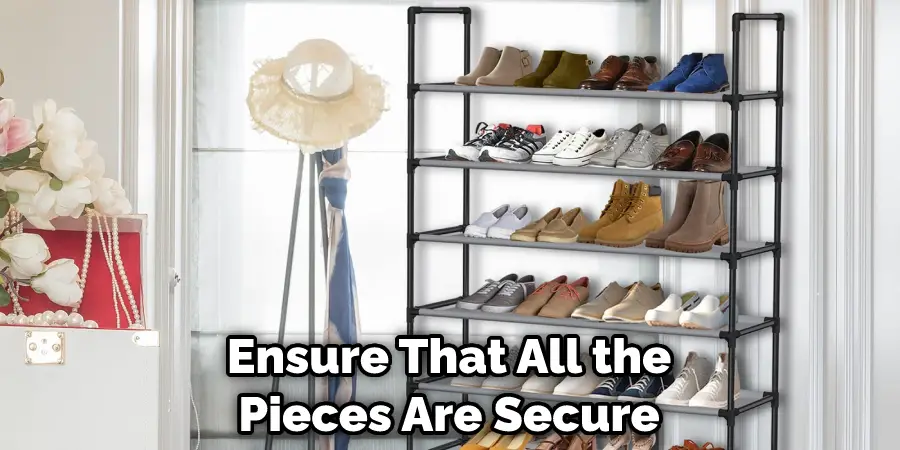
Step 4: Secure Your Rack
Finally, secure your 10-tier shoe rack by attaching the remaining screws. Double-check that each piece is securely in place and that all screws are tightly fastened. Once you have completed these steps, you will have a sturdy 10-tier shoe rack that is ready for use.
Tips for How to Assemble 10 Tier Shoe Rack
- Before you begin, it’s important to read and understand the instructions provided with your 10-tier shoe rack. Familiarizing yourself with all of the parts and how they fit together will save you time in the assembly process.
- Make sure you have all the necessary tools to assemble your 10-tier shoe rack. This may include a screwdriver, hammer, and adjustable wrench. Having the right tools will make the process much easier.
- Start by sorting out all of the individual parts in front of you so that you can identify them easily and know exactly how they fit together.
- Following the instructions provided is important for successfully assembling your 10-tier shoe rack. Pay attention to each step and be sure to follow them for the best results.
- Before you finish, double-check to ensure that all the pieces are secure and properly assembled. This will help you be sure that it is safe to use and ready for your shoes.
Assembling a 10-tier shoe rack may seem daunting, but with these tips and the instructions provided, you can have it done in no time.
How Long Does It Take to Assemble the 10-Tier Shoe Rack?
It is quite easy to assemble the 10-tier shoe rack. All you need is a few minutes and a bit of patience. The first thing you need to do is find a flat surface on which to assemble the rack. Once you have found a suitable location, begin by attaching the two side panels to the bottom panel using the screws provided.
Then, attach the remaining tiers to the sides, starting with the lowest tier and working your way up. Finally, screw the leveling feet into place, and your rack is ready for use. With just a little effort, you can easily assemble the 10-tier shoe rack in no time.
How Do You Clean the 10-Tier Shoe Rack?
It is important to keep your 10 Tier Shoe Rack clean to improve its longevity and function. Here are some simple steps you can take to keep your rack looking brand new:
- Begin by vacuuming the shelves of the rack with a lightweight vacuum cleaner or dusting brush to remove any dirt and dust.
- If necessary, use a damp cloth or sponge to wipe down the shelves and racks of the shoe rack. Be sure to follow this up by immediately drying them with another cloth to prevent moisture from seeping in.
- When cleaning metal parts such as hinges, screws, nuts, and bolts, always use a soft cloth or brush and appropriate cleaning agents such as diluted detergents.
- If your shoe rack is made of plastic, use a mild soap solution to clean it. Make sure not to use any abrasive cleaners or tools on the plastic surface.
- Use a damp cloth and an appropriate wood cleaner or wax for wooden shoe racks. Wipe the entire surface and allow it to dry before using it again.
Following these steps will help keep your 10 Tier Shoe Rack looking brand new for years to come.
How Often Should You Check and Tighten All Connections in the 10-Tier Shoe Rack?
The simple answer is every 3 to 6 months, depending on the frequency of use. However, if you live in an area with high humidity or temperature fluctuations, it’s a good idea to check the connections more frequently.

If any of the joints start to feel loose, simply tighten the bolts with a wrench. Checking and tightening the connections on your shoe rack is a quick and easy way to extend its lifespan and keep your shoes organized.
Be sure to check the stability of your 10-Tier Shoe Rack after each adjustment. Move it around gently, and if you notice any wobbling or instability, be sure to tighten all the connections again until it is stable. Having a sturdy shoe rack will ensure that your shoes are properly stored and safe from any potential damage.
Is Any Special Maintenance Need to Be Done for a 10-Tier Shoe Rack?
Once your 10-tier shoe rack is assembled, it does not require any special maintenance. The frame of the rack is designed to be durable and long-lasting. Make sure to periodically check for loose screws or connections that may have come undone due to frequent movement or shifting of the shoes on the shelves.
Also, make sure to clean and dust the rack regularly to keep it looking its best. If you choose to use a shoe rack cover, take it off and clean the frame regularly for the best results. Lastly, avoid placing your 10-tier shoe rack in direct sunlight, as this may cause fading or discoloration of the metal frame.
Are There Any Safety Precautions That Need to Be Taken When Assembling a 10-Tier Shoe Rack?
Yes, certain safety precautions should be taken when assembling a 10-tier shoe rack. Before you begin to assemble the shoe rack, make sure that all of the parts and hardware are present in the package. Be sure to read and understand the instructions thoroughly before beginning assembly.
Make sure that your workspace is free of clutter and has a clean, level surface to work on. It is also important not to overtighten any screws as this may cause damage to the rack and could make it unsafe. Additionally, when working with metal components or sharp edges, be sure to wear protective eyewear or gloves.
Lastly, always be sure that all of the pieces have been properly secured and locked before you move the rack or start loading it with shoes. Following these safety precautions will ensure that your 10-tier shoe rack is assembled safely and securely.

Conclusion
The main advantage of assembling a 10-tier shoe rack is its versatility. You can easily store many different types and sizes of shoes with this style of the rack without taking up much floor space or having to invest in multiple different racks. This type of rack also offers easy access when you’re looking for a particular pair of shoes.
Furthermore, since it doesn’t take up much space, you can easily move the rack around to make room for other items. This type of shoe rack is very affordable and easy to assemble. I hope this article has been beneficial for learning how to assemble 10 tier shoe rack. Make Sure the precautionary measures are followed chronologically.