The ice and snow become more prevalent as the temperatures continue to drop. Applying Sno Seal to your boots can help keep you warm and protected from the harsh elements. In this blog post, we will discuss how to apply Sno Seal properly so that you get the most out of this winter essential. Keep reading to learn more.
Summary: Applying Sno Seal to your shoes can help protect them from the elements and keep them waterproof. Start by cleaning the shoes with soap and water, drying off any excess moisture, then applying a thin layer of Sno Seal evenly. Let the sealant dry for 12-24 hours before using the shoes.
What Is Sno Seal?
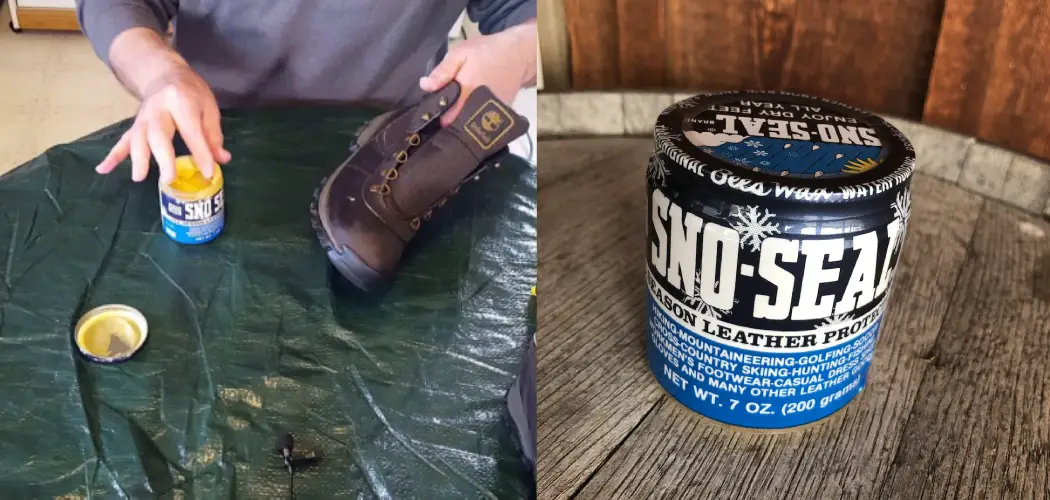
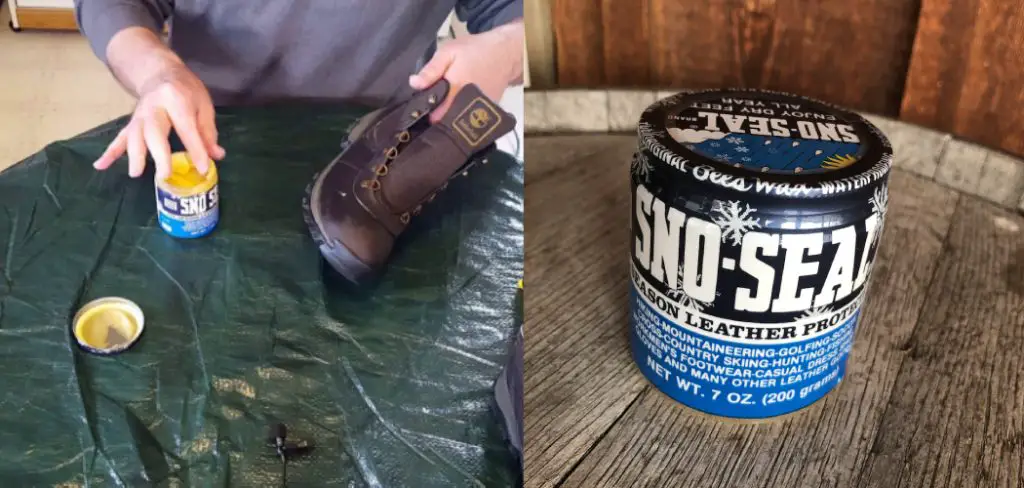
Sno Seal is a beeswax-based waterproofing compound that has been used for years to protect footwear from the elements. This product can be applied to various materials, including leather, canvas, and synthetics. Sno Seal will create a barrier against water, snow, and ice when applied correctly. It will also help to keep your feet warm by trapping in heat. Sno Seal can be purchased online or in most outdoor stores.
Why Should I Use Sno Seal?
There are many reasons why you should use Sno Seal on your boots. First and foremost, it will help to keep your feet dry and warm. It can also extend the life of your boots by protecting them from the elements. Sno Seal can be a lifesaver if you live in an area with a lot of snow and ice. It will help you to avoid the pain and discomfort that comes with cold, wet feet.
Another reason to use Sno Seal is that it can help prevent your boots from slipping on icy surfaces. This can be a major safety hazard, especially if you live in an area with a lot of snow and ice. Applying Sno Seal to the bottom of your boots will create a layer of traction that will help keep you safe on slippery surfaces. The other major benefit of using Sno Seal is that it can help to repair and waterproof your boots.
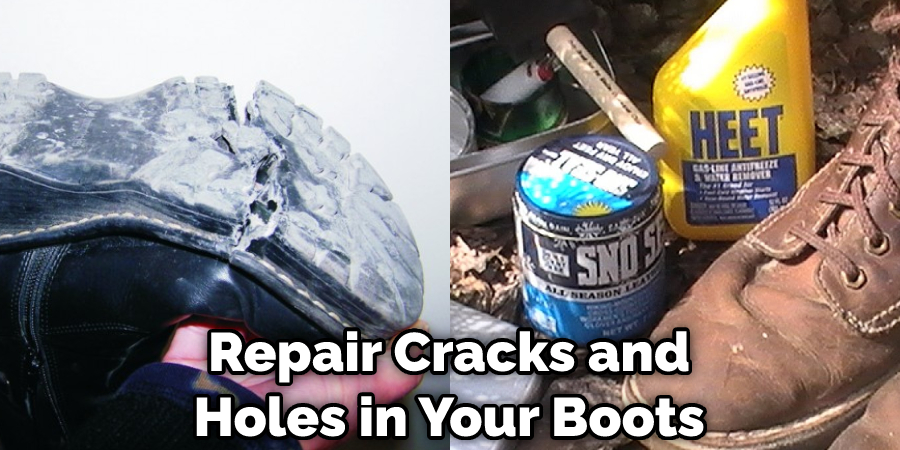
If you have a pair of boots that are starting to show signs of wear, applying Sno Seal can help to extend their life. This product can also be used to repair cracks and holes in your boots. If you have a damaged pair of boots, Sno Seal can help to make them like new again. Finally, using Sno Seal on your boots can save you money in the long run. By protecting your boots from the elements, you will avoid having to replace them often. This can save you a lot of money, especially if you live in an area with harsh winters.
Step by Step How to Apply Sno Seal
1. Gather Materials
The first thing you need to do is gather the materials you will need to apply Sno Seal. This includes the following:
- Sno Seal
- applicator (brush, sponge, or cloth)
- old rag
Gather all of these items and put them in a well-ventilated area. It is important to have good ventilation when applying Sno Seal because the fumes can be strong. If using Sno Seal indoors, open a window or turn on a fan.
2. Prepare the Area
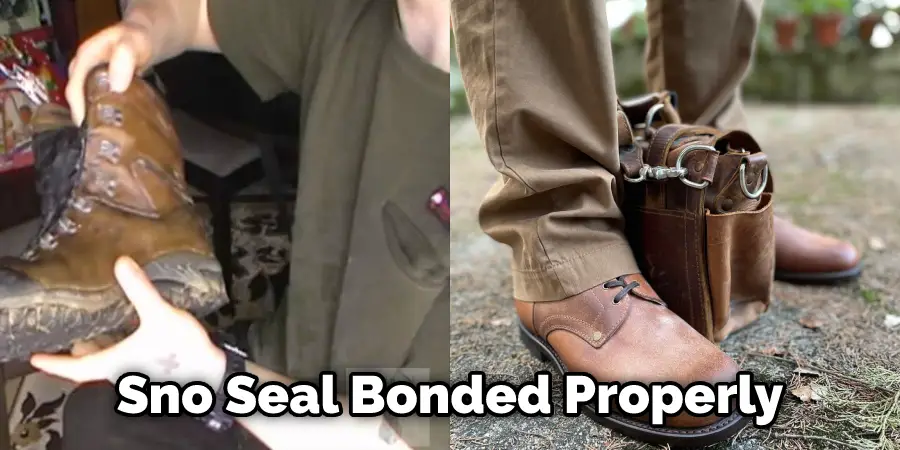
Before you start applying Sno Seal, you need to prepare the area. This means preparing the boot’s surface and ensuring there is no dirt or debris. If there is any dirt or debris on the surface of the boot, it will prevent the Sno Seal from bonding properly. First, prepare the area, and use the old rag to wipe down the boot’s surface. Next, make sure to get rid of any dirt, dust, or debris. Once the surface is clean, use a brush, sponge, or cloth to apply a thin layer of Sno Seal to the boot.
3. Apply Sno Seal
Now it’s time to apply Sno Seal. Using your applicator, apply a thin layer of Sno Seal to the boot’s surface. First, start by applying it to the seams. It is important to get into all of the nooks and crannies so that the Sno Seal can bond properly. Once the seams are coated, move on to the rest of the boot. Make sure to evenly coat the entire boot, paying special attention to any cracks or crevices. If you are applying Sno Seal to multiple boots, make sure to do one boot at a time.
4. Remove Excess Sno Seal
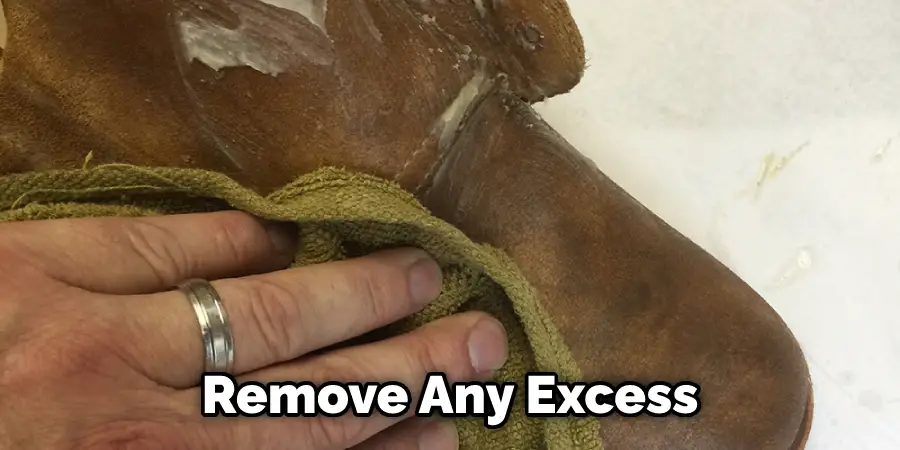
After the Sno Seal has had a chance to bond with the boot, use your applicator to remove any excess. Make sure only to remove the excess Sno Seal and not the entire layer. If you remove the entire layer, you will need to start over from step 3. Once you have removed the excess Sno Seal, throw away your applicator.
5. Let the Sno Seal Dry
Now it’s time to let the Sno Seal dry. This process can take anywhere from a few hours to a day, depending on the temperature and humidity. If you are in a hurry, you can use a blow dryer to speed up the process. Once the Sno Seal is dry, it will be clear, and there will be no tackiness. Your boots are now ready to wear.
6. Apply Second Coat (optional)
If you want to add an extra layer of protection, you can apply a second coat of Sno Seal. This step is optional, but it will add an extra layer of waterproofing and durability. To apply a second coat, follow the same steps as before. Once the second coat is dry, your boots will be ready to take on anything.
7. Inspect the Area
Once the Sno Seal is dry, look closely at the area to ensure no cracks or gaps. If you find any, apply a little more Sno Seal to those areas. Once you are satisfied that the area is sealed, your boots are ready to wear. If you are unsure, you can always apply a third coat of Sno Seal.
8. Test the Area
After you have applied Sno Seal, it is important to test the area. This will ensure that the Sno Seal has bonded properly and is doing its job. To test the area, splash some water on the boot’s surface. The water should bead up and roll off the surface. If it does, then the Sno Seal is working properly. If the water is absorbed into the boot, then you will need to reapply the Sno Seal. Try not to get the boot too wet during this process, as it can cause the Sno Seal to run.
9. Store Your Materials Properly
After you have applied Sno Seal, it is important to store your materials properly. This includes the applicator, the old rag, and any leftover Sno Seal. The applicator can be stored in a sealable bag or container. The old rag can be thrown away. The leftover Sno Seal should be stored in a cool, dry place. If it is stored properly, it can be used again in the future.
How Much Sno Seal Do I Need?
The amount of Sno Seal you need will depend on the size of the area you are trying to protect. A general rule of thumb is to use 1/4 ounce of Sno Seal per square foot. So, if you are trying to protect a pair of two square feet boots, you will need 1/2 ounce of Sno Seal.
How Much Does Sno Seal Cost?
Sno Seal typically costs between $5 and $10 per ounce. The price will vary depending on the retailer and the size of the container. You can expect to pay less per ounce if you purchase Sno Seal in bulk.
Tips and Warnings on How to Apply Sno Seal
Tips:
- Always test Sno Seal on a small, inconspicuous area first to ensure it does not darken or discolor your leather.
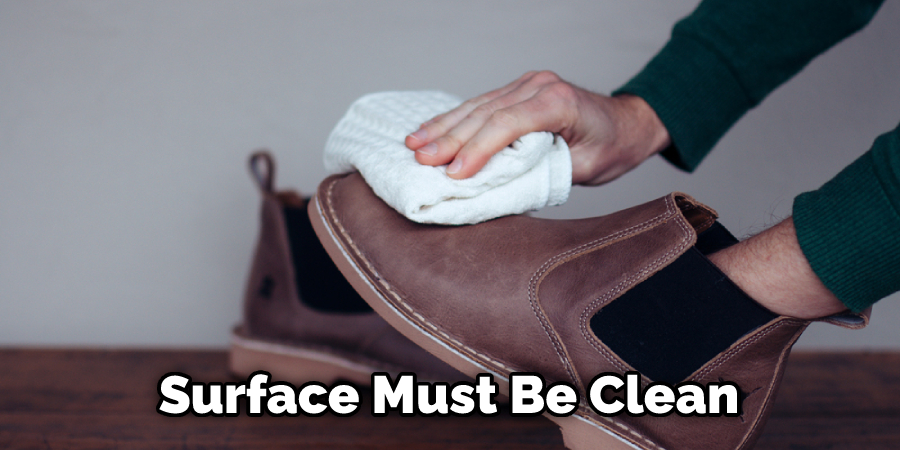
- Before applying Sno Seal, the surface must be clean and free of any dirt, oils, or other contaminants.
- If possible, apply Sno Seal in warm weather or in a well-ventilated area.
- Apply Sno Seal liberally with a clean cloth, using a circular motion to work it into the pores of the leather.
- Allow Sno Seal to penetrate the leather for at least 20 minutes before buffing it off with a clean, dry cloth.
Warnings:
- Do not allow Sno Seal to come into contact with plastic, rubber, or synthetic materials, as it may cause damage.
- Avoid getting Sno Seal on your clothing or other surfaces, as it can be difficult to remove.
- Take care not to breathe in the fumes from Sno Seal, as they may be harmful.
- Do not allow children or pets near Sno Seal while it is being applied or allowed to dry.
Conclusion
So now you know how to apply Sno Seal. Sno Seal is a great way to protect your shoes from the elements and keep them in good condition. Applying it is easy, and you can do it at home. Follow these simple steps to keep your shoes looking their best for future seasons. If you have any questions about how to apply Sno Seal, write them in the comments below. Thanks for reading!