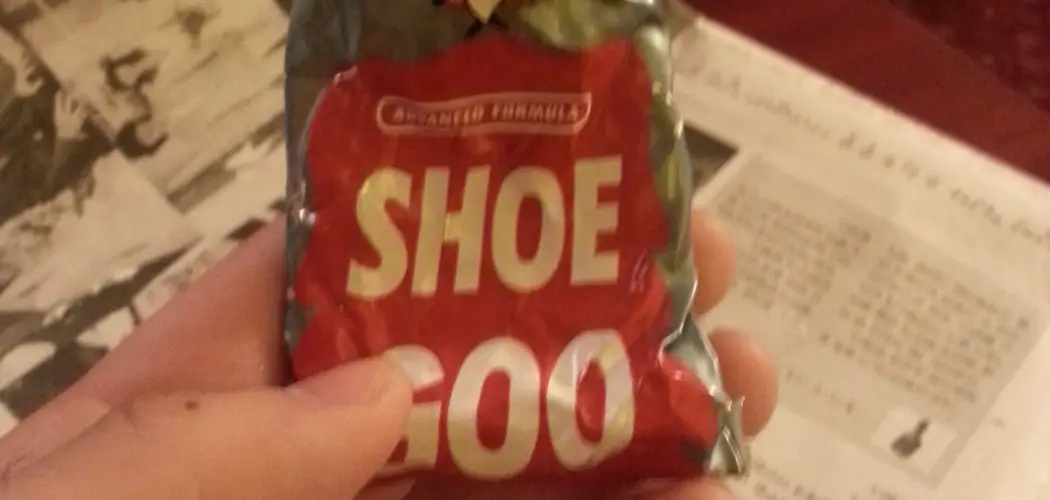
Are you looking for a reliable way to patch up your shoes and extend their lifespan? Shoe Goo is the answer! By proactively sealing any holes or tears in your shoes with this amazing product, you can easily mend them and make them look new again. But applying Shoe Goo correctly is key! So read on to learn more about how it works and exactly how to apply it correctly.
Whether you are an avid athlete, a weekend warrior, or a homeowner looking for an at-home fix for worn-out shoes and boots, Shoe Goo is your go-to solution. In this blog post, we’ll discuss how to apply shoe goo so that you can easily enjoy its various protective benefits.
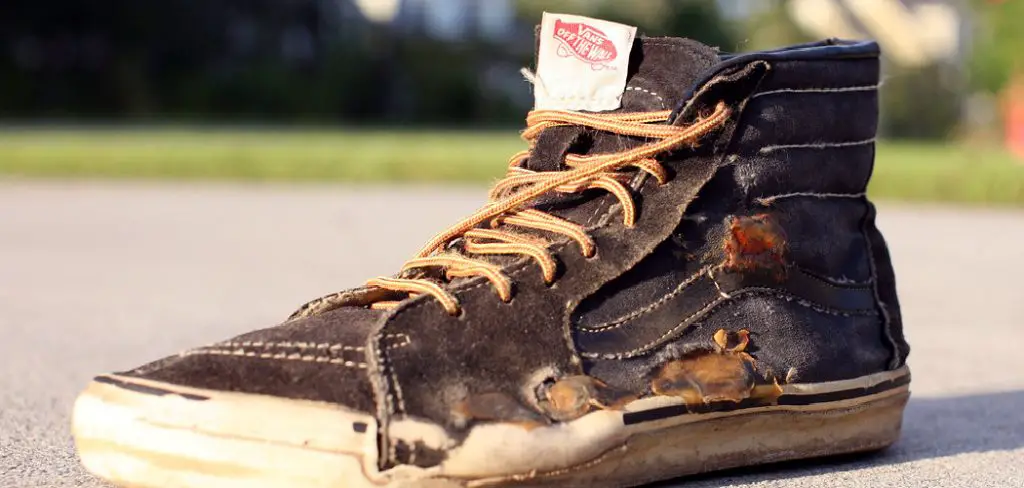
Summary: If you have a pair of shoes with a worn-out sole, don’t worry because Shoe Goo is here to help. Applying Shoe Goo is a simple process that can be done at home. First, make sure the shoes are dry and clean. Squeeze a small amount of Shoe Goo onto the area you want to repair.
Benefits of Applying Shoe Goo
There are many benefits to applying Shoe Goo to your shoes. Such as:
1. Increased Durability
One of the reasons people choose to apply Shoe Goo to their shoes is because it provides an additional layer of protection and durability. It helps protect against wear and tear and provides a waterproof barrier for your shoes.
2. Easy Application
Shoe Goo also offers easy application and can be used on any type of shoe material, from leather to canvas, rubber, and synthetics. It takes only minutes to apply the adhesive, and it will be ready for use in no time.
3. Cost-Effective Solution
Shoe Goo is also a cost-effective solution as it can be purchased in small containers or tubes at reasonable prices. This makes it easy to stock up on supplies so you’ll always have them ready when you need them.
How to Apply Shoe Goo in 7 Easy Steps
So, if you’re looking for an easy and cost-effective way to protect your shoes and keep them looking like new, applying Shoe Goo is a great option!
Steps to Apply Shoe Goo:
Step 1: Clean the Shoes Before Applying Shoe Goo
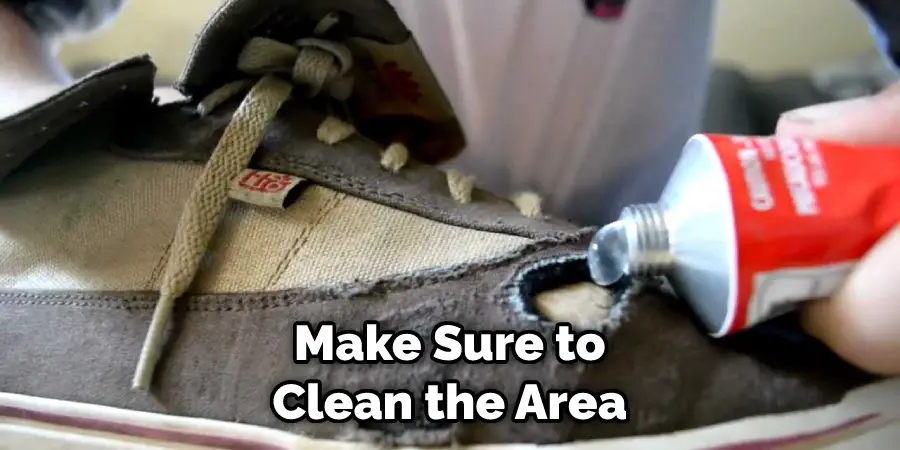
Before applying Shoe Goo, it’s important to make sure that the shoes you’re repairing are clean. This will help ensure that the adhesive bonds properly and lasts longer. So make sure to clean the area with a damp cloth and allow it to dry before proceeding.
Step 2: Prep the Surface of the Shoes
Once your shoes are clean, prep the surface for application by lightly abrading it with fine-grit sandpaper. This will remove any dirt, oils, or debris that can interfere with the adhesive bond. It is very important to do this step properly to ensure the Shoe Goo will stick!
Step 3: Apply Shoe Goo to the Shoes
Once the surface is prepped and clean, apply a thin layer of Shoe Goo to the area you want to repair. Make sure to spread it out evenly and cover all areas needing repairs. You must be extra careful when applying this product, as it can be messy!
Step 4: Allow the Shoe Goo to Dry
Once you’ve applied the Shoe Goo, allow it to dry completely before attempting to use your shoes. Depending on the temperature and humidity levels, this can take anywhere from 1-2 hours. You must be patient here, as it is important to ensure the adhesive has been completely set before wearing your shoes.
Step 5: Smooth Out Any Rough Edges
After the Shoe Goo has dried, inspect the area closely to ensure no rough edges or uneven surfaces. If you notice any of these, use a small file to smooth them out gently. Be careful not to over-file the area, as this can cause further damage.
Step 6: Re-apply Shoe Goo if Necessary
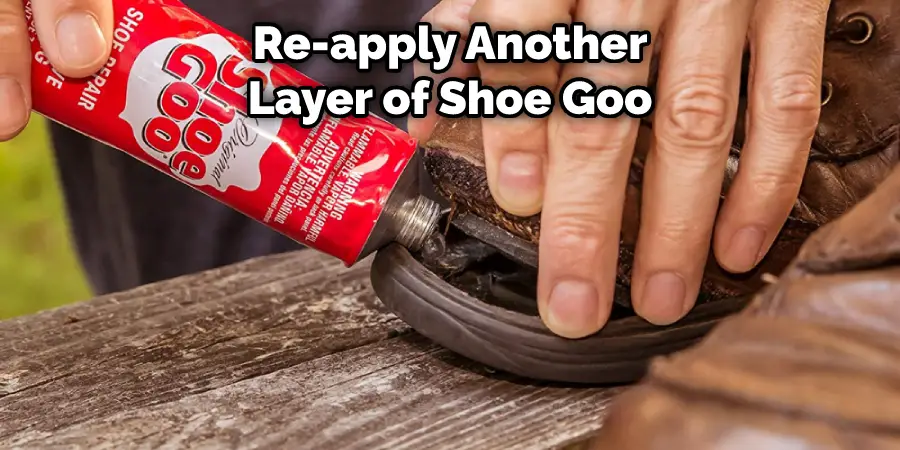
If you find that the repair job isn’t up to your standards, simply re-apply another layer of Shoe Goo and allow it to dry. But be careful not to apply too much, as this can weaken the bond. Make sure you only use enough to cover the area and no more.
Step 7: Double-Check
Once the shoe goo has been applied, make sure to double-check for any leaks or weak spots. If you find any, it’s important to take action quickly and apply additional layers of adhesive as needed.
By following these simple steps, you can keep your shoes in perfect condition and enjoy them for many years to come! With Shoe Goo on hand, you’ll always be ready for any repairs. Plus, it’s cost-effective and easy to apply – what more could you ask for? So don’t wait any longer – get repairing today with Shoe Goo!
Some Additional Tips to Apply Shoe Goo
1. Do Not Overdo
One of the most common mistakes people make when applying Shoe Goo is to apply too much. This can lead to a messy finish and eventually become less effective than it should be. When using Shoe Goo, it is important to remember that a little goes a long way.
2. Clean the Surface
Before applying Shoe Goo, it is important to ensure the surface is completely clean and debris-free. This will ensure that the adhesive can bond properly with the material being repaired. Use a cloth dampened with warm water and mild soap to clean a surface.
3. Wear Gloves
When working with Shoe Goo, wearing gloves to protect your hands from the adhesive is important. This will also help keep your clothes and skin free of any residue or product that could be left behind.
4. Give It Time To Dry
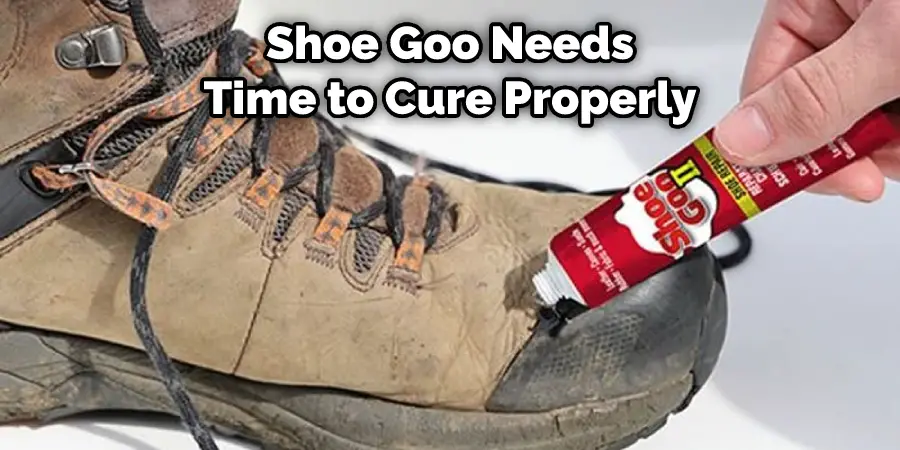
Shoe Goo needs time to cure properly and create a strong bond with the surface being repaired. Allow the adhesive to dry completely before wearing or using the item again. This will help ensure that the repair is secure and lasting.
Following these additional tips when applying Shoe Goo can help make sure that your repairs are successful and last for a long time. With proper application, Shoe Goo can effectively fix small holes, tears, or other damage to your shoes.
Taking the time to properly apply Shoe Goo can save you from buying a new pair of shoes or spending extra money on expensive repairs. With a little bit of care and attention, you can get your favorite shoes looking like new again!
You Can Check It Out Make a Hole in Shoe Strap
Frequently Asked Questions
What Materials Do I Need to Apply Shoe Goo?
In order to apply Shoe Goo, you will need the product itself, a clean cloth, and some rubbing alcohol. You may also need sandpaper, depending on the type of surface you are applying it to. Also, make sure to wear safety goggles and gloves when handling Shoe Goo, as it can be hazardous if not handled properly.
How Do I Prepare the Surface?
Before applying Shoe Goo, you will need to ensure that the surface is clean of any dust and debris. If you are working with leather, you may want to sand it with fine-grain sandpaper lightly. Then, clean the surface with rubbing alcohol and a cloth. The surface should be completely dry before applying Shoe Goo.
How Do I Apply Shoe Goo?
Once the surface is properly prepared, you are ready to apply the Shoe Goo. Squeeze out a small amount onto your finger or a clean cloth, and spread it onto the surface. Use your fingertip or cloth to smooth out any bumps or ridges. Allow the Shoe Goo to dry for at least 2-3 hours before using the object again.
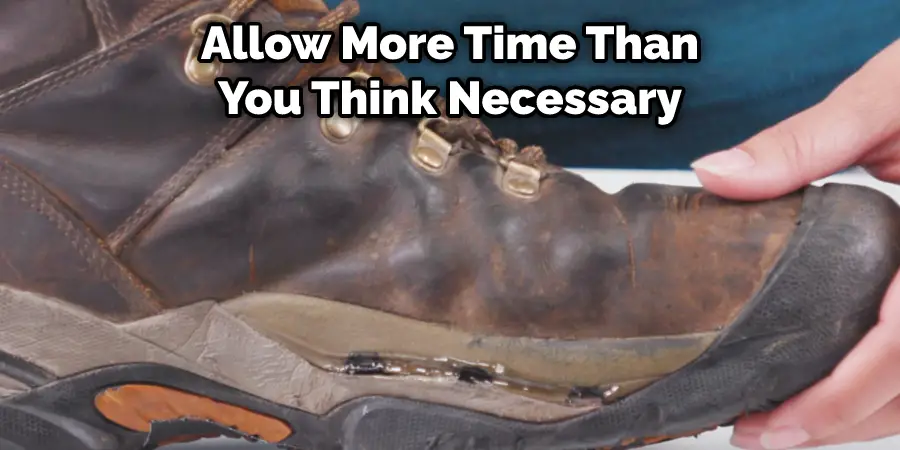
How Long Does It Take for Shoe Goo To Dry?
Shoe Goo typically takes 2-3 hours to dry completely. However, depending on the temperature and humidity in your environment, it may take as little as an hour or up to 6 hours for the product to cure fully. It is best to allow more time than you think necessary so that the shoe goo has enough time to set properly.
You Can Check It Out Clean Corfam Shoes
Conclusion
Now you know how to apply shoe goo to repair your shoes and make them last longer. Remember to clean and dry the surface of the shoe, apply the goo evenly, let it cure for 24 hours before wearing the shoe, and keep away from heat and flame sources during application. With a little bit of effort, you can extend the life of your favorite pair of shoes with shoe goo. So go ahead and repair your shoes today!
Keep in mind that although shoe goo is a great way to repair your shoes, it won’t work on all types of materials. Make sure to check the instructions on the label before you apply it, as some surfaces may not be compatible with the product.
In addition, take extra care when using shoe goo around children and pets, as it can be toxic if ingested. With these tips in mind, you’ll be on your way to restoring your shoes with shoe goo!