
Mgk Touch-Up White is a specialized product designed to provide quick and effective solutions for minor scratches and scuffs on your cherished belongings. Whether it’s to revitalize worn furniture, enhance the appearance of household appliances, or mend slight imperfections on white surfaces, this touch-up solution is your go-to remedy. Its ease of use and fast-drying properties make it an essential tool in maintaining the pristine look of your items.
In this guide on how to use mgk touch up white, we will explore the step-by-step process of using Mgk Touch-Up White, ensuring that you can achieve professional results with minimal effort.
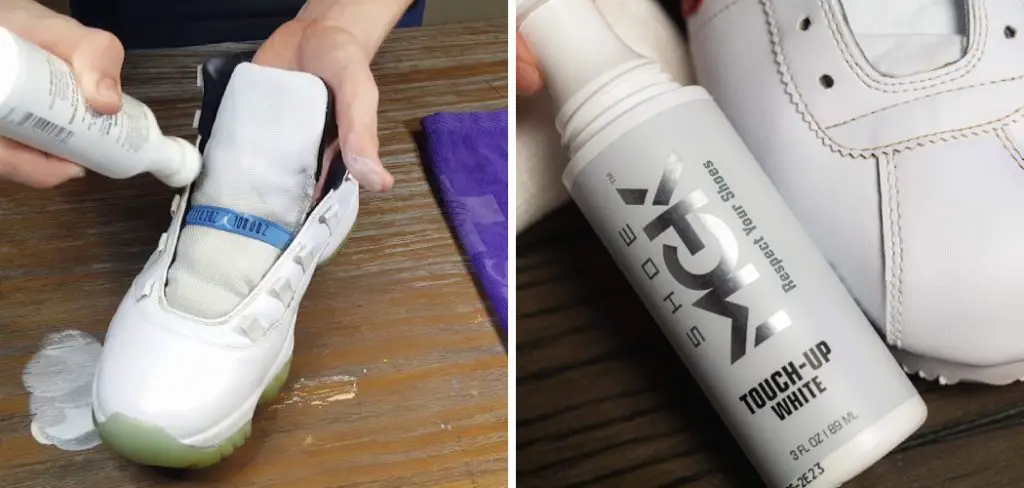
What is Mgk Touch Up White?
Mgk Touch-Up White is a water-based, white dye that is highly pigmented and designed to provide excellent coverage on a variety of surfaces, such as wood, metal, plastic, and ceramics. It is ideal for touch-ups on small areas and can be used on both interior and exterior surfaces.
You can find Mgk Touch Up White in a convenient tube with an applicator tip, making it easy to use and store. It is also available in a variety of white shades, allowing for precise color matching to your specific needs.
It is a versatile product that can be used for various touch-up applications, including furniture, cabinetry, doors, trims, and more. It also works well as a primer for painting projects or as a topcoat to seal in repairs.
Why Use Mgk Touch Up White?
Using Mgk Touch Up White has numerous benefits, including:
Quick and Easy Touch-up Solution:
Its fast-drying formula means you can quickly fix minor scratches and imperfections without the need for lengthy drying times.
Cost-effective:
Rather than investing in expensive repair services or replacing damaged items, using Mgk Touch Up White can save you money by restoring the appearance of your belongings.
Versatile:
With its ability to work on a variety of surfaces, you can use Mgk Touch Up White for multiple touch-up projects, making it a convenient and cost-effective solution.

Necessary Tools and Materials
Before beginning the touch-up process, ensure you have the following items on hand:
Tools:
This is the main product used for touch-ups.
Sandpaper:
For smoothing out rough areas.
Clean Cloth or Rag:
To wipe away excess product and clean the surface.
Clean Cloth or Rag:
To protect your hands from staining.
Materials:
Mild Detergent:
Clean the surface before applying Mgk Touch Up White.
Paint Thinner:
To remove any excess product or clean up mistakes.
9 Simple Step-by-step Guides on How to Use Mgk Touch Up White
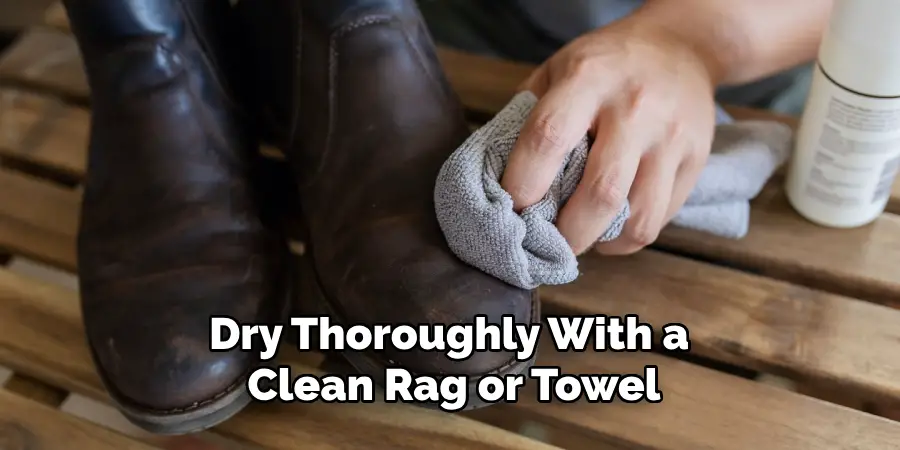
Step 1: Clean the Surface
Before applying Mgk Touch Up White, it’s crucial to start with a clean surface to ensure the best results. Use a mild detergent mixed with water to gently clean the area you wish to repair. Apply the cleaning solution using a soft cloth or sponge, carefully removing any dirt, grease, or dust. After cleaning, rinse the area with clean water and dry thoroughly with a clean rag or towel.
This step not only prepares the surface for touch-up but also helps in achieving a smooth and even finish. The cleaner the surface, the better the adhesion of the touch-up product.
Step 2: Sand the Area
Once the surface is clean and dry, the next step involves sanding the area where Mgk Touch Up White will be applied. This process helps to create a smoother surface for a more seamless repair and ensures better adhesion of the product. Using a fine-grit sandpaper, lightly sand the scratch or scuff, being careful not to damage the surrounding area.
Aim for a uniform finish without deep scratches or unevenness. After sanding, wipe away any dust with a clean, dry cloth to ensure the area is completely clean before proceeding to the next step. This preparatory step is crucial for achieving the best possible finish with Mgk Touch Up White.
Step 3: Test the Product
Before applying Mgk Touch Up White to the area needing repair, it’s important to first test the product on a small, inconspicuous area. This step ensures that the color matches your surface and that the product adheres well to the material. Squeeze a small amount of the touch-up paint onto a piece of scrap material similar to the surface you’ll be repairing, or find a hidden spot on the actual item.
Allow it to dry completely according to the product’s instructions, typically for a few minutes. This test will help you determine if the shade of white is a good match and if the finish meets your expectations. If the test area shows satisfactory results, you can proceed with confidence to apply the product to the damaged area. If not, try a different shade or consider alternative repair methods.
Step 4: Shake the Tube
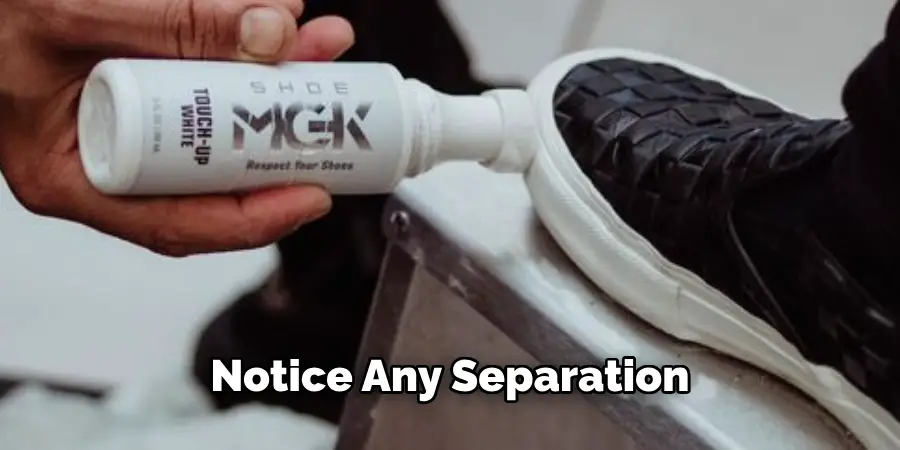
Before applying Mgk Touch Up White, ensure the contents are well mixed to achieve a consistent color and texture. Vigorously shake the tube for approximately 30 to 60 seconds. This action helps to mix the pigment evenly throughout the solution, preventing any separation or settling that may have occurred while the product was stored. Once shaken, you can proceed to the next step with confidence, knowing that the touch-up white will provide uniform coverage.
You may also need to shake the tube occasionally during the touch-up process, especially if you take breaks in between or notice any separation. The more consistently the product is mixed, the better the results.
Step 5: Apply Mgk Touch Up White
After preparing the surface and ensuring the Mgk Touch Up White is thoroughly mixed, you’re ready to apply the product. Gently squeeze the tube to apply a small amount directly onto the area requiring restoration. Use the applicator tip for precise control, ensuring that you cover the scratch or chip completely.
For larger areas or for a smoother finish, you can use a small paintbrush or sponge applicator to spread the touch-up white evenly. Apply in thin layers, allowing each layer to dry completely before applying the next. This method helps to avoid drips or unevenness and ensures a more professional finish.
Depending on the depth and size of the area being touched up, multiple applications may be necessary to achieve full coverage and the desired opacity.
Step 6: Smooth Out the Surface
After applying Mgk Touch Up White, use a clean, dry cloth or your finger to gently smooth out the surface. This action helps to blend the touch-up paint with the surrounding area and eliminate any excess product that may have accumulated. The goal is to achieve a seamless finish that appears as if no repairs were made.
The smoother and more even the surface, the better the final result will be. Take your time with this step, as it can make a significant difference in the appearance of your repair.
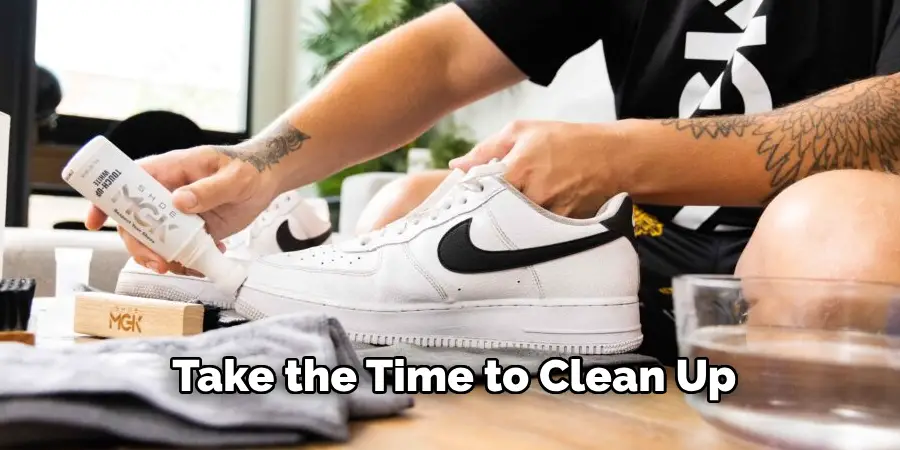
Step 7: Clean Up Any Mistakes
Immediately after applying Mgk Touch Up White and smoothing out the surface, take the time to clean up any mistakes or excess product. If you notice any areas where the touch-up white has gone beyond the intended repair zone, use a clean cloth dampened with a little paint thinner to carefully wipe away the unwanted product.
Be precise and gentle to avoid removing or spreading the touch-up paint on the area you are repairing. Doing this step while the paint is still wet is crucial for easy correction and maintaining a neat, professional-looking finish.
Allow the corrected area to dry thoroughly before inspecting your work and deciding if additional coats are necessary. This cleanup step ensures that the final result is as clean and precise as possible, blending seamlessly with the original surface.
Step 8: Finishing Touches
Once the repaired area is completely dry, you can apply a clear coat or gloss finish to protect and seal the touch-up white. This step helps to ensure that your repair will last longer and maintain its appearance for an extended period. Follow the instructions on your topcoat product for the best results.
You can also use rubbing compound or wax polish to further blend and smooth out the surface, giving it a polished look that will match the rest of your item.
Congratulations! You have successfully restored your scratched or chipped white surface using Mgk Touch Up White. With proper preparation, application, and finishing touches, you can achieve professional-looking results at home in just a few easy steps on how to use mgk touch up white.
Remember to always test the product beforehand and take your time to achieve the best possible finish. So, go ahead and give your white items a new lease on life with Mgk Touch Up Whitel! Happy repairing!
Step 9: Maintaining a Uniform Finish
Now that you have successfully repaired your white surface, it’s important to maintain its appearance. Avoid using harsh chemicals or abrasive cleaning tools that can damage the touch-up white or the surrounding surface. Instead, opt for gentle cleaning solutions and soft cloths to keep your repaired area looking pristine.
Regular touch-ups may also be necessary over time as wear and tear occur. Keep some Mgk Touch Up White on hand for quick fixes and maintain a uniform finish on your white items. This will keep them looking like new and extend their lifespan. Remember, with the right touch-up product and technique; you can easily repair those pesky scratches and chips on your white surfaces at home without breaking the bank.

So, don’t be afraid to give it a try the next time your white item gets damaged. With Mgk Touch Up White, you can confidently restore and maintain the appearance of your white items for years to come. Happy repairing!
Do You Need to Use Professionals?
While Mgk Touch Up White provides an excellent DIY solution for minor scratches and chips on white surfaces, there might be instances where consulting a professional is advisable. If the damage to your item is extensive, involves structural repairs, or you’re looking for a flawless finish on a highly visible or valuable piece, a professional’s expertise could be invaluable.
Professionals have access to a broad range of repair techniques, advanced materials, and precision that sometimes cannot be matched by DIY efforts alone. Additionally, for items that hold significant monetary or sentimental value, ensuring the repair is done correctly the first time can save both time and money in the long run. Assess the extent of the damage and your own comfort with DIY repairs to decide whether bringing in a professional is the right choice for your situation.
Post-Cleaning Care and Maintenance
After you’ve successfully repaired and cleaned your white surfaces with Mgk Touch Up White, implementing a routine for post-cleaning care and maintenance will ensure the longevity of your repairs and the continued pristine appearance of your items. Here are some tips to keep in mind:
Routine Checks:
Periodically inspect the repaired areas for any signs of wear or damage. Early detection can make subsequent repairs easier and less noticeable.
Gentle Cleaning:
Continue to clean the repaired surfaces gently, avoiding harsh chemicals or abrasive tools. Use mild detergents and soft cloths to prevent damaging the touch-up paint.
Immediate Spills Cleanup:
To avoid staining or damage, clean up any spills immediately, especially on surfaces that are prone to staining such as countertops and tables.
Avoid Direct Sunlight:
If possible, limit the exposure of the repaired surfaces to direct sunlight. UV rays can cause discoloration over time, affecting both the original surface and the touch-up areas.
Reapply Protective Coatings:
If you applied a clear coat or gloss finish as part of your repair, consider reapplying these protective coatings once a year or as needed to maintain the surface’s durability and appearance.
By following these post-cleaning care and maintenance tips, you can extend the life of your repairs and keep your white surfaces looking their best for years to come.
Frequently Asked Questions
Q: Can Mgk Touch Up White Be Used on All Types of White Surfaces?
A: Yes, Mgk Touch Up White can be used on a variety of surfaces such as wood, metal, plastic, and more. However, it is always best to test the product on a small, inconspicuous area first before applying it to the entire surface. The product may not adhere well to certain types of surfaces or may cause damage if not used correctly.
Q: How Long Does Mgk Touch Up White Take to Dry?
A: The drying time for Mgk Touch Up White can vary depending on the thickness and number of layers applied, as well as the temperature and humidity levels in your area. It is recommended to wait at least 30 minutes to an hour between each coat and allow the final coat to dry for several hours before handling or applying a topcoat.
Q: Is Mgk Touch Up White Waterproof?
A: Yes, once fully cured and sealed with a topcoat, Mgk Touch Up White is water-resistant and can withstand light moisture. However, it is not recommended for use in areas constantly exposed to water or high humidity levels. The product may lose its adhesion or cause damage to the surface in these conditions.
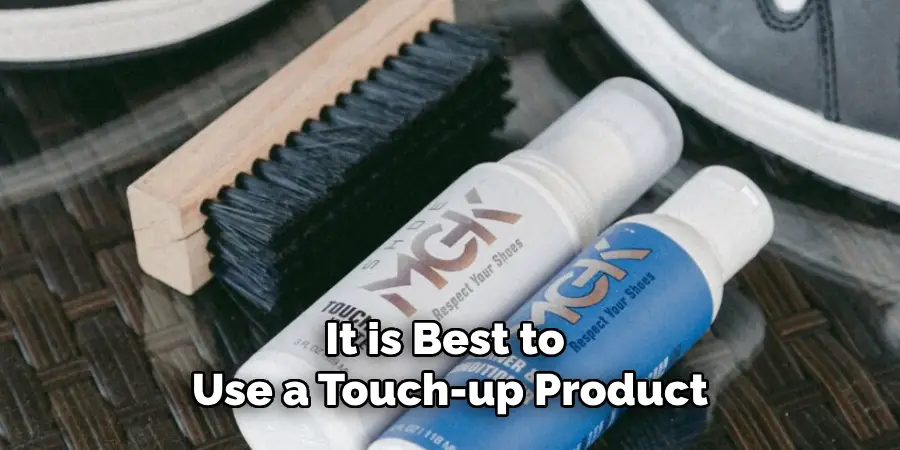
Q: Can Mgk Touch Up White Be Used on Colored Surfaces?
A: No, Mgk Touch Up White is specifically designed for white surfaces and may not provide the desired color or coverage on colored surfaces. It is best to use a touch-up product specifically made for the color of the surface you are repairing. But, if needed, Mgk Touch Up White can be used as a primer before applying paint on colored surfaces.
Q: Can Mgk Touch Up White Be Used on Large or Deep Scratches?
A: While Mgk Touch Up White is designed to cover minor scratches and chips, it may not be suitable for serious or large damages. It is best used for small repairs, and multiple coats may be necessary for optimal coverage in more significant areas. It is always best to test the product on a small area first and apply multiple coats as needed for larger damages.
Conclusion
Successfully repairing and maintaining the appearance of white surfaces in your home can be a straightforward and rewarding process with Mgk Touch Up White. By following the detailed steps on how to use mgk touch up white provided, from cleaning and preparing the surface to applying the touch-up paint and finishing touches, you can achieve a professional-looking result that seamlessly blends with the original surface.
Whether you’re dealing with scratches, chips, or wear and tear, this guide has equipped you with the knowledge and tips needed to restore your items with confidence. Regular maintenance and careful cleaning will ensure your repaired surfaces remain pristine for years to come. Remember, the key to a successful touch-up is patience and precision, so take your time and enjoy the satisfaction of bringing your beloved white items back to life.