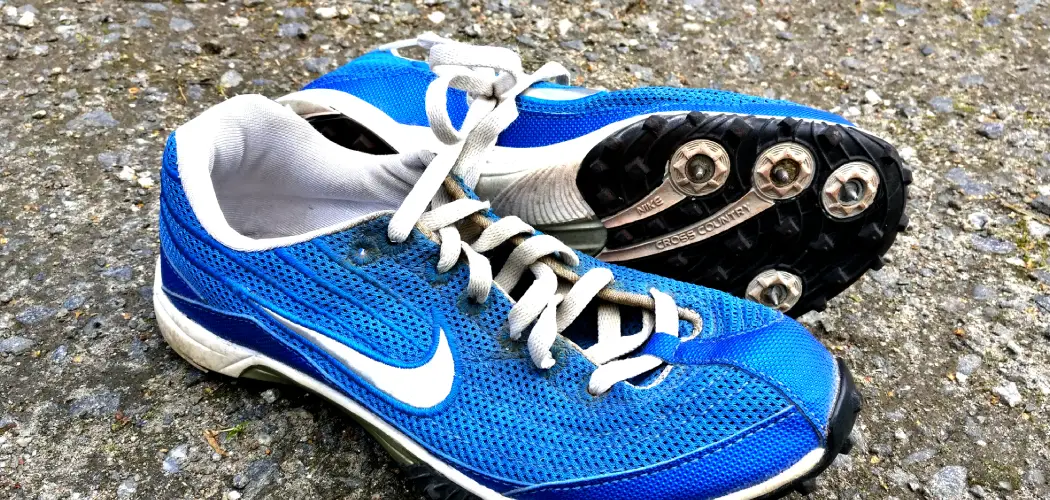
Are you a track athlete looking to improve your performance on the track? One way to do so is to remove spikes from your track shoes. Spikes can provide extra grip and traction, but they may only sometimes be necessary or beneficial for some types of races or training sessions.
How to take spikes out of track shoes is a simple but essential maintenance task that can prolong the life of the footwear and ensure optimal performance on different surfaces. Whether you’re transitioning from running on grass to an indoor track or simply need to replace worn-out spikes, understanding the correct method is crucial. Using the right tools and techniques can prevent shoe and spike hole damage.

This guide will walk you through the process step-by-step, making it easy to remove spikes ensuring your track shoes are ready for every condition.
What Will You Need?
Before you start taking out the spikes, gathering all the necessary tools and materials is essential. Everything on hand will save you time and make the process more efficient. Here are some items you’ll need:
- Track shoes with removable spikes (generally sprinting or middle-distance shoes)
- Spikes removal key/wrench
- Pliers (if the key/wrench is not available)
- Clean cloth or brush
You’re ready to get started once you have all the necessary items.
10 Easy Steps on How to Take Spikes Out of Track Shoes
Step 1. Prepare Your Workspace:
Ensure your workspace is clean and well-lit, providing a clear area to work on your track shoes comfortably. Set up on a flat surface like a table or workbench, which will help you stabilize the shoes during the process. Keep all your tools within arm’s reach to avoid interruptions. It’s also a good idea to lay down a towel or a cloth to catch any dirt or debris that might come off the shoes as you work.
This setup keeps the workspace tidy and protects sensitive areas from potential scratches or damages as you maneuver the shoe and tools.
Step 2. Inspect the Spikes:
Before removing the spikes, carefully inspect each one to determine their condition. Look for any that are excessively worn down, bent, or damaged. This is important as it will inform you whether simply removing the spikes is sufficient or if replacement is necessary. Identifying problem spikes early also helps prevent any potential issues during the removal process, such as spikes breaking off in the shoe, which can complicate the task.

If any spikes appear damaged, prepare the replacement spikes you may need. This inspection ensures you maintain your optimal performance on the track by promptly addressing any wear and tear.
Step 3. Loosen the Spikes:
Using the spikes removal key or wrench, gently insert the tool into the designated grooves on the spike. Apply steady pressure and twist counterclockwise to begin loosening the spike. This process should be done carefully to avoid stripping the spike or damaging the shoe material. Use the pliers for additional grip and control if a spike is particularly tight.
Remember not to force the spike out, as excessive force can lead to breaking the spike or damaging the spike receptacle. Once each spike is loosened enough, proceed to the next so they can all be easily removed. This step ensures smooth removal and prevents unnecessary wear on the tool and the shoe.
Step 4. Remove the Spikes:
Once the spikes are loosened, carefully unscrew them by hand or continue using the spike removal key or wrench. Turn each spike counterclockwise until it is entirely free from the shoe. Gently remove it and set it aside. This step requires patience to ensure the spikes come out cleanly without damaging the threads of the spike socket in the shoe.
Should any resistance be felt, double-check to ensure the spike is entirely loosened. Consistent, gentle handling throughout this process maintains the shoe’s integrity, ensuring it’s ready for future use, whether with or without new spikes.
Step 5. Clean the Spike Sockets:
After removing all the spikes, take a clean cloth or brush and carefully clean out any dirt, debris, or small particles that may have accumulated in the sockets. Ensuring the sockets are free of any obstructions is crucial for maintaining a secure fit when replacing spikes in the future.

Pay extra attention to the grooves and threads inside each socket, as these areas can harbor residue that may interfere with proper spike reattachment. Regular cleaning of the spike sockets not only extends the life of your track shoes but also helps preserve the effectiveness of the spikes when they are reinstalled.
Step 6. Check the Spike Threads and Base:
After cleaning, carefully inspect the thread and base of each spike socket on the shoe. Verify that there are no cross-threading or signs of wear that could affect the installation of new spikes. Look for any cracks or damage that could compromise the integrity of the socket. If any issues are detected, consulting with a professional for repair might be necessary to prevent further damage.
Ensuring the threads are in good condition will provide a more secure fit for any spikes reinstalled in the future, maintaining both safety and performance on the track.
Step 7. Replace Any Damaged Spikes:
If during your inspection you identified any spikes that are damaged or excessively worn, now is the time to replace them. Start by selecting new spikes that are compatible with your track shoes. It’s important to choose spikes suitable for the surfaces you will be running on, whether it’s synthetic tracks, grass, or dirt. Align the new spike carefully with the socket to avoid cross-threading, and begin by hand screwing it in gently. Once the spike is adequately aligned and threaded into the socket without resistance, use the spike removal key or wrench to tighten it fully.
Be sure to apply just enough pressure to secure it without overtightening, which can damage the socket. By ensuring all spikes are in top condition, you promote optimal performance and safety during training and competition. It also extends the lifespan of your track shoes, providing better traction and stability on various running surfaces. Take the time to double-check each newly installed spike to confirm it sits flush against the shoe without gaps.
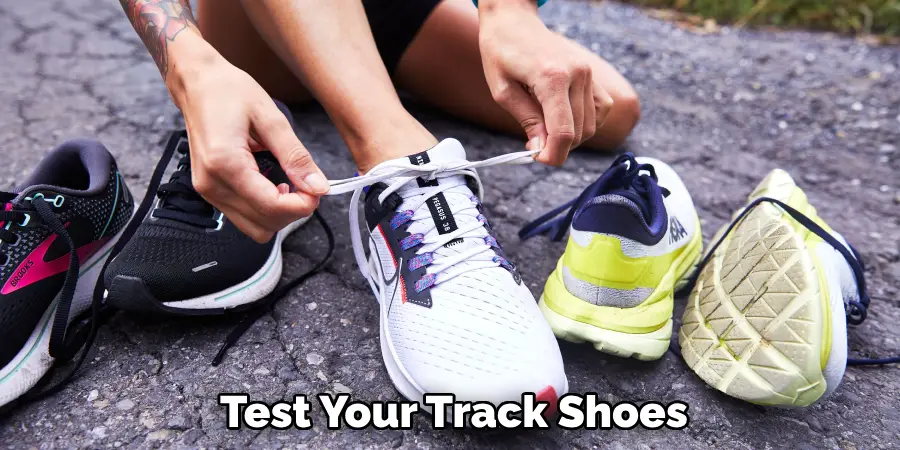
Step 8. Test Your Track Shoes:
Once all the spikes are securely replaced and tightened, it’s crucial to test your track shoes to ensure they are ready for use. Begin by walking on a flat surface to feel if the spikes are sitting correctly and check for any discomfort or irregularities in the fit. Following this, try running a few strides on a track or appropriate surface to evaluate the grip and stability of the new spikes. This will allow you to make any final adjustments if necessary.
Testing your track shoes confirms the effectiveness of the new spikes and boosts confidence in your gear as you gear up for your training session or competition. Ensure everything feels secure and comfortable, addressing any issues during the test to ensure a safe and high-performance experience on the track.
Step 9. Maintain and Store Appropriately:
After successfully testing your track shoes and ensuring all spikes are securely in place, focusing on proper maintenance and storage is essential to prolong their life. Clean your shoes regularly by removing dirt and debris from the uppers and spike areas. Use a gentle brush or cloth to avoid damaging materials. Allow your boots to air dry naturally away from direct sunlight or excessive heat, which can cause material warping or deterioration.
When not in use, store your track shoes in a cool, dry place, ideally in a breathable bag or box to protect them from dust and moisture. Regular maintenance and thoughtful storage practices will help preserve the quality and performance of your shoes, ensuring they remain in top condition for future running sessions.
Step 10. Regularly Inspect and Replace Spikes:
To maintain peak performance, make it a habit to regularly inspect your track shoe spikes for any signs of wear and tear. Depending on your training intensity and running surfaces, spikes can wear down at varying rates. Check the spikes after every few uses, looking for dullness, bent points, or other damages that can affect traction. Promptly replacing worn spikes helps maintain optimal grip and prolongs the life of your track shoes.
By incorporating routine maintenance checks into your training regimen, you ensure your equipment remains reliable, minimizing the risk of injury and enhancing your athletic performance.
By following these steps and incorporating regular maintenance into your training routine, you can ensure that your track shoes provide the best support and traction for your running needs.
Conclusion
How to take spikes out of track shoes is a straightforward process that requires attention to detail and proper care to ensure the longevity and performance of your footwear.
By adhering to the comprehensive steps outlined above, you can successfully remove, clean, and replace spikes, maintaining optimal grip and stability. It is essential to regularly inspect the spikes and the socket conditions, replacing any worn or damaged parts to ensure safety during athletic activities. Additionally, routine maintenance such as cleaning and proper storage will extend the life of your track shoes, ensuring they remain a reliable part of your training gear.
Following these guidelines ensures the effectiveness of your track shoes and enhances your confidence in your equipment, ultimately contributing to improved performance and safety on the track.