
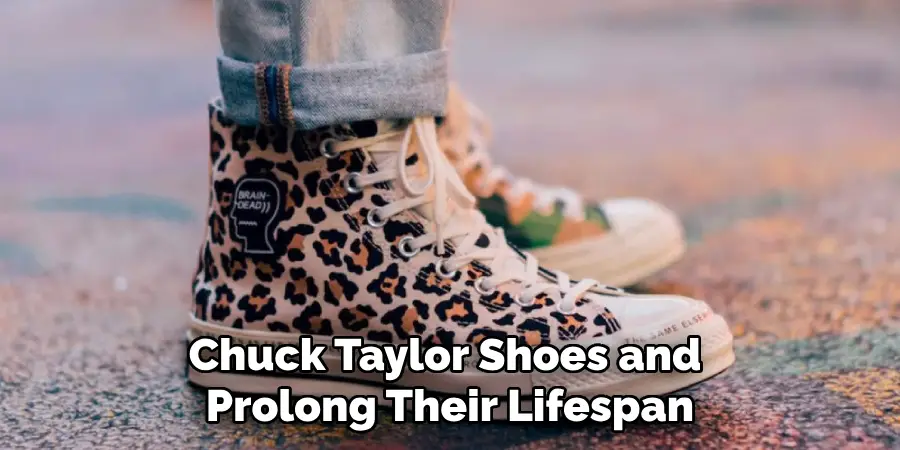
Chuck Taylor shoes have become an iconic staple in the world of fashion, celebrated for their classic style and renowned durability. Despite their robust construction, even the best-made shoes will eventually show signs of wear. It’s essential to understand how to repair Chuck Taylor shoes to prolong their longevity and maintain their appealing look. Common issues that can arise include worn-out soles from constant walking, damaged eyelets from the repeated stress of lacing, and scuffed uppers caused by everyday activities.
Instead of discarding these beloved shoes when wearing manifests, repairing them is a sustainable and cost-effective choice. This article will guide you through practical, step-by-step instructions for addressing these typical problems, ensuring your Chuck Taylors continue to serve you faithfully. By learning how to repair Chuck Taylor shoes, you can keep them looking good and feeling comfortable for years to come.
Assessing the Damage
Identifying Common Problems
When it comes to Chuck Taylor shoes, several issues frequently arise from regular use. Worn-out soles are a prevalent problem due to the constant walking and impact they endure, reducing traction and comfort. Frayed or broken laces can be an inconvenience, disrupting the shoe’s fitted feel and aesthetic. Scuffed or damaged uppers often result from daily wear and tear, making the shoes look shabby over time.
Eyelets holding the laces in place might become loose or break under repeated stress. Inspect each part of the shoe separately to assess the severity of these issues. Check the flexibility and condition of the soles, examine laces for breaks, inspect the fabric for any visible damage or scuffs, and ensure all eyelets are securely fastened. Determining the extent of each problem will guide you in selecting the appropriate repair method, whether it requires a simple fix or more detailed attention.
Gathering Repair Supplies
Repairing Chuck Taylor shoes requires assembling a basic kit of repair supplies. Essential items include shoe glue for securing loose or worn-out soles, replacement laces to restore functionality and style, and a needle and thread for more durable stitching repairs. Fabric cleaner and a cleaning brush are necessary to prep surfaces before undertaking repairs, ensuring the best results.
Additional specialized tools may be needed for certain fixes: a shoehorn can help maintain shoe shape during repair, and an eyelet replacement kit is useful if any eyelets need to be replaced. Having these supplies on hand increases the efficiency and effectiveness of the repair process. By preparing these tools and materials, you’ll be ready to tackle any common issue that arises in your beloved Chuck Taylors, prolonging their life and maintaining their iconic appearance.
Repairing Worn-Out Soles
Cleaning the Area
Before proceeding with sole repairs, ensuring the area is clean and free of dirt is crucial. Begin by using a soft brush to gently scrub the shoe soles, loosening any accumulated grime. Prepare a mild soap solution by mixing a small amount of soap with warm water. Dip the brush into this solution and continue scrubbing the soles until all dirt and grime are removed.
Don’t soak the shoes, as excess moisture can damage the material. Once cleaned, use a soft cloth to wipe away any remaining soap and water. Ensure that the soles are completely dry before moving on to the next step in the repair process. You can accelerate the drying by placing the shoes in a well-ventilated area, avoiding direct heat sources that could cause the material to warp or deteriorate.
Reattaching Loose Soles
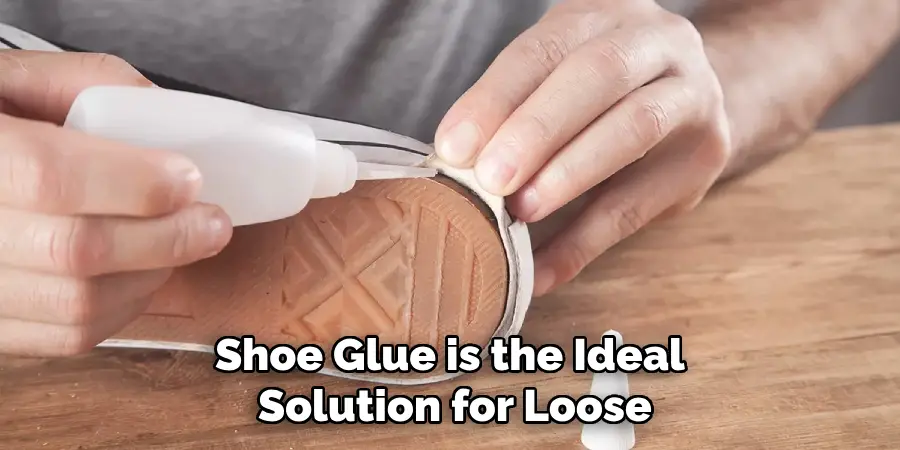
Shoe glue is the ideal solution for loose or separated soles to secure them back in place. Begin by evenly applying a moderate amount of shoe glue to both the shoe base and the loose sole edge. Take care to follow the manufacturer’s instructions for the amount and application method. Once the adhesive is applied, press the sole and shoe base together with firm pressure, ensuring a tight bond.
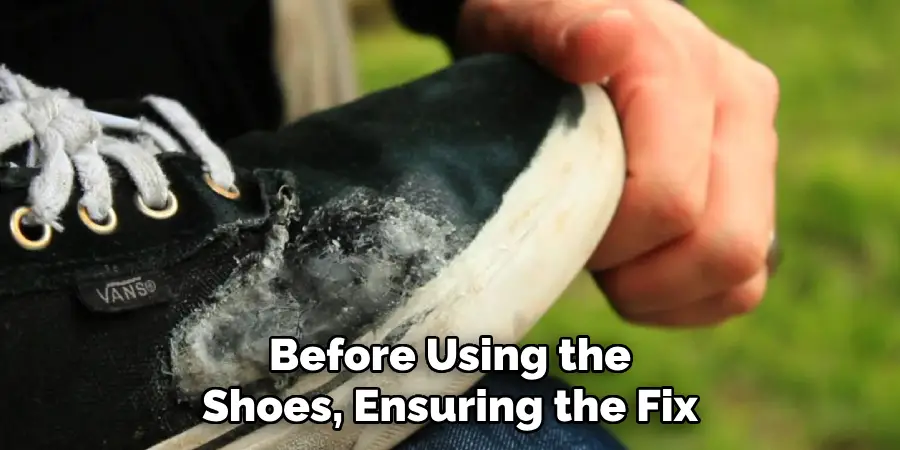
You might use a clamp or heavy object to maintain pressure as the glue sets. Allow the glued parts to cure fully, following the manufacturer’s indicated time for optimal results. Avoid using the shoes until the glue has completely dried, as premature use can weaken the bond. This step ensures that the soles adhere strongly, restoring their functionality and extending the life of the shoe.
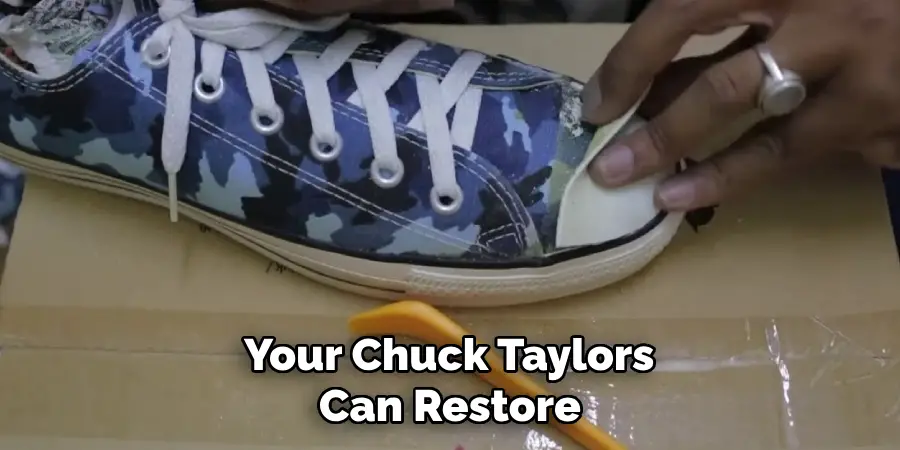
Replacing Worn-Out Soles
When soles are beyond simple repair, replacing them can give your Chuck Taylors a new lease on life. Carefully remove the old soles using a utility knife or a similar tool, exercising caution not to damage the shoe base. Once removed, clean the area thoroughly to ensure a good bond for the new soles. Select replacement soles that match the original size and style for a seamless fit.
Apply a suitable adhesive to the shoe base and the new sole, aligning them exactly before pressing them together. Alternatively, stitching can be used for additional durability. Pay close attention to ensure the sole aligns perfectly with the shoe contours. Allow the new soles to bond securely as per the adhesive manufacturer’s instructions. This replacement process will reinstate the original comfort and traction, prolonging the service life of your favorite footwear.
Repairing Scuffed or Damaged Uppers
Cleaning and Prepping
To begin repairing scuffed or damaged uppers on your Chuck Taylors, it is essential to clean the material thoroughly. Use a mild fabric cleaner designed for sneakers and a soft-bristled brush to gently scrub the uppers, removing any surface dirt and stains. Pay close attention to the areas with damage, as cleaning can reveal the extent of the scuffs or tears. Rinse the brush occasionally in warm water to ensure it remains clean and effective.
Be cautious not to soak the fabric to avoid causing further damage or discoloration. After cleaning, use a clean, soft cloth to pat the fabric dry, removing any excess moisture. Allow the shoes to air dry completely in a well-ventilated area, avoiding direct sunlight or heat sources that could cause the fabric to shrink or warp. Ensuring the fabric is fully dry is critical before proceeding with repairs, as moisture can affect the adhesive or patch application.

Fixing Scuffs and Tears
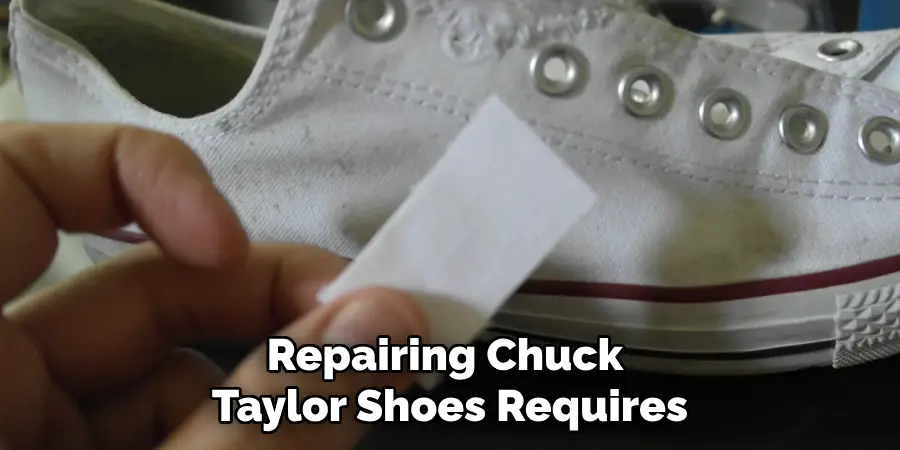
Fabric glue or a patch kit can be effective solutions for repairing scuffs and tears. To fix scuffs, apply a small amount of fabric glue to a flat applicator and spread it evenly over the affected area, smoothing it out to blend with the surrounding material. For tears, a patch kit comes in handy; select a patch that matches the fabric color and texture as closely as possible.
Apply the adhesive from the kit to the tear edges and press the patch firmly over the area, ensuring it adheres evenly. Use a flat tool to smooth the patch and edges, making it blend seamlessly with the shoe’s surface. For further blending, lightly dab the surrounding area with matching fabric paint or dye. Allow the repairs to dry fully, as per the adhesive manufacturer’s instructions, before using the shoes, ensuring the fix is secure and less noticeable.
This careful process will restore the appearance and durability of your Chuck Taylors, extending their enjoyable wear.
Replacing or Repairing Eyelets
Replacing Broken Eyelets
Replacing broken eyelets on your Chuck Taylors can restore both functionality and aesthetic appeal. Begin by removing the broken eyelet using a small pair of pliers or a screwdriver to gently pry it away from the fabric, taking care not to damage the material. Once removed, prepare the area by cleaning any debris or frayed material. A dedicated eyelet replacement kit is essential for this task, providing new eyelets and a tool for installation.
Align the new eyelet with the existing hole, ensuring it is centered and fits properly. Use the tool provided in the kit to secure the eyelet, applying even pressure to crimp it into place. Double-check the alignment to ensure the eyelet lies flat against the fabric, as misalignment can cause discomfort and damage over time. Following these steps will ensure a smooth and durable installation, enhancing the shoe’s longevity.
Repairing Loose Eyelets
To repair loose eyelets, begin by examining the eyelet’s connection to the fabric. If it is slightly loose, you can use pliers to gently squeeze the eyelet from both sides, tightening its grip on the material. Be careful not to over-tighten, which can crimp the fabric or deform the eyelet. For added reinforcement, consider applying a small amount of fabric glue around the base of the loose eyelet, pressing it down firmly until the adhesive sets.
This will provide additional stability, preventing the eyelet from loosening further. Ensure that each eyelet is tightly attached, reducing the chances of future problems. After securing the eyelets, let the repairs cure fully as per the adhesive instructions before lacing up the shoes. This method effectively maintains the eyelets’ function and appearance, ensuring they remain intact and reliable.
Replacing Frayed or Broken Laces
Selecting New Laces
When selecting new laces for your Chuck Taylors, choose ones that are the appropriate length and color to match the shoes, typically between 45 and 63 inches, depending on the number of eyelets. Opt for laces made from durable materials like waxed cotton or polyester for added longevity, which can withstand regular wear and reduce the need for frequent replacements. These choices will ensure your shoes maintain their style and functionality.
Lacing Up the Shoes
To lace your Chuck Taylors, begin by threading each end of the lace through the bottom eyelets, starting from the inside. Cross the laces and insert them into the next set of eyelets above, repeating this process up to the top. For a secure finish, tie the laces into a double knot. For a customized look, consider alternative lacing styles, such as straight bar lacing or criss-cross lacing, to personalize your footwear.
Final Touches and Maintenance
Inspecting the Repairs
After completing repairs on your Chuck Taylors, carefully inspect each area to ensure that all parts are secure, tight, and functioning correctly. Check that the adhesive on patches and soles has set firmly, eyelets are well attached, and laces are properly tied. Make any final adjustments or touch-ups, such as smoothing out edges or tightening laces. This inspection guarantees that your repairs have been effective, restoring the shoes’ integrity and appearance.
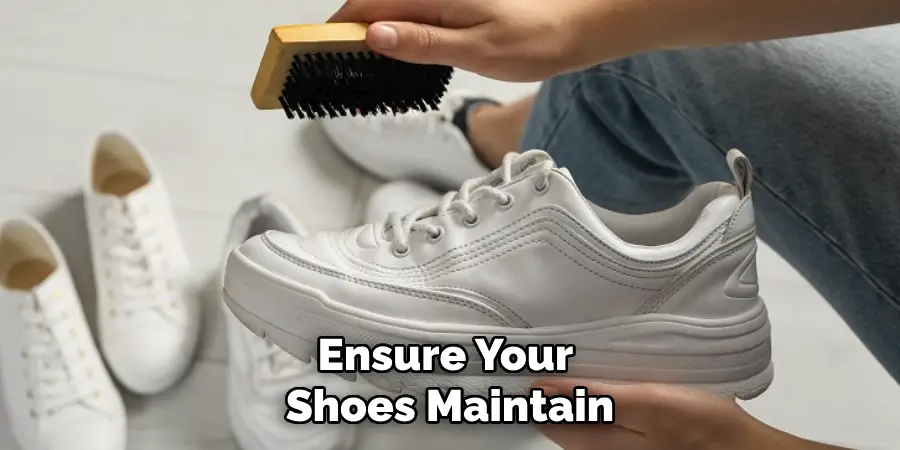
Ongoing Care
Commit to regular cleaning routines using mild cleaners and soft brushes to maintain your Chuck Taylor shoes and prolong their lifespan. Avoid exposing the shoes to excessive moisture or direct sunlight, which can damage materials. Store them in a cool, dry place to prevent mold and warping. Periodically inspect your shoes for any emerging problems, address minor issues promptly before they escalate into major concerns, and ensure your footwear remains in top condition.
Conclusion
In summary, understanding “how to repair Chuck Taylor shoes” involves a series of straightforward steps that anyone can master. Start by assessing the damage to determine if the soles, uppers, eyelets, or laces require attention. Repair scuffs and tears using fabric glue or patch kits while ensuring correct adhesive application for a seamless finish. Replace or mend frayed laces and broken eyelets for both functional and aesthetic restoration.
Regular inspections and ongoing care are vital in maintaining the footwear’s integrity. Use durable materials when making repairs to ensure long-lasting results. Ultimately, take pride in maintaining your Chuck Taylors, as repairing them extends their wearable life and offers a rewarding opportunity to personalize them. Embrace this process enthusiastically and creatively to enhance your connection with your beloved shoes.