Having the right equipment can make a significant difference in your indoor cycling experience, and one of the key components is ensuring your spin shoes have the appropriate clips attached. Properly installed clips not only help in securely attaching your shoes to the pedals but also enhance your cycling performance by providing better power transfer and stability.
This guide on how to put clips on spin shoes will walk you through the step-by-step process of putting clips on your spin shoes, ensuring a snug fit and optimal efficiency for your rides.
Why Put Clips on Spin Shoes?
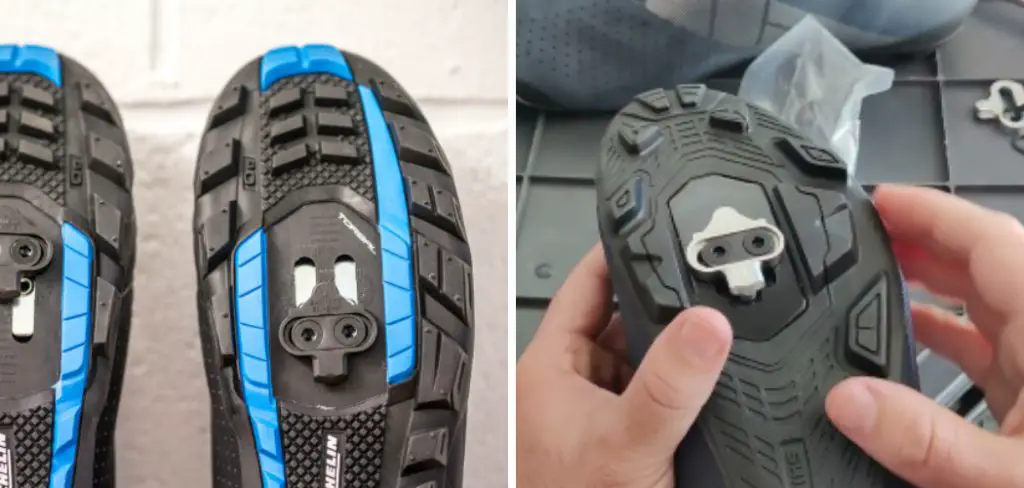
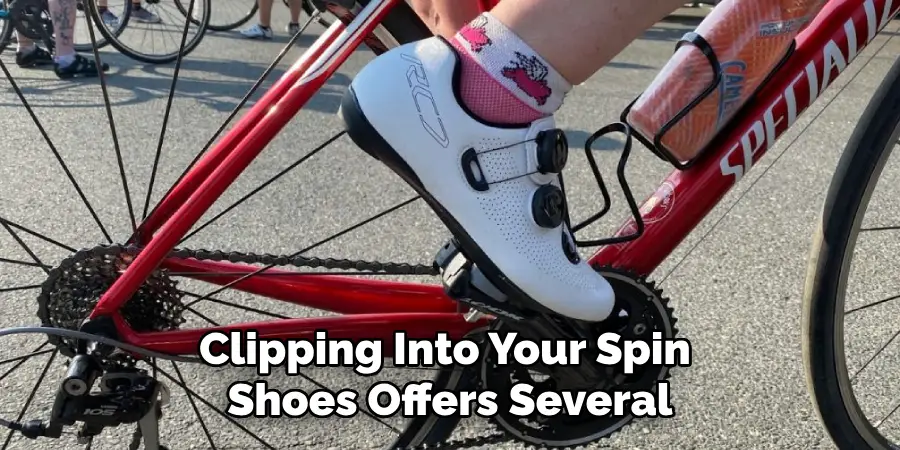
Clipping into your spin shoes offers several advantages that can significantly improve your indoor cycling experience. Firstly, using clips ensures a secure connection between your feet and the pedals, preventing your feet from slipping off during high-intensity workouts. This secure attachment allows for more efficient power transfer from your legs to the bike, making your pedal strokes more effective and helping you maximize your training efforts. Additionally, clipped-in shoes promote proper alignment and muscle engagement, reducing the risk of injury and enhancing your overall cycling form.
By stabilizing your feet and promoting a consistent pedaling motion, clips contribute to a smoother and more controlled ride, allowing you to focus on your performance and endurance. Whether you’re a seasoned cyclist or a beginner, incorporating clips into your spin shoes can elevate your indoor cycling sessions to the next level.
Needed Materials
Spin Shoes:
The first step in putting clips on spin shoes is ensuring you have the right shoes for the job. While regular sneakers may work for casual spin classes, investing in a pair of dedicated indoor cycling shoes can greatly enhance your performance and comfort. These specialized shoes feature stiffer soles, making it easier to transfer power to the pedals, and often come with specific cleat designs that are compatible with various pedal systems.
Cleats:
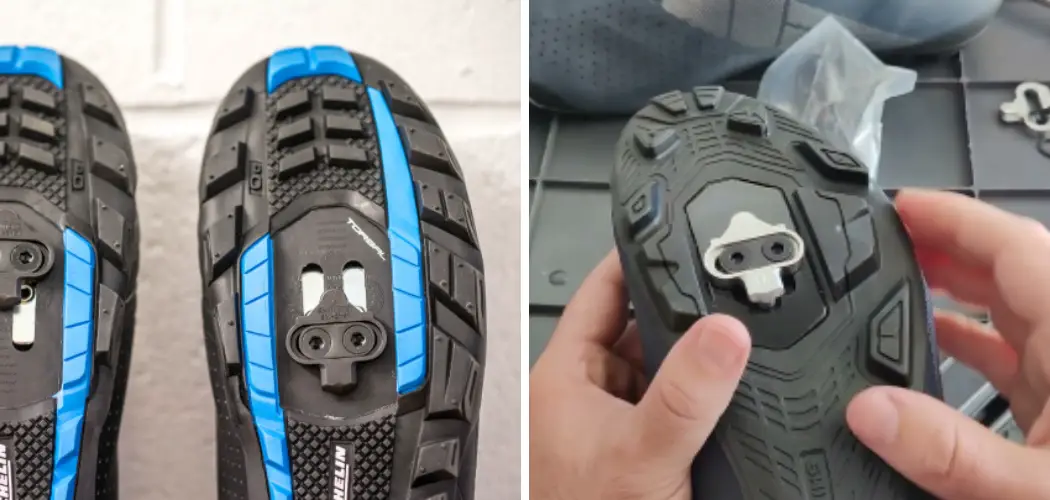
Cleats are small metal or plastic pieces that attach to the bottom of your spin shoes, allowing them to clip into the pedals. When purchasing cleats, make sure they are compatible with your specific type of pedal system (e.g., SPD-SL, Look, or SPD) to ensure a proper fit. Cleats typically come with spin shoes when purchased as a set, but they can also be bought separately if you need replacements.
Screws:
Screws are needed to secure the cleats onto the bottom of your spin shoes. These screws should also come with your cleat purchase or be included in your spin shoe package.
8 Step-by-step Guides on How to Put Clips on Spin Shoes
Step 1: Prepare Your Workspace
Before you begin attaching the clips to your spin shoes, it’s essential to prepare your workspace to ensure a smooth and hassle-free installation. Find a flat, stable surface such as a table or countertop, where you can comfortably work.
Gather all the necessary materials, including your spin shoes, cleats, screws, a screwdriver, and any instructions that may have come with your shoes or cleats. Additionally, having a small towel or cloth on hand can be helpful in catching any small parts that might fall during the process. Ensuring you have a well-organized workspace will make the installation process more efficient and reduce the risk of losing any important components.
Step 2: Locate the Cleat Mounting Holes on Your Spin Shoes
Next, examine the bottom of your spin shoes to locate the cleat mounting holes. These holes are usually marked with an “L” or “R,” indicating which shoe they correspond to (left or right). The placement and number of holes may vary depending on your specific type of spin shoes, so make sure to familiarize yourself with them before proceeding.
You may also find a set of alignment lines or markers on the bottom of your shoes that can help you center the cleats correctly.

Step 3: Check Your Cleat Positioning
Before attaching the cleats, it’s essential to determine where they should be placed on your spin shoes. The ideal positioning will depend on personal preference, but as a general rule, most cyclists prefer having their cleats positioned under the ball of their foot for optimal power transfer and stability.
To determine this spot, put on your spin shoes and pedal as you would during a normal ride. Take note of where the ball of your foot naturally rests on the pedal and position the cleats accordingly.
Step 4: Align the Cleats with the Mounting Holes
Once you have determined your preferred cleat positioning, it’s time to align them with the mounting holes on your spin shoes. Place the cleats on top of the mounting holes and make sure they are centered according to any alignment markers or lines.
It’s crucial to ensure that the cleats are aligned correctly before screwing them on as this will affect your pedal stroke and comfort during rides.
Step 5: Secure Cleats with Screws
Once you have the cleats properly aligned, it’s time to secure them onto your spin shoes using screws. Take your screwdriver and gently tighten each screw until they are snug and secure. Be careful not to over-tighten the screws as this can damage the threads or cause discomfort when wearing the shoes.
Repeat this process for all cleat mounting holes until all four corners of each cleat are securely attached.
Step 6: Check for Proper Fit
After securing the cleats onto your spin shoes, it’s important to check for proper fit to ensure comfort and effectiveness during your rides. Put on your spin shoes and clip into your bike pedals. Perform a few pedal strokes to see how the cleats and shoes feel. Make sure there is no excessive movement or looseness and that the cleats are properly engaging with the pedals.
If you notice any discomfort or misalignment, you may need to adjust the cleats slightly. Unclip from the pedals, remove the screws, and reposition the cleats as needed. Tighten the screws again and test the fit once more. It may take a few tries to get the perfect alignment, but this step is crucial for achieving a comfortable and efficient cycling experience.
Step 7: Practice Clipping In and Out
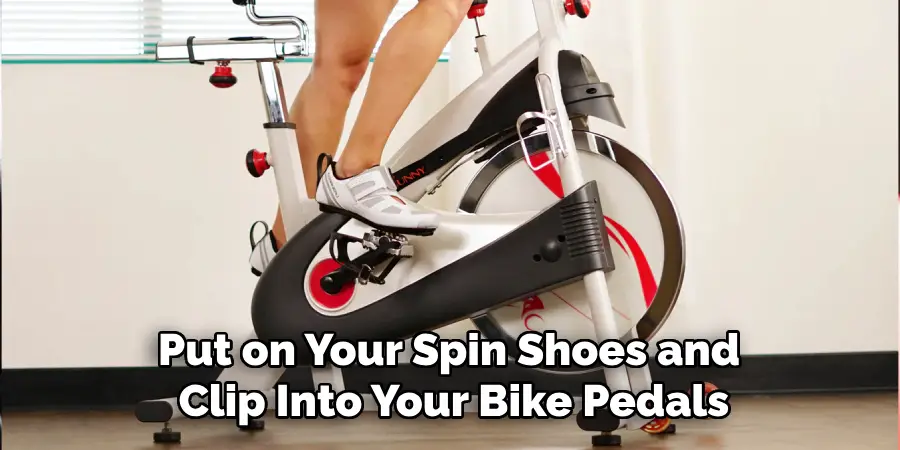
After completing the installation process, it’s essential to practice clipping in and out of your spin shoes a few times. This will help you get used to the feeling and adjust any potential discomfort or misalignment before your next ride. To clip in, simply place the ball of your foot on the pedal and push down until you hear a click. To unclip, twist your foot outwards until you feel the cleats release from the pedals.
With some practice, clipping in and out will become second nature, allowing you to focus on your cycling form and performance during rides.
Step 8: Regularly Check for Wear and Tear
As with any equipment, it’s essential to regularly check your spin shoes and cleats for wear and tear. Inspect the screws to ensure they are still secure and replace them if they become loose or damaged. Additionally, examine the cleats for any signs of wear, such as worn-down edges or cracks. If you notice significant damage, it may be time to replace your cleats to maintain a safe and effective ride.
Following these step-by-step guides on how to put clips on spin shoes for attaching clips to your spin shoes will ensure a proper and comfortable fit, allowing you to enjoy your cycling workouts without any distractions or discomfort. Remember to regularly check and maintain your spin shoes and cleats for optimal performance and safety. Happy spinning!
Regular Maintenance
Proper maintenance of your spin shoes and cleats is crucial for ensuring their longevity and overall comfort during rides. Here are some tips to keep your equipment in top condition:
Clean Your Shoes and Cleats Regularly:
Dirt, dust, and sweat can accumulate on your spin shoes and cleats over time. Wipe them down with a damp cloth after each session to prevent grime build-up. For a deeper clean, use a mild detergent and a soft brush to scrub away any stubborn dirt. Avoid soaking your shoes as excessive moisture can damage the materials.
Inspect Screws and Cleats:
Regularly check the screws that secure your cleats to your shoes. Ensure they are tight but not overly so as to prevent them from coming loose during your rides. If you notice any damage or significant wear on the cleats, replace them promptly to maintain effective engagement with your pedals.
Examine Shoe Soles:
The soles of your spin shoes can wear down over time, especially if you walk around in them frequently. Monitor for signs of wear such as thinning or cracking. Maintaining the integrity of the soles ensures optimal power transfer and stability during cycling.
Check for Discomfort:
Pay attention to any discomfort or pain while cycling, as this may indicate that the cleats are misaligned or that the screws need adjusting. Make the necessary adjustments to improve comfort and prevent injury.
Store Properly:
When not in use, store your spin shoes in a cool, dry place. Avoid leaving them in direct sunlight or near heat sources, as prolonged exposure can degrade the shoe materials.
By incorporating these regular maintenance practices into your routine, you can extend the life of your spin shoes and cleats, ensuring a safe and comfortable ride every time. Happy spinning!

Conclusion
Attaching clips onto spin shoes may seem daunting at first, but with some careful preparation and practice, it can easily become part of your cycling routine.
By following these step-by-step guides on how to put clips on spin shoes and regularly checking for wear and tear, you can ensure a comfortable and efficient ride every time. So don’t hesitate to make the switch to clip-in pedals and take your indoor cycling workouts to the next level! Keep spinning and enjoy the ride.

