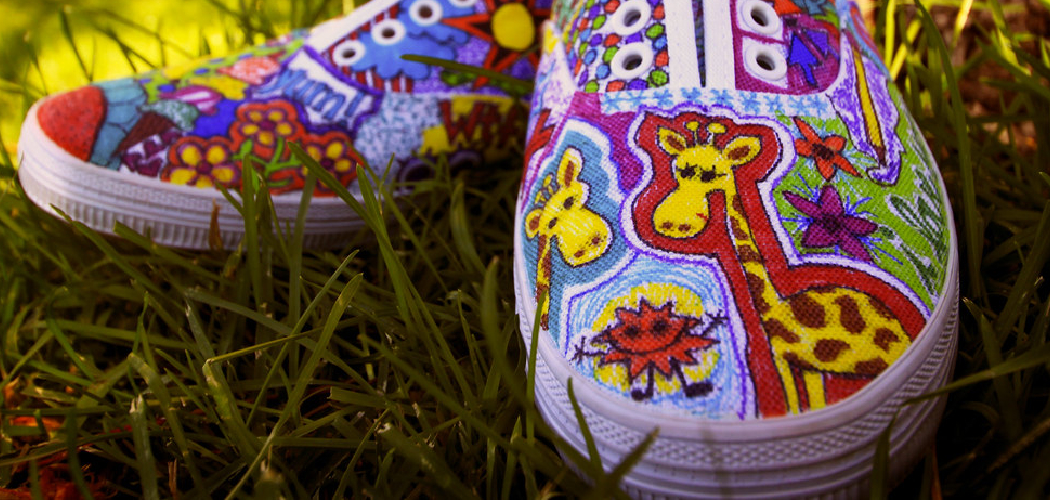
Do you want to create a one-of-a-kind pair of shoes with your own design? Have you ever wanted to try a project that’s creative and imaginative, but doesn’t know where to start? Look no further! In this blog post, we’ll discuss the process of printing on shoes – from prepping the surface for paint or ink, to finding the perfect image or pattern. With these steps and tips in mind, you can make yourself (or someone else!) an amazing pair of custom footwear.
Customizing your own shoes is an affordable, creative way to add some personality and style to an outfit. With a few simple tools and materials, you can easily design and print whatever you want onto your shoes in no time. From creating bold designs with airbrush paints or stencils, printing custom art on special paper, or even adding fabric pieces like patches and decals – it’s easier than ever before to make show-stopping statements with customized footwear. Read on if you want to learn how to print on shoes!
Why May You Want to Print on Shoes?
1. To Make Them Look Good
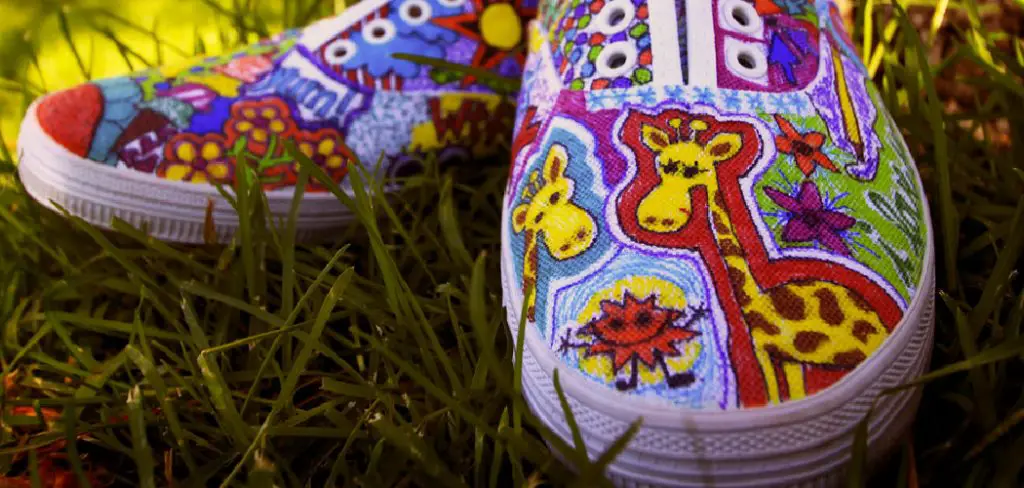
One of the main reasons why someone may want to print on shoes is to make them look good. A printed design can add color and interesting details, making the shoes stand out more than an ordinary pair without a design. The prints can range from simple patterns or words to full-color artwork.
2. To Personalize Them
Printing on shoes also allows you to personalize them. You can choose a design that reflects your personality or one that represents something important to you. This can be a great way to express yourself and make your shoes unique.
3. To Create Gifts
Printing on shoes is also a great way to create gifts for friends and family members. You can customize the design to fit the receiver’s tastes or create something special just for them. This can make a great gift that they will be sure to remember and appreciate.

Printing on shoes is an easy, fun way to customize your footwear and make it unique. With the right supplies and a little bit of creativity, you can create beautiful designs that are truly one-of-a-kind. So why not give it a try? Who knows what masterpieces you might create!
How to Print on Shoes in 5 Easy Steps
Step 1: Gather All The Materials
The very first step is to gather all the items you’ll need in order to get started. This includes a pair of shoes, fabric paint, masking tape, a foam brush, and newspaper or another protective material that can be used to cover up the surfaces around your workspace.
Step 2: Preparing The Shoes
Before you start printing on your shoes, you need to make sure that the surface is prepped and ready. Begin by wiping down the shoes with a damp cloth and removing any dirt or debris from the surface. After that, use masking tape to cover up any areas of the shoe that you don’t want to be painted.
Step 3: Applying The Paint
Once you have everything prepped and ready, it’s time to start painting. Use a foam brush to apply the paint evenly across the surface of the shoe. Be sure to cover all areas that you want to be painted.
Step 4: Letting The Paint Dry
Now that you have applied the paint, it’s time to let it dry. This is an important step, as it will ensure that the paint adheres properly to the shoe. Letting it dry for at least 8 hours is recommended.
Step 5: Finishing Up
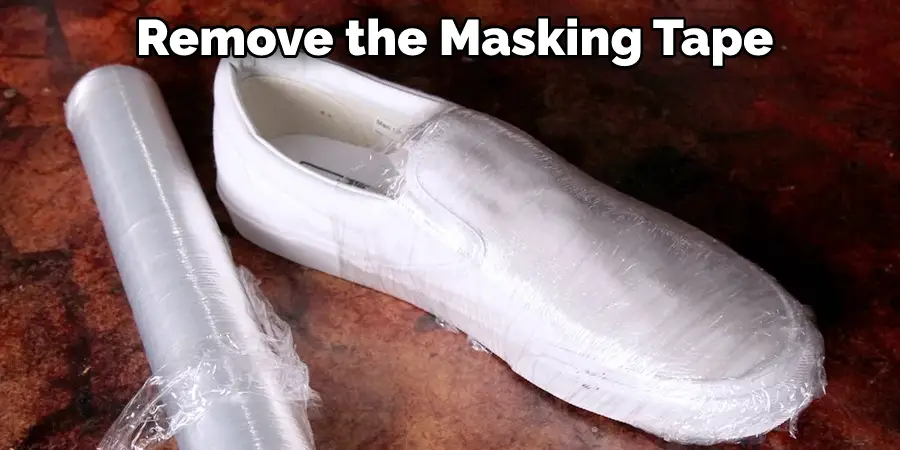
The last step is to remove the masking tape and any other material you used during the process. After that, your shoes are ready to be worn! Also make sure to give your shoes an extra layer of protection by using a fabric spray.
By following these five easy steps, you can learn how to print on shoes with ease! Whether it’s for a special occasion or just for everyday wear, printing on shoes is a great way to make them look unique and stylish. So go ahead and give it a try today!
Some Additional Tips to Print on Shoes
1. Do Not Use Too Much Ink
Applying too much ink can cause the design to smudge or bleed. To prevent this, use light strokes when applying the ink and coat evenly. Also, you have to make sure that the ink is completely dry before adding another layer.
2. Use a Stencil
If you are printing complex designs, it is best to use stencils as they help keep the design clean and precise. You can buy pre-made stencils or create your own customized design using vinyl sheets and an X-acto knife.
3. Test the Ink on a Scrap of Fabric
Before you print on your shoes, it is always good to test the ink first. Print out a design on a scrap piece of fabric and make sure that it looks the way you want it to look before printing on your shoes. This will help you avoid any mistakes and save time.
4. Avoid Moisture
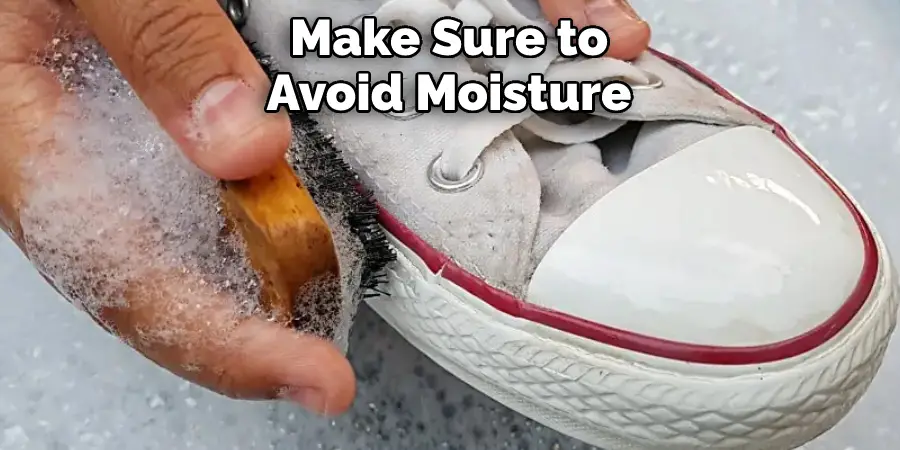
When printing on shoes, make sure to avoid moisture as much as possible. This means that you should print in a well-ventilated area and use water-resistant ink if you will be working with fabric that tends to absorb moisture easily.
5. Clean the Shoes Before Printing
Before you start printing, make sure that the shoes are completely clean. This will help ensure that the ink adheres properly to the fabric and does not smudge or bleed. You can use a mild detergent and water to clean the shoes before printing.
6. Keep It Simple
It is best to keep your design simple if you are just starting out. Complex designs can be difficult to print properly and may require a lot of time, so it is best to start with something basic. Once you get the hang of printing on shoes, then you can experiment more with complex designs.
7. Double-Check Your Work
Before you finish printing, make sure to double-check your work. Make sure that the design is centered correctly and that there are no smudges or mistakes. This will help ensure that your shoes look perfect when they come out of the printer.
Printing on shoes can be a fun and creative way to customize your footwear. With the right tools and techniques, you can quickly create beautiful designs that will make your shoes stand out from the rest. Follow these tips to ensure that your prints come out looking perfect every time.
Good luck!
Frequently Asked Questions
What Precautions Should Be Taken When Printing on Shoes?
When printing on shoes, it is essential to take safety precautions. Wear protective gear such as a face mask and gloves to avoid contact with the chemicals or inks used for the printing process. Make sure to print on a surface that is clean and free of dust and dirt, as this can disrupt the quality of the image.
When using heat-transfer printing, always use a protective sheet to prevent damage to both the shoe and the printer. It is also important to clean up any excess ink or paint from the surface of the shoes after the printing process is complete. Finally, let the printed shoes dry for 24 hours before wearing them to ensure that the colors have set.
What Materials Can Be Used For Printing on Shoes?
The most common materials used to print on shoes are fabric ink, paint, and heat-transfer printing. For the most durable prints, it is best to use fabric inks or paints that are designed specifically for shoe fabrics. Heat-transfer printing uses a low temperature to press an image onto the shoe and is usually used for lighter fabrics or prints. Whichever material you choose, make sure that it is compatible with the type of fabric your shoes are made from.
What Types of Images Can Be Printed on Shoes?
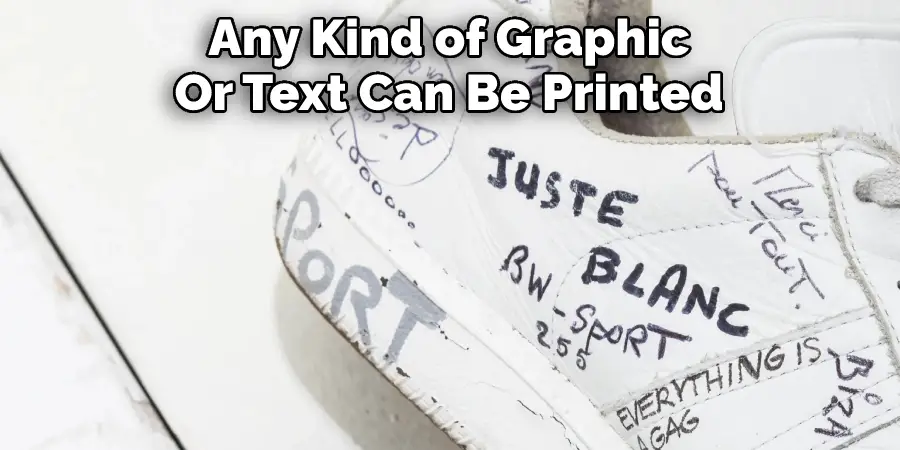
Any kind of graphic or text can be printed on shoes. From colorful patterns to logos and slogans, the possibilities are endless. For added effect, you can even add glitter or other 3D elements to the design. Just make sure that any image you use is appropriate for the environment it will be seen in—it is best to avoid anything offensive or controversial.
Conclusion
From the wide variety of available printing technologies, to the various media for achieving the desired result, to reliable methods of application and adhesion, creating and expressing your unique style with custom-printed shoes can be a fun and rewarding experience. You now have all of the necessary information at your disposal to create a masterpiece that looks just as good on-foot as it does off.
With all this knowledge of how to print on shoes, you can now pursue customized footwear more confidently. Experimenting with different prints and finishes is an opportunity to immerse yourself in the creative process. So take advantage this fantastic way to express yourself and have some fun along the way!

