Sneakers are a staple of modern footwear, offering both comfort and style. While there are many brands and styles available on the market, making your own sneakers can be a fun and rewarding experience. Not only do you get to customize the design and fit to your liking, but you also have the satisfaction of wearing something that you created with your own hands.
In this guide, we will walk you through the process of making your own sneakers from scratch. Whether you are an experienced crafter or a beginner looking for a new project, this step-by-step tutorial on how to make your own sneakers will help you create a unique and stylish pair of sneakers.
Materials You Will Need
Before getting started, gather all the necessary materials and tools. Here is a basic list of what you will need:
- Canvas or leather material for the upper part
- Rubber sole or crepe rubber sheet
- Foam insole for added comfort
- Shoelaces
- Needle and thread or sewing machine
- Fabric glue or shoe adhesive
- Scissors, ruler, and pencil for measuring and cutting the materials
It’s important to choose high-quality materials that will result in a durable and comfortable pair of sneakers. You can find these materials at most craft or fabric stores or even repurpose old shoes for some of the parts.
12 Steps on How to Make Your Own Sneakers
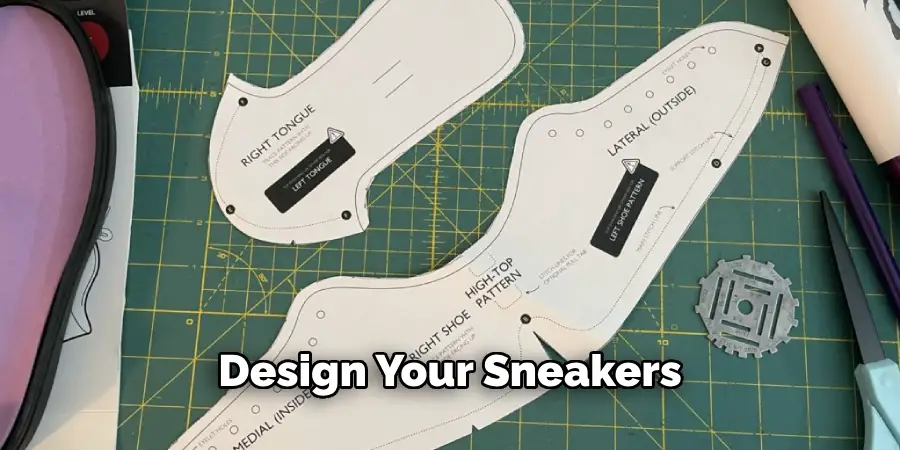
Step 1: Designing Your Sneakers
The first step to making your own sneakers is to come up with a design. You can either draw it on paper or use design software on your computer. Consider the style, color, and details that you want for your sneakers.
Step 2: Creating a Pattern
Using your design as a guide, create a pattern for the upper part of the sneaker on paper. This will serve as a template when cutting the material. As a tip, you can trace the outline of an old pair of sneakers to get the right shape and size.
Step 3: Cutting the Upper Material
Once you have your pattern, use it to cut the upper material. Make sure to leave some excess material around the edges for sewing. Canvas and leather are the most common materials used for sneakers, but you can also use other fabrics, such as denim or suede.
Step 4: Sewing the Upper Material
Next, sew together the different pieces of the upper material using a needle and thread or a sewing machine. Follow your pattern to ensure that all parts are sewn in the correct order. This will form the base of your sneakers.
Step 5: Preparing the Sole
If you are using a rubber sole, cut it to fit the size and shape of your upper material. You can also use a pre-made sole and skip this step if desired. Soles are available in various thicknesses and textures, so choose one that suits your design and comfort needs.
Step 6: Adding the Insole
To make your sneakers more comfortable to wear, add a foam insole between the upper material and sole. You can either purchase pre-made insoles or cut out pieces from foam sheets. Glue the insole onto the bottom of the upper material.
Step 7: Attaching the Sole
Using fabric glue or shoe adhesive, attach the sole to the bottom of the upper material. Press firmly and let it dry according to the product instructions. This will secure your sole in place and complete the base of your sneakers.
Step 8: Making Eyelets
To add eyelets for laces, use a tool specifically designed for making holes in fabric or a simple hammer and nail. Place the eyelets evenly on each side of the sneakers and secure them by pressing down firmly. This will create holes for your laces to go through.
Step 9: Lacing Your Sneakers
Take your shoelaces and begin lacing them through the eyelets, starting from the bottom and working your way up. There are various lacing techniques you can use to customize the look of your sneakers.
Step 10: Adding Finishing Touches
Now that your sneakers are mostly complete, it’s time to add any finishing touches, such as patches or embellishments. Be creative and make them truly unique to your style. While this step is optional, it can add a personal touch to your creation.
Step 11: Letting the Glue Dry
If you use any glue or adhesive, make sure to let the sneakers dry completely before wearing them. This will ensure that all parts are securely attached and ready to be worn. Keep in mind that drying time may vary depending on the type of adhesive used.
Step 12: Showcase Your Creation
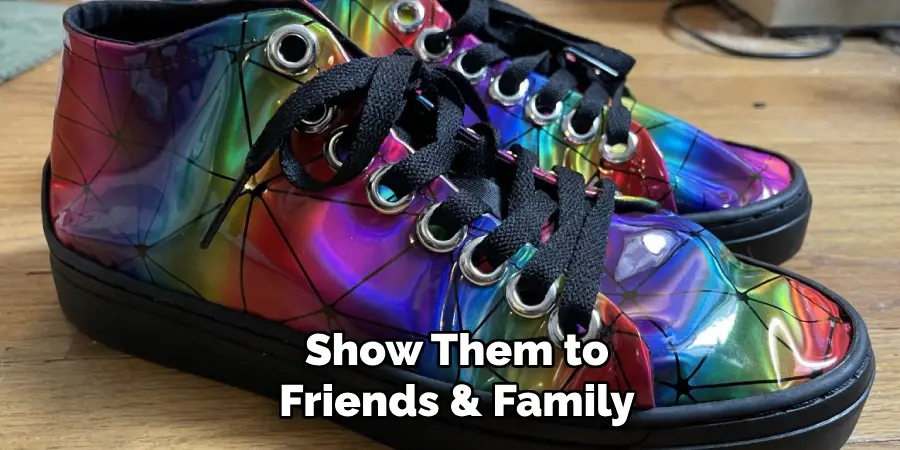
Congratulations, you now have a one-of-a-kind pair of sneakers that you made yourself! Show them off to your friends and family, and be proud of your craftsmanship. You can also use this process to make multiple pairs in different designs or even start your own sneaker business.
Making your own sneakers may seem like a daunting task, but with the right materials and steps, it can be a fun and rewarding experience. Not only do you get to express your creativity, but you also end up with a unique pair of comfortable and stylish shoes.
9 Safety Measures to Keep in Mind
While making your own sneakers, keeping some safety measures in mind is important. Here are 9 tips to ensure a safe and successful crafting experience:
1) Use Protective Gear
When handling materials and tools, protecting yourself from any potential accidents is important. Wear gloves and safety glasses when cutting or using adhesives. If using a sewing machine, make sure to follow safety precautions and keep your fingers away from the needle.
2) Work in a Well-Ventilated Area
Some adhesives can have strong fumes, so it’s important to work in a well-ventilated area. Open windows or use a fan to circulate fresh air. Like any other crafting activity, it’s important to have good air circulation in your workspace.
3) Keep Tools and Materials Out of Reach
If you have children or pets, make sure to keep all tools and materials out of their reach. Sharp objects can cause harm if not handled properly, so it’s best to keep them away from little hands and paws.
4) Read Product Labels and Instructions
Before using any materials or tools, make sure to read the labels and instructions carefully. This will inform you of any potential hazards and how to properly use the products. It’s better to be safe than sorry. As they say, knowledge is power!
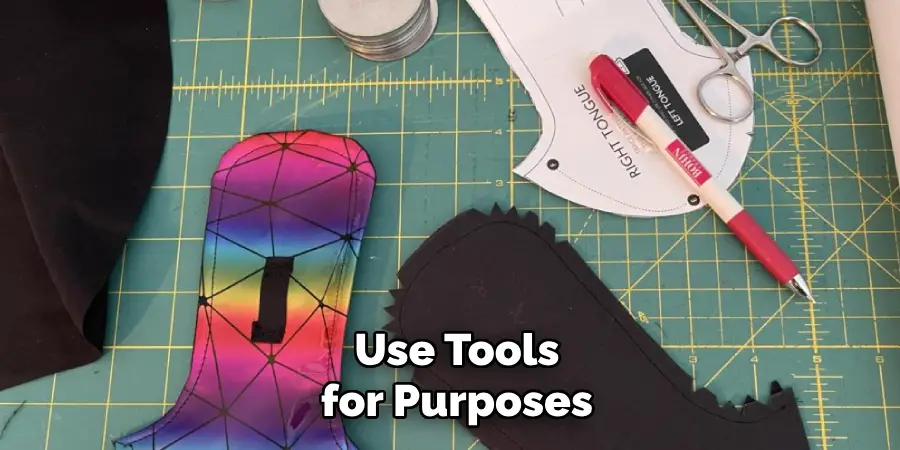
5) Use Tools and Materials for Their Intended Purpose
Using tools or materials for purposes they were not intended for can cause harm or damage to your project. Make sure to use them according to their specified purpose to ensure a safe and successful crafting process.
6) Take Breaks
It’s important to take breaks while working on any project. This not only prevents fatigue and potential accidents but it also allows you to step back and evaluate your progress. Make sure to rest your eyes and hands periodically.
7) Clean Up After Yourself
As with any crafting activity, cleaning up after yourself is important for safety reasons. Dispose of any sharp objects properly and wipe down surfaces with adhesive residue. This will prevent any accidents from occurring and keep your workspace organized.
8) Keep Emergency Supplies on Hand
In case of any accidents, it’s always a good idea to have emergency supplies nearby, such as a first aid kit or fire extinguisher. Hopefully, you won’t need them, but it’s better to be prepared just in case. As the saying goes, better safe than sorry.
9) Ask for Help
If you are unsure about any step in the process or feel overwhelmed with the project, don’t be afraid to ask for help. Reach out to a friend or family member who has experience with crafting or seek guidance from online tutorials. It’s always better to have a helping hand when trying something new.
Making your own sneakers can be a fun and rewarding experience with the right materials, steps, and safety measures on how to make your own sneakers in place. Not only do you get to express your creativity and have a unique pair of shoes, but you also learn useful crafting skills along the way. So go ahead and give it a try – who knows, you may discover a new hobby or even start your own sneaker business! Keep exploring and creating; the possibilities are endless.
8 Things to Avoid
While making your own sneakers can be a fun and rewarding experience, there are some things to avoid that could potentially ruin your project. Here are 8 things to keep in mind:
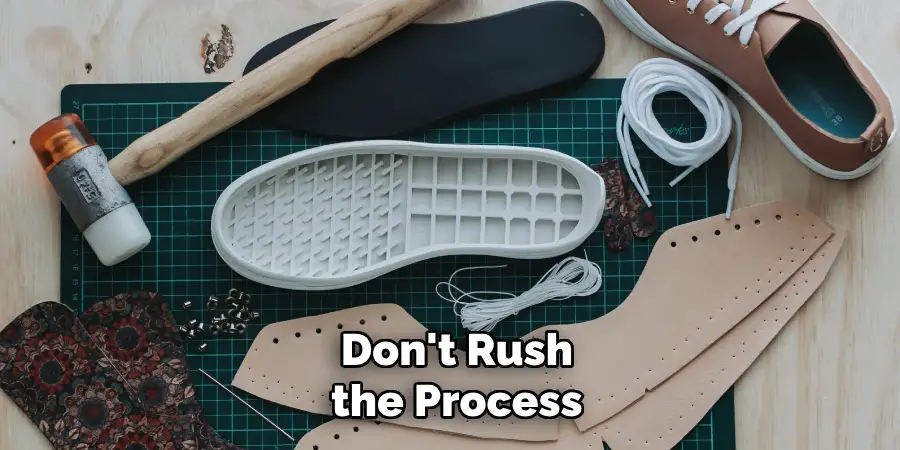
1) Rushing
Making your own sneakers takes time and patience. Rushing through the process may result in mistakes or an unfinished product. Take your time and enjoy the process. As they say, good things take time.
2) Using Poor Quality Materials
Using poor-quality materials may result in a less durable and comfortable pair of sneakers. Make sure to invest in high-quality materials for the best results. Keep in mind that the cost may be higher upfront, but it will pay off in the long run.
3) Not Planning Ahead
It’s important to plan ahead and have a clear vision of what you want your sneakers to look like. This will prevent any mistakes or changes along the way. Make sure to gather all necessary materials and tools before starting the project.
4) Ignoring Instructions
Instructions are there for a reason – to guide you through the process. Ignoring instructions or skipping steps may result in an unsuccessful project. Make sure to follow each step carefully for the best outcome.
5) Overusing Adhesive
Using too much adhesive can cause a messy and uneven finish. It’s important to use the right amount of adhesive as directed to avoid any mishaps. A little goes a long way. So be mindful of the amount you use.
6) Not Letting Adhesive Dry Completely
It’s crucial to let the adhesive dry completely according to the instructions. Rushing this step may result in a weak bond or uneven finish. It’s better to wait a little longer and have a successful project than to rush and end up with an unsatisfactory outcome.
7) Not Checking for Fit
Before finalizing your sneaker design, make sure to try them on and check for fit. This will prevent any discomfort or disappointment when wearing them. Make any necessary adjustments before finishing the project.
8) Giving Up
Lastly, don’t give up if things don’t go as planned. Making mistakes is a part of the learning process. Instead, take a break and come back to it with a fresh mind. Seek help if needed and keep trying until you achieve your desired result. Remember, practice makes perfect! So keep persevering, and don’t give up on your DIY sneaker project.
There you have it – some tips for staying safe and avoiding mistakes while making your own sneakers. With the right precautions and mindset, you can successfully create your own unique pair of kicks. So go ahead and put on your creative hat, grab those materials, and start designing your one-of-a-kind sneakers. Who knows, you may just discover a new passion or talent in the process.
8 Additional Tips for Successful DIY Sneakers
Here are some bonus tips to help you successfully create your own sneakers:
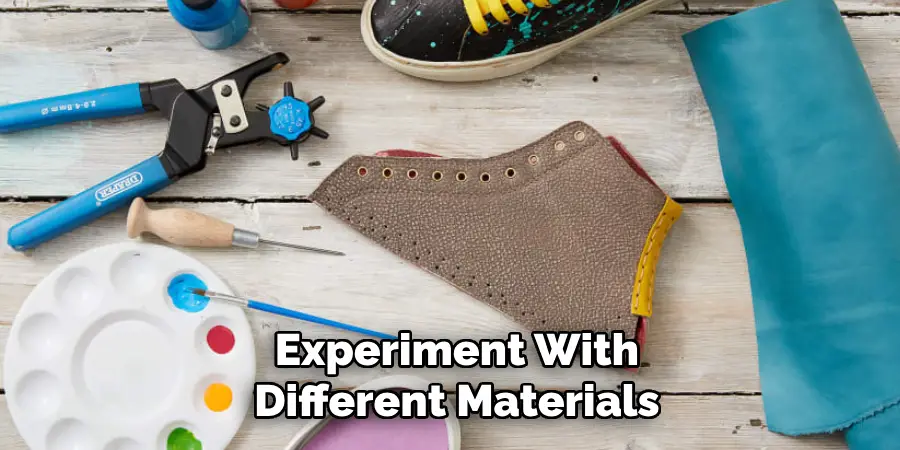
1) Experiment with Different Materials
Don’t be afraid to mix and match materials when designing your sneakers. You never know; you may discover a unique combination that you love. So don’t limit yourself to just one type of material – get creative and explore your options.
2) Use Templates or Stencils
If you’re not confident in your drawing skills, consider using templates or stencils for your design. This will ensure a more precise and professional-looking end result. For example, you can print out templates of popular sneaker brands and use them as a guide for your design.
3) Practice on Old Shoes
Before trying your hand at making a pair of sneakers from scratch, practice on an old pair of shoes. This will give you a better understanding of the process and help you avoid any mistakes when working on your final project. Plus, you can always use the old shoes for other DIY projects.
4) Invest in Good Tools
Having the right tools makes all the difference when it comes to crafting. Invest in good-quality cutting tools, adhesives, and brushes for a more seamless and enjoyable experience. It’s worth spending a little extra on good tools that will last you a long time.
5) Customize Your Laces
Don’t forget about the laces when designing your sneakers. You can customize them by adding bead charms or even painting them with fabric paint. This will add a unique touch to your finished product.
6) Try Different Styles
You don’t have to stick to one style – experiment with different design elements and techniques. This will not only make your sneakers more interesting but also help you develop new skills and techniques.
7) Take Care of Your Finished Sneakers
Once you’ve completed your DIY sneakers, make sure to take care of them properly so they can last longer. Avoid getting them wet or exposing them to extreme temperatures. You can also use sneaker protectors or sprays to keep them looking fresh.
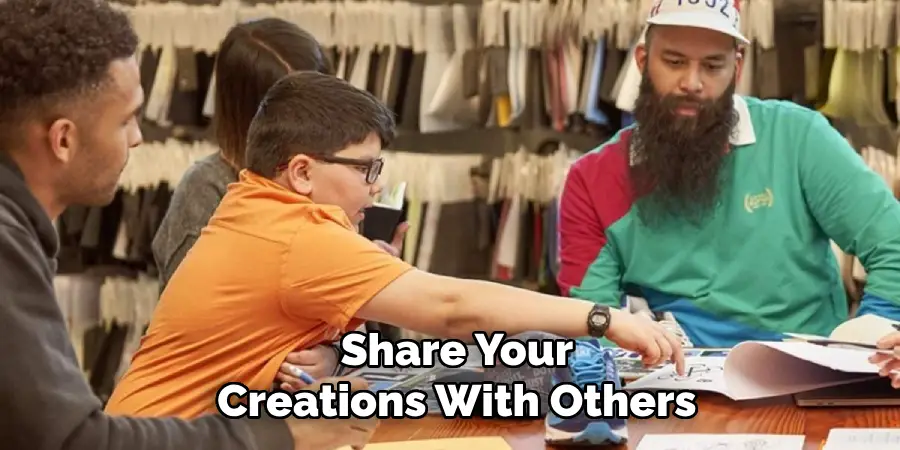
8) Share Your Creations
Lastly, don’t be afraid to share your creations with others. Show off your unique sneakers on social media or even start your own DIY sneaker business. Who knows, you may inspire others to try their hand at making their own custom kicks.
With these tips on how to make your own sneakers and precautions in mind, you are now ready to confidently tackle your DIY sneaker project. Enjoy the process and have fun making your own one-of-a-kind pair of sneakers! Remember, the possibilities are endless when it comes to creating unique footwear. So, let your creativity shine, and rock your personalized kicks with pride.
FAQ’s(Frequently Asked Questions)
How Long Does It Take to Make DIY Sneakers?
The time it takes to make DIY sneakers varies depending on the complexity of the design and materials used. It can take anywhere from a few hours to a couple of days. It’s important to plan ahead and set aside enough time for the project.
Can I Use Any Type of Sneakers for a DIY Project?
Yes, you can use any type of sneakers for a DIY project as long as they are in good condition. Make sure to clean them thoroughly before starting your design. You can also try experimenting with different styles and shapes of sneakers for a more unique look.
Is It Expensive to Make DIY Sneakers?
The cost of making DIY sneakers depends on the materials and tools you use. It can range from inexpensive to more costly, depending on your choices. However, it’s generally more affordable than buying designer or customized sneakers from stores.
Do I Need Any Special Skills to Make DIY Sneakers?
No, you don’t need any special skills to make DIY sneakers. However, having basic crafting skills and being detail-oriented can be helpful. There are also plenty of tutorials and resources available online to guide you through the process.
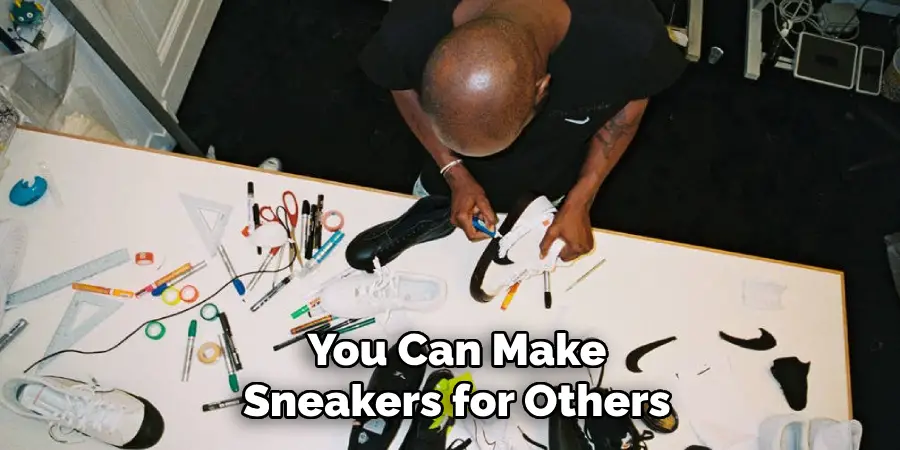
Can I Make Sneakers for Others?
Yes, you can make sneakers for others as long as they are not for commercial purposes. It’s a great way to personalize gifts for friends and family. Just make sure to consider their shoe size and preferences when designing the sneakers.
Final Thoughts
Making your own DIY sneakers can be a fun and rewarding experience. Not only do you get to unleash your creativity, but you also end up with a unique pair of kicks that no one else has. With proper precautions on how to make your own sneakers, the right mindset, and a little bit of patience, you can successfully create your own custom sneakers. So go ahead and try it – you never know, you may just discover a new passion or talent! Keep exploring and pushing boundaries with your DIY projects. The possibilities are endless.