Are you planning a trip to a snowy destination and looking for an outdoor adventure? Making your own snowshoes could be the perfect activity! It is a fun and unique experience and allows you to customize your snowshoes to fit your specific needs.
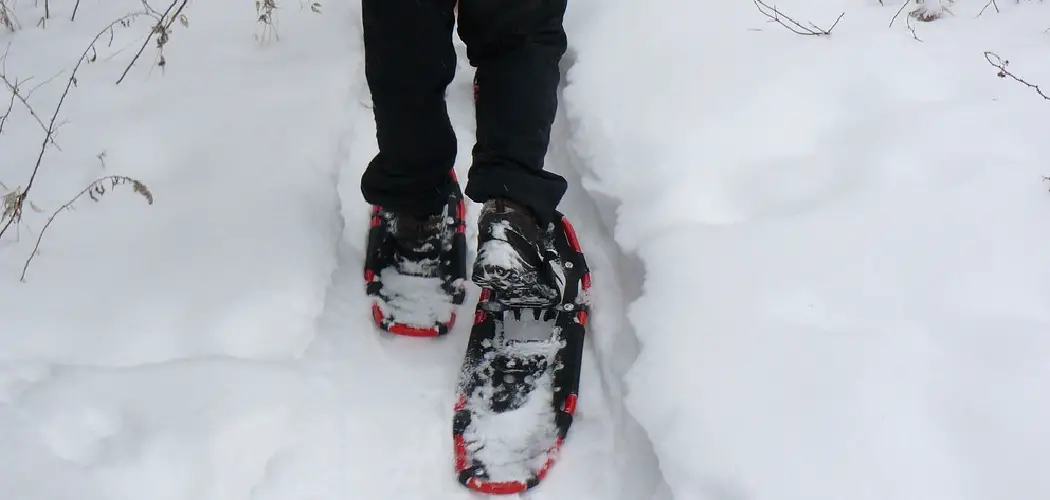
Snowshoeing is a rewarding winter activity that allows you to traverse snowy landscapes easily. Making your own snowshoes can be a fulfilling project that gives you a deeper connection to the process and the outdoors. This guide will walk you through the essential steps and materials needed on how to make snowshoes.
Whether you’re a skilled woodworker or a novice looking for a new hobby, learning how to make your own snowshoes will provide you with a sense of accomplishment and a trusty pair of shoes to carry you through winter adventures.
What Will You Need?
Before you dive into the process of making your snowshoes, it’s essential to gather all the necessary materials. Here are some items that you will need for this DIY project:
- Frame material (such as bentwood or aluminum tubing)
- Decking material (such as rawhide, nylon webbing, or plastic mesh)
- Lacing cord (leather or synthetic)
- Drill
- Saw
- Sandpaper
- Sharp knife
- Ruler/measuring tape
You can also purchase a snowshoe kit with most of these materials and assembly instructions.
9 Easy Steps on How to Make Snowshoes
Step 1: Prepare the Frame
Start by preparing the material for the frame. If you use bentwood, soak it in hot water for several hours to make it pliable. This will allow you to bend the wood into the desired shape necessary for the snowshoe frame.
If you use aluminum tubing, cut it to the appropriate length per your design specifications. Either way, ensure the frame is symmetrical to provide stability while walking on snow. If needed, use sandpaper to smooth any rough edges on the wood or cut tubing.

Step 2: Shape and Secure the Frame
Shape the frame into the traditional teardrop or oval shape associated with snowshoes. This curvature helps to distribute weight more evenly, preventing the shoe from sinking into the snow. If you’re using bentwood, allow it to dry entirely once it reaches the desired shape, which will set it in the shape you’ve formed.
For aluminum tubing, use a reliable tool to bend the tubes consistently, checking alignment frequently to ensure uniformity. After shaping the frame, secure the ends. For wood, you can use dowels or screws to fasten the overlapping sections. With aluminum, a durable bracket or rivet might be necessary to hold the tubes together securely.
The frame must maintain its shape and stability as this forms the foundation of the snowshoe, impacting its overall function and durability. Regularly inspect for weak points or imperfect joints, reinforcing them to ensure safety and performance in snowy conditions.
Step 3: Attach the Decking
With the frame securely shaped, it’s time to attach the decking material, which will serve as the surface on which you walk. Start by cutting your chosen decking material—whether rawhide, nylon webbing, or plastic mesh—to fit the interior dimensions of the frame.
Soak it in water to make it pliable when using rawhide, enabling easier lacing. Begin at one end of the frame and tie the decking securely with a lacing cord, ensuring the knots are tight to prevent slipping during use. Weave the material back and forth across the frame, creating a mesh-like pattern until you reach the opposite end.
Ensure the lacing is taut and evenly distributed for effective weight distribution. After completing the lattice pattern, tie off the end securely and leave the snowshoe to dry, if necessary, ensuring the decking is firm and ready to support your winter excursions.
Step 4: Add the Bindings
With the decking securely in place, the next step is adding bindings to hold your feet to the snowshoes. You can use various binding materials, such as leather straps, nylon webbing, or pre-fabricated snowshoe bindings. Begin by deciding the positioning of the bindings on the snowshoe, typically slightly offset from the center, to maximize traction and control.
If fabricating your bindings, cut the material to size and attach them at the desired points across the decking, ensuring they are adjustable to fit different boot sizes. Bindings should provide a snug fit while allowing for natural foot movement during walking. Secure the bindings tightly, using durable stitching or rivets, to prevent any loosening. Properly installed bindings will enhance your comfort and safety as you embark on snowy adventures.

Step 5: Inspect for Stability
Before heading out into the snow, it’s crucial to inspect your homemade snowshoes to ensure stability and functionality thoroughly. Start by examining the entire structure, checking the integrity of the frame, and ensuring that all joints, brackets, or rivets used for aluminum are secure. If any part of the frame seems weak or loose, reinforce it with additional dowels, screws, or rivets as needed.
Next, carefully review the decking and its lacing; any signs of excessive slack or uneven tension should be addressed by tightening or adjusting the laces and knots. Check the bindings to ensure they are firmly attached and adjustable to accommodate the boots you plan to wear. If necessary, test the snowshoes on a soft surface analogous to snow before venturing out to confirm that they provide adequate support and that the bindings offer a comfortable yet firm fit.
Step 6: Test the Traction
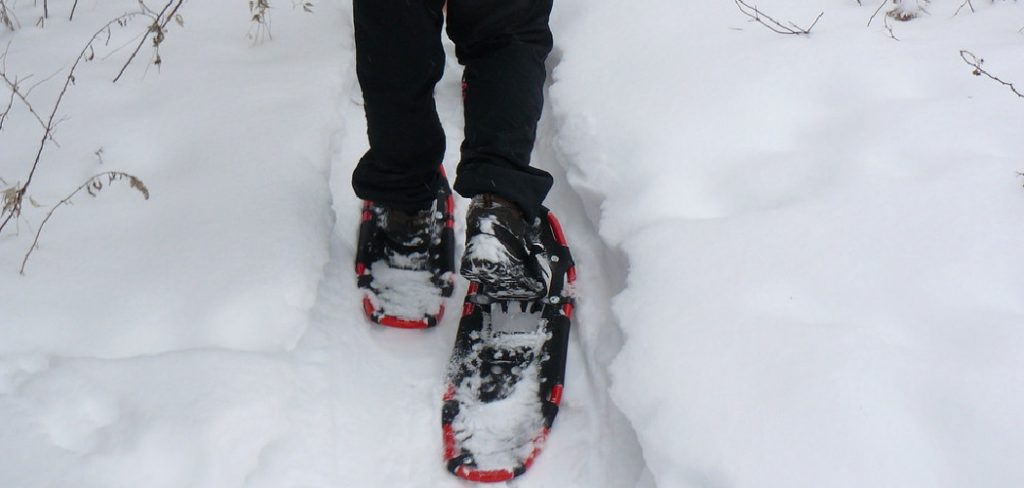
Once you’ve ensured the stability of your snowshoes, it’s time to test their traction on different snowy surfaces to ensure they perform well under various conditions. Begin by walking in a flat, snowy area to get accustomed to the feel and movement of the snowshoes. Observe how well they grip the snow and whether the bindings keep your feet securely in place.
If you experience any slippage, consider adding grip enhancements to the underside of the snowshoes, such as crampons or cleats, which are particularly beneficial for icy terrain. Test the snowshoes on soft, powdery snow and compact, icy surfaces to evaluate their performance. Ensure that the weight distribution is even, and adjust the lacing or bindings if you notice any imbalance or instability.
Step 7: Maintain Your Snowshoes
Proper maintenance of your snowshoes will ensure they last for many winter seasons. After each use, inspect the snowshoes for any signs of wear or damage, paying particular attention to the frame and lacing.
If using wooden snowshoes, it’s essential to store them in a cool, dry place to avoid warping or mold growth. Periodically reapply a protective finish to wooden components to safeguard against moisture and prevent drying out or cracking. For aluminum frames, check for any dents or bends affecting functionality and ensure all rivets remain securely fastened.
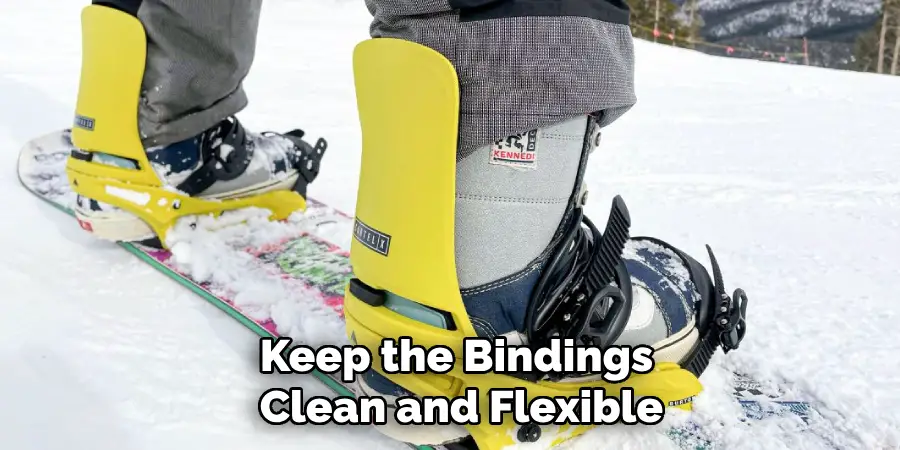
Keep the bindings clean and flexible by wiping them down and applying a silicone-based lubricant to prevent stiffness. Regular cleaning and maintenance will enhance the performance of your snowshoes and ensure they remain reliable companions on your snowy adventures.
Step 8: Store Your Snowshoes Properly
After each winter season, storing your snowshoes correctly is essential for preserving their longevity and performance. Clean them thoroughly and remove any dirt, snow, or debris from the frame, decking, and bindings. Once clean, allow them to air dry thoroughly in a well-ventilated area to prevent moisture retention.
Apply a thin layer of wood conditioner or wax for wooden frames to protect against drying and cracking during storage. If your snowshoes are made from aluminum, inspect them for any corrosion or rust and address any spots immediately with a rust remover or protective spray. Store your snowshoes in a cool, dry place away from direct sunlight or extreme temperatures, ideally hanging them or laying them flat to maintain their shape.
Keeping them away from damp environments will prevent mildew or mold growth, ensuring they are fresh and ready to use when snowy weather returns. Proper storage will not only extend the lifespan of your snowshoes but also keep them in prime condition for your next snowy adventure.
Step 9: Keep Safety in Mind
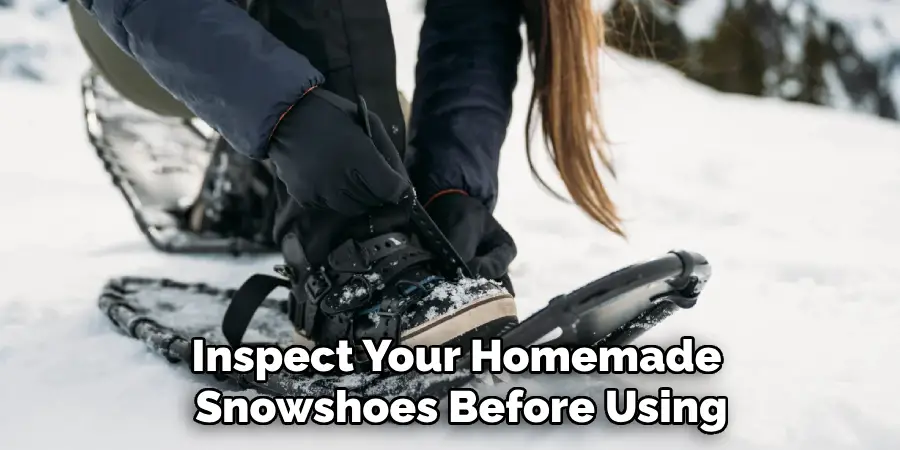
While crafting your own snowshoes can be a rewarding and cost-effective option, it’s crucial to keep safety in mind at all times. Always thoroughly inspect your homemade snowshoes before using them, and only venture out into unfamiliar or treacherous terrain with proper knowledge, gear, and precautions.
In case of adverse weather conditions, bring additional emergency supplies and always let someone know of your whereabouts before venturing out alone. And lastly, remember to respect nature and leave no trace while exploring the great outdoors with your trusty homemade snowshoes.
By following these steps, you can confidently embark on your snowy adventures with your customized snowshoes, knowing that they are safe, sturdy, and reliable.
Conclusion
How to make snowshoes is an engaging and satisfying project that enhances your winter adventures with customized gear.
By carefully selecting materials and following the outlined steps, you can create snowshoes that are functional and tailored to your personal needs. Each phase in the process, from binding attachment to final storage, contributes to your snowshoes’ overall effectiveness and durability.
Emphasizing thorough inspections and maintenance will ensure they remain reliable and ready for each winter excursion. This hands-on project equips you with essential skills and deepens your connection with the craftsmanship behind traditional winter tools.
Enjoy the freedom and confidence of traversing snowy landscapes on your handmade snowshoes, knowing you’ve constructed a pair that fits perfectly and performs exceptionally.