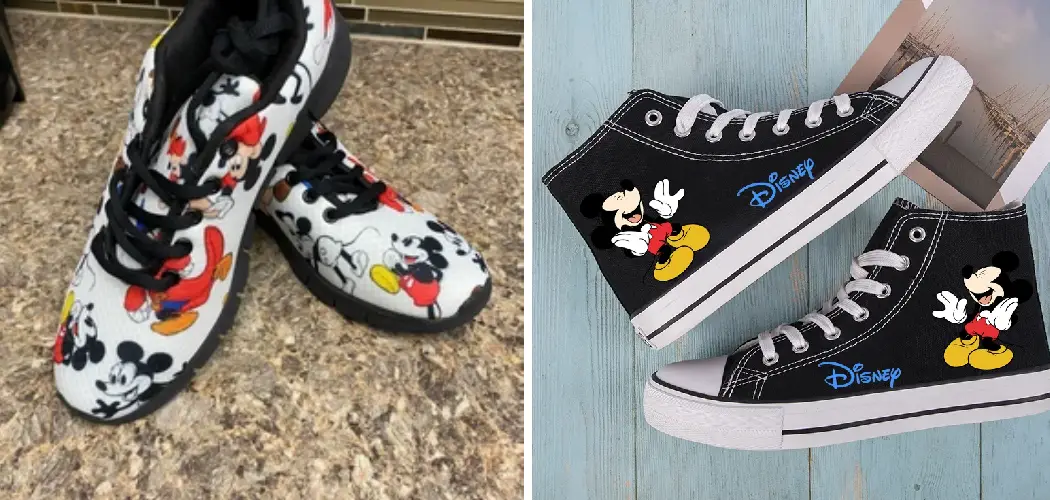
Creating your very own pair of Mickey Mouse shoes is a fun and creative project that combines crafting with a touch of Disney magic.
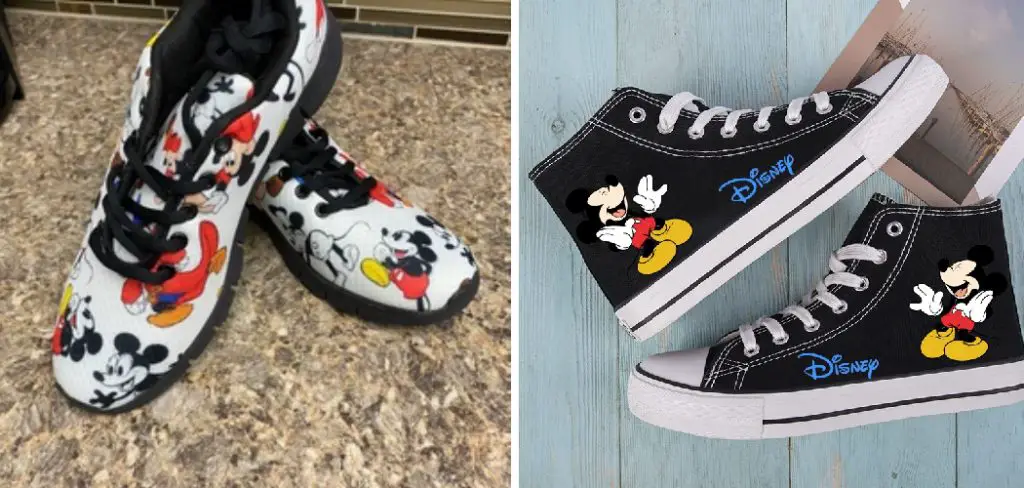
Whether you’re looking to make a unique pair of shoes for yourself or to surprise a loved one, this guide on how to make mickey mouse shoes will walk you through the steps needed to transform your footwear into a vibrant homage to one of the most beloved characters in animation history.
With just a few materials and some imagination, you’ll be able to step out in style, showcasing your love for Mickey Mouse in a fun and playful way. Let’s get started on this exciting DIY adventure!
Why Make Mickey Mouse Shoes?
Before diving into the process of making your own Mickey Mouse shoes, it’s important to understand what makes them so special. For many, these iconic shoes represent a childhood favorite character and bring back cherished memories.
They are also a great way to add some personality and individuality to your wardrobe. Instead of buying mass-produced footwear, you’ll have a one-of-a-kind pair that reflects your unique style and passion for Disney.
Materials Needed
To make your very own Mickey Mouse shoes, you will need the following materials:
A pair of plain shoes (canvas or leather works best):
These will serve as the base for your design. You can choose any style or color you prefer, as long as they are comfortable and have a clean surface to work with.
Paints:
Acrylic paints in various colors will be used to bring Mickey Mouse to life on your shoes. Make sure to choose quality paint that is suitable for the material of your shoes.
Fabric Markers:
Fabric markers are essential for finer details and outlining. They come in a variety of colors and tip sizes, making it easier to add intricate designs.
Brushes:
A set of small and medium-sized paintbrushes will be needed to apply the paint onto your shoes.
Pencil:
A pencil will be used to sketch out your design before painting, so make sure it’s sharp and easy to erase.
Stencils:
If you’re not confident in your drawing skills, stencils can help you create precise shapes and outlines. You can either purchase stencils or make your own by printing out images of Mickey Mouse and cutting them out on cardboard.
Clear Sealant:
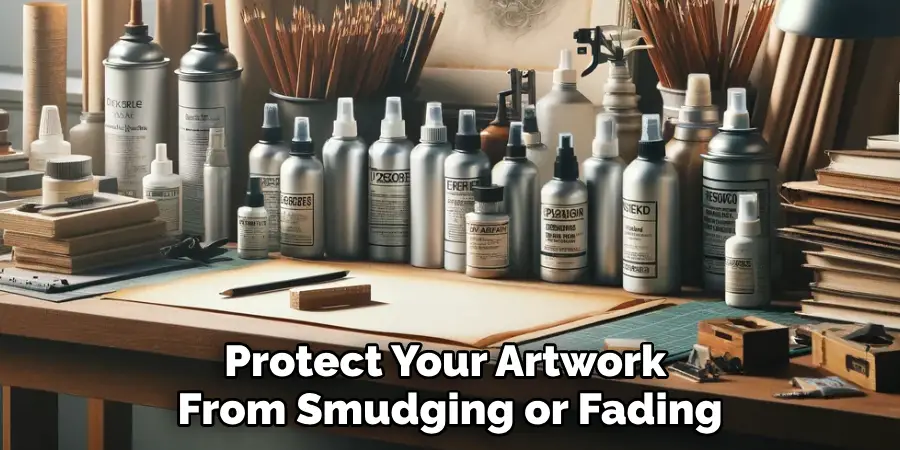
To protect your artwork from smudging or fading, a clear sealant spray is necessary. Make sure to choose one suitable for the material of your shoes.
8 Step-by-step Guidelines on How to Make Mickey Mouse Shoes
Step 1: Prepare Your Work Space
Before you start crafting your Mickey Mouse shoes, it’s essential to set up a clean and well-lit work space. Find a flat surface such as a table or desk where you can comfortably lay out all your materials. Cover the area with newspaper or a drop cloth to protect it from paint spills and other messes.
Ensure you have adequate ventilation, especially if you’re using spray sealant. Organize your materials within reach, including your shoes, paints, brushes, and stencils. This preparation will help keep the process smooth and enjoyable, allowing you to focus on bringing your creative vision to life!
Step 2: Plan Your Design
Now that your workspace is ready, it’s time to unleash your creativity by planning the design for your Mickey Mouse shoes. Start by deciding which elements of Mickey Mouse you want to feature. You might want to include his iconic face, ears, or even his signature red shorts. Sketch a few rough drafts on paper to visualize how each design will look on your shoes.
Consider the placement of the designs—perhaps a large Mickey face on the side or a repeating pattern across the entire shoe. Don’t forget to think about colors; you’ll want to choose vibrant hues that capture Mickey’s joyful essence.
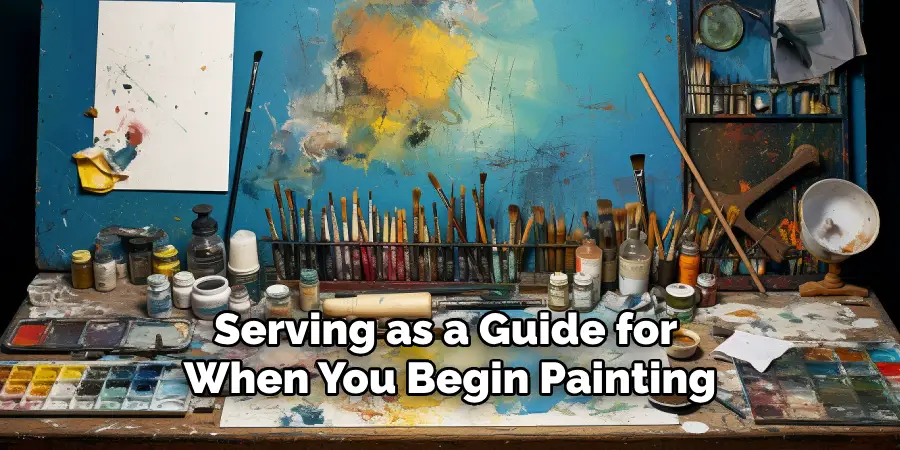
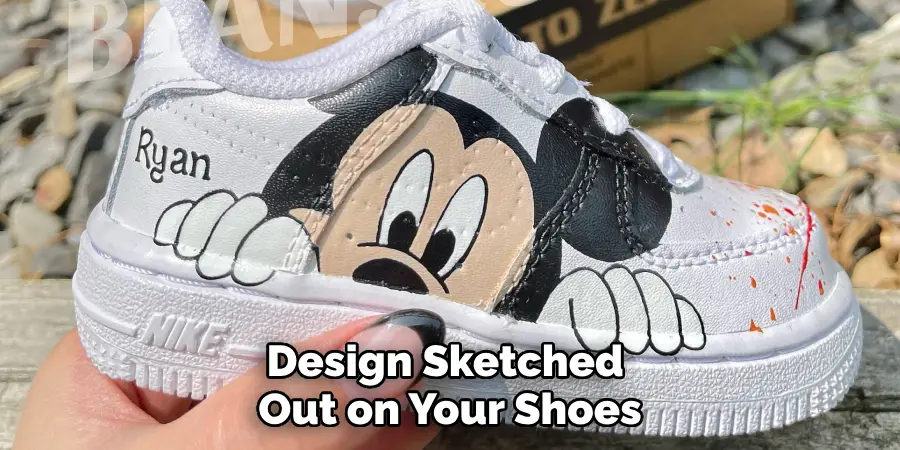
Once you’re happy with your design concept, use your pencil to lightly sketch out the outlines directly onto the shoes, serving as a guide for when you begin painting. This step is crucial as it ensures the final artwork will be both balanced and visually appealing.
Step 3: Paint the Base Colors
With your design sketched out on your shoes, it’s time to bring it to life by painting the base colors. Start by selecting the main colors you want to use for your design; for instance, you may want to use black for Mickey’s ears and face, red for his shorts, and yellow for his shoes. Using your medium-sized paintbrush, carefully apply the base colors to the designated areas of the shoes.
Ensure you’re using even strokes to achieve a smooth finish and don’t be afraid to apply multiple coats if the first layer looks streaky or transparent. Allow each layer to dry completely before adding more paint—this will help prevent smudging and ensure vibrant colors.
If needed, tape off areas with painter’s tape to create clean lines between different colors. Once you have painted all the base colors, step back and admire your work; this foundational layer sets the stage for the finer details to come!
Step 4: Add Details with Fabric Markers
Using fabric markers, add details and outlines to your design. This step adds depth and dimension to your artwork, bringing it to life. Use a fine-tip marker for precise lines and smaller details such as facial features or lettering.
You may also opt for thicker markers to fill in larger areas or create bolder outlines. Don’t worry about being too perfect; imperfections add character and charm to handmade creations!
It’s also a good idea to use different shades of the same color to add subtle shading and create a more dynamic design. For example, you can use light and dark shades of red for Mickey’s shorts or yellow and orange for his shoes. This technique adds depth and interest to your artwork.
Step 5: Incorporate Stencils
If you’re not confident in your freehand drawing skills, stencils will come in handy at this stage. Place the stencil on the designated area of your shoe and carefully fill it in with paint or fabric markers. Use different sizes and shapes to add variety to your design, such as using a larger stencil for Mickey’s face or smaller ones for his buttons.
You can also combine stencils with freehand drawing to create a unique and personalized design. For example, you could use a stencil for Mickey’s face and ears but add your own hand-drawn details such as his smile or eyebrows. The possibilities are endless; let your creativity guide you!
Step 6: Allow Your Shoes to Dry Completely
Once you have finished painting, allow your shoes to dry completely before moving on to the next step. This will prevent any smudging or mixing of colors when you apply the final sealant. To ensure thorough drying, leave your shoes in a well-ventilated area for at least 24 hours—patience is key to a successful crafting experience!
It’s also a good idea to place your shoes on a raised surface such as a shoe rack or cardboard box, rather than laying them flat. This will prevent the wet paint from sticking to the newspaper or drop cloth and ruining your design.
Step 7: Spray on the Sealant
Once your shoes are completely dry, it’s time to protect them with a clear sealant spray. Hold the can about 8-12 inches away from your shoes and spray evenly across the entire surface. Be cautious not to overspray, as this could cause unwanted drips or pooling of sealant.
The sealant not only adds a glossy finish but also protects your artwork from water damage, fading, and other wear and tear. Let the sealant dry for at least 24 hours before wearing your new Mickey Mouse shoes with pride!

Step 8: Share Your Creation
Congratulations, you’ve successfully handcrafted a pair of Mickey Mouse shoes that are uniquely yours! Now it’s time to show them off to the world. Wear them on your next visit to Disneyland or post pictures on social media for all your friends and family to see.
You can also gift them to fellow Disney lovers or keep them as a cherished keepsake for years to come. No matter what you do, have fun and enjoy the satisfaction of creating something special with your own two hands!
Following these steps on how to make mickey mouse shoes will not only result in a beautifully designed pair of shoes but also serve as a fun and fulfilling creative outlet. So go ahead, unleash your inner artist, and bring Mickey Mouse to life on your feet!
Frequently Asked Questions
Q: Can I Use Different Types of Shoes for This Project?
A: Absolutely! You can use any type of fabric or canvas shoes, such as sneakers, slip-ons, or even high tops. The process will remain the same, but keep in mind that different fabrics may absorb paint differently. So, be sure to test your paint on a small area first before proceeding with the entire design.
Q: Do I Need Special Paint for This Project?
A: While fabric paint works best for this project, you can also use acrylic or multi-surface paints. Just make sure to read the label and choose a type of paint that is suitable for the material of your shoes. It’s also a good idea to use paint specifically designed for fabric if you plan on wearing the shoes regularly.
Q: How Can I Make My Design Last Longer?
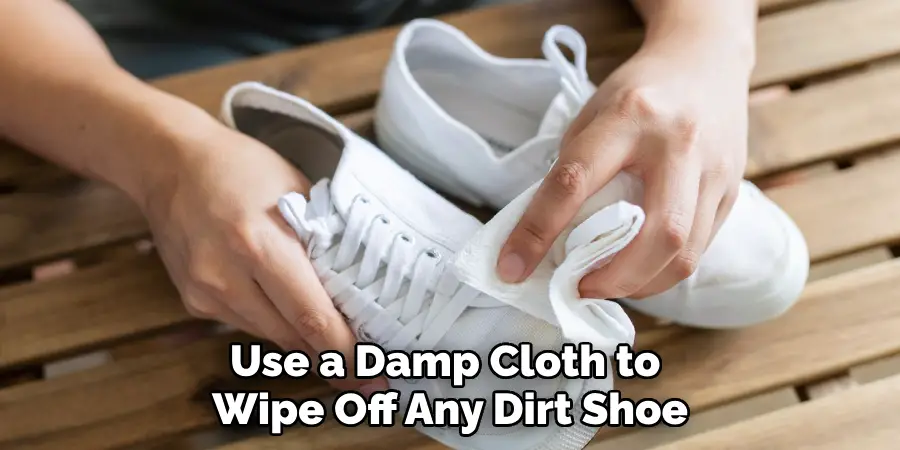
A: To ensure your design lasts as long as possible, make sure to properly clean and maintain your shoes. Use a damp cloth to wipe off any dirt or stains, and avoid machine washing or using harsh chemicals as they could damage the paint. Additionally, store your shoes in a cool, dry place when not in use, and avoid excessive exposure to sunlight which can cause fading.
Conclusion
In conclusion, creating your own Mickey Mouse shoes is not only a delightful way to showcase your creativity but also an opportunity to express your love for Disney in a unique fashion.
By following the outlined steps on how to make mickey mouse shoes, you can transform a simple pair of shoes into a personalised piece of art that reflects your style and passion.
Remember, the journey of crafting is just as important as the finished product, so enjoy each moment spent designing and bringing your vision to life. Whether you wear them yourself or share them with others, these custom shoes are sure to spark joy and admiration. So gather your materials, unleash your artistic spirit, and step into a world of creativity!

