
Magnetic roofing shoes are a valuable tool for roofers, providing enhanced stability and safety when working on metal roofs. These shoes use strong magnets to grip the metal surface, reducing the risk of slipping and allowing for more efficient and secure movement.
In this guide on how to make magnetic roofing shoes, we will walk you through the materials needed and the steps to create your own pair of magnetic roofing shoes. Whether you’re a professional roofer or a DIY enthusiast, this project will help improve your safety and productivity on the job.
Why Make Magnetic Roofing Shoes?
Magnetic roofing shoes offer many benefits to roofers, making them an essential tool in their arsenal. These shoes provide better traction and grip on metal surfaces, preventing falls and slips that can result in injuries or accidents. They also allow you to move more freely and confidently on the roof, decreasing the time spent on a job and increasing productivity.
In addition to safety and efficiency, magnetic roofing shoes also help reduce fatigue on the legs and feet. Constantly trying to maintain balance on a slippery surface can be taxing on the body, but with magnetic shoes providing stability, this strain is reduced.
Materials Needed
To make your own magnetic roofing shoes, you will need:
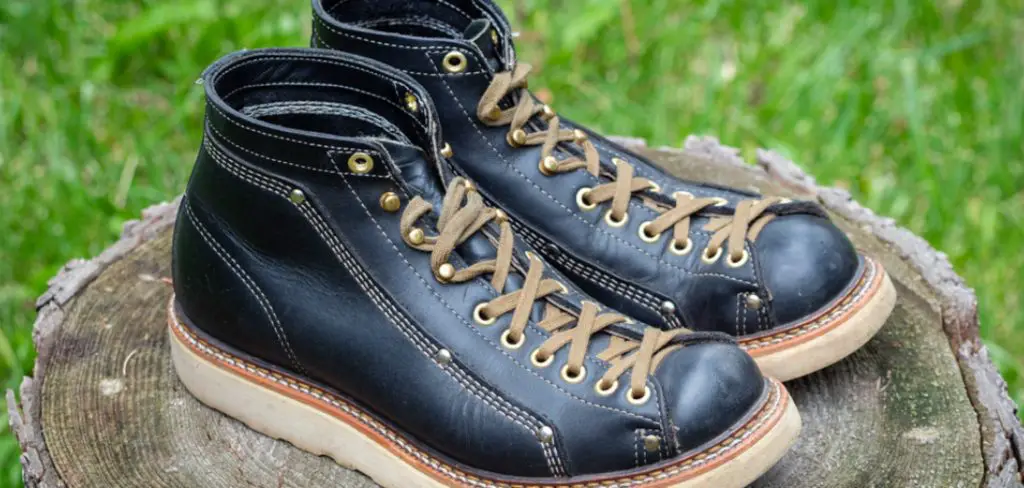
- A Pair of Sturdy, Comfortable Work Boots
- Strong Neodymium Magnets (at Least 1 Inch in Diameter)
- Strong Adhesive, Such as Epoxy or Silicone
- Scissors or Utility Knife (to Cut the Magnets)
- Metal Washers (Optional for Added Grip)
7 Simple Steps on How to Make Magnetic Roofing Shoes
Step 1: Prepare Your Work Space
Before you begin the process of making magnetic roofing shoes, it’s important to prepare your workspace to ensure safety and organization.
Choose a well-ventilated area with plenty of light, as working with adhesives can release fumes that should not be inhaled. Cover your work surface with newspaper or a disposable cloth to protect it from any adhesive spills or damage.
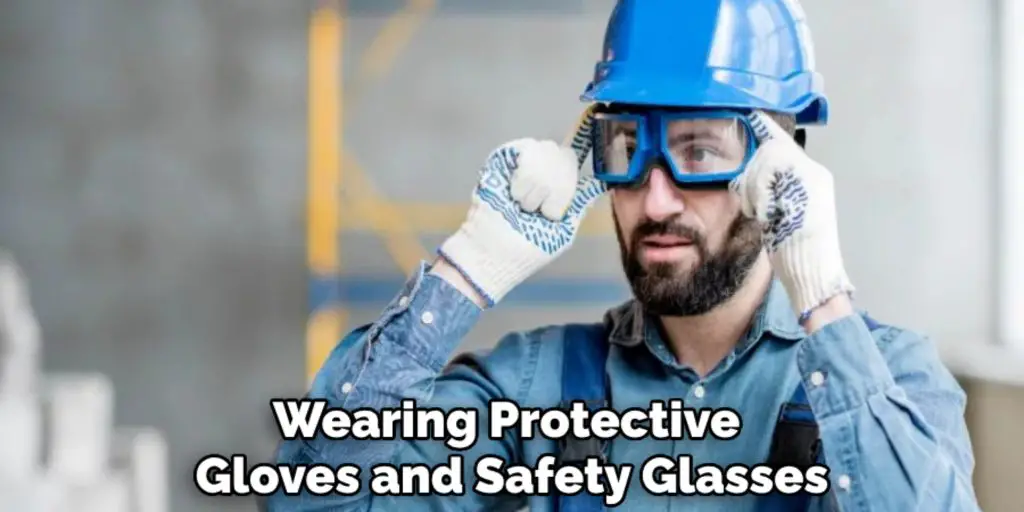
Gather all materials and tools listed, making sure they are within easy reach to streamline your workflow. Wearing protective gloves and safety glasses is also recommended to prevent any accidents or injuries while handling strong adhesives and cutting tools.
Step 2: Prepare Your Boots
Start by thoroughly cleaning your work boots to ensure that the adhesive bonds properly. Use a damp cloth to wipe away any dirt, dust, or debris from the surface of the boots, especially the soles. Allow the boots to dry completely before proceeding.
Next, inspect the soles to identify the best areas to attach the magnets. Generally, the edges and midsection of the sole will provide optimal balance and grip. If the soles have deep treads, you may need to trim or sand down these areas slightly to create a flat surface for the magnets to adhere to. However, be careful not to compromise the integrity of the boot’s soles.
Once the soles are prepped, lay out the magnets in the desired arrangement on the bottoms of the boots, ensuring even distribution to provide balanced support when walking on metal surfaces. Mark the positions with a pen or marker so you have a clear guide for adhesive application in the next steps.
Step 3: Prepare the Magnets
Depending on the size of your magnets, you may need to cut them into smaller pieces to fit your desired layout. Use a pair of scissors or a utility knife to carefully cut the magnets, following any markings made in the previous step. Be sure to exercise caution when handling strong neodymium magnets, as they can snap together with great force.
If you have chosen to use metal washers for additional grip, this is also the time to prepare and cut them into appropriate sizes.
Step 4: Apply Adhesive
With your boots and magnets prepared, it’s now time to apply the adhesive. Choose a strong adhesive like epoxy or silicone, which will provide a secure and durable bond. Following the manufacturer’s instructions on the adhesive packaging, mix or prepare the adhesive if needed.
Using a small brush or applicator, carefully spread a generous amount of adhesive on the marked areas of the boot soles where the magnets will be placed. Ensure you cover the entire surface where the magnets will adhere to maximize the bonding strength.
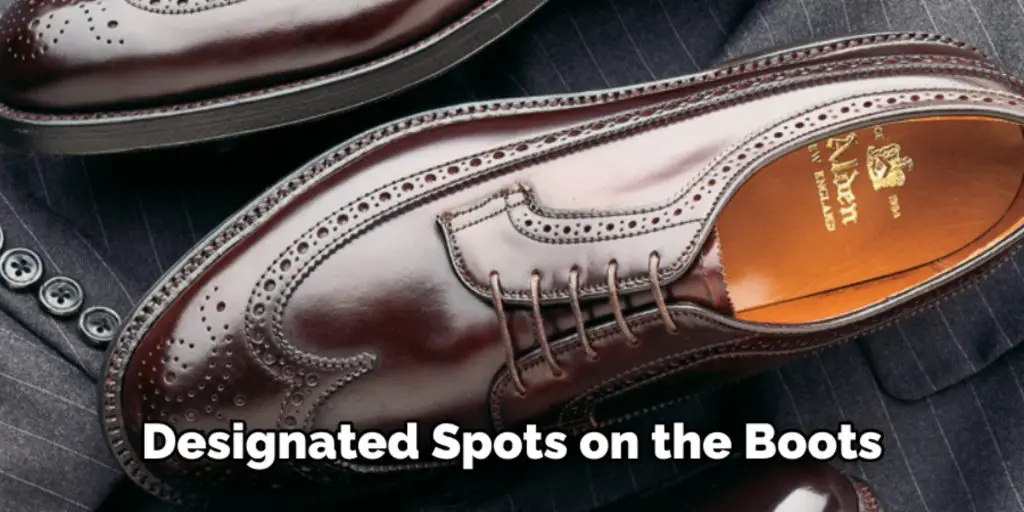
Next, apply adhesive to the flat side of each magnet. If you are using metal washers for additional grip, also apply adhesive to one side of each washer. Attach the magnets (and washers, if applicable) to the designated spots on the boots, pressing firmly to ensure they stick securely.
Allow the adhesive to set according to the manufacturer’s recommended curing time. This step is crucial for achieving a strong bond, so be patient and give the adhesive ample time to dry and harden completely before proceeding to the next step.
Step 5: Test the Bond
After the adhesive has fully cured, it’s essential to test the bond between the magnets and the boots to ensure they are securely attached. Begin by gently tugging on each magnet to verify that it has adhered properly. There should be no movement or looseness; if any magnet appears unstable, additional adhesive may be required.
Next, put on the boots and walk on a metal surface to feel how well the magnets grip. Pay close attention to any signs of detachment or imbalance. If the boots feel secure and stable, proceed to a more rigorous test by simulating real roofing conditions—walk, kneel, and move as you would on an actual metal roof.
This thorough testing phase will help you identify any weaknesses in the bond and allow you to make necessary adjustments before using the boots for a roofing job.
If the magnets hold firm during all these tests, your magnetic roofing shoes are ready for use. If not, revisit the previous steps to reinforce the bonding areas, ensuring your safety and effectiveness while working on metal roofs.
Step 6: Allow for Break-In Time
Before using your newly made magnetic roofing shoes on a job, it’s crucial to allow for some break-in time. Wear them around the house or while doing light tasks to get accustomed to their weight and grip before using them on a full-scale roofing project. This will also help identify any discomfort or issues that need to be addressed before heading out onto a roof.
If the shoes feel comfortable and secure during this break-in period, they are ready for use on a professional roofing job.
Step 7: Practice Proper Care and Maintenance
To ensure the longevity of your magnetic roofing shoes, it’s essential to practice proper care and maintenance. Avoid exposing them to extreme temperatures or harsh conditions that may compromise their bonding strength.
After each use, clean any debris or adhesive residue from the bottoms of the boots using a damp cloth. This will help maintain a strong bond between the magnets and soles.
Store your magnetic roofing shoes in a cool, dry place away from direct sunlight when not in use. This will prevent any damage to both the boots and magnets.
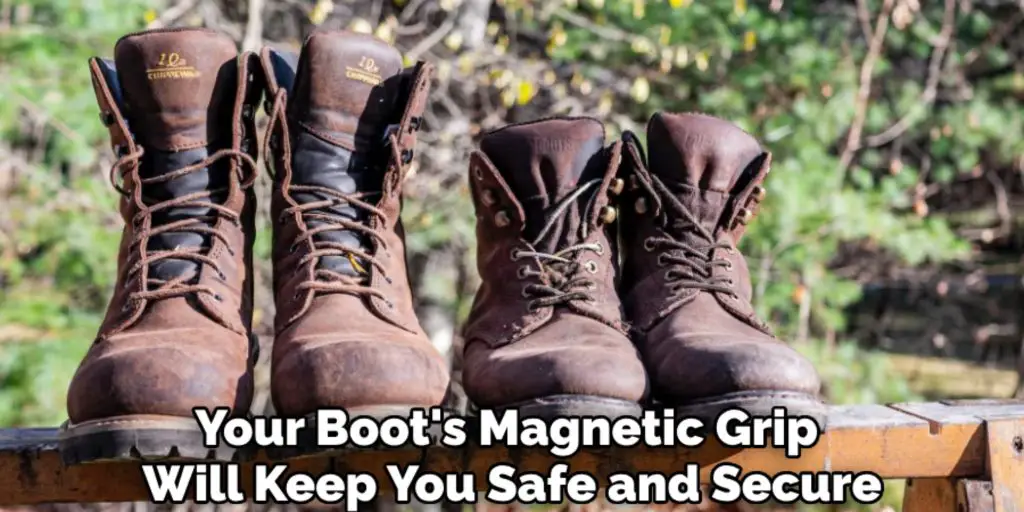
With these tips on how to make magnetic roofing shoes, you can confidently tackle metal roofs, knowing that your boot’s magnetic grip will keep you safe and secure throughout the project. So, don’t forget to suit up in your protective gear, including your newly made magnetic roofing shoes, before heading out onto the roof!
Frequently Asked Questions
Q: How Long Will the Adhesive Take to Cure?
A: The curing time for your chosen adhesive will vary depending on the type and brand. Refer to the manufacturer’s instructions for specific details. The general rule of thumb is to allow at least 24 hours for the adhesive to fully cure before testing or using the boots.
Q: Can I Use Stronger Magnets for Added Grip?
A: While stronger magnets may provide a better grip, it’s important to note that they can also be more challenging to remove and may cause discomfort when walking. It’s best to experiment with different magnet strengths and find a balance between grip and comfort that works for you.
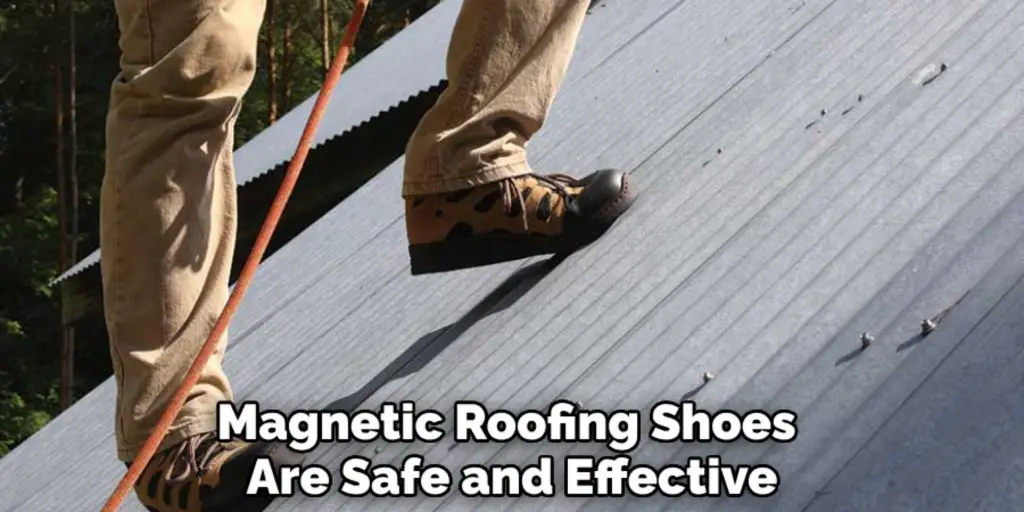
Q: Are Magnetic Roofing Shoes Safe?
A: When used correctly, magnetic roofing shoes are safe and effective tools for working on metal roofs. However, it’s crucial to always practice proper safety measures and use caution when walking on metal surfaces. It’s also essential to regularly inspect the boots for any signs of wear and tear and replace them as needed to ensure continued safety.
Q: Can I Make My Own Magnetic Roofing Shoes?
A: Yes, with the proper materials and tools, you can make your own magnetic roofing shoes following these steps. However, it’s crucial to exercise caution and follow safety protocols when handling strong magnets and adhesives. If you are unsure or uncomfortable with DIY methods, it’s recommended to purchase professionally made magnetic roofing shoes for your safety.
Conclusion
With the proper materials and careful preparation, creating your own magnetic roofing shoes is a relatively simple and cost-effective solution for working on metal roofs.
By following these steps on how to make magnetic roofing shoes, you can ensure your safety and effectiveness while saving money on expensive commercial alternatives.
So gear up, put on your new magnetic boots, and confidently tackle any metal roof with ease and stability!