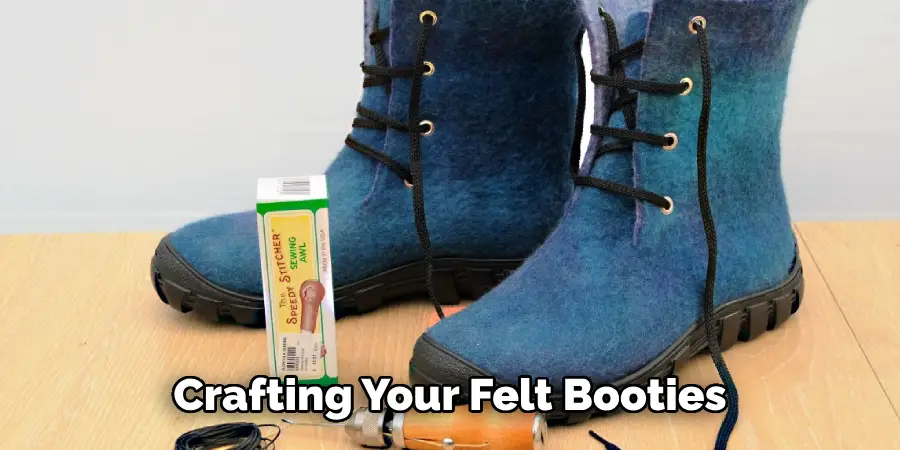
Are you looking for a fun and creative way to warm your feet during the colder months? Look no further than making your own felt booties! Not only are they cozy and stylish, but they also make great gifts for family and friends.

How to make felt booties is a simple yet delightful craft project that allows you to add a personal touch to any outfit or gift. These charming and cozy accessories are perfect for babies, children, or adults who appreciate warmth and comfort. With a few basic supplies like felt fabric, thread, and a sewing needle, you can produce custom designs that will stand out.
This guide will walk you through the step-by-step process, from selecting materials to assembling and embellishing your booties, ensuring that even beginners can achieve excellent results.
What Will You Need?
Before you get started, gather all the necessary materials to make your felt booties. Here is a brief list of what you will need:
- Felt fabric in different colors (you can use wool felt or eco-friendly synthetic felt)
- Sewing needles and thread
- Scissors
- Pins
- Measuring tape or ruler
- Paper and pen for creating patterns
Feel free to experiment with different types of felt and add embellishments like buttons, beads, embroidery, or appliques to make your booties genuinely unique. Now that you have everything prepared let’s dive into the process!
10 Easy Steps on How to Make Felt Booties
Step 1: Create a Pattern
The first step in crafting your felt booties is to create a pattern that will serve as your template. Begin by using a piece of paper to trace the outline of your foot or the foot of the intended wearer. Ensure the tracing is accurate, allowing a little extra space for comfort and seam allowance.
This initial outline will form the base of your bootie. Next, sketch out the shape of the sides and top of the bootie, ensuring they adequately cover the foot and ankle. Depending on your preference, you may design the booties to be ankle-length or higher. Once you are satisfied with your design, carefully cut out the pattern pieces.
These paper templates will guide you in cutting the felt fabric accurately, ensuring your final product is well-fitted and symmetrical. Don’t hesitate to adjust your pattern if necessary, as a well-fitting bootie is key to comfort and style.
Step 2: Cut the Felt Pieces
With your pattern pieces ready, the next step involves cutting the felt fabric. Lay your chosen felt fabric on a flat surface, and secure the paper patterns onto the felt using pins. Carefully trace around each pattern piece with a pen or fabric marker.
Once you’ve traced the necessary outlines, use sharp scissors to cut out the felt pieces. Be sure to follow the lines accurately to maintain each piece’s proper shape and size. As you cut, keep the pattern aligned with the felt grain to ensure flexibility and durability in the booties. You will need two sets of pieces, one for each bootie, to create a perfectly matching pair.
Step 3: Assemble the Parts
Now that you have all your felt pieces cut out, it’s time to begin assembling your booties. First, you’ll start by pinning together the heel and sides of each bootie. Align the pieces by matching the edges to ensure they connect smoothly. Use pins to keep the pieces in place temporarily.
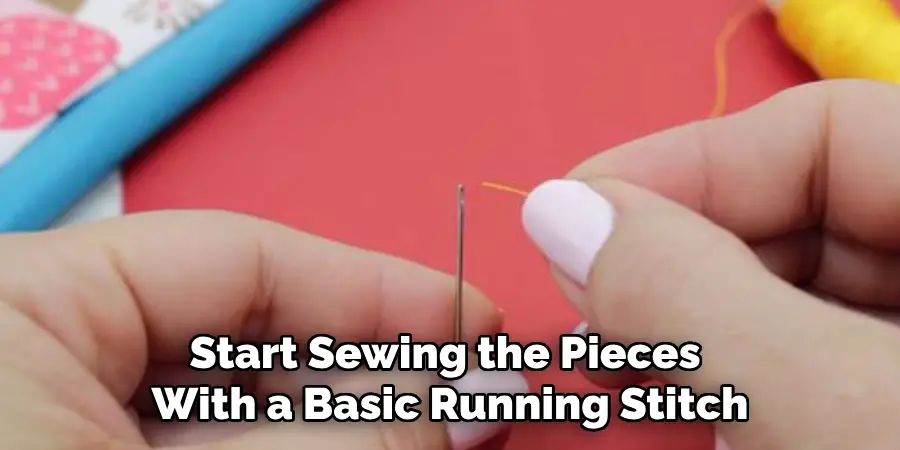
Using a needle and thread, start sewing the pieces with a basic running stitch or overstitch, beginning at the heel and working your way to the toe. Ensure your stitches are tight and even, securing the materials effectively. For added durability, you might opt to double-stitch the seams.
After the sides are attached to the sole, sew the top piece of the bootie, ensuring it’s snug around the foot but allows for comfortable movement. Once satisfied with the assembly, remove the pins and inspect your stitching for adjustments. This assembly forms the foundation of your bootie, ready for personalization in the following steps.
Step 4: Add Embellishments
Once the basic structure of your booties is complete, it’s time to add embellishments for that personalized touch. Consider incorporating embellishments such as colorful buttons, embroidery, decorative stitches, or appliques to make your booties unique. You can sew buttons along the sides or use embroidery floss to create intricate patterns or initials.
Appliques can be cut from contrasting felt fabric and sewn onto the bootie for added flair. Be creative with your design, and use this opportunity to reflect your style or the style of the person who will wear the booties. Remember to secure any embellishments firmly to ensure they remain intact with wear.
Step 5: Finish the Edges
With the essential construction and embellishments in place, finishing the edges of your booties is vital to enhance their appearance and durability. Use a blanket stitch or a simple whip stitch along the exposed edges of the felt to create a clean finish. This adds a refined look and helps reinforce the seams, preventing fraying over time.
Make your stitches consistent and evenly spaced for a professional appearance. If you’ve opted for contrasting thread, this can also serve as an additional decorative element. Once all edges are neatly finished, give your booties a final inspection to ensure all components are securely attached, and the overall fit is to your liking.
Step 6: Adjust for Fit
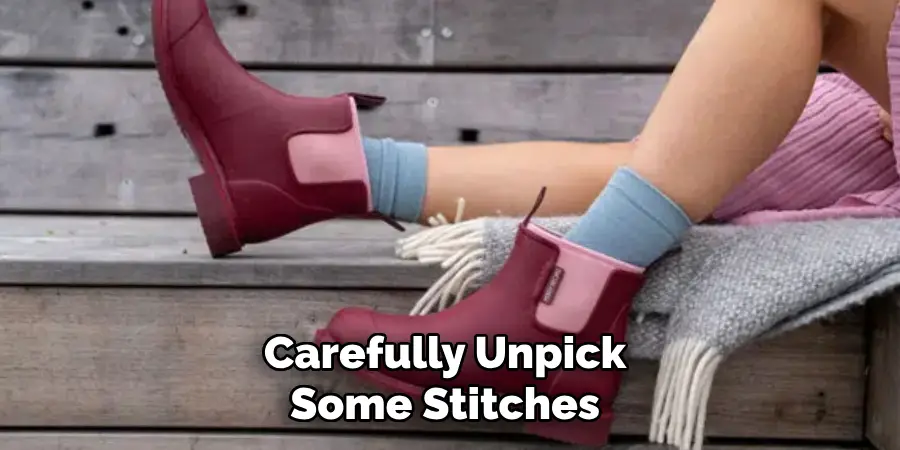
After completing the basic construction and embellishment, ensuring your felt booties fit well is essential. This step involves trying on the booties and making necessary adjustments for comfort and appearance. Consider making slight modifications if the booties feel too snug or loose. For a snug fit, you can take in the seams at the sides or adjust the length of the top flap.
If the booties are too tight, carefully unpick some stitches and add slivers of extra felt at the seams. Ensuring a good fit enhances comfort and prolongs the wearability of the booties. Pay close attention to how the booties fit around the toes and heel, as these areas can significantly affect comfort. Once you’re satisfied with the fit, reinforce any adjustments with additional stitching to secure them. This customization ensures that your handmade felt booties are not just stylish but also comfortable and practical for everyday wear.
Step 7: Waterproofing Your Booties
Consider applying a waterproofing treatment to extend the life and versatility of your crafted felt booties. This step is particularly beneficial if the booties will be worn outdoors or in damp conditions. Start by purchasing a fabric-safe waterproofing spray designed for felt or similar materials. In a well-ventilated area, evenly apply the waterproofing spray to the entire surface of each bootie, following the manufacturer’s instructions for the best results.
Allow the booties to dry thoroughly, which may take several hours or overnight, depending on the product. Once dry, your booties will be more water-resistant and better equipped to handle various environmental conditions, providing additional protection and durability to your handcrafted footwear.
Step 8: Final Touches and Storage
As you near the completion of your felt booties, take a moment to apply any final touches that will enhance their look and longevity. This could include adding decorative details like laces or ribbons for a more finished appearance or attaching personalized tags or labels if they’re intended as gifts. Before storing your booties, allow them to air out to ensure any residual scent from the waterproofing spray dissipates fully.
Keep your booties in a cool, dry place away from direct sunlight for long-term storage to prevent fading or discoloration over time. If you plan on packaging them, consider using materials that provide some structural support to maintain their shape.
Step 9: Maintenance and Care
Keeping your felt booties in excellent condition requires periodic maintenance and care. Regularly inspect them for wear and tear, especially along the seams and edges. If you notice any loose threads or weakened areas, address them promptly with a few reinforcing stitches.
To keep the booties clean, gently brush off any surface dirt with a soft brush or lint roller. For more thorough cleaning, lightly dab with a damp cloth and mild soap, being careful not to soak the feet. Allow them to air dry naturally, avoiding direct heat sources, which can cause shrinking or warping.
Step 10: Customization and Future Projects
Once you’ve mastered creating felt booties, you may explore further customization options and future projects. Consider experimenting with different types of felt, textures, and colors to create unique designs. You can also incorporate fabric paint or dye to add more personalization and creativity.
Beyond booties, this newfound skill can extend to crafting other felt accessories such as hats, gloves, or bags, broadening your crafting repertoire. Share your creations with friends and family, or consider selling them at local craft fairs or online platforms.
By following these steps and allowing your creativity to guide you, you can make one-of-a-kind felt booties that are stylish but also practical and meaningful.

Conclusion
How to make felt booties is an enjoyable and rewarding project that combines creativity with practical skills.
You create a unique and durable pair of footwear by following the detailed steps, from constructing the basic shape to adding personal embellishments. With careful attention to fit and durability factors such as edge finishing and waterproofing, your handmade booties will be comfortable and stylish.
Additionally, these booties make excellent personalized gifts that showcase your craftsmanship. Once you’ve mastered the technique, the possibilities for customization and expansion into other felt crafts are endless.
With creativity and practice, crafting felt booties can become a cherished skill that brings joy to both the maker and the wearer.