Are you worried about being disconnected from the earth while wearing shoes? Do you want to make your earthing shoes for a more natural connection with the world? Look no further!
Earthing shoes, also known as grounding shoes, are designed to provide a direct connection to the Earth’s surface. They allow individuals to experience the benefits of grounding while still wearing footwear. The concept behind these shoes is built around facilitating the flow of electrons from the Earth into the body, which is thought to promote improved health and well-being.
This introduction will guide you through the basic steps on how to make earthing shoes. Whether you are a DIY enthusiast or someone keen on exploring the benefits of earthing, making your own shoes can be a rewarding and enriching project.
What Will You Need?
Before we dive into the process, let’s go through what you will need to make your earthing shoes. Here is a list of items that are essential for this project:
- A pair of comfortable and breathable shoes (preferably made of natural materials like cotton or leather)
- Conductive material such as copper foil tape, conductive thread, or silver fabric
- Soldering iron (if using copper foil tape)
- Needle and thread (if using conductive thread)
- Scissors
- Sandpaper
- Optional: multimeter to test conductivity
10 Easy Steps on How to Make Earthing Shoes
Step 1: Preparing the Shoes
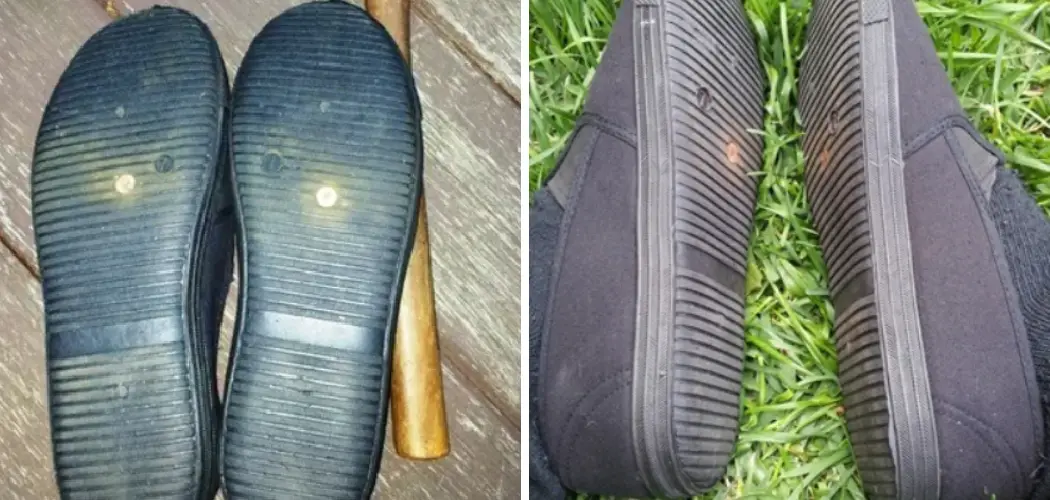
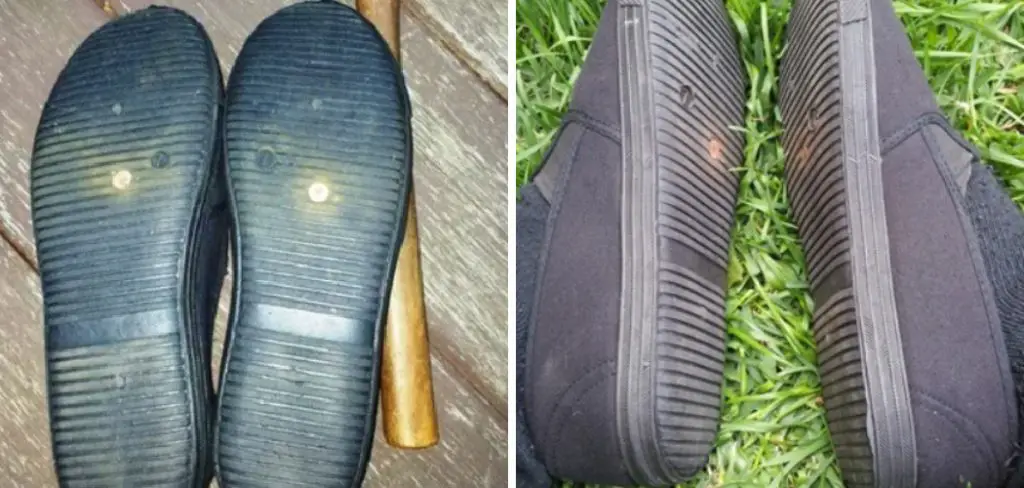
Start by selecting comfortable and breathable shoes made from natural materials like cotton or leather. Use the sandpaper to gently scuff the shoe’s sole, focusing on the areas where the conductive material will be placed. This will help ensure a better connection between the conductive material and the soles, allowing electrons to flow more freely from the Earth into your body.
Step 2: Applying Conductive Material
The next step involves applying the conductive material to ensure a proper grounding connection. If you’re using copper foil tape, cut a strip long enough to run from the insole to the outer sole of each shoe. Peel the backing from the tape and carefully adhere it to the insole, directing it towards the spot you scuffed on the outer sole. Ensure the tape sticks securely to both surfaces, gently curving around the sole’s edge without any gaps or bubbles.
If you’re using conductive thread instead, thread your needle and start from the inside of the shoe. Sew a line from the insole to the outer sole, ensuring the thread runs through the same scuffed area. The stitching should be tight and firm to keep the thread taut. This maintains a durable and uninterrupted path for electrons.
For those opting for conductive fabric, cut a patch that covers the insole and extends over the outer sole. Secure the fabric using adhesive or sewing, ensuring continuous contact with the ground and your foot.
Step 3: Securing the Connection Points
After applying the conductive material, it is crucial to secure all connection points to prevent them from shifting or becoming detached with regular use. For copper foil tape, consider reinforcing the edges with a small amount of additional adhesive or using a soldering iron to ensure the tape remains in place. For conductive thread or fabric, double-check that all stitching is tight and even, and add extra stitches if necessary to keep everything secure. This will ensure that your earthing shoes remain effective over time.
Step 4: Testing Conductivity
Before using your earthing shoes, testing their conductivity to confirm a successful grounding connection is essential. If you have a multimeter, set it to measure resistance and place one probe on the inside conductive area (e.g., tape, thread, or fabric) and the other on the outer sole. A low resistance reading indicates good conductivity. If the resistance is high, check for any gaps or loose connections and adjust as needed.
Step 5: Personalizing and Finalizing Your Shoes
With the functional aspects complete, it’s time to personalize your earthing shoes. You may add decorative elements or use waterproof sealant on the conductive material to enhance durability while retaining functionality. Be creative, but ensure any modifications do not disrupt the grounding connection. Allow any adhesives or sealants to dry completely before the first use. Once dry, your custom earthing shoes will connect you to the Earth’s energy wherever you go.
Step 6: Trying Out Your Earthing Shoes
Now that your earthing shoes are complete, it’s time to try them out. Choose a natural surface like grass, soil, or sand to walk barefoot or with your new shoes, and take note of how you feel. Many people report feeling a sense of calm or well-being when connected to the Earth’s energy. Enjoy the benefits of grounding as you walk comfortably while staying connected to nature with every step. However, remember that earthing benefits may vary between individuals and might not be immediately noticeable. Regular use is often the key to experiencing the full spectrum of earthing benefits.
Step 7: Maintenance and Care of Your Earthing Shoes
Maintaining your earthing shoes is essential to ensuring their longevity and effectiveness. Regularly inspect the condition of the conductive materials and check for any wear or damage. Occasionally clean the surfaces with a damp cloth for shoes made with conductive tape to remove dirt or oxidization that may impede connectivity. If the tape begins to lift, reseal it with adhesive to maintain a solid grounding path. For those with conductive thread or fabric, ensure that the stitching remains intact and reinforce any areas as necessary. By keeping your earthing shoes in good condition, you’ll continue to enjoy the benefits of connecting with nature’s grounding energy for a long time.
Step 8: Storing Your Earthing Shoes
Proper storage of your earthing shoes can significantly extend their working life and effectiveness. When not in use, keep them in a cool, dry place away from direct sunlight or extreme temperatures, which can cause deterioration of the shoe materials and the conductive components. Use a shoe bag or box to protect them from dust and moisture. Avoid storing them in damp areas where mold or mildew might develop. Regularly inspect your storage area to ensure it remains suitable, as preservation of the shoe’s grounding connection is essential for ongoing use and benefit.
Step 9: Evaluating the Benefits of Earthing Shoes
After using your earthing shoes for some time, evaluating the benefits you’re experiencing is helpful. Some people report improved sleep quality, reduced inflammation, and enhanced mood due to grounding. Keep a journal to track any changes in your physical or emotional well-being. Record your daily experiences, noting any improvements or observations you make while wearing your earthing shoes. This practice can help you determine the most significant benefits and reinforce the value of regular grounding in your daily routine. If desired, consult with a health professional to discuss any observed health benefits or concerns regarding using earthing shoes.
Step 10: Sharing Your Experience with Others
Once you have grown accustomed to your earthing shoes and are enjoying their benefits, consider sharing your experience with others. Educating friends and family about grounding principles and the advantages of earthing shoes could inspire them to explore this sustainable practice. Whether through personal conversations, social media posts, or community workshops, your insights could motivate others to connect with nature meaningfully. Additionally, sharing tips on crafting, maintaining, and caring for earthing shoes can create a supportive network of individuals eager to embrace this holistic approach to well-being. Sharing stories and experiences can further enrich the community and encourage more people to explore the grounding benefits of earthing shoes.
By following these steps, you can create your own earthing shoes and experience the benefits of connecting with the Earth’s energy.
5 Things You Should Avoid
- Using Non-Conductive Materials: Ensure all materials used to construct your earthing shoes are conductive. Non-conductive materials, such as specific rubber or synthetic fabrics, may hinder the grounding connection and render the shoes less effective.
- Overlooking Comfort and Fit: Consider comfort and fit when creating earthing shoes. Ill-fitting shoes can cause discomfort or discourage regular wear, undermining the potential health benefits. Choose a design and size that suits your foot shape and personal comfort.
- Exposing Shoes to Harsh Conditions: Avoid exposing your earthing shoes to extreme weather conditions or harsh environments that could degrade the materials. Prolonged exposure to moisture, direct sunlight, or rough surfaces may damage the conductive elements and reduce the shoes’ efficacy.
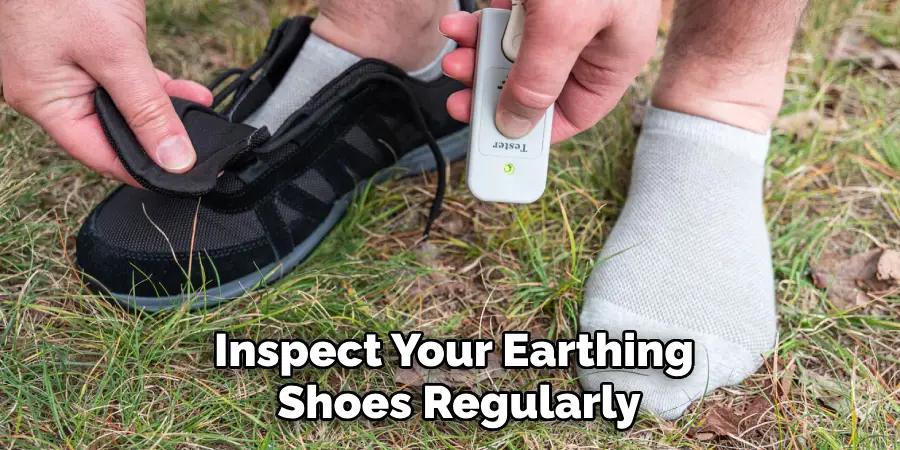
- Don’t Use Damaged Materials: Inspect your earthing shoes regularly and replace any damaged or worn-out materials immediately. Using damaged components could compromise the grounding connection and put you at risk of injury.
- Don’t Try to Ground Your Shoes in Wet or Slippery Conditions: Grounding your shoes on a dry, natural surface is important. Attempting to use them on wet or slippery surfaces could be hazardous and undermine the grounding principles.
By avoiding these common mistakes, you can ensure that your homemade earthing shoes are safe and effective and provide all the benefits of connecting with the Earth’s energy.
Conclusion
How to make earthing shoes can be a rewarding and insightful journey that not only provides a unique footwear option but also promotes a deeper connection with the Earth.
By meticulously selecting appropriate conductive materials, ensuring a comfortable fit, and maintaining your shoes properly, you can enjoy the numerous health and wellness benefits of grounding. Additionally, sharing your experiences and encouraging others to explore this sustainable practice can foster a community centered around holistic well-being.
Avoid common pitfalls such as using non-conductive materials or neglecting proper maintenance to ensure your earthing shoes remain effective. Embrace this opportunity to walk the path of well-being and connection, grounded in the Earth’s energy.