
Ladder lacing is a unique and stylish way to lace up your boots, giving them a trendy look that stands out from traditional lacing methods. It also offers added support and holds the foot more securely in place, making it perfect for activities such as hiking or long walks.
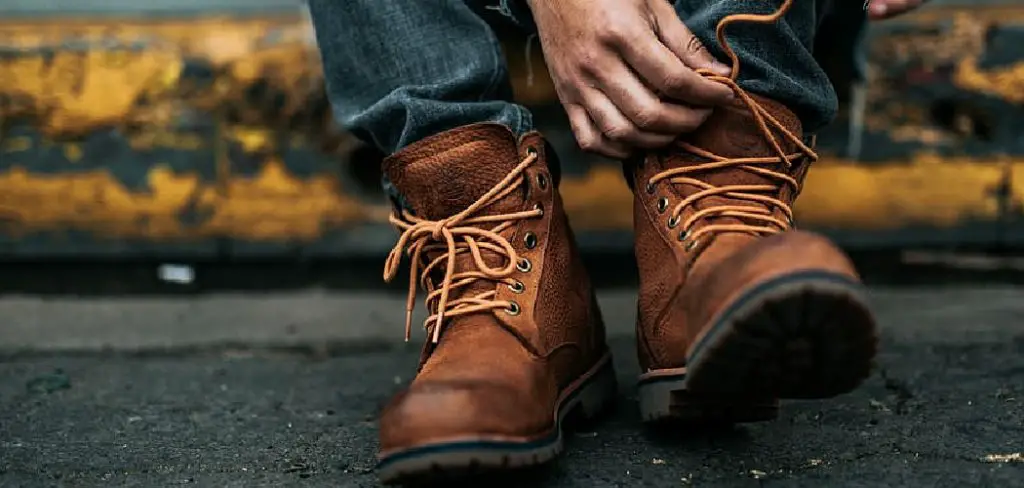
The main advantage of ladder lacing your boots is that it allows for a more precise and customizable fit. By tightening or loosening specific rungs on the laces, you can adjust the tightness in different areas of the boot to accommodate any foot shape or discomfort. This also helps prevent blisters and discomfort from ill-fitting boots. In this blog post, You will learn in detail how to ladder lace boots.
Materials You Will Need
- A pair of boots
- Laces (ideally longer than your normal boot laces)
- Needle nose pliers
- Scissors
- Tape measure or ruler
- Lighter (optional)
- Pen or chalk (for marking measurements)
- Patience and a steady hand
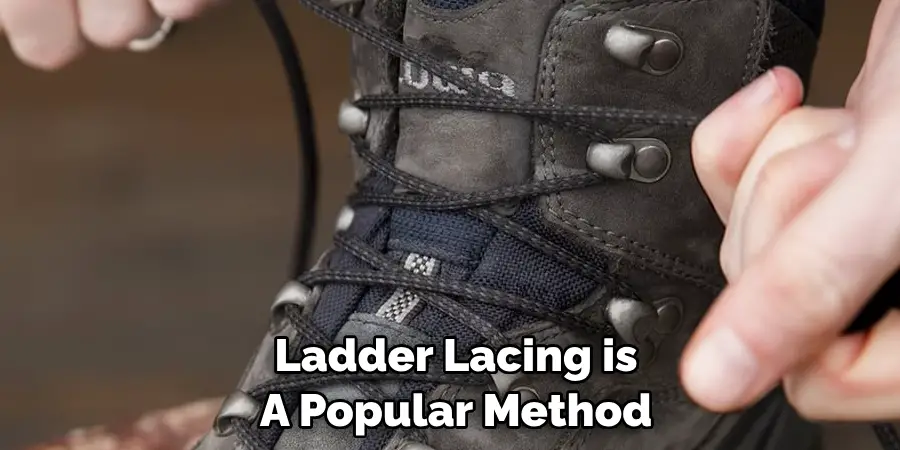
Ladder lacing is a popular method for tying boots that provides extra support and stability. It is commonly used by hikers, climbers, and military personnel. In this guide, we will show you how to ladder lace your boots in a few easy steps.
Step-by-step Instructions for How to Ladder Lace Boots
Step 1: Inspect Your Boots
Before you begin lacing your boots, it is important to inspect them for any damages or loose threads that may interfere with the lacing process. This will also give you a chance to clean and polish your boots if needed.
Step 2: Prepare Your Tools
Make sure you have all the necessary tools before starting. You will need a pair of boots, laces, and a flat surface to work on. You may also need a small amount of water or leather conditioner if your boots are stiff.
If your boots already have laces, you will need to remove them before starting the ladder lace process. Simply unlace your boots from the top down and set aside for later use or discard if they are worn out.
Step 3: Begin Lacing
Start by threading one end of the lace through the bottom eyelet on the inside of your boot. Pull it tight and make sure that both ends of the lace are even. Take one end of the lace and thread it diagonally across to the next eyelet on the opposite side. Make sure to leave a little slack so that you can weave the lace back and forth.

Step 4: Weave the Lace
Now, take the other end of the lace and thread it through the next eyelet on the same side as before. Continue this process, alternating sides each time until you reach the top of your boots. Make sure to keep the tension even on both sides.
Once you have reached the top of your boots, create another cross by threading one end of the lace diagonally across to the next eyelet on the opposite side again. This will create a ladder-like pattern with your laces.
Step 5: Continue Weaving
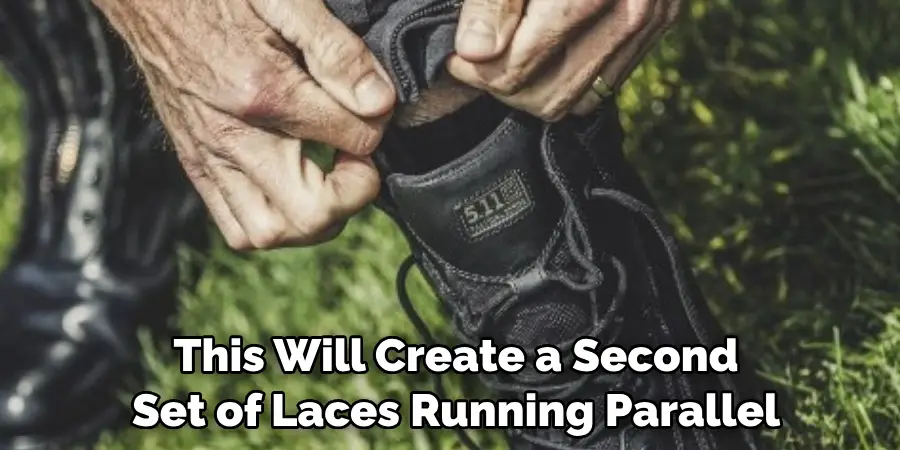
Repeat the weaving process from step 6 until you have reached the top of your boots once again. This will create a second set of laces running parallel to the first set. Once you have finished lacing your boots, tie a secure knot at the top. You may also choose to tuck in any excess lace underneath the criss-cross pattern for a cleaner look.
Finally, adjust the tension of your laces to your preferred tightness. You may also choose to tuck in any loose threads or trim them if they are too long. By following these simple steps, you can ladder lace your boots and achieve a unique and stylish look. Remember to take your time and keep the tension even for a polished end result.
Safety Tips for How to Ladder Lace Boots
- Make sure to use laces that are long enough for your boots. Using laces that are too short can make the process more difficult and may result in an uneven pattern.
- It is important to use high-quality laces that will not break or fray easily. This will ensure that your ladder lace holds up well over time.
- While lacing, make sure to handle your boots with care to avoid damaging them. Avoid pulling too hard on the laces or tugging at the eyelets.
- Ladder lacing can be a tedious process, especially for longer boots. Take breaks in between to rest your hands and prevent cramping.
- If your boots are made of stiff or thick leather, you may need to use a small amount of water or leather conditioner to soften them before lacing. This will make the process easier and prevent damage to your boots.
- When tying the knot at the top, make sure it is secure so that your laces do not come undone while wearing your boots.
- If you are new to ladder lacing, it may be helpful to watch tutorial videos or ask for assistance from someone with experience. This will ensure that you achieve the desired look and avoid any mistakes.
Remember to always prioritize safety and take your time when lacing your boots. With practice, ladder lacing can become a fun and unique way to style your footwear.
What Are the Benefits of Ladder Lacing?
Ladder lacing is a simple yet effective way of fastening your boots. It involves weaving the shoelaces through ladder-like patterns, hence the name. This technique has been used for decades and has proven to be beneficial in various ways. Here are some benefits of using ladder lacing method for your boots:
1. Ensures a Secure Fit
One of the main benefits of ladder lacing is that it provides a tight and secure fit for your boots. By weaving the laces through the ladder-like pattern, you are able to tighten specific areas of the boot according to your preference. This ensures that your feet stay in place while walking or engaging in physical activities, reducing the risk of blisters and discomfort.
2. Provides Better Support
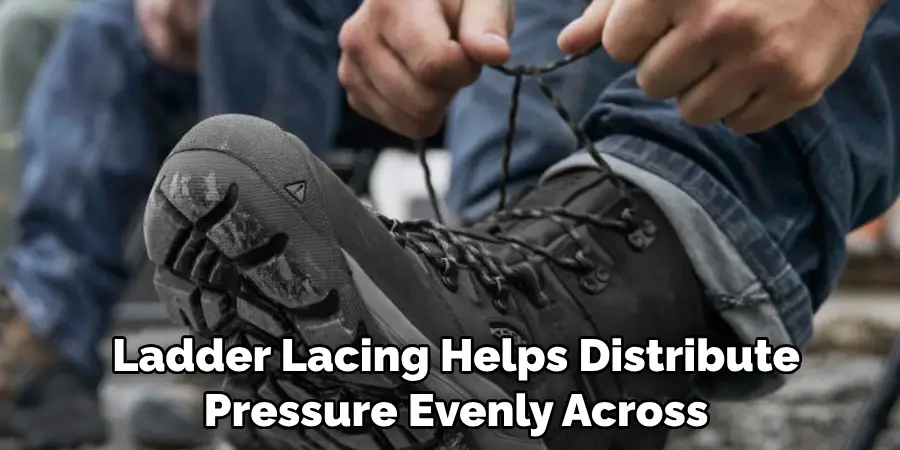
Ladder lacing also offers better support for your feet compared to traditional shoelace fastening methods. The criss-cross pattern created by the ladder lacing helps distribute pressure evenly across the boot, providing proper support for your entire foot. This can be especially beneficial for those who have high arches or flat feet.
3. Reduces Foot Fatigue
Due to the secure fit and better support provided by ladder lacing, it can also help reduce foot fatigue. When your feet are properly supported and stabilized in your boots, you are less likely to experience pain or discomfort while walking or engaging in physical activities. This can be particularly helpful for hikers, athletes, and anyone who spends long hours on their feet.
4. Allows for Customization
Another advantage of ladder lacing is that it allows for customization of the fit and feel of your boots. By adjusting the tightness of different sections, you can achieve a personalized fit that caters to your specific foot shape and comfort level. This can also be helpful for individuals with one foot slightly larger than the other or those with unique foot needs.
5. Enhances Durability
Ladder lacing can also contribute to the overall durability of your boots. By evenly distributing pressure and reducing strain on specific areas, it can prevent premature wear and tear of your boot’s materials. This can be beneficial in extending the lifespan of your beloved boots.
6. Improves Appearance
Aside from all the practical benefits, ladder lacing can also enhance the appearance of your boots. The criss-cross pattern adds a unique touch to the traditional straight lacing, giving your boots a more stylish and modern look. This can be especially useful for those looking to spruce up their footwear.
What Are Some Common Mistakes to Avoid When Attempting Ladder Lacing for the First Time?
While ladder lacing may seem simple and straightforward, there are some common mistakes that people make when attempting it for the first time. Here are a few things to keep in mind to avoid making these errors:
- Not Properly Securing the Starting Knot: Before beginning the ladder lacing pattern, it is important to tie a secure knot at the bottom of your boots. This will prevent the laces from slipping out of place and ensure a tight fit throughout.
- Crossing the Laces in the Wrong Direction: When weaving through the ladder pattern, make sure to cross the laces over each other in an “X” shape. Crossing them in the opposite direction can cause discomfort and even pain while wearing your boots.
- Skipping Eyelets: It may be tempting to skip an eyelet or two to save time or achieve a looser fit. However, this can lead to uneven tension and compromise the effectiveness of ladder lacing.
- Not Properly Tightening Each Section: To achieve a secure fit, it is important to tighten each section of the ladder lacing pattern evenly. Neglecting certain sections can result in an uncomfortable and unstable fit.
- Not Practicing Before a Big Event: If you plan on using ladder lacing for a specific event or activity, make sure to practice beforehand. This will help you get the hang of the technique and ensure a proper fit and comfort level for your boots.
However, it is important to avoid common mistakes and practice before using this technique for important events. With these tips in mind, you can enjoy all the advantages of ladder lacing and make your boots even more functional and stylish.

Is There a Specific Technique for Ladder Lacing?
Ladder lacing is a unique way of tying shoes that creates an eye-catching look. This technique involves criss-crossing the shoelaces in a vertical pattern, resembling the rungs on a ladder. Not only does it add a trendy twist to your boots or sneakers, but it also provides more stability and support to your feet. If you’re wondering how to ladder lace your boots, you’ve come to the right place. In this guide, we’ll walk you through the steps of lacing your boots using the ladder technique.
1. Remove Old Laces
Before starting, remove any existing laces from your boots or shoes. This will allow you to start with a clean slate and make it easier to follow the pattern of ladder lacing.
2. Start at the Bottom
Begin by inserting the shoelaces through the bottom eyelets of your boots, leaving equal lengths on each side. Make sure to lace both sides in the same direction.
3. Cross Over and Under
Next, take the right shoelace and thread it up through the next available eyelet on the left side. Then, take the same lace and thread it down through the adjacent eyelet on the right side. This should create a diagonal line across your boots.
4. Repeat Pattern
Continue this pattern of crossing over and under until you reach the top of your boots. Keep in mind that each rung has two different shoelaces going through it.
5. Tie the Ends
Once you’ve reached the top, tie the ends of your shoelaces together as you would with a regular bow. You can also experiment with different knot styles for a more unique look.
You now know how to ladder lace your boots like a pro. This method may take a bit longer than traditional lacing, but the end result is definitely worth it. Plus, you can switch up the pattern by doing a single ladder lace or even double ladder lacing for a more intricate design.

Are There Any Potential Drawbacks or Difficulties to Consider When Using the Ladder Lacing Method?
While ladder lacing can add both style and functionality to your boots, there are a few potential drawbacks to keep in mind. One of the main concerns is that this lacing technique can be more time-consuming than traditional methods. It may take some practice to perfect the diagonal pattern, especially if you’re new to ladder lacing.
Additionally, because ladder lacing creates more tension on the shoelaces, it may not be suitable for people with foot conditions or those who require a looser fit. If you experience any discomfort while wearing ladder laced boots, consider switching to a different lacing method. Finally, ladder lacing may not be suitable for all types of shoes. While it works well for boots and high-top sneakers, it may not be as effective for low-cut shoes or sandals.
Conclusion
The main disadvantage of ladder lacing boots is that it can be time-consuming and tedious to lace them up in this way. It also requires a bit more attention and focus to ensure the laces are evenly spaced and properly tightened. Additionally, if not done correctly, ladder lacing can cause uncomfortable pressure points on your feet.
In conclusion, ladder lacing is a great way to add a unique and stylish touch to your boots. It is also a practical method for those who have difficulty finding the perfect fit with traditional lacing techniques. By following these simple steps, you can achieve a comfortable and snug fit that will keep your feet secure during any activity. I hope this article has been beneficial for learning how to ladder lace boots. Make Sure the precautionary measures are followed chronologically.