Are you looking to add a touch of style and flair to your Red Wing boots? Lacing your boots uniquely and creatively can help you achieve just that.
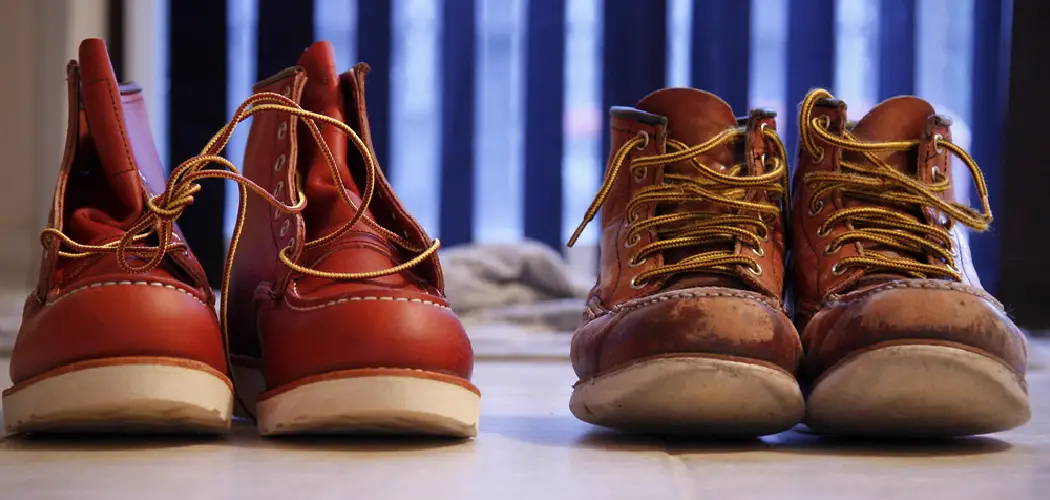
Red Wing boots are renowned for their durability, craftsmanship, and classic style, making them a popular choice for those who require both function and fashion. Lacing these boots properly enhances their appearance and ensures the best possible fit, providing the comfort and support needed throughout the day. Whether you’re preparing for a rugged outdoor adventure or simply aiming to achieve a polished, everyday look, learning how to lace your Red Wing boots is an essential skill.

This guide will walk you through the step-by-step process of how to lace red wing boots, offering tips and techniques to help you customize your fit and style.
What Will You Need?
Before you begin lacing your Red Wing boots, make sure you have the following items on hand:
- Your Red Wing boots (of course!)
- A pair of cotton socks or thin dress socks (thicker socks can affect the fit)
- Laces should be long enough to secure your boot but not too long to create excessive bulk and discomfort. Red Wing offers a variety of high-quality laces in different lengths and colors for its various boot styles. You can also find suitable options at any shoe store or online retailer.
Once you have all these items ready, you’re all set to begin.
10 Easy Steps on How to Lace Red Wing Boots
Step 1: Prepare Your Boots
Before diving into the lacing process, ensure your boots are clean and ready for adjustment. Start by removing any previous laces if replacing them or loosening them entirely if you’re simply re-lacing. Inspect the eyelets for wear or damage, as these can affect the lacing process. Taking the time to prepare your boots will make the entire process smoother and ensure a snug fit.

Additionally, ensure that the tongue of the shoes is appropriately aligned and centered, as this will prevent any discomfort or uneven pressure across the top of your foot. By starting with a clean slate, you’re setting yourself up for a successful lacing experience, allowing you to focus on achieving the perfect fit and style.
Step 2: Start at the Bottom Eyelets
Insert the tips of your laces into the bottom set of eyelets from the outside, ensuring the laces remain flat and untwisted. Pull the laces through until you have an equal length on both sides. Starting at the bottom eyelets provides a stable foundation and helps distribute pressure evenly across your foot. This approach also ensures that the tension across the boot is uniform as you lace up, contributing to comfort and support. By beginning with a balanced base, you give yourself the best chance of achieving the ideal fit as you move upwards.
Step 3: Criss-Cross the Laces
After establishing a balanced base at the bottom eyelets, take one lace and cross it over to the opposite side, threading it through the following available eyelet from the inside out. Repeat this process with the other lace, also crossing it over to the opposite side and threading it through from the inside out. This criss-cross technique is a classic and effective lacing method that helps secure the boot snugly, allowing for an even distribution of tension as you work your way up.
Continue applying this criss-cross lacing pattern, ensuring the laces remain flat and untangled, which will contribute not only to the functionality of your lacing but also to its aesthetic appeal.
Step 4: Continue Criss-Crossing Up the Boot
As you move further up the boot, continue the criss-cross lacing pattern by threading each lace across to the opposite side and through the next higher eyelet from the inside out. Be consistent with the direction and tension, maintaining equal tightness on both sides. This method ensures the boots offer excellent ankle support, which is crucial for maintaining proper posture and reducing the risk of injury during extended wear.

Additionally, being mindful of the lace tension during this step can help accommodate slight variations in foot size or shape, providing a customized fit. Adjust the laces as necessary while working your way up to keep them flat and smooth, enhancing both function and appearance.
Step 5: Secure the Ankle
Once you’ve reached the ankle area, it’s essential to ensure extra support for stability. Cross the laces over as usual, but loop the lace ends under the cross created at the ankle, forming a slight lock that helps keep the laces from loosening throughout the day. This locking technique adds security, especially when engaging in activities that involve a lot of movement.
Ensuring the laces are snug but comfortable around the ankle prevents slippage and alleviates potential rubbing or blistering. As always, check that the laces are flat and even before proceeding, which will improve both the comfort and appearance of your boots.
Step 6: Lace to the Top and Tie Off
Continue the criss-cross pattern up to the top eyelets, ensuring the laces remain even and flat. As you approach the final set of eyelets, adjust the tension for maximum comfort, focusing on the areas that typically encounter more pressure. Once the desired snugness is achieved, tie off the lace ends with a secure knot, such as a standard bow or double knot, depending on your preference for security and style. A properly tied knot ensures that the laces remain in place throughout the day, preventing them from coming undone and providing peace of mind.
Step 7: Optional Finishing Touches
Once your boots are securely laced, you can apply a few optional finishing touches to enhance both style and functionality. If your laces are excessively long, consider tucking them into the sides of the boots or looping them around the top of the boots before tying the final knot. This can prevent accidental tripping and offer a cleaner look. Additionally, you can opt for different lacing patterns that might better fit your aesthetic preference or provide specific functionality, such as a ladder or straight lacing pattern.
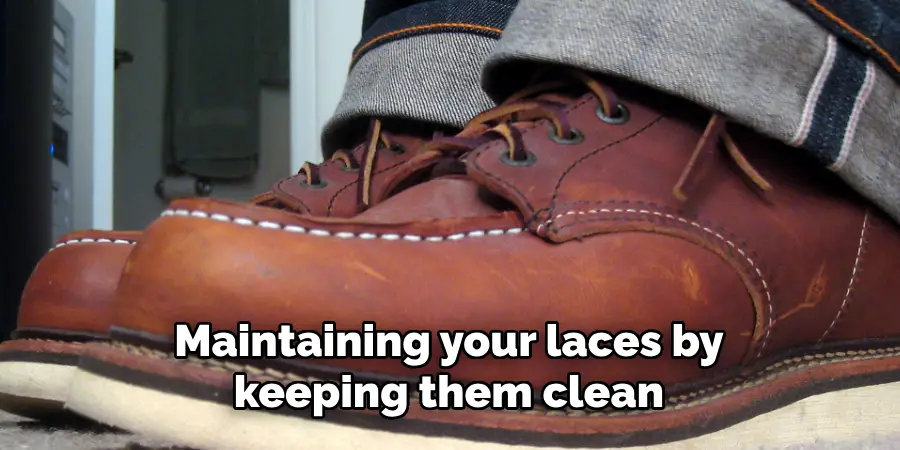
Maintaining your laces by keeping them clean and replacing them when they show signs of wear can prevent potential issues and keep your Red Wing boots looking sharp.
Step 8: Regular Maintenance
To ensure your Red Wing boots remain in optimal condition, regular maintenance of both the boots and the laces is essential. Start by routinely inspecting your laces for signs of fraying or stretching and replacing them as needed to maintain adequate function and appearance. Clean the laces occasionally by removing them from the boots and washing them with mild soap and water, ensuring they are thoroughly dried before re-lacing.
The boots follow the manufacturer’s care instructions, which may include cleaning, conditioning, or waterproofing treatments. Taking the time to care for your boots and laces will extend their lifespan and keep them looking sharp, ensuring they continue to provide the comfort and support you expect. Regular maintenance not only enhances appearance but also plays a crucial role in preserving the performance and reliability of your beloved footwear.
Step 9: Addressing Common Lacing Issues
Even with proper lacing techniques, you may encounter common issues that affect the fit and comfort of your Red Wing boots. One such problem is uneven lacing tension, resulting in discomfort or inadequate support. To remedy this, periodically check the tension across all sections of your laces and adjust as needed for consistency. Another issue might be laces that repeatedly come undone; this can be tackled using a more secure knot, such as the double-knot technique mentioned earlier.
If the laces are too short and difficult to tie, consider replacing them with longer ones that allow for a better fit. Addressing these common lacing issues ensures your boots maintain comfort, support, and style throughout the day.
Step 10: Personalizing Your Lacing Style
Personalizing your lacing style can add a unique flair to your Red Wing boots, reflecting individual tastes and needs. If you prefer intricate designs, begin by exploring different lacing techniques, such as bar lacing for a minimalist look or lattice lacing. Consider experimenting with colored or patterned laces to introduce subtle or bold accents that match your style. While personalizing, ensure that any new method maintains the functionality and support provided by the standard criss-cross pattern. Additionally, consider your daily activities when choosing a personalized style to ensure that your laces remain practical and supportive throughout wear.
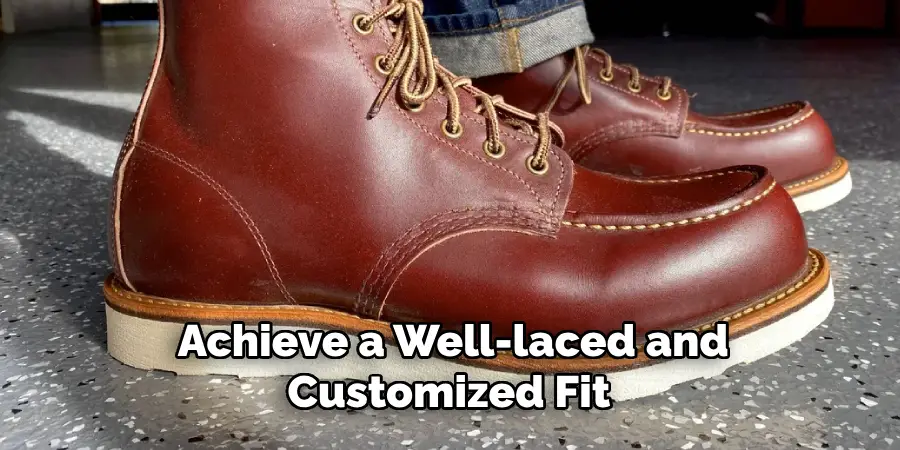
By following these ten steps, you can achieve a well-laced and customized fit for your Red Wing boots.
Conclusion
how to Lace Red wing boots properly not only enhances their appearance but also maximizes comfort and support for any activity you undertake.
By following the outlined steps, from finding the initial fit to exploring personalized lacing styles, you ensure that your boots function optimally. Regular maintenance and adjustments help preserve their condition and extend their lifespan, providing a reliable and stylish footwear option.
Whether preparing for a day at work, a hike, or simply a walk in the city, a well-laced pair of Red Wing boots keeps you comfortable and supported, empowering you to face any challenge confidently.