Are you tired of constantly replacing your shoelaces or struggling to get them out of the loops on your shoes? Look no further, as we have a solution for you! In this guide, we will show you step by step how to get out the leashes on your shoes.
Getting the leashes out of your shoes can be a simple yet effective way to freshen up your footwear. Whether you’re dealing with worn-out shoelaces or just looking to swap them out for a new color or style, removing the leashes properly ensures your shoes stay in good condition. I
n this guide, we’ll provide you with easy-to-follow steps to safely and efficiently remove the shoelaces from different types of shoes so you can upgrade your look or maintain your favorite pair with ease.
What Will You Need?
Before you begin, make sure you have the following items on hand:
- A pair of shoes with leashes (any style – sneakers, boots, dress shoes)
- A flat surface to work on
- Scissors or a small knife
- Optional: new shoelaces if you plan on replacing them
Once you have all the necessary items, let’s get started!
10 Easy Steps on How to Get Out the Leashes on Your Shoes
Step 1: Prepare Your Shoes
Start by placing your shoes on a clean, flat surface where you can easily access them. This area should be well-lit to allow you to see the shoelaces and the eyelets. Ensure your shoes are free of dirt or moisture to prevent slipping while working. If your boots are filthy, consider wiping them before proceeding. Proper preparation will ensure you can remove the shoelaces smoothly without distractions or obstacles.
By correctly setting up your workspace and shoes, you’ll be prepared for easy and successful lace removal.
Step 2: Loosen the Leashes
Begin by gently pulling on the ends of the shoelaces to loosen them from their current tightened state. Carefully work your way down from the top eyelet to the bottom, ensuring that each lace section is free of tension. If the laces are knotted or tangled, use your fingers to untangle them without pulling too hard, which might damage the eyelets or the laces themselves.
Loosening the laces in this manner will make it easier to remove them entirely from your shoes later on.
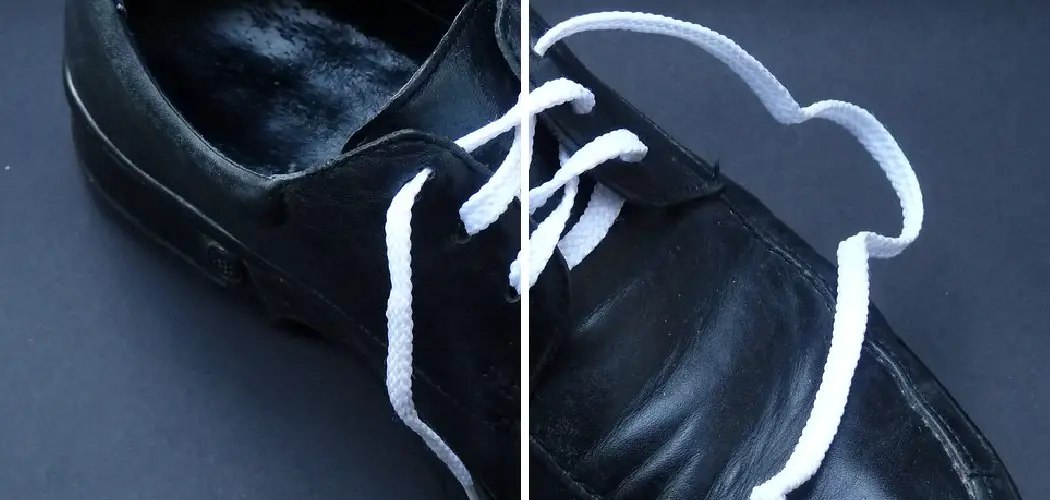
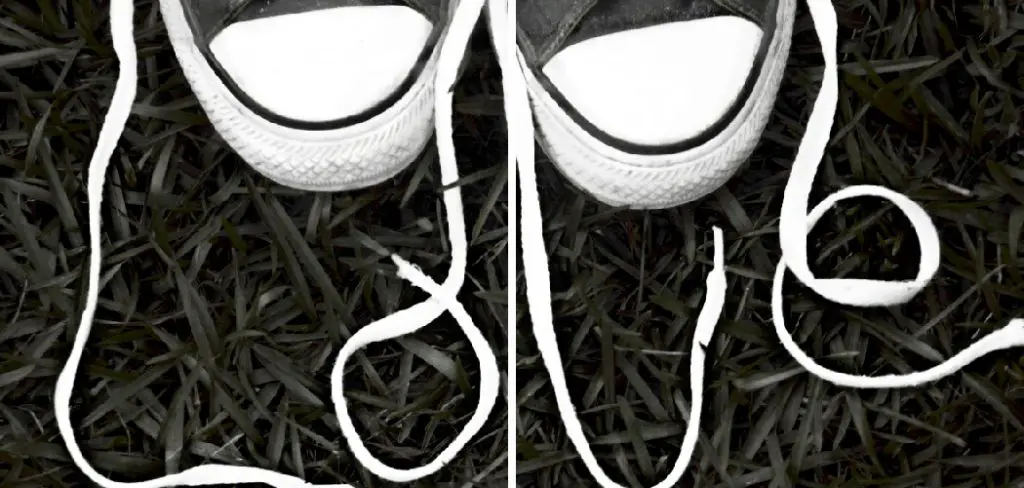
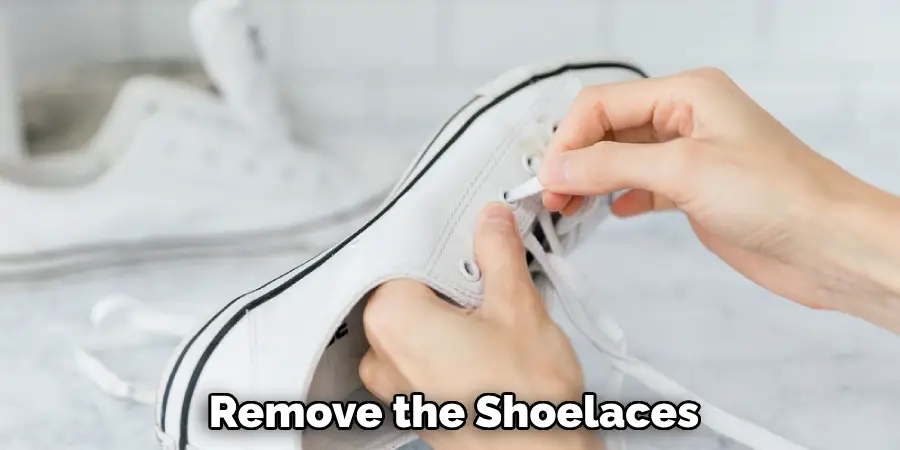
Step 3: Begin Unlacing the Shoes
Starting from the top pair of eyelets, gently pull the lace through each eyelet, working your way down towards the toe of the shoe. As you remove the laces, be mindful of any resistance or snags. If you encounter any knots or particularly tight sections, take the time to carefully work them loose without using excessive force. Proceed slowly to avoid tearing or damaging the lace, especially if you plan to reuse them or want to preserve them as backups.
If your shoes have extra features like speed hooks or D-rings, take special care when navigating these areas as they might require slightly different handling compared to standard eyelets. The goal is to completely separate the lace from the shoe, leaving the shoe ready for either a thorough cleaning, lace replacement, or simple storage without laces. By unthreading the laces methodically and carefully, you ensure that your shoes remain in the best possible condition for future use.
Step 4: Remove Stubborn Knots
If any stubborn knots can’t be undone by hand, use a small knife or scissors with caution. Gently insert the knife or scissors under the knot and carefully attempt to loosen it without cutting the laces unless you intend to discard them. Extra care is required to avoid unintentionally scratching the shoe material or slicing through the lace.
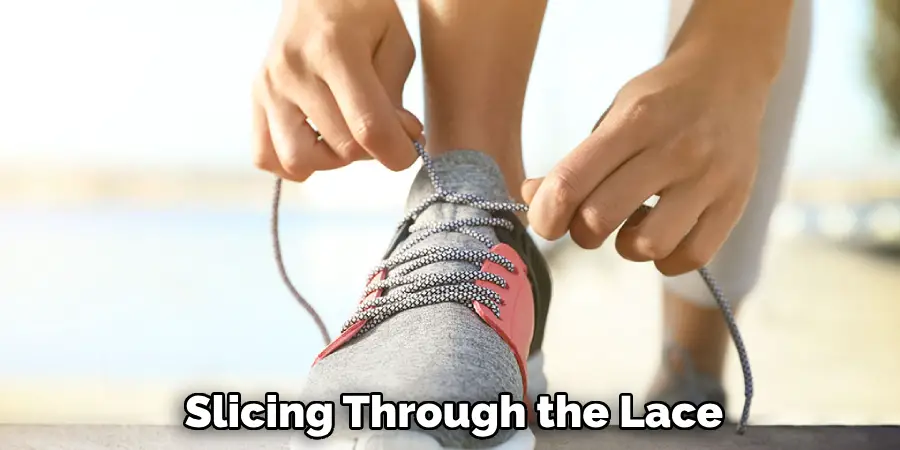
For incredibly tight knots, consider using a toothpick or a similar pointed object to tease the loops apart. Taking your time with this step ensures that the shoes and potentially reusable laces remain intact throughout the process.
Step 5: Check for Damages
After successfully removing the laces, take a moment to closely inspect your shoes’ laces and eyelets for any signs of damage. Look for frayed ends on the laces or wear and tear around the eyelets that might have occurred during the unlacing process. If the eyelets appear to be damaged, consider seeking professional repair to prevent further issues.
Evaluating the condition of these components ensures the longevity of your shoes and helps you determine if you need to purchase new laces for replacement. Attention to these details now will save you time and money in the long run, ensuring your shoes remain in tip-top shape.
Step 6: Clean the Shoes
With the laces removed, take advantage of the opportunity to clean your shoes thoroughly. Depending on the material, use a soft brush or a damp cloth to wipe away dirt, dust, or any residue build-up. For leather shoes, apply a suitable leather cleaner or conditioner to maintain their softness and shine. Consider using a mild soap solution for a deeper clean if your shoes are fabric.
Clean shoes not only look better but also prevent material degradation over time. Ensure that the shoes are completely dry before lacing them again to avoid trapping moisture that could lead to odor or damage. This step enhances the appearance of your shoes and extends their lifespan, keeping them fresh and durable for your next outing.
Step 7: Choose the Right Replacement Laces
If you’ve decided to replace your leashes with new ones, select the appropriate type and length for your shoes. Consider the shoe’s style and the laces’ material to ensure a suitable match. For example, opt for thin, round laces for dress shoes and thicker, flat laces for sneakers or boots. Additionally, select a length that matches the original leashes to ensure a proper fit and ease in tying them.
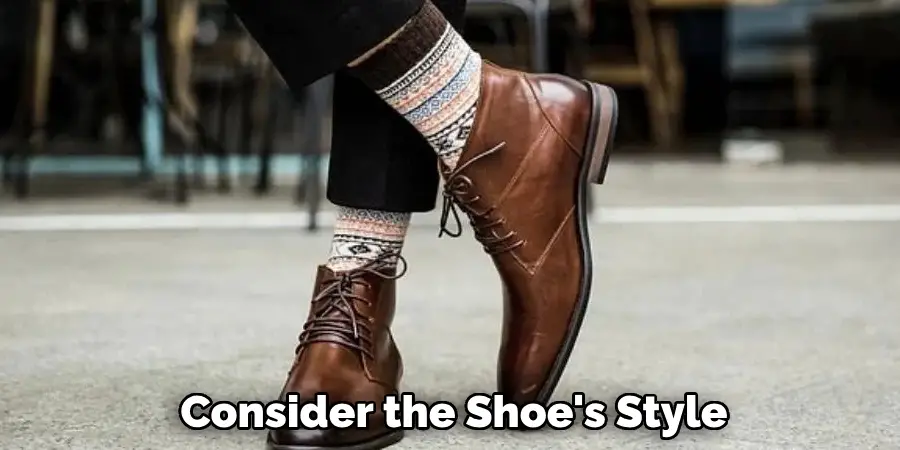
The right choice of replacement laces complements your shoes visually and contributes to their fit and comfort.
Step 8: Thread the New Laces
Begin by inserting one end of the new lace into one of the bottom eyelets from the outside. Thread it through to the inside, then do the same with the other end, ensuring both sides are equal in length. Follow the preferred lacing pattern for your shoe type—whether it be crisscross, straight bar, or another style—and continue threading the laces through the eyelets or features like speed hooks as needed.
As you work your way up the shoe, keep the lace tight enough to secure the shoe but comfortable for foot movement. Proper threading ensures that the boots provide optimal support and fit while preventing excess wear on the laces or the shoe itself.
Step 9: Secure the Laces
Once you have threaded the new laces through all the eyelets, it’s time to secure them properly. Start by ensuring the laces are evenly pulled through, with both ends equal length. This balance is crucial for an even knot and provides stability. Next, tie a basic knot by crossing one lace over the other, pulling it underneath, and tightening it. Then, form a loop with each end and tie them together, creating a bow.
Adjust the bow’s tension to your preferred tightness, ensuring that it is secure but not too tight to cause discomfort. If you prefer, you can double knot the bow for extra security, particularly if you’ll be engaging in physical activities where laces are prone to come undone. A secure tie not only helps maintain comfort and support but also prevents tripping hazards during wear.
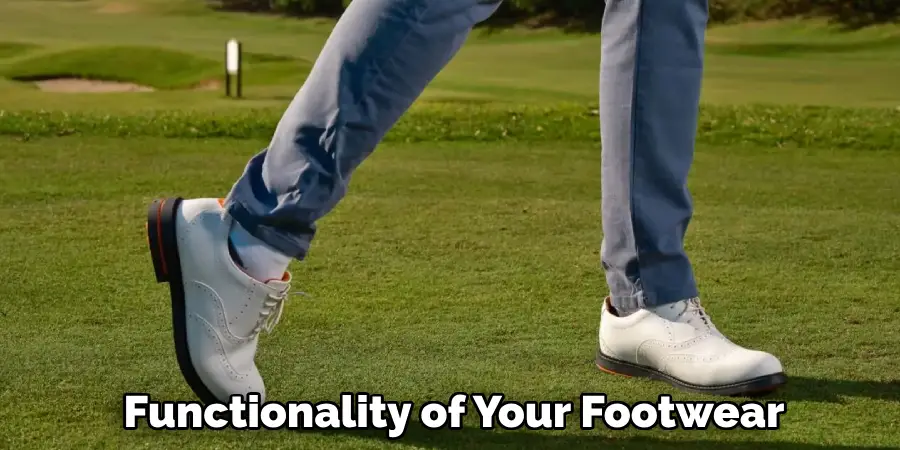
Step 10: Final Checks and Adjustments
With your laces securely tied, take a moment to assess the overall fit and feel of the shoe. Walk around for a few minutes to ensure the shoes are comfortable and adequately supported. Pay attention to any pressure points or slipping that might suggest the laces need adjusting. If the laces are too tight or loose, make the necessary adjustments to reach the desired comfort level.
Ensuring the shoes fit well improves your overall experience while wearing them and extends the lifespan of both the shoes and the laces. Additionally, check that the laces lie flat and tidy, enhancing both the appearance and functionality of your footwear.
By following these ten simple steps, you can easily and effectively remove and replace the laces on your shoes. Remember to take your time and be gentle with the process to avoid any damage or frustrations.
Conclusion
In conclusion, how to get out the leashes on your shoes may initially seem trivial, but it is a meticulous procedure that can significantly impact the longevity and comfort of your footwear.
By carefully unlacing and removing any potential knots, inspecting for damage, thoroughly cleaning the shoes, and selecting the correct replacement laces, you ensure that your shoes remain in peak condition. Proper lacing not only enhances the aesthetic appeal but also ensures a secure fit, providing necessary support and preventing unnecessary wear and tear.
Taking the time to complete each step of this process thoughtfully reflects an investment in your shoes’ durability and appearance, allowing you to enjoy them for many upcoming outings.