Are you tired of having to constantly fix your shoelaces? Do you always end up with frayed or uneven ends that make it difficult to tie your shoes? Don’t worry, we’ve got you covered.
Fraying and worn-out shoelace ends can transform the simple task of tying your shoes into a frustrating ordeal. Not only do they make your shoes look unkempt, but they also shorten the lifespan of your shoelaces. Fortunately, how to fix shoelace ends is a straightforward process that can restore the functionality and appearance of your laces.
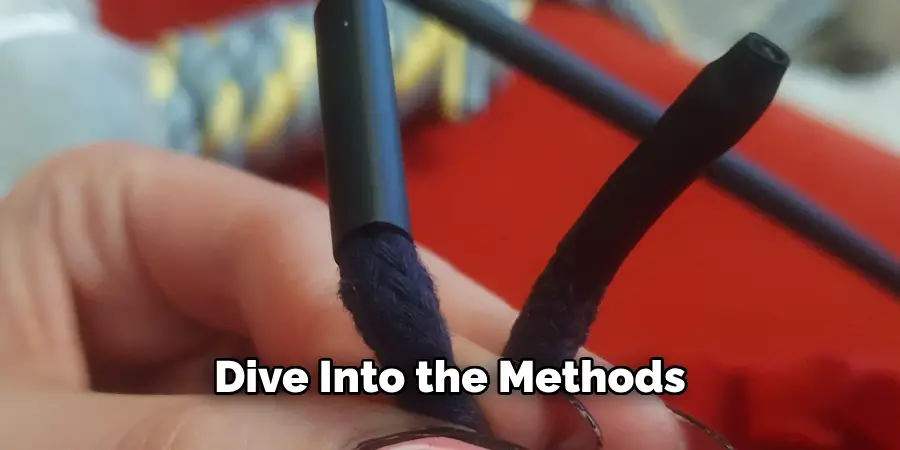
This guide will provide you with several easy and effective methods to repair or replace frayed shoelace ends, ensuring your shoelaces remain neat and functional. Whether you prefer a quick fix or a more durable solution, you’ll find the techniques outlined here to be invaluable in extending the life of your shoelaces.
What are the Benefits of Fixing Shoelace Ends?
Before we dive into the various methods of fixing shoelace ends, let’s take a moment to understand why it is important.
First and foremost, repairing frayed or uneven shoelace ends will save you time and frustration in the long run. Instead of constantly dealing with loose laces that refuse to stay tied, you’ll have a clean and reliable shoelace end that will make tying your shoes a breeze.
Moreover, fixing your shoelace ends can also save you money in the long term. Instead of having to buy new laces every time they become worn out, you can simply repair or replace the ends to extend their life span. This not only reduces waste but also saves you the hassle and cost of constantly buying new shoelaces.
Additionally, fixing your shoelace ends can improve the overall appearance of your shoes. Frayed or uneven laces can make even the nicest pair of shoes look shabby and unkempt. By repairing the ends, you’ll not only have functional laces but also a more polished and put-together look.
Lastly, taking the time to fix your shoelace ends can also be a fun and creative activity. You can personalize your laces with different colors and techniques, making them unique to you and your style. Now that we’ve covered the benefits of fixing shoelace ends, let’s dive into the methods.
What Will You Need?
The materials required for fixing your shoelace ends will depend on the method you choose. However, here are some common items that you may need:
- Scissors
- Lighter or matches
- Clear nail polish or glue
- Heat shrink tubing
- Replacement aglets
Once you have these materials, you’re ready to start repairing your shoelace ends.
8 Easy Steps on How to Fix Shoelace Ends
Step 1. Cut and Seal with a Lighter:
The first and perhaps simplest method to repair frayed shoelace ends involves cutting off the frayed part and then sealing the fresh cut with a lighter. This technique works best for synthetic shoelaces, which melt and seal easily under heat.
- Prepare the Shoelace: Stretch out the shoelace and identify the frayed section that needs to be removed. Make sure the lace is not tangled or knotted.
- Cut the Frayed End: Using a pair of scissors, carefully cut off the frayed end of the shoelace. It’s important to cut as straight as possible to ensure a neat finish. Remove as little length as necessary to maintain the usability of the shoelace.
- Seal the Cut End: Hold the cut end of the shoelace near the flame of a lighter or a match. Do not place it directly in the flame, but close enough so the heat melts in the end. Rotate the shoelace to ensure an even melt around the circumference of the lace.
- Shape the End: While the melted end is still warm and pliable, quickly shape it into a point or blunt end using your fingers. Be cautious to avoid burns; you may use a piece of cloth or wear gloves for protection.
- Cool It Down: Allow the newly sealed end to cool and harden for a few minutes. Avoid touching it immediately after sealing to prevent fingerprints or deformations.
This method is quick, requires minimal materials, and is highly effective at preventing further fray. Plus, it restores the functionality of your shoelace, making it easy to thread through eyelets once again.
Step 2. Apply Clear Nail Polish or Glue:
An alternative to sealing the ends with heat, applying a layer of clear nail polish or glue is another method to prevent fraying and maintain the shape of your shoelace ends. This technique is suitable for any type of shoelace, including those that do not melt easily.
- Prepare the Shoelace End: After cutting off the frayed part as described in Step 1, ensure the fresh end is clean and dry.
- Apply Nail Polish or Glue: Use a clear nail polish or strong glue (fabric glue or superglue works well) and apply a thin coat directly to the cut end of the shoelace. Ensure the application is even and covers the entire tip.
- Shape and Smooth the End: If necessary, use your fingers or a small tool to shape the coated end of the shoelace. Be quick as some adhesives dry rapidly. Aim for a smooth, rounded tip to make threading through shoelace eyelets easier.
- Allow It to Dry: Set the shoelace aside in a well-ventilated area and allow the polish or glue to dry completely. This may take several hours, depending on the product used.
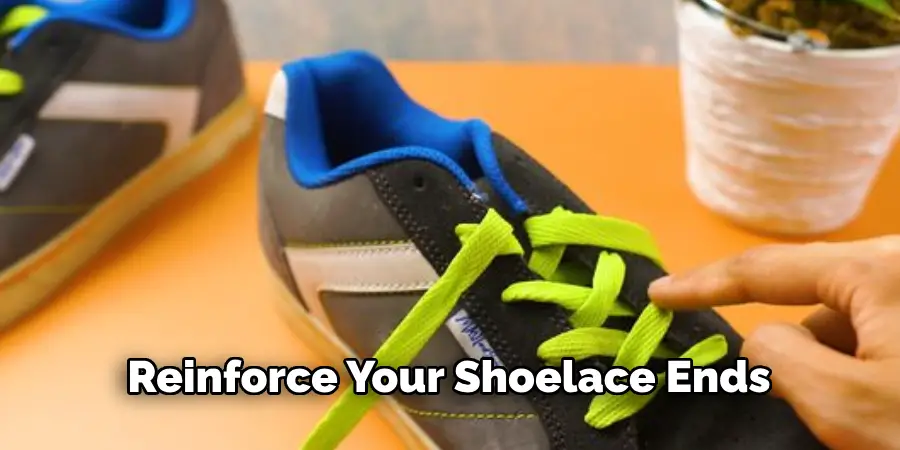
This method not only stops fraying but also reinforces the shoelace tip, making it sturdy and durable. Once dry, your shoelace ends will be prepared for frequent tying and untying without the risk of further damage.
Step 3. Use Heat Shrink Tubing for a Durable Fix:
For a more permanent solution that can endure wear and tear, heat shrink tubing offers a great way to repair or reinforce your shoelace ends. This method works well for laces of nearly any material and size.
- Select the Right Size Tubing: Measure the diameter of your shoelace and choose a heat shrink tubing that has a slightly smaller diameter when fully shrunk. This ensures a tight fit.
- Cut the Tubing to Length: Cut a small piece of heat-shrink tubing, about 1-2 inches long, depending on the desired final length of your shoelace tip.
- Thread the Tubing onto the Shoelace: Slip the cut piece of tubing onto the end of the shoelace. If you’ve already cut the frayed end off, ensure that the tubing is slipped onto the fresh end.
- Heat the Tubing: Use a heat gun, hair dryer on high heat, or lighter to evenly heat the tubing. Rotate the shoelace to ensure the tubing shrinks evenly around it. Avoid overheating, as this can damage both the lace and the tubing.
- Allow It to Cool: Once the tubing has shrunk tightly around the shoelace end, remove the heat source and allow it to cool down and fully harden.
This method provides a sturdy, professional-looking repair that not only prevents fraying but also adds a touch of customization to your shoelaces.
Step 4. Install Replacement Aglets:
If your shoelaces have lost their original aglets or you prefer a more traditional look, installing replacement aglets is an effective solution. These are available in various materials like metal, plastic, or rubber and can give your shoelaces a fresh, new appearance.
- Prepare the Shoelace End: Ensure the end of the shoelace is cut cleanly and is not frayed. If necessary, use one of the previous steps to tidy up the end before attaching a new aglet.
- Choose the Replacement Aglets: Select aglets that fit the style and thickness of your shoelaces. Make sure the inner diameter of the aglets can accommodate your shoelace end.
- Attach the Aglets: Depending on the type of aglets you have chosen, you may need to crimp them onto the lace with pliers (for metal aglets) or apply a small amount of glue inside the aglet before sliding it onto the lace end (for plastic or rubber aglets).
- Secure the Aglets: If using glue, ensure it is fully dried and the aglets are securely attached. For crimped aglets, make sure they are clamped tightly to avoid detachment.
This method not only restores the functionality and aesthetics of your shoelaces but also allows you to customize your footwear further with decorative or colored aglets.
Step 5. Regular Maintenance and Care:
To extend the life of your shoelaces and keep them in optimal condition, regular maintenance and care are essential. This preventative approach can save time and effort by reducing the frequency of repairs.
- Inspect Regularly: Check your shoelaces regularly for signs of wear, fraying, or damage. Early detection can prevent minor issues from becoming major problems.
- Clean Your Shoelaces: Dirty laces are more likely to degrade and fray. Wash your shoelaces gently by hand or in a laundry bag if using a washing machine. Allow them to dry fully before re-lacing your shoes.
- Store Shoes Properly: When not in use, store your shoes in a cool, dry place away from direct sunlight. This prevents the shoelaces from becoming dry and brittle, which can lead to fraying.
- Untie Before Removing: Always untie your shoes before taking them off. Pulling your shoes off while they are still tied can stress the shoelaces and contribute to wear and tear.
By following these simple steps for regular maintenance, you can significantly increase the longevity of your shoelaces, ensuring they remain functional and aesthetically pleasing for as long as possible.
Step 6. Choose the Right Material for Replacement:
When the time comes to replace your shoelaces, selecting the right material is crucial for durability and functionality. Shoelaces come in various materials, each with its advantages and suited to different types of shoes.
- Cotton Shoelaces: Ideal for dress shoes and casual shoes, cotton laces provide a classic look and are easy to tie. However, they may wear out quicker than synthetic options.
- Polyester Shoelaces: Offering a blend of durability and flexibility, polyester shoelaces are a good choice for athletic and everyday footwear.
- Nylon Shoelaces: Known for their strength and resistance to abrasion, nylon laces are excellent for boots and outdoor shoes.
- Leather Shoelaces: Perfect for adding a stylish touch to boots and casual shoes, leather shoelaces are durable but require more care to keep them in good condition.
- Elastic Shoelaces: For those who prefer convenience, elastic shoelaces allow shoes to be slipped on and off easily, making them a great option for children and the elderly.
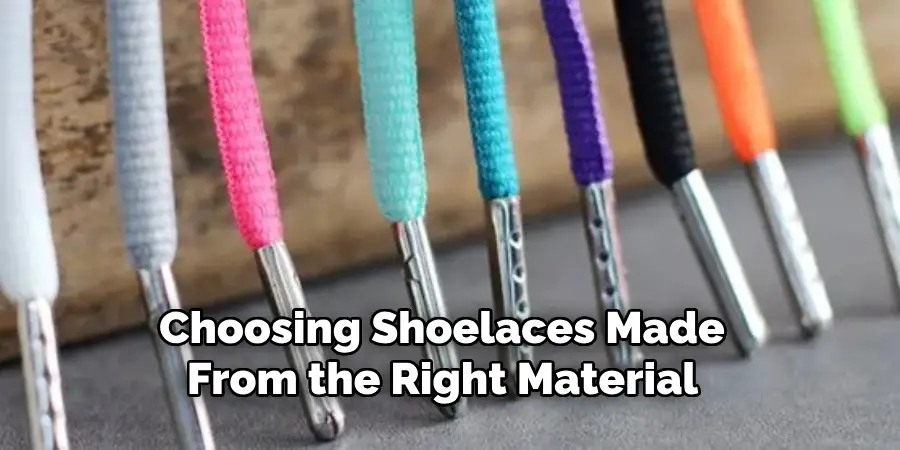
Choosing shoelaces made from the right material not only enhances the appearance of your shoes but also ensures they are fit for purpose. Consider the activity, shoe style, and personal preferences when selecting new shoelaces.
Step 7. Creative Customization:
Apart from the practical steps of maintenance and repair, shoelaces offer an exciting opportunity for personalization and creative expression. Customizing your shoelaces can make a standard pair of shoes stand out and reflect your unique personal style.
- Choose Vibrant Colors or Patterns: Opt for shoelaces in bright colors or unique patterns to add a pop of personality to your shoes. This can transform even the most basic footwear into a statement piece.
- Experiment with Lacing Techniques: Beyond the traditional cross-lacing, there are numerous lacing methods to explore, such as lattice, zipper, or loopback styles. These methods not only change the look of your shoes but can also enhance fit and comfort.
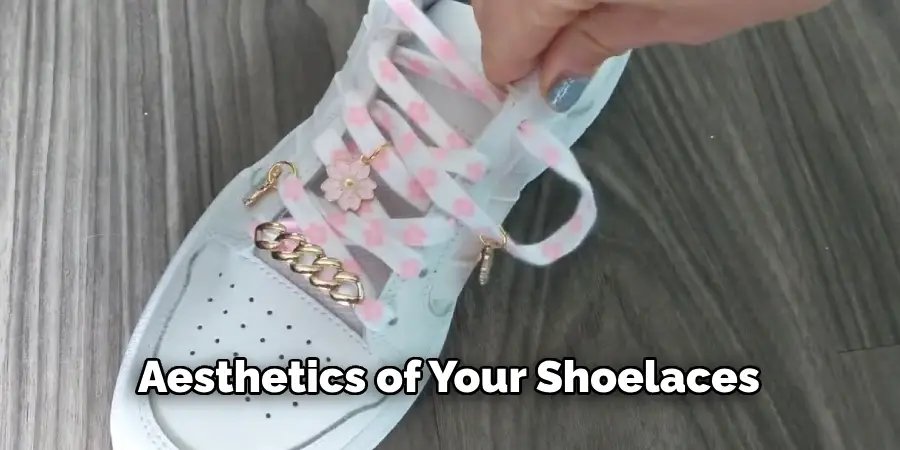
- Add Decorative Charms or Beads: For an extra special touch, consider threading small charms or beads onto your shoelaces. This adds a whimsical element and can be customized for different occasions or outfits.
- Reflective Shoelaces for Safety: If you’re a runner or cyclist, switching to reflective shoelaces can improve visibility during night-time activities, combining safety with style.
Engaging in shoelace customization not only allows for a creative outlet but also enables you to make a fashion statement, no matter the occasion. Whether you prefer subtle elegance or vibrant flair, there’s a world of possibilities at your feet.
Step 8. Keeping Up with Trends:
In the dynamic world of fashion, shoelace trends come and go, offering fresh ways to revitalize your footwear. Staying informed about the latest styles and innovations in shoelace designs can inspire you to update your shoes and keep them looking current.
- Follow Fashion Influencers: Many fashion bloggers and influencers on social media showcase unique shoelace styles and trends. Following them can give you plenty of creative ideas.
- Attend Footwear Expos: Footwear exhibitions and expos are great places to discover new shoelace products and styling techniques from industry insiders.
- Online Forums and Communities: Participating in forums or online communities focused on shoe customization can provide insights into emerging shoelace trends and how to implement them.
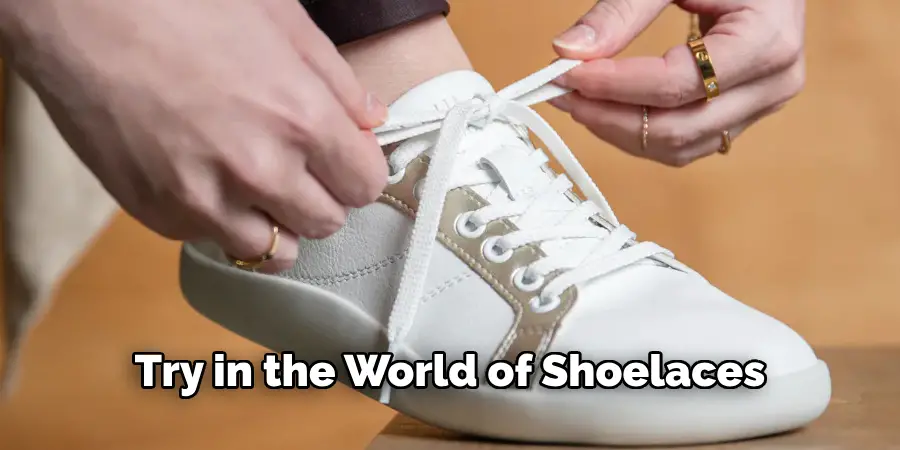
By keeping an eye on these trends, you can ensure your footwear remains on the cutting edge of fashion, making a statement with every step. Whether it’s experimenting with eco-friendly materials or adopting bold and unconventional lacing methods, there’s always something new to try in the world of shoelaces.
With proper care, maintenance, and occasional upgrades, your shoelaces can withstand all the wear and tear of everyday use.
5 Things You Should Avoid
- Using Open Flames Without Caution: Applying an open flame directly to the ends of laces to seal them can lead to uneven melting or even burning the material. It’s important to use this method with caution or opt for safer alternatives.
- Ignoring the Type of Material: Not all shoelaces are made from the same material, and thus, they don’t all respond well to the same type of repair. Synthetic fibers and natural fibers require different approaches; failing to recognize this can ruin your laces.
- Overlooking Frayed Ends Before Fixing: Simply sealing the ends of your laces without first trimming frayed edges can lead to bulky, unsightly ends. Always trim frayed parts neatly before applying any fix.
- Neglecting to Use Fray Check for Synthetic Laces: For synthetic laces, a dab of fray check can prevent ends from fraying without the need for heat. Skipping this simple step can lead to early deterioration of the lace ends.
- Forgetting to Test the Durability After Repair: After fixing shoelace ends, it’s essential to test their durability by lightly tugging at them to ensure the repair holds. Failing to do so can result in unexpected mishaps when you least want them.
By avoiding these common mistakes, you can effectively prolong the life of your shoelaces and ensure they stay secure during everyday wear.
What are the Causes of Damaged Shoelaces?
There are several reasons why shoelaces may become damaged over time, including:
- Wear and Tear: As with any piece of clothing or accessory, regular use can lead to wear and tear on shoelaces. Factors such as friction from rubbing against shoes, exposure to moisture or sunlight, and constant tying and untying all contribute to the deterioration of laces over time.
- Incorrect Use: Using shoelaces for activities they are not designed for can cause them to unravel or snap. For instance, using thin dress shoelaces in heavy-duty work boots or subjecting them to excessive weight can result in damage.
- Low-Quality Materials: Lower-quality shoelaces may not be durable enough to withstand everyday use and quickly become frayed or break. Investing in high-quality laces can help prevent this issue.
- Improper Storage: Improperly storing shoelaces can cause them to become tangled, leading to damage when trying to untangle them. It’s best to keep shoelaces neatly coiled or stored in a container with dividers to prevent tangling.
Overall, regular use and handling, along with factors such as material quality and storage methods, can all contribute to the damage of shoelaces over time.
Conclusion
In conclusion, shoelaces are more than just a functional component of footwear; they also serve as a fashion statement and can be customized to reflect your personal style. With proper care, maintenance, and occasional upgrades, shoelaces can last for a long time and add personality to your shoes.
By following the tips mentioned in this guide, you can prolong the life of your shoelaces and keep them looking their best. Just remember to avoid common mistakes, stay updated on trends, and be creative with customization for a unique touch.
Hopefully, this guide on how to fix shoelace ends has inspired you to see your shoelaces in a new light and given you the tools to keep them fresh and stylish for all your future adventures. So, let’s lace up those shoes and step out in style with our customized shoelaces. Happy lacing!