
Are you tired of your favorite pair of Ugg boots ruined by a rip or tear? Don’t worry; there are simple and effective ways to repair them and extend their life.
Ugg boots are beloved for their comfort and style, but like any well-worn footwear, they can suffer from wear and tear over time. A common issue faced by Ugg boot owners is ripping, which may occur at the seams or in the fabric. Fortunately, with the right tools and techniques, it’s possible to repair these rips and extend the life of your cherished boots.
This guide will walk you through the essential steps on how to fix ripped ugg boots, ensuring they remain a staple in your wardrobe for seasons to come. Whether the damage is minor or requires a bit more attention, you’ll find that fixing your boots can be a straightforward and rewarding process.
What Will You Need?
Before you start, ensure you have the tools and materials to fix your Ugg boots. Here’s a list of what you’ll need:
- Needle and Thread: A strong needle and matching thread will be essential for sewing up any rips or tears.
- Fabric Glue: This can be used as an alternative to sewing, especially for small tears or holes.
- Scissors: You’ll need a good pair of scissors to trim any excess fabric or thread.
- Patches: If the rip is too large to sew closed, patches can be used to cover it up and reinforce the area.
- Leather Conditioner: To keep your repaired boots looking their best, having a leather conditioner on hand is a good idea to nourish and protect the material.
10 Easy Steps on How to Fix Ripped Ugg Boots
Step 1: Assess the Damage
Before you start fixing your boots, assess the damage. This will help you determine the best course of action and whether or not you’ll need any additional materials. If the rip is small, you may be able to fix it with just a needle and thread or fabric glue. However, if it’s larger or more significant, you may need to use patches as reinforcement.
Step 2: Clean the Affected Area
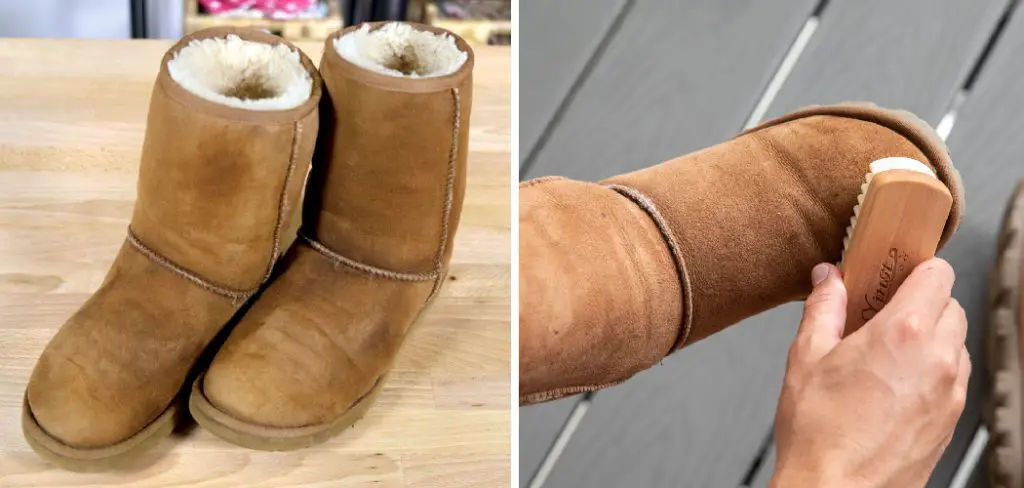
Before attempting any repairs, cleaning the area around the rip thoroughly is crucial. This ensures that dirt, oils, and debris don’t interfere with glue adhesion or the sewing process. Begin by gently brushing off loose dirt with a suede brush or a soft cloth.
If the boots are filthy, you might need a mild soap solution to clean them. Dip a soft cloth in the solution and gently dab the affected area, careful not to saturate the fabric. After cleaning, allow the boots to air dry completely at room temperature.
Avoid using heat sources like blow dryers or radiators to speed up this process, as they can further damage the fabric or cause shrinkage. Cleaning the boots properly prepares the surface for repair and helps restore their appearance and prolong their life.
Step 3: Prepare Your Materials
Now that the boots are clean and dry gather your materials and set up your workspace. Lay out your needle, thread, fabric glue, and any needed patches. Make sure you have good lighting and a clean, flat surface to work on. This preparation will make the repair process smoother and more efficient.
If you are planning to sew the rip, thread the needle with a strong, matching thread and tie a knot at the end to ensure it’s ready to use. For larger rips, cut patches to size before starting. Having everything prepared in advance will make the subsequent steps much more manageable.
Step 4: Sew the Rip
If you’ve determined that sewing is the best option for fixing the rip, carefully begin stitching the torn edges together. Start from the bottom of the tear and work your way upward. Use a firm, matching thread, and make tiny, tight stitches to ensure the seam is secure and less visible. Pull the thread taut as you go, but be careful not to pull too tightly, as this could cause puckering.
Once you reach the end of the rip, tie off the thread with a knot and trim any excess. Consider using a zigzag stitch for added strength if the rip is particularly long or the fabric is frayed. Taking the time to sew carefully will ensure the repair holds up well over time and maintains the boot’s aesthetic appeal.
Step 5: Apply Fabric Glue
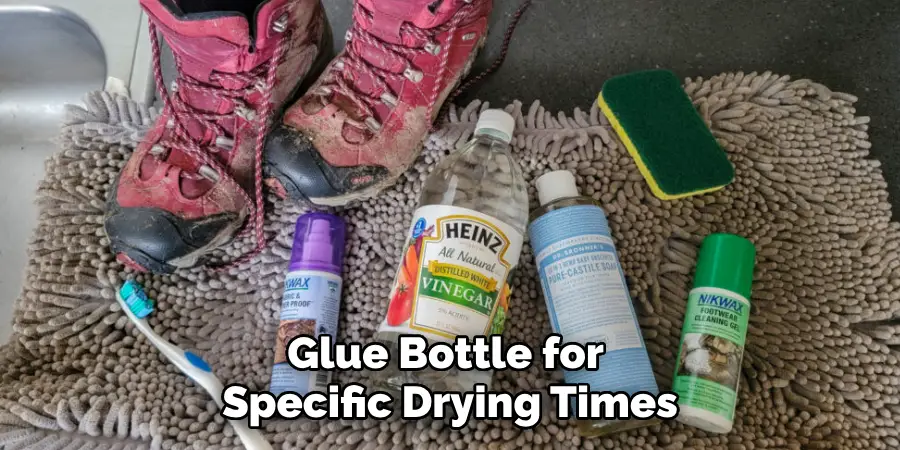
If sewing is unsuitable or the rip is in a delicate area, fabric glue can be an excellent alternative. To apply fabric glue, gently squeeze a small amount onto one side of the torn area. Align the torn edges carefully, pressing them together to ensure a strong bond. Hold the pieces for a few minutes, allowing the glue to set partially.
Check the instructions on the glue bottle for specific drying times, and let the glue cure fully before using the boots. It might be helpful to place a small weight on the area during the drying period to keep the seam flat and reduce the possibility of movement. Fabric glue provides an effective solution for minor tears and helps maintain the fabric’s integrity without using a threaded seam.
Step 6: Attach a Patch
For larger or more severe rips, attaching a patch may be necessary to reinforce the affected area. To begin, find a patch that matches the color and texture of your Ugg boots as closely as possible. Cut the patch to a size slightly larger than the rip, ensuring it will cover the damage completely.
If your patch has adhesive backing, carefully follow the product’s instructions to attach it to the boot, gently pressing down to ensure a secure bond. If it’s a non-adhesive patch, use fabric glue by applying it to the patch’s edges and the area surrounding the rip, then press firmly in place.
To guarantee a flat finish, place a weight over the patch and allow it to dry completely, following the manufacturer’s recommended drying time. This method not only conceals the damage but also strengthens your boots, allowing them to withstand further wear and tear.
Step 7: Condition the Leather
Once the repair process is complete, it’s essential to condition the leather to maintain its appearance and flexibility. Begin by selecting a high-quality leather conditioner suitable for the type of leather on your Ugg boots. Apply a small amount of the conditioner to a soft cloth and gently massage it into the leather using circular motions.
This will help to hydrate and nourish the leather, preventing it from drying out and cracking. Pay special attention to the repaired area to ensure it blends seamlessly with the rest of the boot. After applying the conditioner, allow it to absorb fully into the leather for optimal results. Regularly conditioning your boots after repairs enhances their look and extends their lifespan, ensuring they remain a staple in your wardrobe.
Step 8: Final Inspection
After completing the repair and conditioning processes, thoroughly inspect your Ugg boots to ensure everything is in order. Examine the repaired areas closely to check if the fabric glue has bonded effectively or if the stitching is secure and tight. Look for any remaining loose threads, signs of wear, or discoloration that might have been overlooked.
If applied, Test the patch’s strength by gently pulling the surrounding fabric to ensure it holds firm. This final check helps confirm that the restoration was successful and that your boots are ready for use. Once satisfied with the repairs, store your Ugg boots in a cool, dry place to preserve their condition until the next wear.

Step 9: Waterproof Your Boots
To ensure your Ugg boots’ longevity after repairs, applying a waterproofing treatment is essential. This step will protect them from moisture and stains, preserving their appearance and functionality. Begin by selecting a waterproof spray designed explicitly for your boots’ type of leather or material.
Hold the spray about 6-8 inches from the surface, applying an even coat across all areas, including the repairs. Be sure to conduct this process in a well-ventilated area to avoid inhaling any fumes. Allow the boots to dry completely per the manufacturer’s instructions before wearing them again.
Step 10: Store Properly
Proper storage is essential to maintain the shape and condition of your Ugg boots over time, especially after they’ve been repaired. To store them correctly, first ensure the shoes are completely dry and clean. Use boot trees or stuff them with clean, acid-free tissue paper to help retain their shape.
Store the boots in an excellent, dry location away from direct sunlight, which can cause fading or deterioration of the materials. Avoid storing them in damp areas, as moisture can lead to mold or mildew growth. For added protection, consider keeping your Ugg boots in a breathable fabric bag to shield them from dust and scratches.
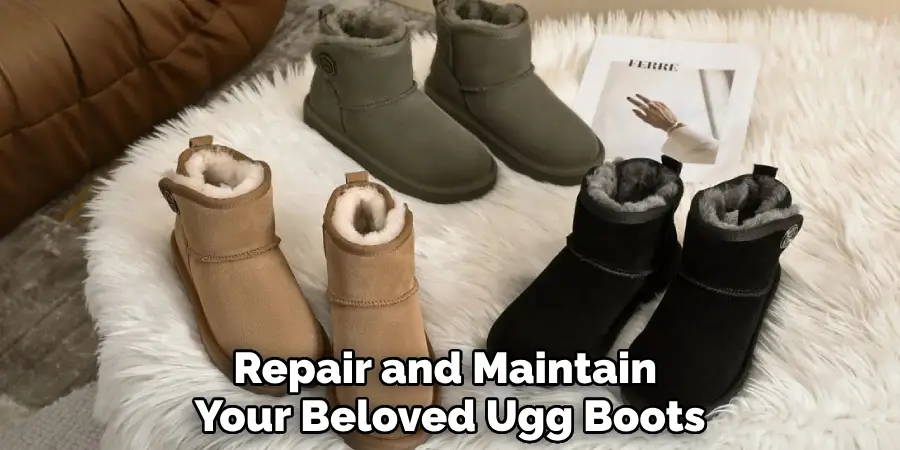
By following these steps, you can effectively repair and maintain your beloved Ugg boots, saving you time and money while keeping them looking their best.
Conclusion
How to fix ripped Ugg boots not only restores their appearance but also extends their usability, providing continued comfort and style.
By carefully following each step, from the initial assessment to the final inspection and storage, you can manage most minor damages at home. This process saves time and money while ensuring that your boots remain a reliable part of your wardrobe.
Always use suitable products and techniques that match the specific materials of your boots to achieve the best results. Regular maintenance, including conditioning and waterproofing, further enhances their durability and appearance, ensuring they stand up to the elements and everyday wear.
With some effort and attention, your Ugg boots can continue to be as good as new, ready for many more adventures.