
Revamping your footwear by dyeing the soles can give your shoes a fresh and personalized look. Whether you want to match the soles with the rest of the shoe, create a striking contrast, or simply rejuvenate an old pair, dyeing can be a rewarding DIY project.
This guide on how to dye shoe soles will walk you through the step-by-step process, from gathering the necessary materials to applying the dye and finishing the soles for a long-lasting effect. Let’s get started on transforming your shoes into a unique fashion statement.
Why Dye Shoe Soles?
Dyeing shoe soles has become a popular trend in the fashion world. It allows you to customize your shoes and make them stand out from the rest. Here are some of the top reasons why people are choosing to dye their shoe soles:
- To match the overall color scheme of an outfit
- To add a pop of color and create a statement piece
- To revive old or worn-out shoes and give them new life
- To cover up scuffs, stains, or discoloration on the soles
Materials Needed
Before starting the process, ensure that you have all the necessary materials at hand. These include:
- Leather dye or fabric dye, depending on the material of your shoe soles
- Paintbrush or sponge for application
- Masking tape or painter’s tape to protect other parts of the shoe
- Rubbing alcohol or acetone to clean and prep the soles before dyeing
- Plastic wrap or bags to cover the shoes while they dry
- Paper towels to clean up any spills or excess dye
8 Step-by-step Guides on How to Dye Shoe Soles
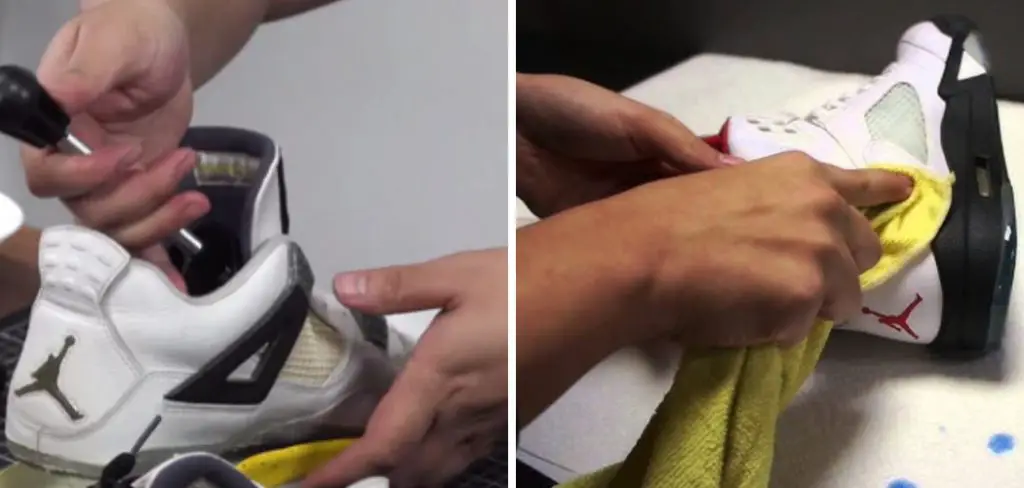
Step 1: Clean and Prep
Begin by thoroughly cleaning the shoe soles to ensure the dye adheres properly. Rub alcohol or acetone on the soles with a paper towel to remove any dirt, oils, or previous finishes. This step is crucial because any residue left on the soles can prevent the dye from setting correctly.
Make sure to perform this step in a well-ventilated area. Once the soles are clean, allow them to dry completely before moving on to the next step. For added precision, use masking tape or painter’s tape to cover the edges of the soles and any parts of the shoe you wish to protect from the dye.
Step 2: Choose the Right Dye
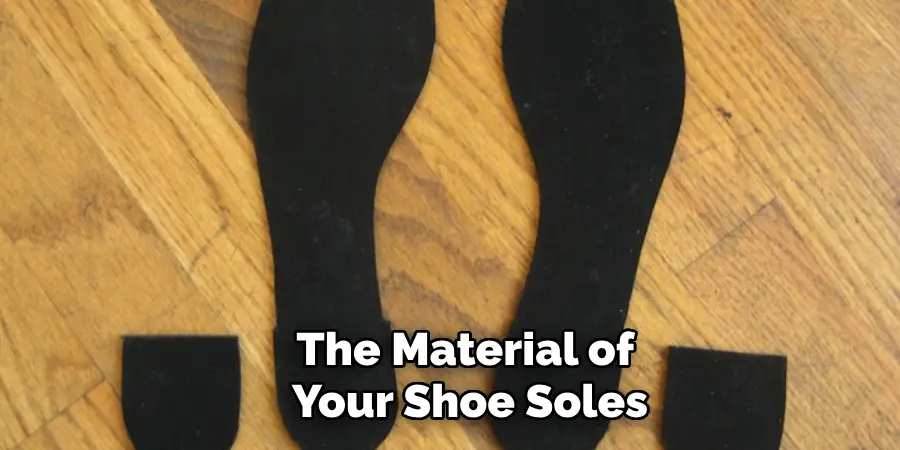
Selecting the right dye is essential for achieving the best results when dyeing your shoe soles. First, determine the material of your shoe soles, as this will dictate the type of dye needed. Leather soles require leather dye, which is specifically formulated to penetrate and adhere to leather surfaces, ensuring vibrant, lasting color. For rubber or synthetic soles, fabric dyes or special dyes designed for synthetic materials are more appropriate.
When choosing a dye, consider the shade and finish you desire. Most dyes are available in a range of colors, from classic blacks and browns to bold and vivid hues. Also, think about whether you prefer a matte or glossy finish; some dyes come with a built-in finish, while others may require an additional finishing product.
Be sure to read the manufacturer’s instructions and recommendations for the dye you’re using. Different brands may have specific guidelines for application and drying times, and following these will help you achieve the best outcome. Once you’ve selected the appropriate dye, make sure to set up your work area and gather all your materials before moving on to the next step.

Step 3: Dilute the Dye (Optional)
Depending on the intensity of color you wish to achieve, you may choose to dilute the dye. This step is optional but can help in obtaining a lighter or more translucent effect, allowing for greater control over the final appearance of your shoe soles. Mix the dye with a small amount of water or solvent to dilute it, following the manufacturer’s recommendations. Typically, a small container or bowl will suffice for mixing.
Start by adding a small amount of dye into the container, then gradually add the water or solvent, stirring constantly to ensure an even consistency. Test the diluted dye on a small, inconspicuous area of the sole or on a scrap piece of similar material if available. Assess the color once it dries, and adjust the dilution as needed to achieve your desired shade.
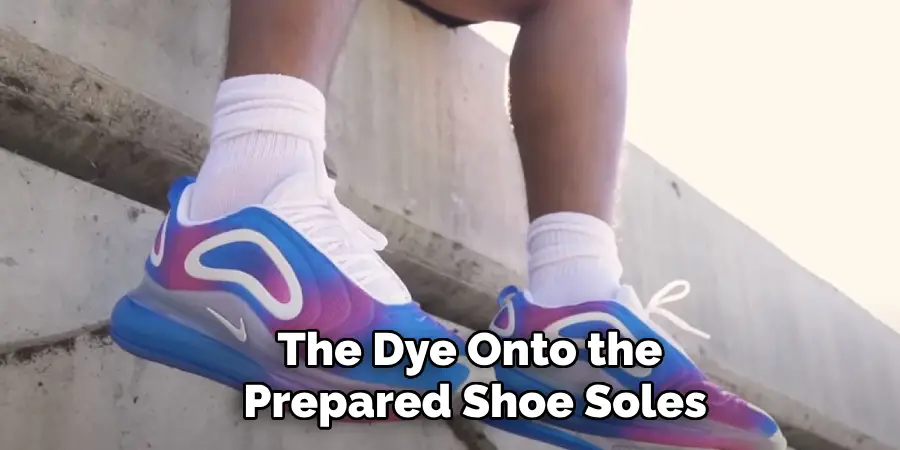
Step 4: Apply the Dye
Using a paintbrush or sponge, begin applying the dye onto the prepared shoe soles. Work in small sections at a time, starting from one edge and moving towards the center of the sole. Ensure to spread the dye evenly and avoid leaving any streaks or patches. If using diluted dye, you may need to apply multiple layers until you achieve your desired color.
Be careful not to saturate the material with too much dye, as this can result in uneven coloring and longer drying times. With leather soles, pay attention to covering crevices and seams thoroughly; these areas may require extra care during application. Once you’ve covered all areas, allow the dye to dry completely before proceeding to the next step.
Step 5: Apply Additional Coats (Optional)
If you want a more intense color or a darker shade, you may choose to apply multiple layers of dye. Make sure each layer is dry before adding another one. Applying successive coats will increase the depth and richness of the color and can be especially effective when using diluted dye. If using leather dye, applying additional coats will also help in creating a smooth and even finish on the leather surface.
Remember that with each coat, the color will deepen, so proceed with caution until you achieve your desired shade. Once satisfied with the color, allow for ample drying time before moving on to the next step.
Step 6: Seal the Dye (Optional)
If you want a more permanent and durable finish, consider sealing the dye with a protective topcoat or finisher. This extra step will help prevent fading and ensure long-lasting color. There are various types of sealants available, such as leather finishers, waterproofing sprays, or acrylic sealers.
Follow the manufacturer’s instructions for application and drying times. Some products may require multiple coats for maximum protection. If using a spray sealant, make sure to cover any areas of the shoe not meant to be sealed before spraying. Allow ample time for drying before moving on to the final step.
Step 7: Remove Masking Tape and Clean Up
Once the dye and any sealant have completely dried, carefully remove the masking tape or painter’s tape from the edges of the soles and any other protected areas of the shoe. Take your time during this step to avoid peeling off any of the newly applied dye or damaging the surface.
After removing the tape, inspect the shoe soles for any minor dye spills or imperfections. Use a damp cloth or paper towel to clean up any excess dye or smudges that may have occurred. If you notice any uneven spots, you can touch them up with a small, precise brush to achieve a uniform look.
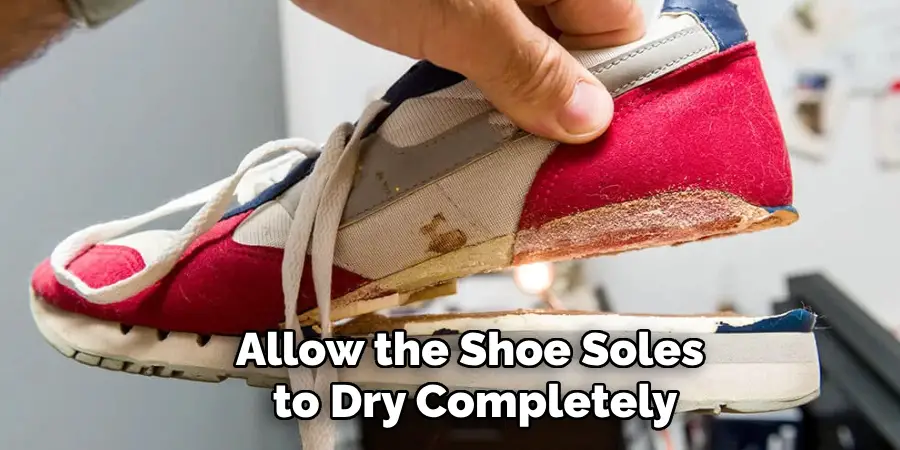
Step 8: Allow the Soles to Dry and Enjoy Your New Look!
Finally, allow the shoe soles to dry completely before wearing them. Depending on the dye and sealant used, this may take several hours or overnight. Once fully dry, your newly dyed shoe soles should have a vibrant, long-lasting color that will give your shoes a whole new look. Enjoy stepping out in style with your customized and unique footwear!
Following these steps will help you achieve professional-looking results when dyeing your shoe soles. With the right materials and techniques, you can transform any pair of shoes into a personalized fashion statement that reflects your style and personality. So go ahead and get creative with dyeing your shoe soles, and see the difference it makes in elevating your footwear game.
Additional Tips
- Always work in a well-ventilated area when applying dyes or sealants.
- Wear protective gloves and clothing to avoid staining your hands or clothes.
- If using fabric dye, make sure to wash the shoes separately for the first few times to prevent color transfer onto other items.
- Experiment with different colors and techniques, such as ombre or tie-dye effects, to create unique designs.
- Consider using a leather conditioner or moisturizer after dyeing to keep the leather soft and supple.
- Keep in mind that dye may fade over time with wear and exposure to sunlight, especially on lighter colors. Regular touch-ups or re-dyeing may be necessary for maintenance.
With these steps on how to dye shoe soles, you can give your old shoes a new lease on life and add a pop of color to your wardrobe. Whether it’s for a special occasion or just to revamp your everyday footwear, dyeing shoe soles is an easy and inexpensive way to personalize your shoe collection. Just remember to have fun and get creative with it, and the possibilities are endless for creating one-of-a-kind shoes that truly make a statement. So go ahead and give your shoe soles a new hue, and step out in style!
Frequently Asked Questions
Q1: Can I Dye Rubber or Plastic Shoe Soles?
A1: Dysing rubber or plastic shoe soles is not recommended, as they are not as porous and may not absorb the dye properly. This can result in a patchy or uneven color.
Q2: Can I Dye Colored Shoe Soles?
A2: Yes, you can dye colored shoe soles, but keep in mind that the original color may affect the final result. For example, if you dye a red sole with blue dye, you may end up with a purple shade instead of true blue. It is best to test on a small area first and adjust accordingly.
Q3: Will Dyeing My Shoe Soles Damage Them?
A3: As long as proper techniques and materials are used, dyeing your shoe soles should not cause any damage. However, excessive saturation or harsh chemicals may affect the material, so it’s essential to follow instructions and be cautious during the process.
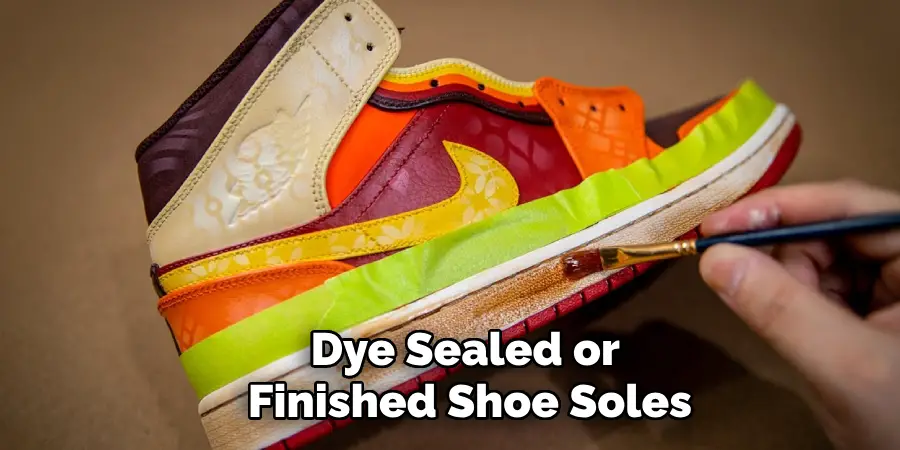
Q4: Can I Dye Shoe Soles that Have Already Been Sealed or Finished?
A4: It is not recommended to dye sealed or finished shoe soles, as the dyed color may not penetrate and adhere properly. It’s best to dye the soles before sealing or finishing them for maximum effect.
Conclusion
Dyeing your shoe soles is an excellent way to refresh and personalize your footwear, making a bold statement with your aesthetic choices.
By following the steps outlined in this guide on how to dye shoe soles, from preparing the soles and diluting the dye to applying multiple coats and sealing the color, you can achieve professional-looking results at home. Whether you opt for a subtle color change or a vibrant transformation, dyeing allows you to express your unique style and breathe new life into worn or plain shoes.
Remember to take the necessary precautions, work patiently, and allow ample drying time for the best outcome. With practice and creativity, you’ll soon be stepping out in custom footwear that truly reflects your personality and flair. Happy dyeing!