Designing shoes can be a fun and rewarding hobby for beginners. Not only does it allow you to express your creativity, but it also gives you the opportunity to wear your own unique and one-of-a-kind creations. In this guide on how to design shoes for beginners, we will go through the basic steps of designing shoes for beginners.
Necessary Items
Before you begin designing, it’s important to gather all the necessary items. Here are some basic tools and materials you’ll need for shoe design:
- Shoe Last: This is a wooden or plastic mold of the foot that serves as a base for your shoe design.
- Paper: You will need paper to sketch out your designs and create patterns.
- Pencil: A pencil will allow you to easily erase and make changes to your designs.
- Ruler: A ruler will help you create precise measurements for your patterns.
- Fabric or Leather: These materials are commonly used for shoe design. Choose a material that is sturdy enough to support the shape of your shoe.
- Scissors: You’ll need scissors to cut out your fabric or leather according to your patterns.
- Needle and Thread: These are used to stitch the different parts of the shoe together.
12 Steps on How to Design Shoes for Beginners
Step 1: Sketching Your Design
The first step in designing shoes is to sketch out your ideas on paper. This will give you a visual representation of your design and allow you to make any necessary changes before moving on to the actual construction process. When sketching, keep in mind the type of shoe you want to create and any unique details or features you want to include.
Step 2: Creating a Pattern
Once your design is finalized, it’s time to create a pattern. This involves drawing an outline of each part of the shoe on paper and labeling them accordingly. You can also trace around the shoe last to create the basic shape of your shoe.
Step 3: Assembling Materials
Now that you have your pattern, it’s time to gather all the materials you need for your shoe design. Make sure to choose high-quality materials that will provide durability and support for your shoe. And don’t forget to include any additional materials for embellishments or decorations.
Step 4: Cutting Out the Pieces
Using your pattern, carefully cut out each piece of fabric or leather that you will need for your shoe. It’s important to be precise and make clean cuts to ensure a professional-looking final product. Like a puzzle, each piece will eventually come together to create your shoe.
Step 5: Preparing the Shoe Last
Before you start assembling your shoe, it’s important to prepare the shoe last. This may involve adding padding or tape to certain areas to ensure a snug fit for your design. Soak the last in hot water for a few minutes to soften it, making it easier to work with.
Step 6: Assembling the Shoe Upper
The upper part of the shoe is where you will attach all the cut-out pieces of fabric or leather. Start by stitching together any separate pieces that make up the main body of your shoe. Then, carefully sew these pieces onto the base fabric or leather to create the desired shape.
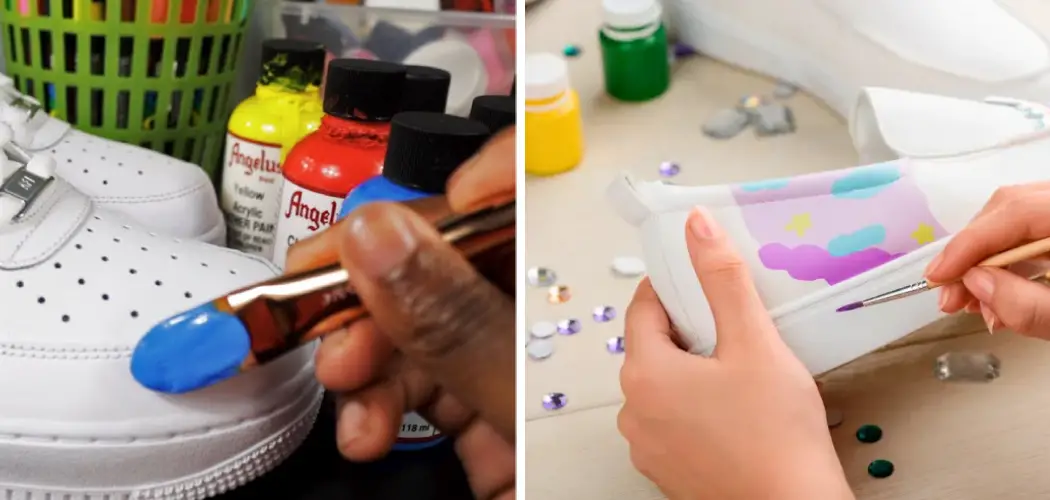
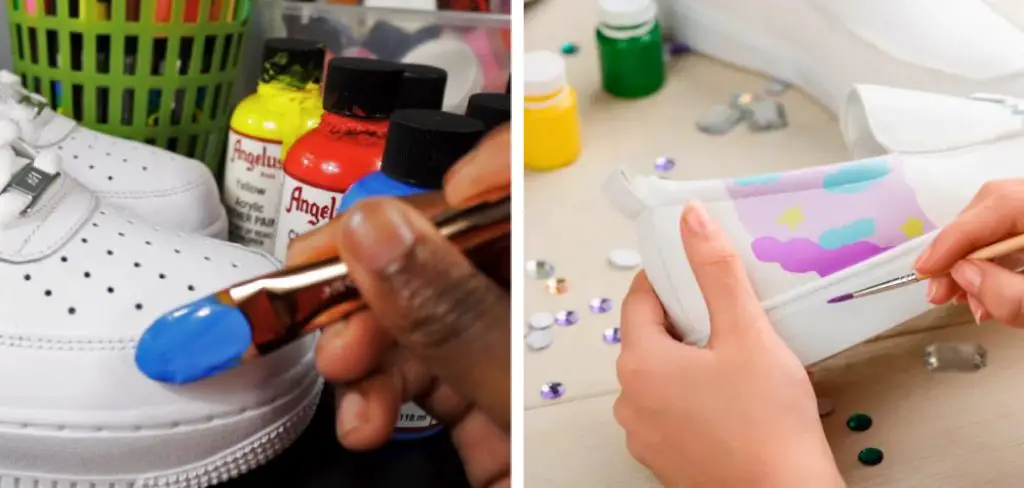
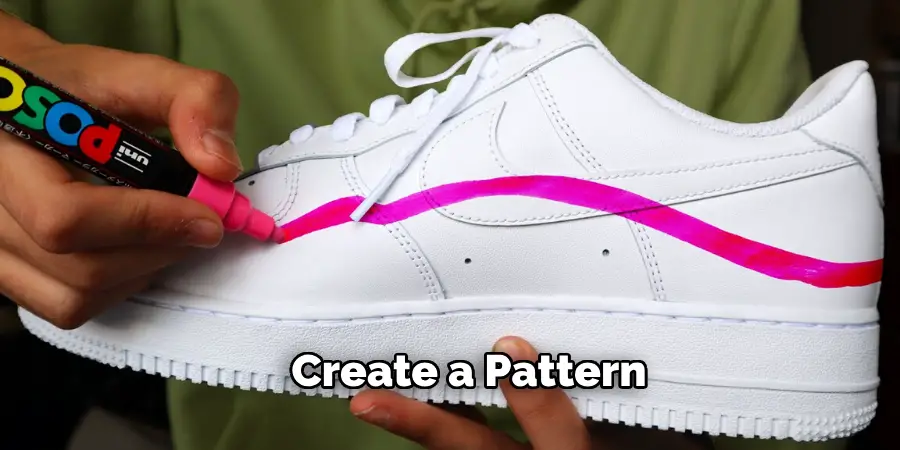
Step 7: Adding Details
If you want to add any additional details to your shoe, such as embellishments or decorations, now is the time to do so. This could include anything from buttons and beads to embroidery and appliques. Use your creativity and make sure these details are securely attached.
Step 8: Creating the Sole
The sole of the shoe is what provides support and cushioning for your foot. You can create a sole by attaching a thick piece of rubber or leather to the bottom of your shoe, or you can also purchase pre-made soles from a craft store.
Step 9: Attaching the Sole
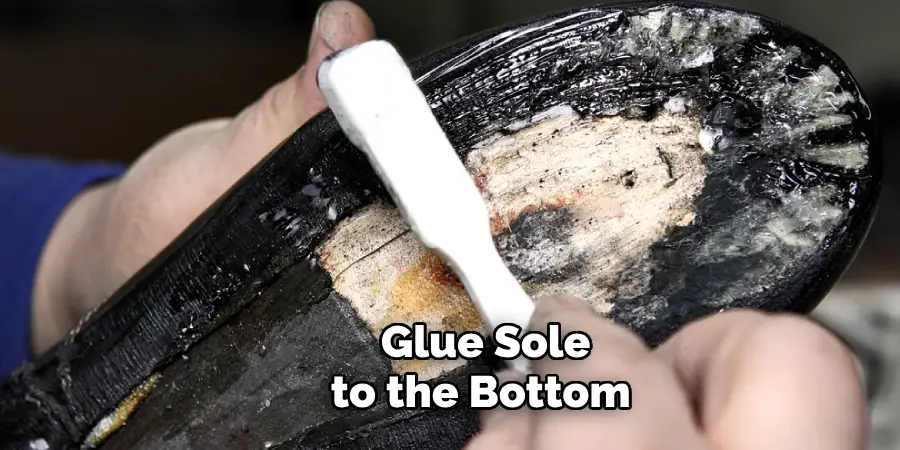
Once your sole is ready, carefully stitch or glue it to the bottom of your shoe. Make sure it is securely attached and that there are no visible gaps or loose areas. If using glue, allow it to dry completely before moving on to the next step.
Step 10: Finishing Touches
Now that your shoe is fully assembled, it’s time to add any final touches. This could include adding a lining inside the shoe for added comfort or sealing and waterproofing the exterior of the shoe. Some designers also choose to add a brand label or logo at this stage.
Step 11: Trying on Your Shoe
Before you wear your new shoes, it’s important to try them on and make any necessary adjustments. This could involve stretching certain areas for a better fit or adding additional padding for comfort. Don’t be afraid to make minor changes until the shoe fits perfectly.
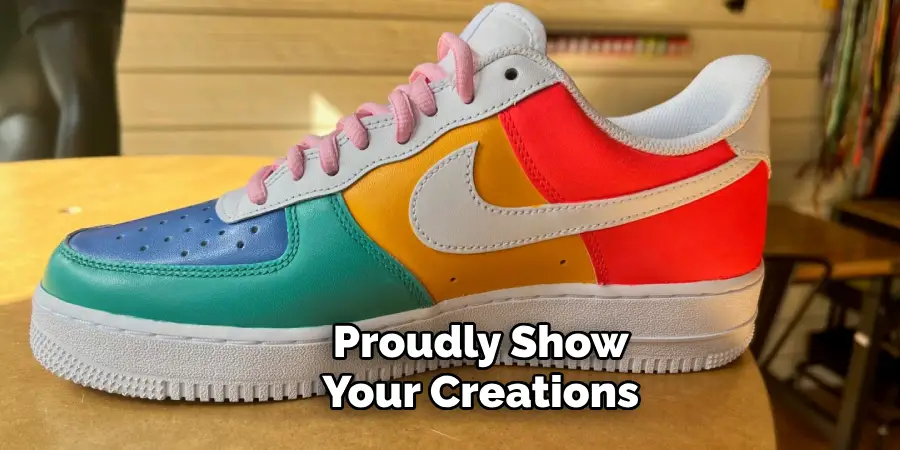
Step 12: Enjoying Your Creation
Congratulations, you have successfully designed your own pair of shoes! Put them on and proudly show off your unique creations to the world. Don’t be afraid to experiment with different designs and materials for even more custom shoe creations in the future.
Designing shoes for beginners may seem like a daunting task, but with the right tools and materials on how to design shoes for beginners, it can be an enjoyable and fulfilling experience. Remember to start with a clear design concept, create precise patterns, and carefully assemble your shoe pieces together. With practice and patience, you’ll soon be on your way to creating your own stylish footwear.
9 Safety Measures to Keep in Mind
1) Use Proper Equipment
Make sure to use the designated tools and materials for shoe design. Using alternative or improper equipment can lead to injuries. The same goes for using sharp tools or scissors – always handle them with caution and keep them away from children.
2) Take Breaks
Designing shoes can be a time-consuming process, so remember to take breaks in between to avoid overstraining your hands and eyes. It’s important to rest and recharge to prevent injuries or burnout.
3) Work in a Well-Lit Area
A well-lit workspace is essential for accurate cutting and stitching. Working in poorly lit areas can strain your eyes and increase the chance of making errors or accidents. As a rule of thumb, always make sure to have proper lighting when working on any project.
4) Use Protective Gear
Wearing gloves and safety glasses can help protect your hands and eyes from sharp tools or chemicals used during the shoe design process. Don’t forget to also wear closed-toe shoes to avoid any potential accidents.
5) Keep Your Workspace Organized
A cluttered workspace not only makes it difficult to work efficiently but can also increase the risk of accidents. Keep your tools and materials organized and put away when not in use to prevent any potential hazards.
6) Follow Instructions Carefully
If you are following a tutorial or using a pattern, make sure to read and follow the instructions carefully. Skipping steps or not understanding the process can lead to mistakes or injuries.
7) Use Caution with Adhesives
When working with adhesives, such as glue or cement, use caution and carefully follow the instructions. These substances can be hazardous if not used properly, so make sure to wear protective gear and work in a well-ventilated area.
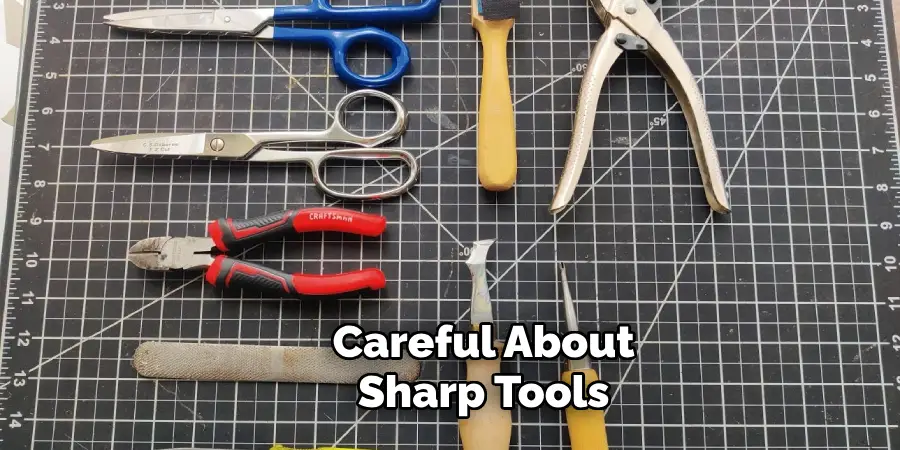
8) Be Mindful of Sharp Tools
Sharp tools, such as scissors or needles, can cause injuries if not handled properly. Make sure to always cut away from your body and keep sharp objects out of the reach of children. While working, it’s also important to be aware of where your fingers are in relation to sharp tools.
9) Ask for Help
If you are unsure about any step or need assistance, don’t be afraid to ask for help. It’s always better to seek guidance than risk making a mistake that could result in injury. You can also consider taking a shoe design class or workshop to learn proper techniques and safety measures.
Overall, it’s important to prioritize your safety while designing shoes, so always take precautions and be mindful of potential risks. Now, you can truly enjoy the fruits of your labor – a pair of custom-designed shoes that are not only stylish but also safe to wear!
8 Things to Avoid When Designing Shoes
1) Using Poor Quality Materials
When designing shoes, it’s important to use high-quality materials that will not only look good but also last. Avoid using cheap or low-grade materials, as they can compromise the overall quality and durability of your shoe.
2) Rushing Through the Process
Designing shoes takes time and patience. Don’t rush through the process, as it can lead to mistakes and a poorly made shoe. Take your time to ensure each step is done carefully and accurately. As they say, “measure twice, cut once.”
3) Neglecting Comfort
While it’s important for shoes to look good, it’s also crucial to prioritize comfort. Neglecting factors such as proper cushioning and sizing can result in an uncomfortable shoe that is difficult to wear. And no one wants to sacrifice comfort for style.
4) Cutting Corners
Don’t skip steps or take shortcuts when designing shoes. This can compromise the overall quality and integrity of your design. It’s better to put in the extra effort and do things correctly than to have a subpar finished product.
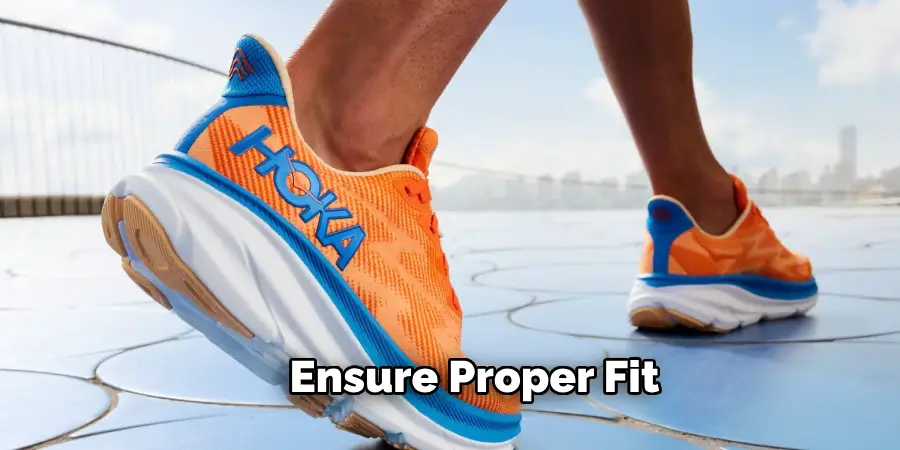
5) Not Testing the Fit
Before finalizing your design, make sure to test the fit by trying on the shoe or having someone else try it on. This will help identify any areas that may need adjustments for a better fit. Also, don’t forget to walk around and ensure the shoe is comfortable before considering it complete.
6) Forgetting About Style and Function
When designing shoes, it’s important to balance both style and function. While a unique design may look great, it should also serve its purpose as footwear. Don’t sacrifice functionality for the sake of aesthetics.
7) Not Considering the Season
Different seasons call for different footwear. When designing shoes, consider the season and weather conditions they will be worn. This will help determine appropriate materials and design elements to ensure practicality and comfort.
8) Being Afraid to Experiment
While it’s important to avoid certain mistakes when designing shoes, don’t be afraid to experiment and try new things. The beauty of designing your own shoes is the freedom to be creative and innovative. Embrace it and have fun with your designs! Keep these tips in mind as you embark on your shoe design journey, and don’t forget to always prioritize safety, comfort, and quality.
Overall, shoe design is a rewarding process that allows for self-expression and creativity. By following these tips and avoiding common mistakes, you can create a stylish and functional pair of shoes that will make you stand out from the crowd. So go ahead and design your dream shoes – just remember to take your time, be mindful of safety, and have fun with it!
8 Additional Tips for Successful Shoe Design
1) Research Current Trends and Styles
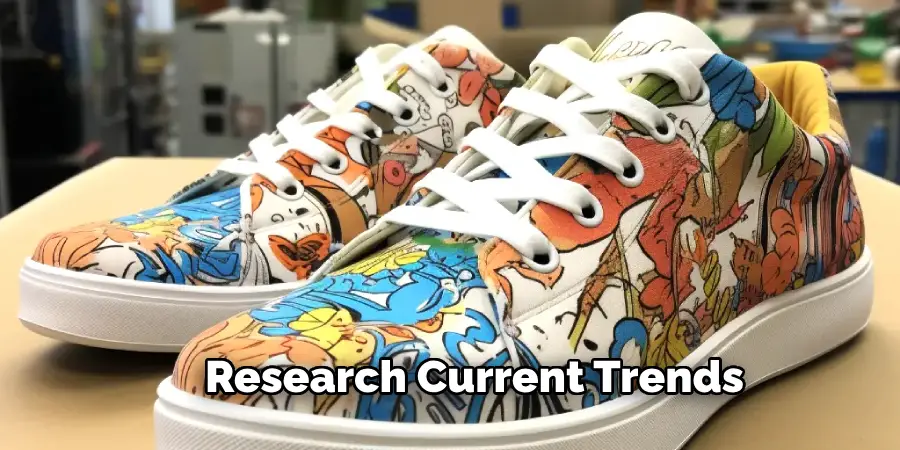
Before starting your shoe design process, take some time to research current trends and styles in the footwear industry. This will not only give you inspiration but also help ensure your designs are relevant and marketable.
2) Consider Your Target Audience
Think about who will be wearing your shoes – is it for a specific age group, gender, or style preference? Understanding your target audience will help guide your design choices and ensure you create shoes that will appeal to them.
3) Incorporate Personal Touches
Don’t be afraid to incorporate personal touches into your designs. Whether it’s adding a unique embellishment or using a favorite color, these small details can make your shoes stand out and add a personal touch.
4) Pay Attention to Detail
Small details can make a big difference in the overall look and quality of your shoe. Pay attention to every aspect of your design, from stitching to material choices, to ensure a polished and professional finish.
5) Use High-Quality Materials
Investing in high-quality materials will not only result in a better-looking shoe but also one that will last longer. Consider factors such as durability, comfort, and aesthetics when choosing materials for your designs.
6) Create Multiple Prototypes
Don’t settle on the first design you create – make multiple prototypes to test different elements and improve upon your initial ideas. This will help refine your design and ensure the final product is the best it can be.
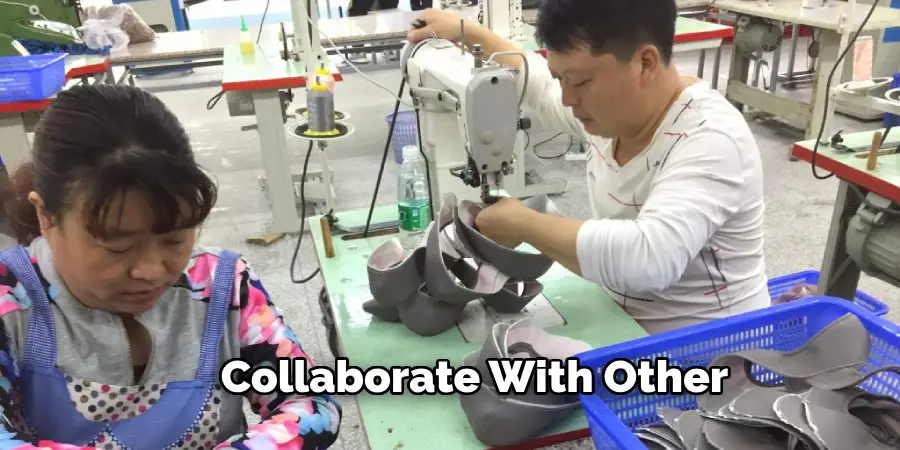
7) Collaborate with Others
Consider collaborating with other designers, artists, or manufacturers to bring your shoe design to life. This can not only provide valuable insights and expertise but also open up new opportunities for your designs.
8) Don’t Be Afraid to Learn from Mistakes
Mistakes happen, especially when experimenting with new designs and techniques. Instead of getting discouraged, embrace these mistakes as learning opportunities and use them to improve your future designs.
By following these additional tips on how to design shoes for beginners for successful shoe design, you can elevate your designs and create truly unique and exceptional footwear. Remember to always stay true to your individual style and have fun with the process.
Frequently Asked Questions (FAQ’s) on Shoe Design
Can I Design Shoes Without Any Prior Experience?
It is possible to design shoes without prior experience, but it may be helpful to do some research and learn about the basics of shoe design before starting. Also, don’t be afraid to seek advice or collaborate with more experienced designers.
Do I Need to Have Artistic Skills to Design Shoes?
While having artistic skills can certainly be beneficial, it is not a requirement for shoe design. Many successful shoe designers have backgrounds in fields such as engineering or fashion design, which also contribute to their ability to create unique and functional shoes.
How Long Does It Take to Design a Pair of Shoes?
The time it takes to design a pair of shoes can vary depending on the complexity of the design and your level of experience. It can take anywhere from a few days to several weeks or even months. The key is to not rush the process and prioritize quality over speed.
Do I Need Expensive Equipment to Design Shoes?
No, you don’t need expensive equipment to design shoes. However, investing in some basic tools such as a shoe last, pattern paper, and measuring tools can make the process easier and more precise. It’s also important to have access to a reliable manufacturer or shoemaker who can bring your designs to life.
How Can I Ensure My Shoe Design is Safe for Wearing?
When designing shoes, always prioritize safety and comfort. This means using appropriate materials, ensuring proper fit and support, and testing your designs before mass production. It’s also important to follow industry standards and regulations for footwear design. Overall, with careful consideration and attention to detail, you can create shoes that are not only stylish but also safe to wear.
Conclusion
Designing shoes is a creative and exciting process that requires attention to detail, patience, and innovation. By avoiding common mistakes and following the tips on how to design shoes for beginners and the guidelines discussed in this guide, you can design stylish and functional footwear that reflects your personal style. Don’t be afraid to experiment and have fun with your designs – after all, the possibilities are endless when it comes to shoe design. So go ahead and start your shoe design journey, always keeping in mind the importance of safety, comfort, and quality.