
Transforming your old or worn-out Ugg boots into cozy slippers is a creative way to extend their use and give them a new lease on life. This DIY project is not only economical but also allows you to customize the length and design of your slippers to suit your preferences. Before you begin, ensure you have the necessary tools and a clear workspace. This guide will walk you through how to cut uggs into slippers, ensuring your transition from boots to slippers is smooth and successful.
Why Repurpose Uggs into Slippers?
Repurposing Uggs into slippers offers several benefits beyond just extending the life of your footwear. Firstly, it is an eco-friendly choice, reducing waste and promoting sustainability by giving old items a second life instead of discarding them. Secondly, this transformation allows for a chance to declutter your wardrobe creatively and practically.
By turning your Uggs into slippers, you also save money that might otherwise be spent on a new pair of slippers. Additionally, customized slippers can offer a perfect fit and style that’s tailored to your personal taste, ensuring maximum comfort with a unique touch.
Materials Needed to Cut Uggs into Slippers
Before starting this DIY project, gather the following materials to ensure a smooth and efficient transformation:
- Old Ugg Boots: A pair of Ugg boots that you no longer wear or wish to repurpose.
- Sharp Scissors or a Utility Knife: Essential for cutting through the thick materials of the Uggs.
- Chalk or Fabric Marker: Useful for marking where you plan to make cuts, allowing for precise adjustments.
- Measuring Tape: To measure and mark the desired length for your new slippers.
- Needle and Thread or Fabric Glue: For finishing rough edges and securing any loose materials.
- Optional: Decorative Elements: Such as patches, ribbons, or fur to add a personal and stylish touch to your custom slippers.

Having these materials ready will streamline the process and help you focus on crafting your perfect pair of slippers.
10 Methods How to Cut Uggs into Slippers
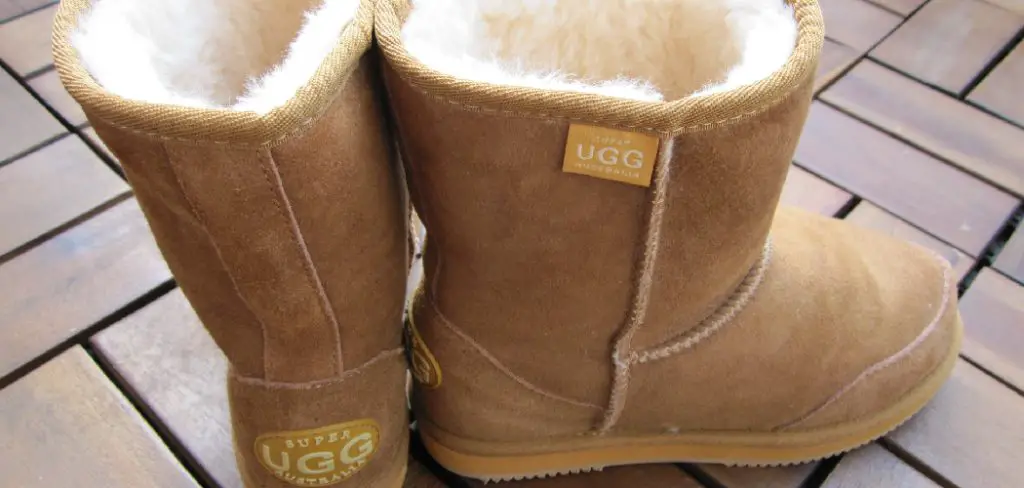
1. Assess the Condition of Your Ugg Boots
Before you begin cutting your Uggs into slippers, it’s important to assess their overall condition. Check for any major damage like holes, excessive wear, or detached soles that may affect how well they will hold up as slippers. If the boots are too worn out, the end result might not be as durable or comfortable. However, if the boots are still in relatively good shape, with intact soles and a strong upper structure, they’ll make great candidates for this transformation. Cleaning the boots beforehand will also give you a clearer view of their condition and ensure a tidy result.
2. Gather the Right Tools
To transform your Ugg boots into slippers, you’ll need some basic tools that ensure a smooth and precise cut. Some essential tools include a pair of sharp fabric scissors or a utility knife, a marker or chalk for marking where you’ll cut, and a ruler to measure and guide your lines. It’s important to use sharp scissors or blades because Uggs are made from thick materials like sheepskin and suede, which require precision when cutting. Dull tools may result in uneven cuts or jagged edges, making the final product less appealing.
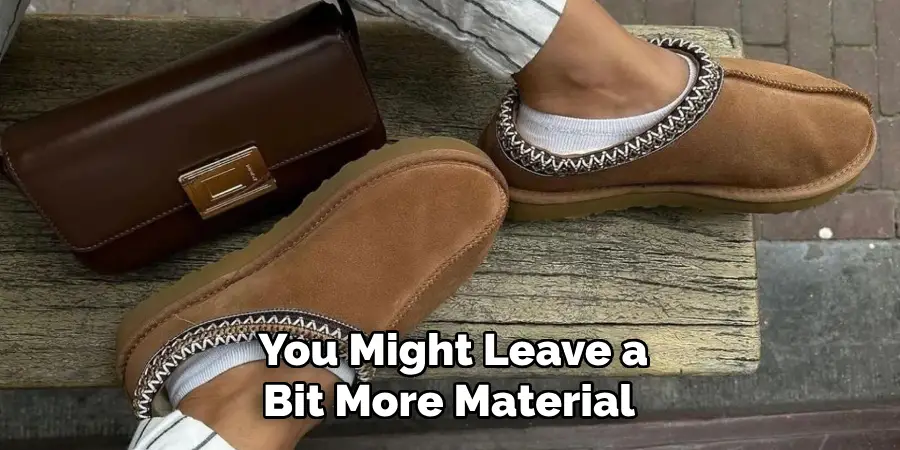
3. Decide on the Style of Your Slippers
There are a few different styles you can choose from when cutting your Uggs into slippers. You could opt for a low-cut slipper that exposes more of your foot, or you could create a slightly higher cut slipper that resembles a clog with extra ankle coverage. Deciding on the style before you start cutting will help you plan where to make your cuts. If you prefer a slipper with a snugger fit around the ankle, you might leave a bit more material. For a looser, more open fit, you can cut lower down around the boot’s collar.
4. Mark Your Cutting Line
Once you’ve decided on the style, it’s time to mark your cutting line on the boots. Use a fabric marker or chalk to draw a smooth, even line around the upper part of each boot where you intend to make the cut. A ruler can help ensure the line is even, especially if you want both slippers to match in height. It’s better to start by cutting less than you think you’ll need to remove. You can always trim more material later, but once you’ve made a cut, there’s no going back. This marking step is crucial for avoiding any mistakes or uneven cuts.
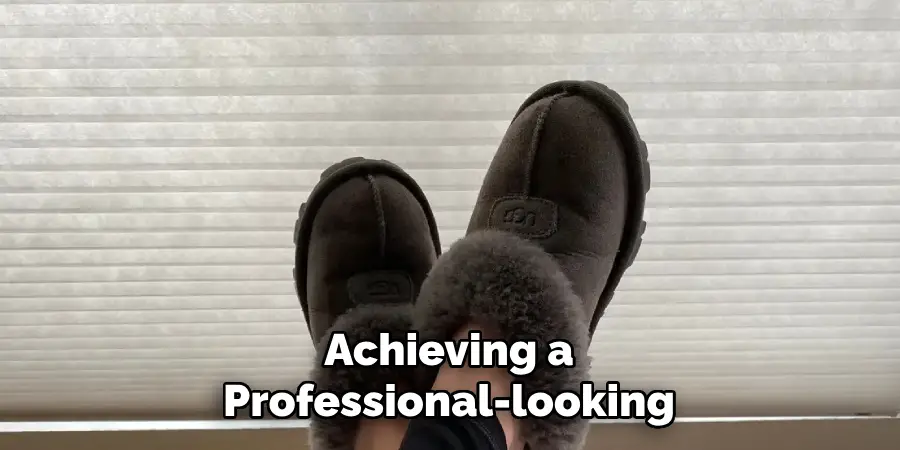
5. Make the Initial Cut Slowly
When you’re ready to begin cutting, start slowly and carefully. Cut along the marked line using sharp scissors or a utility knife, depending on what feels most comfortable and effective for you. If you’re using scissors, make sure they are designed for cutting through thick materials like leather or sheepskin. If you’re using a knife, ensure it’s sharp and cut in small sections to maintain control. Move slowly and avoid rushing through the process to ensure a clean, even cut around the entire boot. Keeping the cut line smooth is key to achieving a professional-looking final product.
6. Trim Any Excess Material
After making the initial cut, you might notice some unevenness or extra material around the edges. It’s important to trim away any excess fabric to smooth out the edges of your new slippers. Take your time during this step to avoid cutting too much material. If the edges of the cut look jagged or uneven, use the scissors to carefully even them out. Smoothing out the edges will give the slippers a polished finish and prevent fraying or unraveling over time. Pay special attention to areas around the seams to ensure a clean, uniform look.
7. Reinforce the Edges (Optional)
If you want to enhance the durability of your new slippers, you can reinforce the edges where you made the cut. One way to do this is by sewing a stitch around the cut edge to keep the material from fraying. You can use a sturdy thread and a needle to do this by hand, or if you’re experienced with sewing machines, you can reinforce the edge with a machine. Another option is to use fabric glue along the raw edge, which will prevent the sheepskin or suede from fraying without the need for stitching. This step is optional but recommended if you plan to wear the slippers frequently.
8. Add a Lining or Padding (Optional)
If you want to make your Ugg slippers even cozier, consider adding extra padding or lining around the ankle area. You can use faux fur, fleece, or another soft material to create a more comfortable and snug fit. This is especially useful if you’ve cut the boots low and want to add some cushioning to the slipper’s opening. You can sew or glue the lining material inside the slipper to create a custom, plush feel. Adding this step enhances both the comfort and appearance of your newly cut Ugg slippers, giving them a luxurious feel.
9. Consider Personalizing Your Slippers
One of the benefits of turning your Uggs into slippers is that you can personalize them to match your style. You can add embellishments like fabric paint, embroidery, or patches to give your slippers a unique look. If you’re crafty, consider sewing on decorative elements like buttons or beads to make your slippers stand out. Personalizing the slippers not only makes them one-of-a-kind but also turns this DIY project into a fun, creative experience. Customizing your slippers can also help differentiate them from other pairs you may have around the house.
10. Test the Fit and Comfort
Once you’ve completed the cutting and any additional modifications, try on your new slippers to check for fit and comfort. Walk around in them to see if any areas feel too tight or loose. If necessary, make adjustments by trimming more material or adding padding where needed.
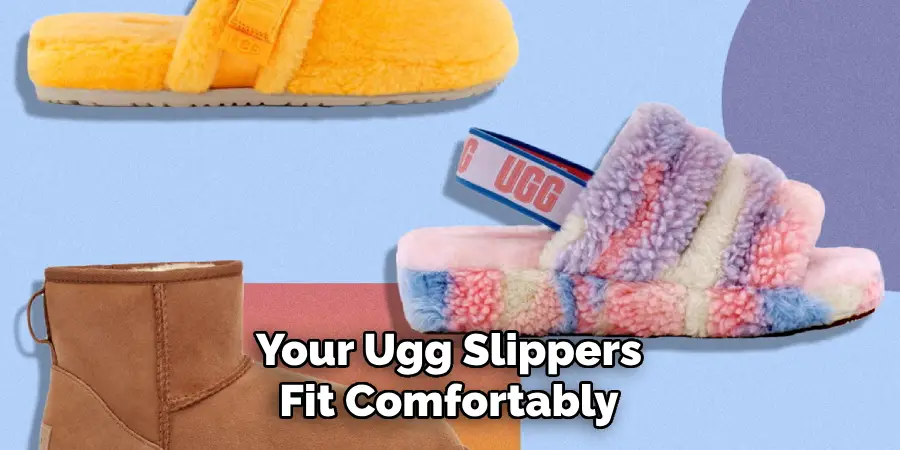
This final step ensures that your Ugg slippers fit comfortably and function well. Wearing them for a short period will give you a good sense of whether any additional modifications are necessary. Once you’re satisfied with the fit, your new slippers are ready to wear!
Conclusion
Transforming your Ugg boots into custom slippers is not only a practical way to repurpose old footwear but also an opportunity to showcase your creativity. By following the steps outlined in this guide, you can craft a pair of stylish and comfortable slippers that perfectly match your style and needs. Remember to take your time with each step, especially during the cutting and finishing stages, to ensure a quality result.
Whether you choose to personalize them with unique embellishments or keep them simple, your new slippers will provide warmth and coziness at home. Thanks for reading, and we hope this has given you some inspiration on how to cut uggs into slippers!