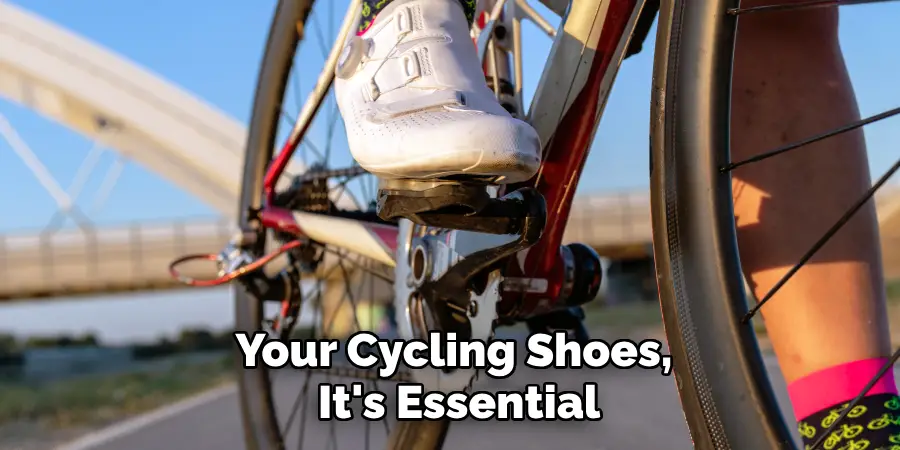
Clipping on cycling shoes correctly is essential for enhancing your biking performance and ensuring safety. Whether you’re a seasoned cyclist or a beginner, understanding how to properly attach your cycling shoes to the pedals can make a significant difference in your riding experience.
This guide on how to clip on cycling shoes will walk you through the process step-by-step, providing tips and techniques to help you master the art of clipping on cycling shoes. By the end, you’ll be ready to hit the road or trails with confidence and efficiency.
Why is Clipping on Cycling Shoes Important?
Clipping on cycling shoes plays a crucial role in improving both performance and safety for cyclists. One of the primary benefits is the increased power transfer. When your shoes are securely attached to the pedals, you can exert more force with each pedal stroke, ultimately boosting your pedaling efficiency and speed. This can be particularly beneficial during long rides or competitive cycling, where every watt of power counts.
Additionally, clipping in helps ensure a more stable and consistent foot position, reducing the risk of slipping off the pedals and potential injuries. Beyond performance, it enhances your overall control over the bike, especially in challenging terrains, as it allows for better handling and maneuverability. Overall, mastering the technique of clipping on cycling shoes can significantly enhance your cycling experience, making it more enjoyable and effective.
Necessary Equipment for Clipping on Cycling Shoes
To successfully clip-on cycling shoes, you’ll need the following equipment:
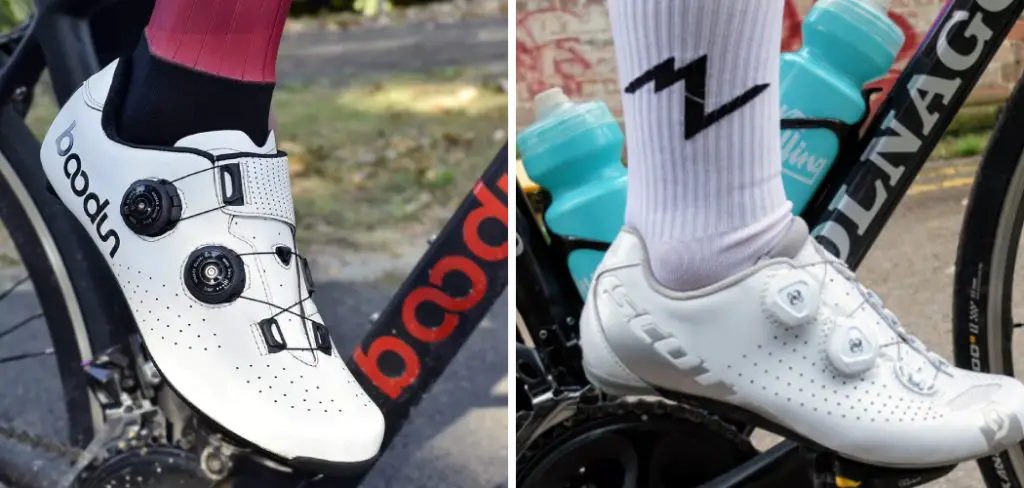
Cycling Shoes:
Ensure you have a pair of cycling shoes designed for use with clipless pedals. These shoes typically feature stiff soles and attachment points for cleats.
Cleats:
Cleats are the crucial component that attaches your shoes to the pedals. They come in various shapes and sizes, so make sure to choose cleats that are compatible with your pedals and shoes. Popular systems include SPD, Look, and Time.

Clipless Pedals:
Clipless pedals are specifically designed to work with cleats. They provide a secure connection between your shoes and the bike. Choose pedals that match the cleats you have selected.
8 Simple Step-by-step Guidelines on How to Clip on Cycling Shoes
Step 1: Familiarize Yourself with Your Cleats
Before attempting to clip on your cycling shoes, it’s essential to familiarize yourself with your cleats. The cleats are typically attached to the bottom of your cycling shoes and are designed to lock into your clipless pedals. Take a close look at your cleats to understand their shape and locking mechanism.
If you have newly purchased cleats, consult the manufacturer’s instructions to get acquainted with any specific features or requirements. Understand the correct orientation of the cleats so that you can position them accurately on the pedals. By doing this, you will have a smoother and more confident experience when you start to clip in and out while riding.
Step 2: Properly Align Your Cleats
Next, align your cleats correctly on the bottom of your cycling shoes. The positioning can vary depending on personal preference and riding style; however, for most riders, it’s recommended to have the cleat positioned towards the ball of your foot.
This helps distribute pressure evenly and gives you more power when pedaling. Use a marker or tape to mark the desired position before attaching them to your shoes to ensure accuracy.
Step 3: Adjust Tension on Your Pedals
Before you clip in, it’s crucial to adjust the tension on your clipless pedals. The tension controls how tightly the cleats hold onto the pedals, affecting how easy or difficult it is to clip in and out. If you’re new to using clipless pedals, it’s recommended to start with a lower tension setting. This will make it easier for you to clip out quickly, which is especially important when you’re learning and may need to stop suddenly.
To adjust the tension, locate the adjustment screw on your pedals. Using the appropriate tool, typically a small Allen key or Phillips screwdriver, turn the screw to adjust the tension. Turning the screw clockwise generally increases tension, while turning it counterclockwise decreases tension. Check the manufacturer’s guidelines for specific instructions related to your pedal model.
Test the tension by clipping in and out a few times while stationary to ensure it feels comfortable and manageable. Adjust as needed until you find the right balance between security and ease of entry and exit. Proper tension adjustment can greatly influence your confidence and performance while cycling.
Step 4: Start with One Foot
When you’re ready to clip in, it’s best to start with one foot first. Position your bike securely, either by leaning against a wall or having a friend hold it steady. Place one foot on the ground to maintain balance and bring the other foot up to the pedal.
With the cleat aligned, press down firmly and slide your foot forward until you feel the cleat lock into place with the pedal. You’ll hear a clicking sound, indicating that the cleat and pedal are securely connected. Initially, practice clipping in with one-foot multiple times until you feel comfortable with the movement.
This step-by-step approach allows you to gain confidence while minimizing the risk of losing balance. Once you master clipping in with one foot, you can move on to clipping in with both feet and gradually start riding.
Step 5: Clip in with Your Second Foot
Now that you’ve mastered clipping in with one foot, it’s time to clip in with the other. With your first foot clipped into the pedal and placed on the top of the pedal stroke, bring your second foot up towards the pedal.
Position your cleat over the pedal and push down firmly until it clicks into place. It may take a few tries to get the positioning right, so don’t be discouraged if you miss a few times. Continue practicing this step until you feel comfortable and can clip in smoothly and consistently with both feet.
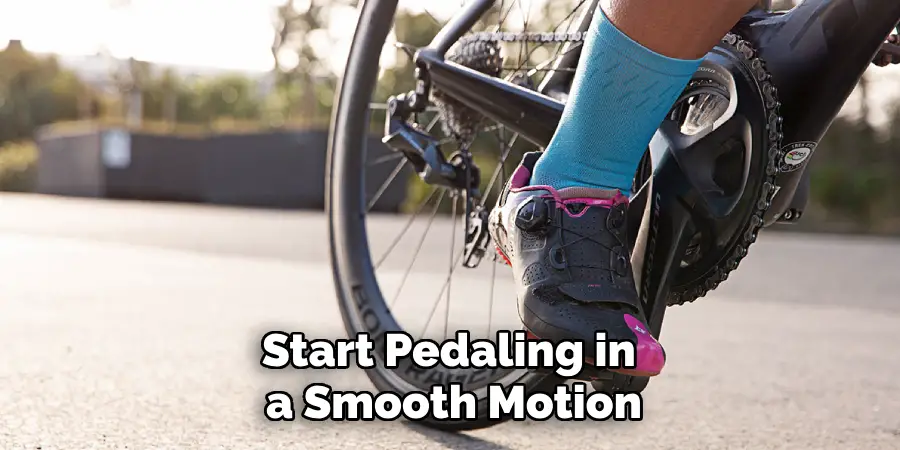
Step 6: Pedal Smoothly
Once both feet are securely clipped in, start pedaling in a smooth motion. Your feet should feel firmly attached to the pedals, allowing you to pedal with greater efficiency and control. It may take some time to adjust to the feeling of cycling with clipped-in shoes, but with practice, it will become second nature.
Remember to maintain a relaxed posture and keep your upper body still while pedaling. This will help improve your balance and allow for better power transfer through your legs.
Step 7: Preparing to Clip Out
When approaching a stop or needing to unclip for any reason, prepare by shifting your weight toward the foot you want to unclip first. This will help you maintain balance as you unclip.
As you approach the stop, continue pedaling with one foot and bring your other foot to the top of the pedal stroke. Use your heel to push down on the back of the cleat, releasing it from the pedal. You should hear a distinct click as the cleat disengages.
Step 8: Practice Makes Perfect
As with any new skill, practice is key. Spend time practicing clipping in and out while stationary before attempting it while riding. Start in a safe and open area before moving onto busier or more challenging terrain.
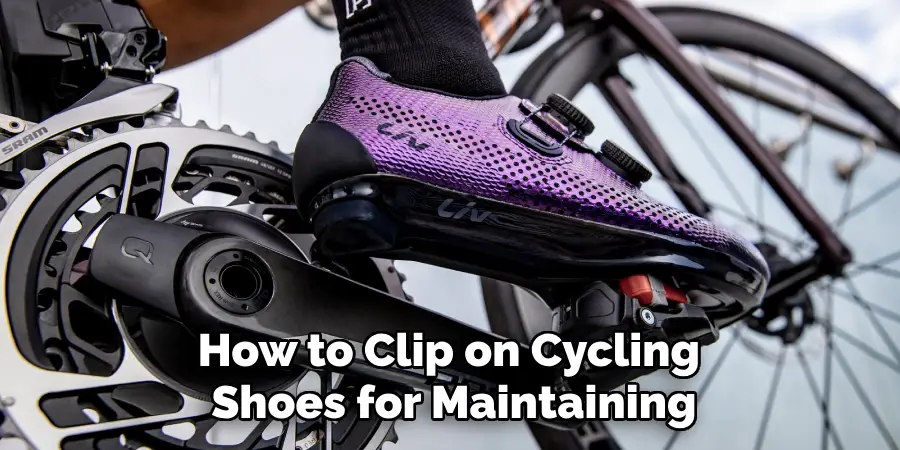
With regular practice, clipping in and out of cycling shoes will become second nature, allowing you to fully experience the benefits of using clipless pedals – increased power transfer, efficiency, and control. Remember to always check your cleats and pedals for wear and tear and adjust the tension as needed for optimal performance.
Additional Tips for Using Clipless Pedals
- Consider using multi-release cleats if you have any concerns about being able to unclip quickly in an emergency.
- Experiment with different positioning of your cleats to find what works best for you.
- Use caution when clipping in and out on wet or slippery surfaces.
- Don’t be discouraged if it takes a few tries to get the hang of clipping in and out smoothly – with practice, it will become second nature.
- It’s always a good idea to have spare cleats and pedals with you in case of any malfunctions or breakages.
- If you experience any discomfort or pain while using clipless pedals, re-evaluate your shoe fit and cleat positioning. It may also be helpful to consult with a professional bike fitter for guidance.
- Always follow the manufacturer’s guidelines on how to clip on cycling shoes for maintaining and replacing cleats and pedals. Overall, remember to stay patient and persistent as you learn how to use clipless pedals – the benefits they offer make it well worth the effort! Happy riding!
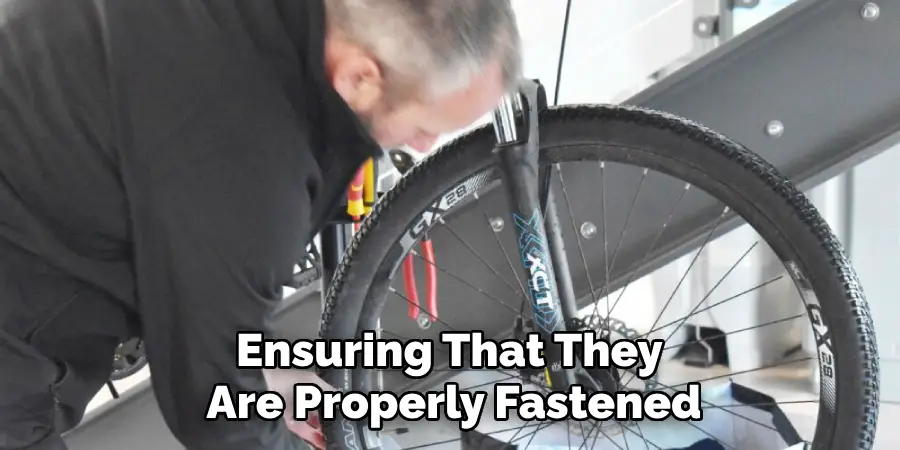
Safety Checks
Ensuring your safety while using clipless pedals is paramount. Before each ride, conduct a thorough inspection of your bike’s components. Start with the pedals and cleats, verifying that they are clean and free from debris that could impede their functionality.
Check the tension setting on your pedals to confirm it hasn’t loosened over time. It’s also important to inspect your cleats for any signs of excessive wear or damage and replace them if necessary, as worn-out cleats can negatively impact your ability to clip in and out efficiently.
Inspect your shoes for a secure fit, ensuring that they are properly fastened and comfortable. Loose or ill-fitting shoes can affect your pedaling efficiency and could lead to accidents.
Additionally, perform a routine check of your bike’s brakes, tires, and chain. Ensuring that these components are in good working order will contribute to a safer cycling experience. Regular maintenance and inspections are vital to your safety and the longevity of your cycling equipment.
Remember, taking the time for these safety checks can prevent accidents and give you peace of mind so that you can fully enjoy your ride.
Conclusion
Switching to clipless pedals and cycling shoes can significantly enhance your riding experience, offering increased power transfer and greater efficiency. By following the steps outlined in this guide on how to clip on cycling shoes, you’ll be able to clip in and out of your pedals with confidence.
Remember, the key is to adjust your cleats and pedal tension to suit your needs, practice diligently, and maintain a calm and focused mindset. Over time, the process will become second nature, allowing you to enjoy the full benefits of your cycling setup.