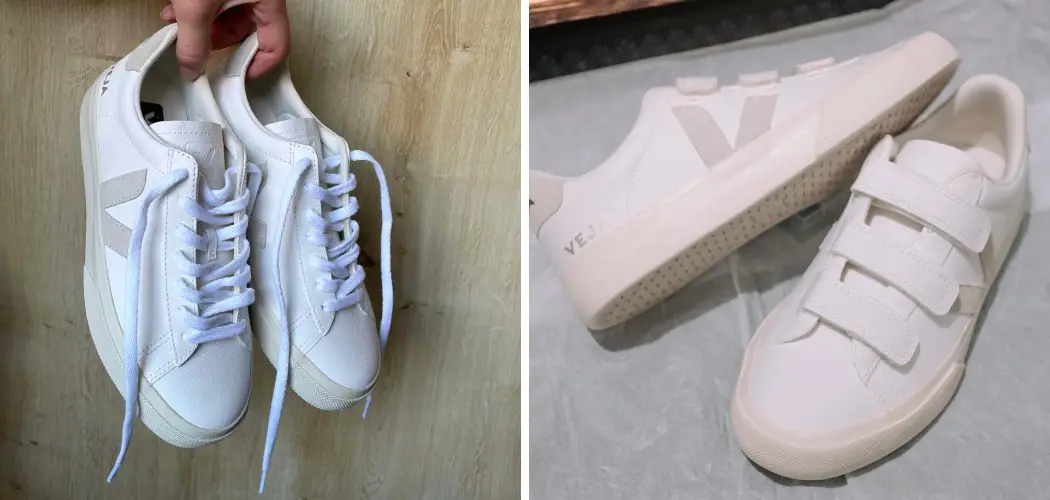
Are you wondering how to clean Veja shoes inside? You’re not alone. As one of the most popular and sustainable shoe brands on the market, Veja shoes have become a go-to for many fashion lovers.
Cleaning the inside of your Veja shoes is essential to extend their lifespan and maintain hygiene. Over time, daily wear, sweat, and dirt can accumulate, causing unpleasant odors and potentially compromising the shoe’s structure. Proper cleaning revives your footwear’s freshness and ensures comfort during wear.
In this guide, we’ll walk you through the steps required to clean your Veja shoes effectively, highlighting tools and techniques that cater to the shoe’s unique materials. Whether dealing with residual odor or performing routine maintenance, these methods will help keep your Vejas in top condition.

What Will You Need?
Before you start, gathering the necessary tools and products is crucial. You’ll need:
- A soft-bristled brush
- Gentle detergent or a specialized shoe cleaner
- Water
- Soft cloths or towels
- Baking soda (optional)
Depending on the severity of dirt buildup or odor, you may also want some baking soda for added deodorizing power.
10 Easy Steps on How to Clean Veja Shoes Inside
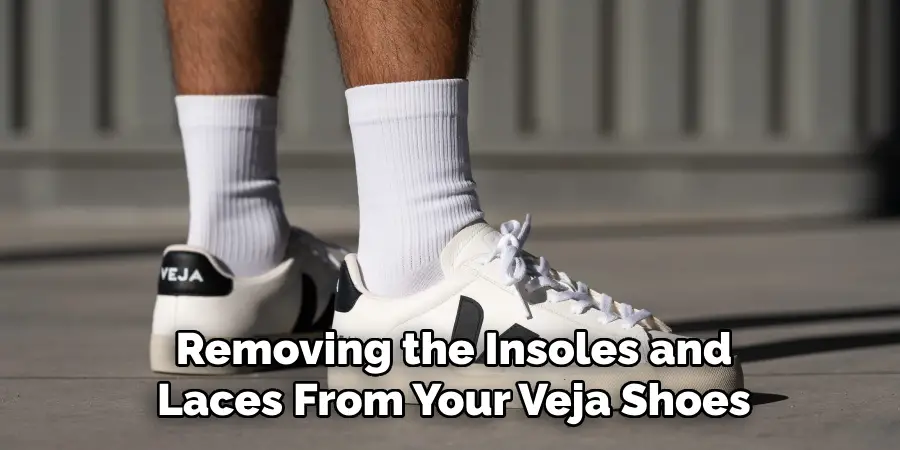
Step 1: Remove Insoles and Laces
Start by carefully removing the insoles and laces from your Veja shoes. This step is crucial as it lets you thoroughly clean each component separately, ensuring no area is overlooked. Removing the insoles provides access to the shoe’s interior, where dirt and odors commonly accumulate while detaching the laces allows for a more comprehensive cleaning process. Place the insoles and laces aside, keeping them together to avoid any mix-up or loss.
It’s important to handle these components gently to prevent any damage during the removal process, especially since these parts can significantly impact the shoe’s overall fit and comfort. This foundational step sets the stage for a deeper clean and helps maximize the longevity of your footwear.
Step 2: Dust Off the Interior
Using a soft-bristled brush, gently dust off the interior of your Veja shoes to remove any loose dirt or debris. This step helps clear away surface particles that may have accumulated, making it easier to address any deeper cleaning needs in subsequent steps. Be thorough yet gentle as you brush, ensuring you do not to damage any delicate materials within the shoe.
Pay close attention to areas where dirt might easily collect, such as the corners and seams. A clean start ensures that the following steps can effectively target deeper grime and odors.
Step 3: Prepare a Cleaning Solution
Mix a small amount of gentle detergent or specialized shoe cleaner with warm water in a bowl or container to prepare the cleaning solution. The mixture should be mild enough to cleanse without causing any damage to the shoe’s material. Aim for a soapy yet diluted solution that effectively addresses dirt and bacteria without being too harsh. It’s essential to avoid using chemical-heavy detergents or bleach as they can potentially discolor or weaken the shoe’s material.
If you’re dealing with tough stains or odors, consider adding a bit of baking soda to enhance the cleaning power of your solution. Mix the ingredients until they’re thoroughly combined, achieving a uniform solution ready to tackle your Veja shoes’ interior surfaces. This preparation step ensures that you have the right balance of cleaning agents to maintain both the hygiene and integrity of your footwear.
Step 4: Clean the Insoles
Submerge a soft cloth or towel into the prepared cleaning solution, then wring out any excess liquid to prevent oversaturation. Gently wipe down the insoles with the damp cloth, focusing mainly on any areas with visible dirt or stains. Use a light touch to avoid damaging the insoles, which can be integral to the shoe’s comfort and fit. If needed, apply a small amount of baking soda directly onto stubborn stains and use the damp cloth to scrub gently.
Once cleaned, rinse the fabric with clean water and remove any residual detergent from the insoles. Allow the insoles to air dry thoroughly in a well-ventilated area before reinserting them into your shoes.

Step 5: Clean the Interior Fabric
Dip another soft cloth into the cleaning solution prepared in the previous step. Wring out any excess liquid to ensure the cloth is damp but not dripping. Carefully wipe the interior fabric of your Veja shoes, focusing on areas that might harbor sweat and odors. Use gentle, circular motions to lift dirt and grime without irritating the shoe’s material. Take special care with any fabric linings inside the shoe, avoiding excessive moisture that could damage its structure. For areas that are particularly stubborn or dirty, reapply the cleaning solution as needed.
Continue wiping until you are confident that the interior is thoroughly cleaned. Once you have finished, use a dry cloth to remove any excess moisture, promoting quick and even drying. Allow the shoes to air dry in a well-ventilated space, ensuring that they are scorched before reassembling.
Step 6: Deodorize the Interior
To address any lingering odors, sprinkle a light layer of baking soda inside each shoe, focusing on problematic areas that tend to trap smells. Allow the baking soda to sit overnight to absorb odors effectively. This step is crucial for achieving a fresh scent without artificial fragrances that may irritate the feet. Baking soda is a natural deodorizer that neutralizes odors through a simple chemical reaction.
In the morning, shake out any excess baking soda, ensuring the shoe’s interior is clean and free from powder residue. This deodorization process freshens your boots and extends their lifespan by maintaining a pleasant and odor-free environment.
Step 7: Rinse the Laces
Fill a small basin or sink with warm water and add a drop of gentle detergent. Submerge the laces in this solution and use your fingers to agitate them gently, allowing the detergent to penetrate the fibers and lift away any dirt or grime. Pay special attention to the aglets, as these metal or plastic tips can attract more dirt.
Once sufficiently cleaned, rinse the laces thoroughly under running water to ensure all detergent is washed out. After rinsing, gently squeeze out the excess water without twisting or wringing the laces, which could cause damage. Lay the laces flat on a clean towel to air dry.
Step 8: Reassemble the Shoes
Once all components of your Veja shoes—interior and exterior—have been thoroughly cleaned and dried, it’s time to reassemble them. Begin by inserting the completely dry insoles back into the shoes, ensuring they are aligned correctly and sit flat without creases. Next, thread the clean, dry laces back through the eyelets, lacing them evenly on both sides for a neat appearance.
Double-check each component to ensure no remaining traces of moisture could lead to the development of odors or damage over time. This final reassembly step is essential for maintaining the shoes’ functionality and comfort and achieving a polished and well-cared-for look.
Step 9: Protect the Exterior
To prolong the cleanliness and appearance of your Veja shoes, it’s advisable to apply a protective spray to the exterior. Choose a spray appropriate for the specific material of your shoes, whether they are made of canvas, leather, or suede. Such sprays help repel water, dirt, and stains, thus reducing the frequency of cleanings needed. Hold the spray approximately six inches from the shoe surface and apply evenly, following the manufacturer’s instructions for best results. Allow the protective coat to dry completely before wearing the shoes.
Step 10: Store Properly
After ensuring that your Veja shoes are clean, dry, and protected, it’s essential to store them properly to maintain their condition. Place the shoes in a cool, dry place away from direct sunlight and heat sources, which can cause discoloration and material degradation. If possible, use shoe trees or stuff them with acid-free tissue paper to help them retain their shape while not in use. Avoid storing them in airtight containers, which can trap moisture and lead to mildew growth.
Proper storage prolongs the life of your shoes and ensures they remain in premium condition, ready for your next adventure.
By following these simple steps and incorporating regular cleaning into your shoe care routine, you can ensure that your Veja shoes look their best and stay fresh, comfortable, and long-lasting.
Conclusion
Maintaining your Veja shoes’ interior cleanliness is crucial in ensuring their longevity and comfort.
By systematically addressing the various components, such as insoles, interior fabric, and odors, you can effectively preserve the integrity and freshness of your footwear. Utilizing gentle cleaning solutions, natural deodorizers like baking soda, and adopting proper drying techniques are all simple yet effective methods to achieve a thoroughly clean interior.
Moreover, conscientious storage practices help maintain the shoes’ shape and prevent unwelcome deterioration. With these guidelines, your Veja shoes will remain in excellent condition, providing you with comfort and style on every step of your journey.
Hopefully, the article on on how to clean veja shoes inside has been informative and useful in helping you take care of your beloved footwear. So don’t wait any longer – it’s time to give your Veja shoes the TLC they deserve!